Jonsered Chainsaws

Arborist Forum

Help Support Arborist Forum:

This site may earn a commission from merchant affiliate links, including eBay, Amazon, and others.
Yeah, I saw in my email he had posted, went in here and didn't see the post.....lol

Looks like when you posted Robin, you got it included somehow in his quote/pic space, instead of outside. I've done that by accident sometimes. Especially with pics, you have to keep scrolling until your new post is below all that.

Kevin


I guess.....thought I was below his stuff...not paying enough attention likely......
 
LOL!! Good for you Sam!!! Figured you got straightened out.....read your earlier post asking on timing info so when I went out this morning I stopped at the shop and grabbed the shop manual so I could give you the directions directly from the book......but when I got back your post was deleted!! I still can if you want the particulars....

I deleted my post after I did a little more digging/reading. I figured I answered my own question. I set the points at about .015" with the piston at TDC. I don't have a dial indicator but kind of verified the setting with the depth gauge of my digital caliper. I see acres calls for points to open 2.7mm before TDC. I was a little over 3 but called it close enough given the inaccuracy of my technique. I was surprised how off the timing was, no wonder I couldn't even get it to pop. I'd still be interested to here the directions according to the shop manual. Thanks Robin!
 
Lol...if it's anything like setting timing on the 80/90...it's a cluster phuck. One of those flywheel degree wheels would be pretty slick, except you have to rotate backwards. I used a TDC indicator tool and a micrometer. I followed their directions, but kept thinking there has to be an easier way.

PO's who know nothing about points, love to go in and hack/fool around with them. Usually, they move the points plate outa wack and then sell the saw to the next unsuspecting rube. One of the first things I do when I get a points saw is make sure the points set up 100% and check the timing.


Kevin
 
Hey, I was just looking for some of those. How long are they overall? They look kind of orangey ...

Hey Sam, overall they're 21" but you can cut them down. I've never had that much of a problem with them catching on the chain.
They're very red, the sun just caught them in a "husky" moment. :)
 
Thanks much, no rush.


Ok Sam here is what the book says...

Adjustment of breaker gap.
Turn the crankshaft with a spanner on the clutch side until maximum gap between the breaker points is reached. Set the fixed breaker with the gap at 0.40mm. Check with feeler gauge. On a new saw the fibre shoe of the breaker arm will be worn somewhat. Breaker gap should thus be rechecked after about 10 hrs running and adjusted, if necessary.

Ignition timing.
Fit gauge 9193 and brackets 9138 and 9138-2 as shown in the illustration. Separate the breaker points and insert a thin sheet of paper (about 0.05mm thick) between the points. Turn the crankshaft counter-clockwise while exerting a pull on the paper. As the points start to release the paper the magneto will have reached ignition position. Read ignition advance in mm on the dial of the gauge. Ignition advance should be 2.7 mm before top dead center.
If the ignition advance position is incorrect it should be adjusted by turning the amature end-plate and not by adjusting the breaker points. Adjustthe end-plate and recheck ignition advance position and breaker gap. Then check the the spark plug is firing by turning the flywheel. Ignition is advanced by turning the end-plate clockwise and retarded by turning it counter clockwise.


That's what it says.......I would only add that you should file and match a used set of points before you do any of this...or use new if you have that option.....


That's basically the same procedure as I have for the 80/90....the problem with that is the "release" of the paper is the ambiguous part....how hard do you pull the paper...what do you consider "release" etc. It probably isn't that critical in the grand scheme of things, but not the most precise method.

If anyone is interested, I can scan the procedure for this in the 80/90 SM and post it. Next time I do this, I'm gonna use a degree wheel and a fixed pointer.

Kevin
 
Ok Sam here is what the book says...

Adjustment of breaker gap.
Turn the crankshaft with a spanner on the clutch side until maximum gap between the breaker points is reached. Set the fixed breaker with the gap at 0.40mm. Check with feeler gauge. On a new saw the fibre shoe of the breaker arm will be worn somewhat. Breaker gap should thus be rechecked after about 10 hrs running and adjusted, if necessary.

Ignition timing.
Fit gauge 9193 and brackets 9138 and 9138-2 as shown in the illustration. Separate the breaker points and insert a thin sheet of paper (about 0.05mm thick) between the points. Turn the crankshaft counter-clockwise while exerting a pull on the paper. As the points start to release the paper the magneto will have reached ignition position. Read ignition advance in mm on the dial of the gauge. Ignition advance should be 2.7 mm before top dead center.
If the ignition advance position is incorrect it should be adjusted by turning the amature end-plate and not by adjusting the breaker points. Adjustthe end-plate and recheck ignition advance position and breaker gap. Then check the the spark plug is firing by turning the flywheel. Ignition is advanced by turning the end-plate clockwise and retarded by turning it counter clockwise.


That's what it says.......I would only add that you should file and match a used set of points before you do any of this...or use new if you have that option.....

Ick ...
Thanks for the info, that gives me something to chew on.
 
Hey Sam, overall they're 21" but you can cut them down. I've never had that much of a problem with them catching on the chain.
They're very red, the sun just caught them in a "husky" moment. :)

It's probably a chain thing, Dean. The .404 skip-tooth chisel chain has formidable sized cutters spaced apart....my guess is those are easier to hook on a plastic scabbard than 3/8" chain with a full comp cutter set up, for example. They don't hook on the sides as you may think, but the top inside of the scabbard.

Kevin
 
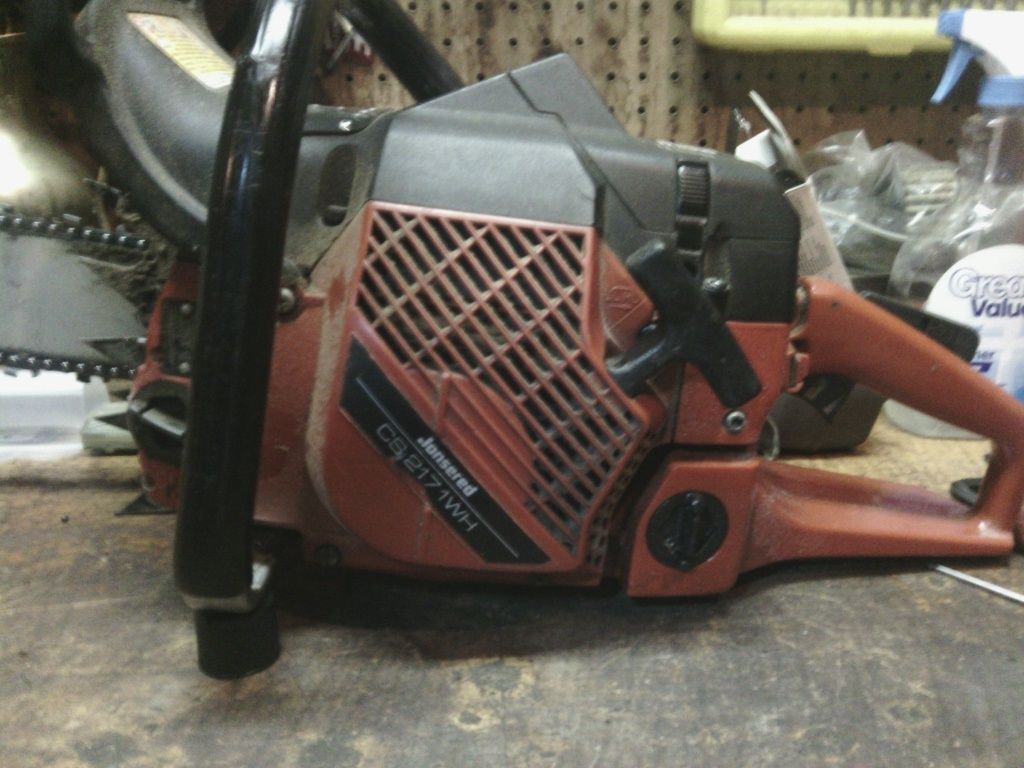
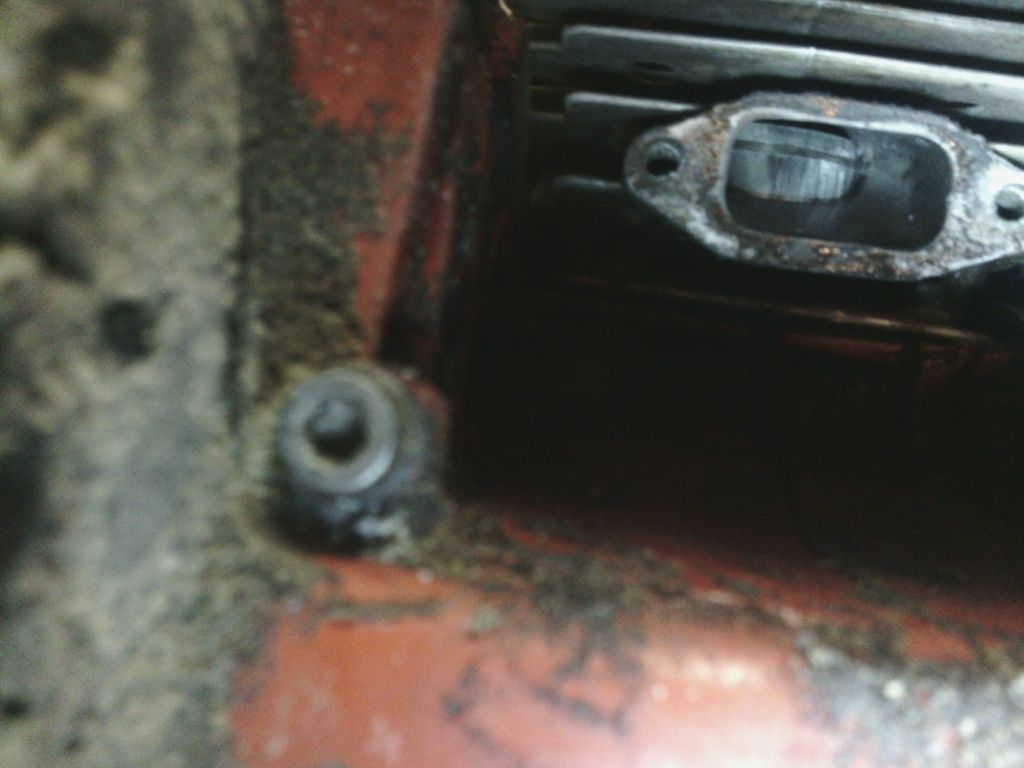
I got this back tonight from a friend of mine. I went through it a month ago, it had a toasted p/c. It had a seal leak, a decomp leak, and based on his story I suspected improper fuel mix. It got a cylinder clean, meteor piston, new seals, and a plugged decomp. Vacuum checked good. It ran great and I set it a little on the rich side. Now the piston is toasty again. He said it ran funny with the bar pointed down in the cut so he adjusted the carb. I'm assuming he leaned it out too much, we'll see in the next few days when I dig in, again.
1454983746881_IMG_20160208_200544_801_zpsxfsc2bgl.jpg

1454983704684_IMG_20160208_200653_623_zpssfcfkf4a.jpg
 
Hard to teach homeowners what's too lean in a saw....it's like the Black Arts to them. Just like they'll push a saw all day with a dull chain and tell you what a workout they had, or what a crummy chain it is....geez.

Make sure you check the carb boot and the impulse line.....common ways to score the innards.

Kevin
 
I got this back tonight from a friend of mine. I went through it a month ago, it had a toasted p/c. It had a seal leak, a decomp leak, and based on his story I suspected improper fuel mix. It got a cylinder clean, meteor piston, new seals, and a plugged decomp. Vacuum checked good. It ran great and I set it a little on the rich side. Now the piston is toasty again. He said it ran funny with the bar pointed down in the cut so he adjusted the carb. I'm assuming he leaned it out too much, we'll see in the next few days when I dig in, again.
1454983746881_IMG_20160208_200544_801_zpsxfsc2bgl.jpg

1454983704684_IMG_20160208_200653_623_zpssfcfkf4a.jpg

Same owner, second scored piston?

Don't give it back to him :buttkick:. :innocent:
 
I started a 49 rebuild and something just occurred to me. I was stripping parts from some donor saws and I noticed the difference in the tank vents between the 49 and 52.
Everyone else on here probably already knows and mostly you hear that the cases are the same. So if someone could just reply with a "yea" or "nay" to validate/disprove my findings that'd be great!!

52 tank vent;
2-10-16 003.JPG

49 tank vent;

2-10-16 004.JPG
 
Back
Top