IyaMan
Addicted to ArboristSite
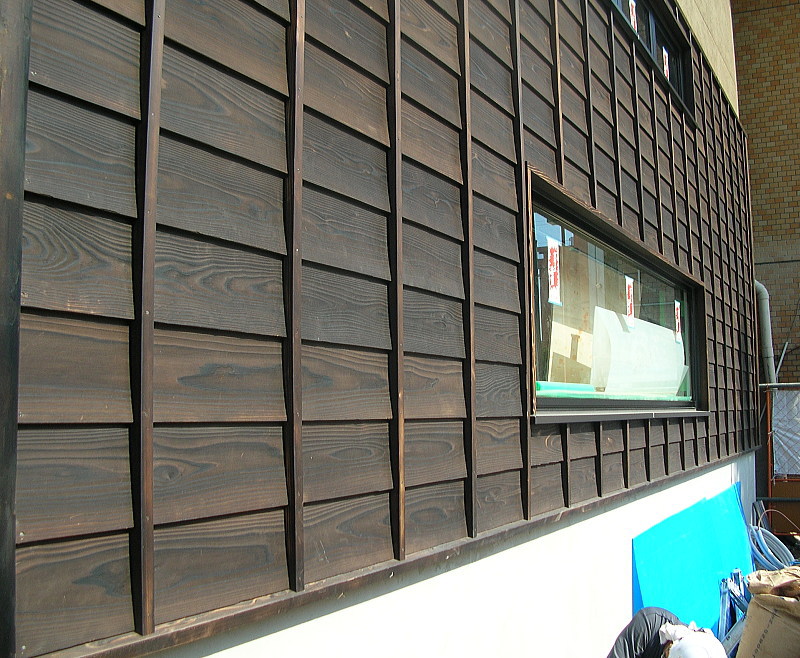
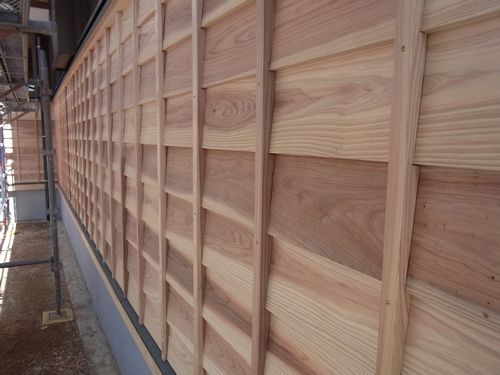
In Japan, lap siding is commonly done with no bevel. The boards are all equal thickness and a lap joint is cut into the top and bottom edge of each board. I think this is called shiplap. This allows for all the boards to lay flat on the wall with a tighter seal. The cuts can simply be done into the boards with a tablesaw.

Vertical runners are also put in to prevent warping.

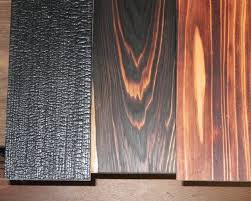
They also burn the boards instead of using stain/chemicals to prevent bugs and rot.
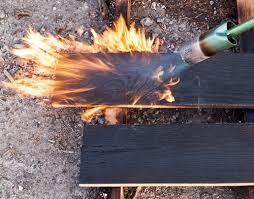
Then sanded or planed for nice results. Cedar works best for this. The process is called "yakisugi"
Vertical runners are also put in to prevent warping.
They also burn the boards instead of using stain/chemicals to prevent bugs and rot.
Then sanded or planed for nice results. Cedar works best for this. The process is called "yakisugi"
") thanks for the info!
thanks for the info!