Erik B
ArboristSite Guru
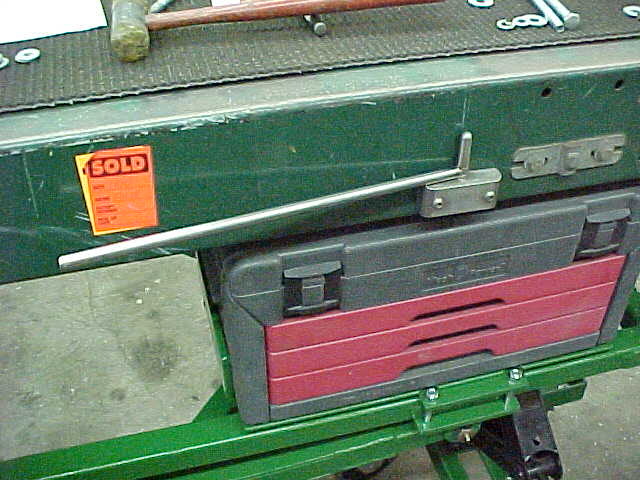
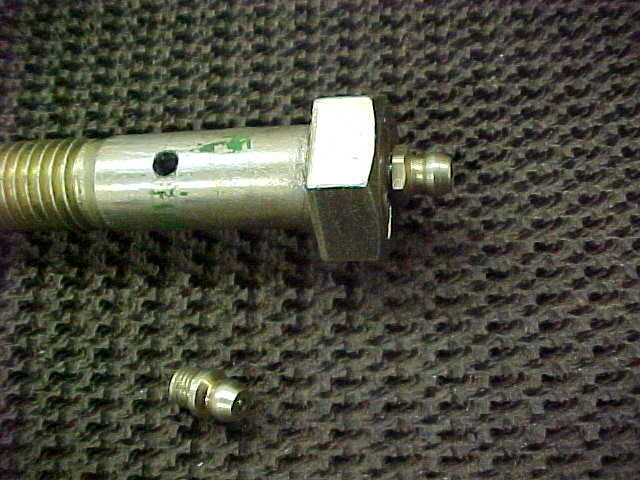
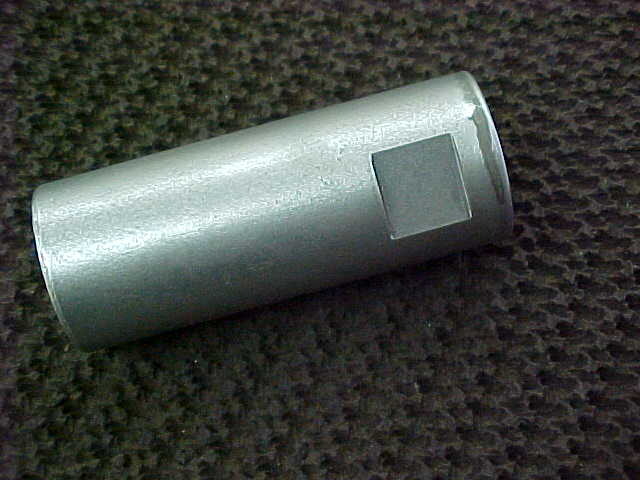
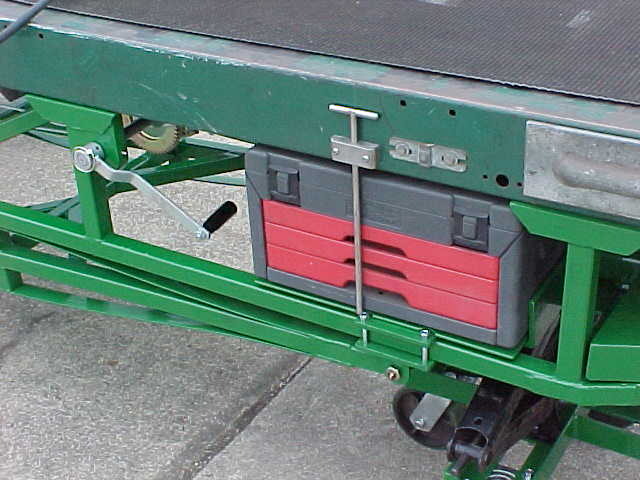
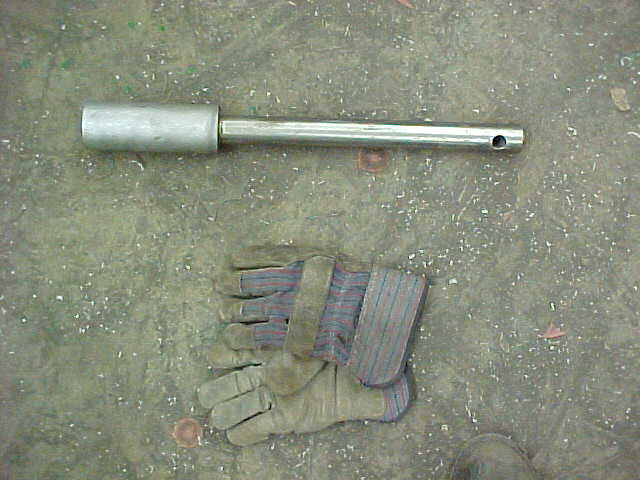
Do you have a spot to put the rod holding your toolbox draws in when you are digging thru your tool box?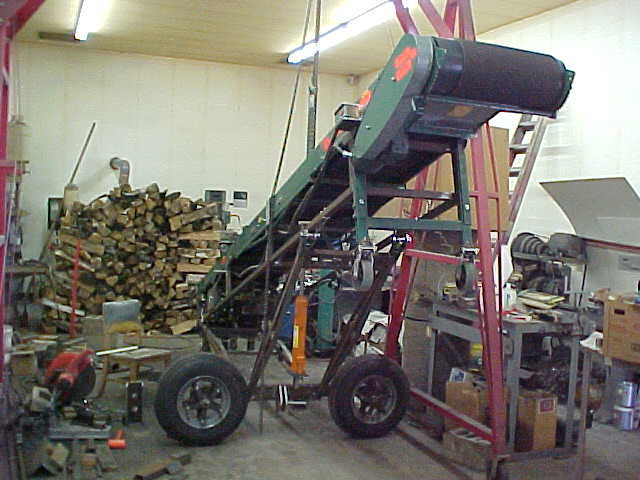
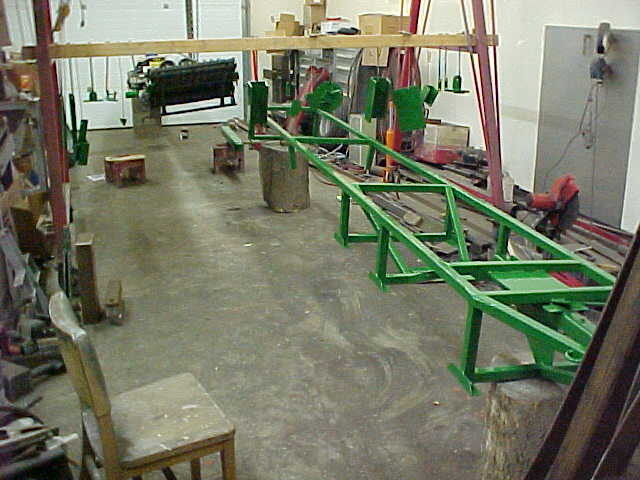
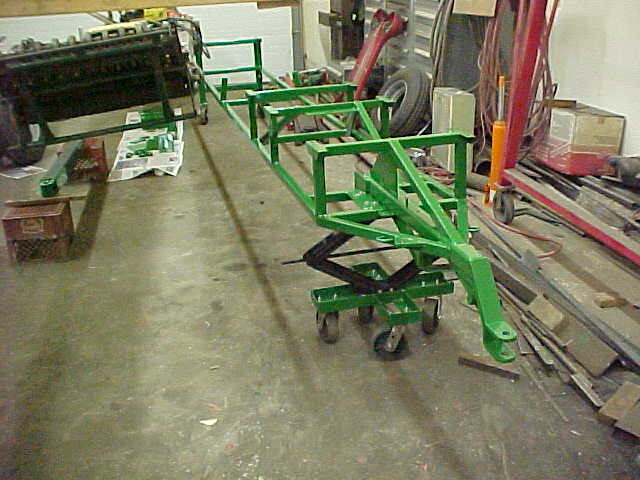
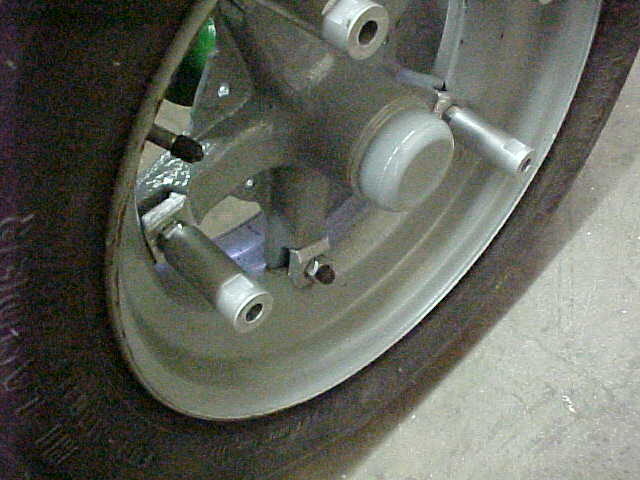
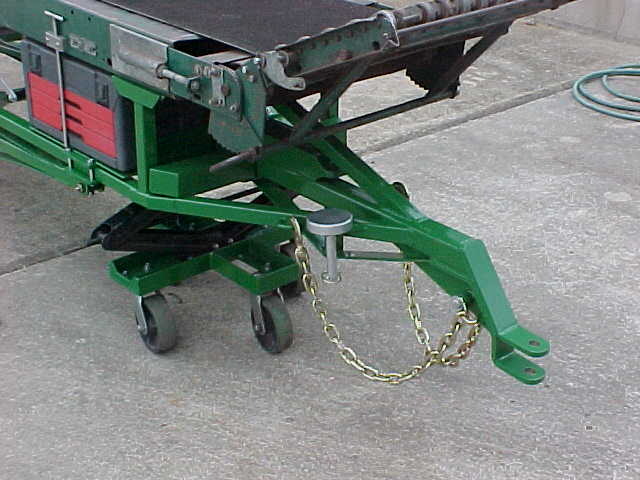
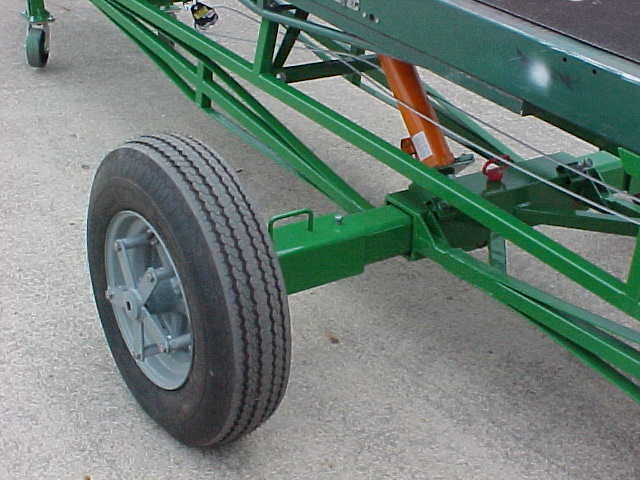
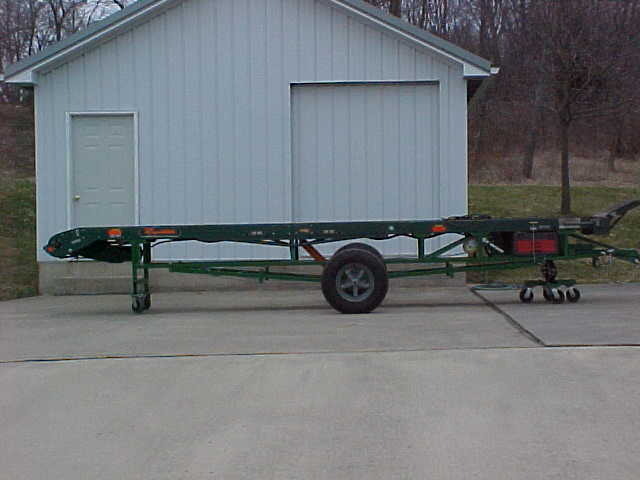
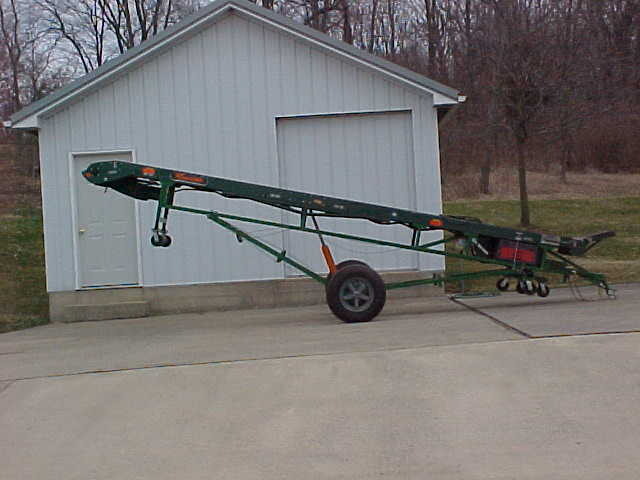
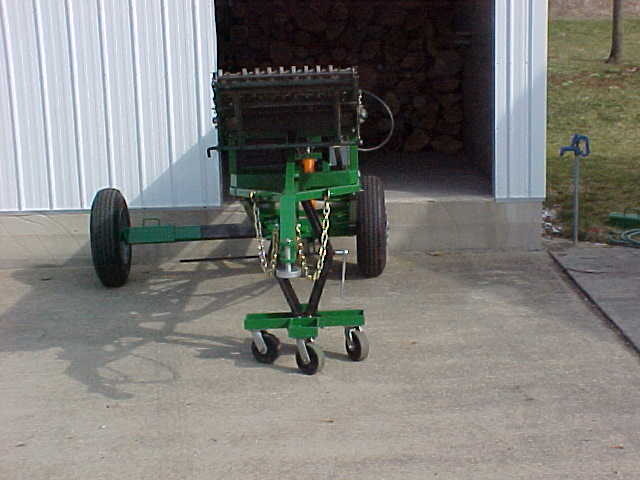
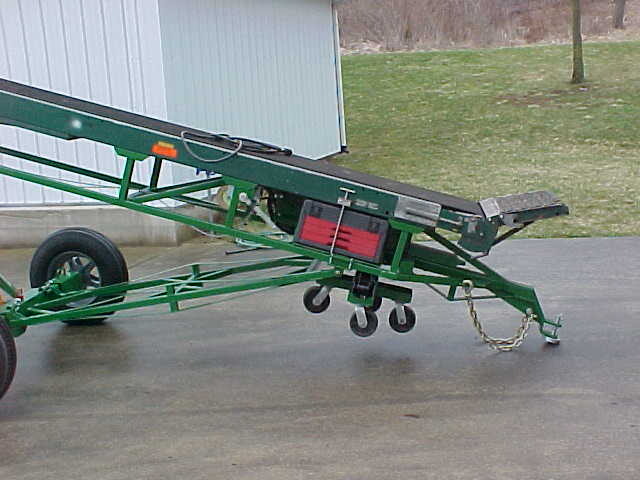
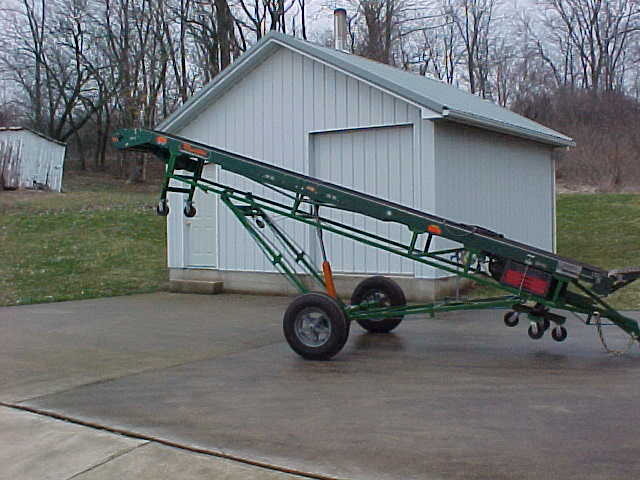
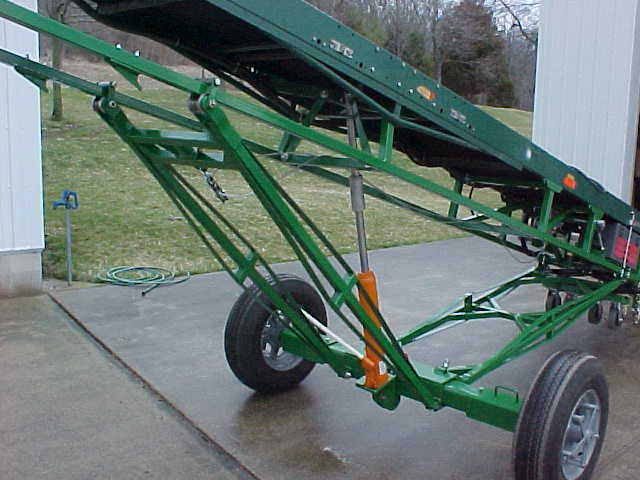
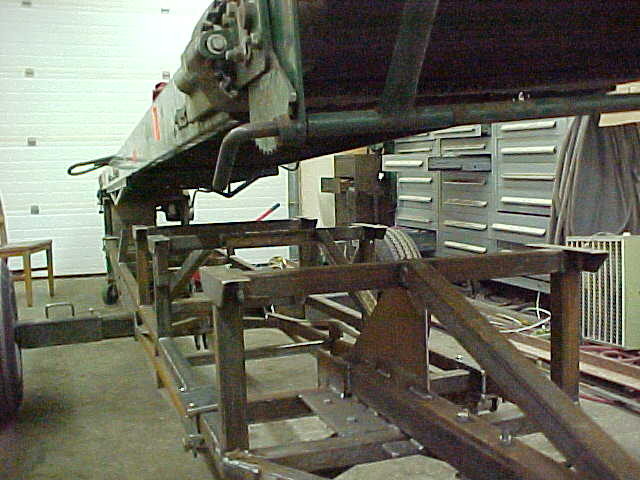
With the balance issue worked out took her for a test lift. With the tires like this more weight is to the front. 2 people hanging couldn't get it to even flinch. Higher up makes it even better. About 7 ft high at the lowest point here.
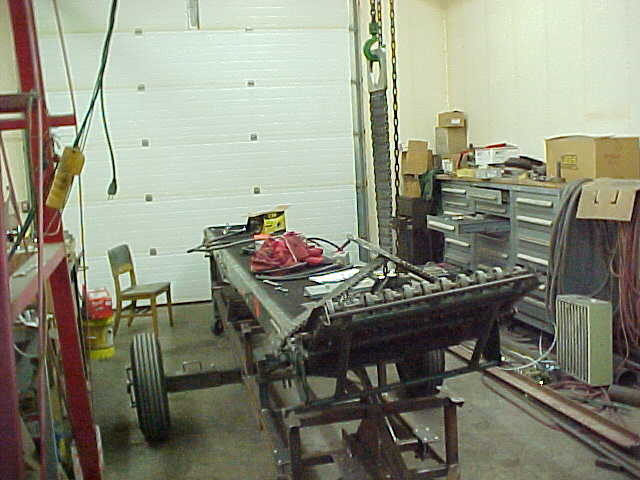
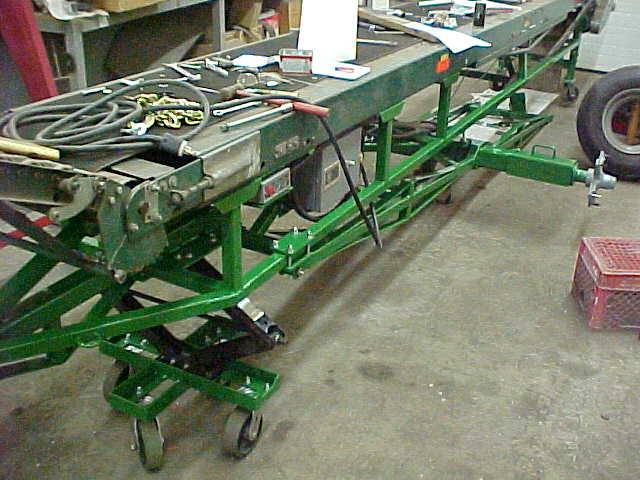
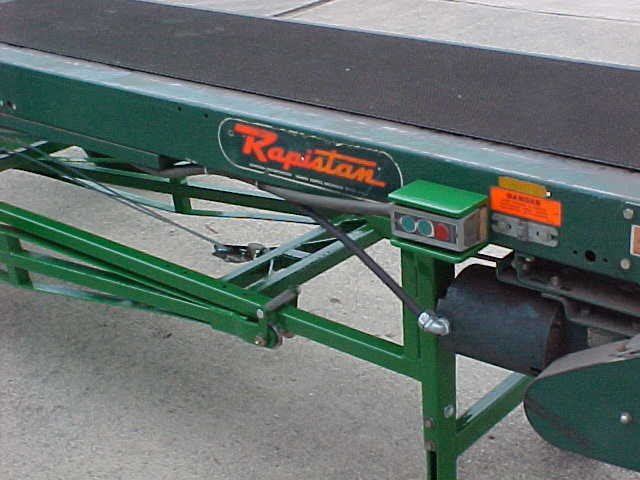
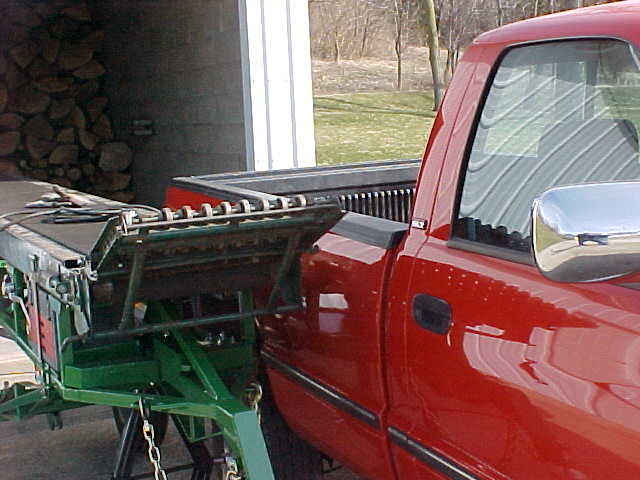
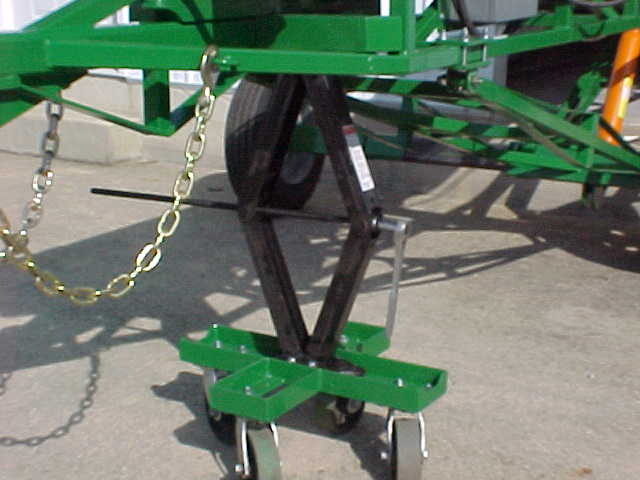
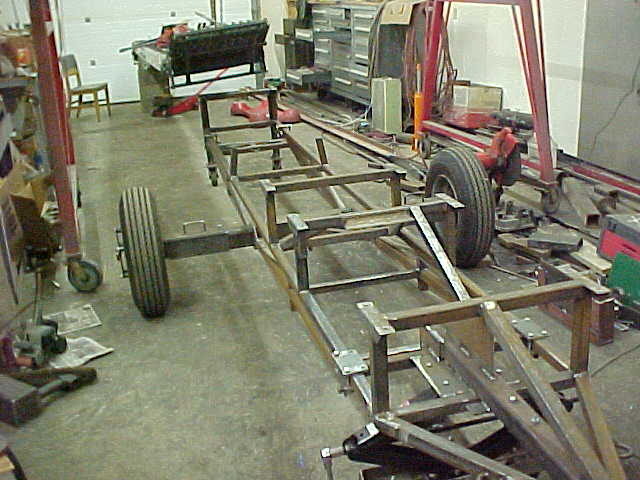
With everything checking out fine it's time for disassembly and final welding. Supported the far end and raised the conveyor with the hoist on the other end after unbolting everything.
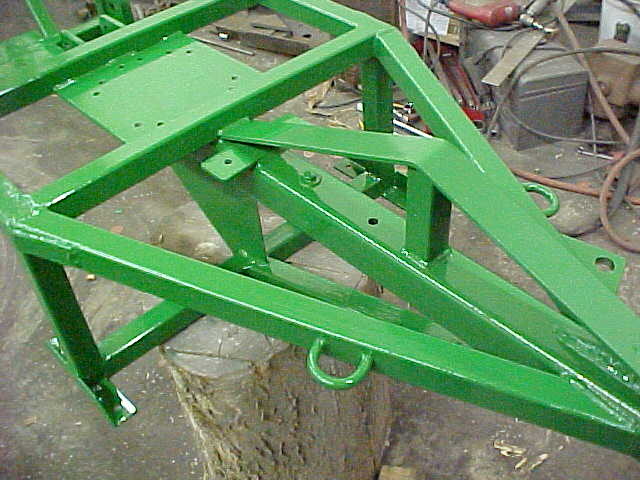
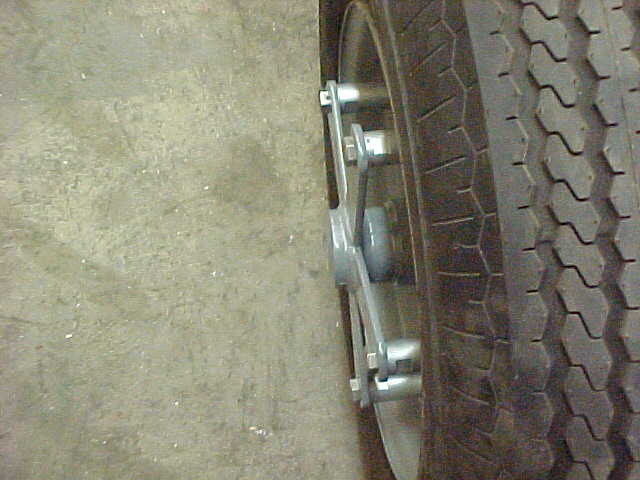
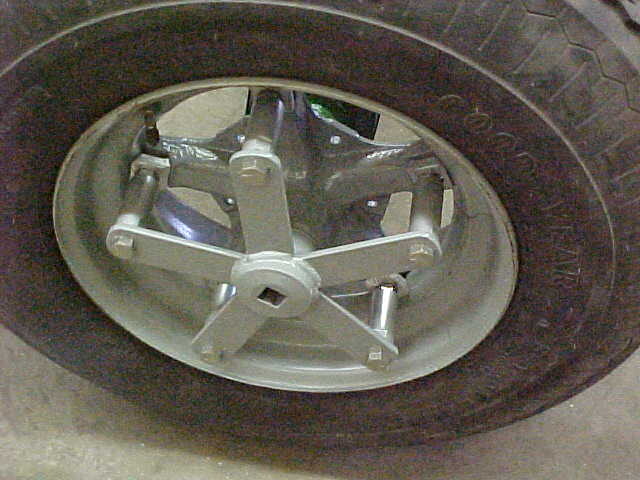
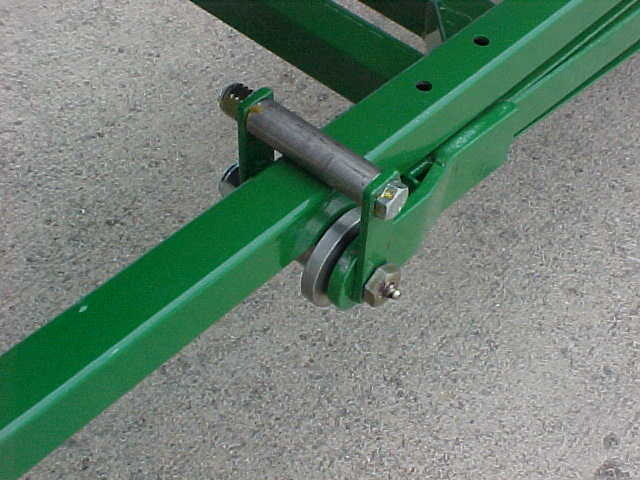
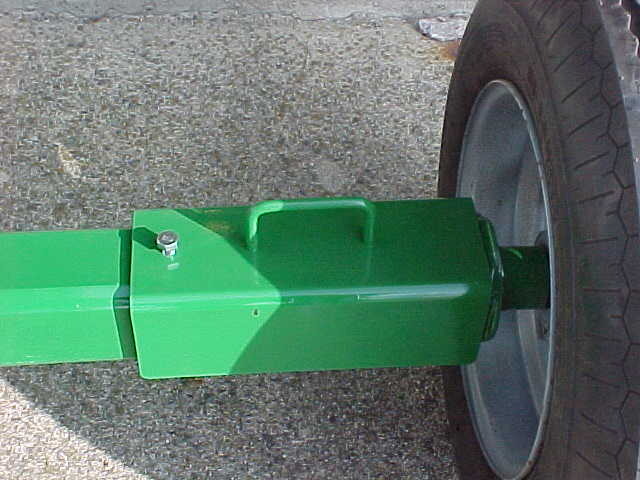
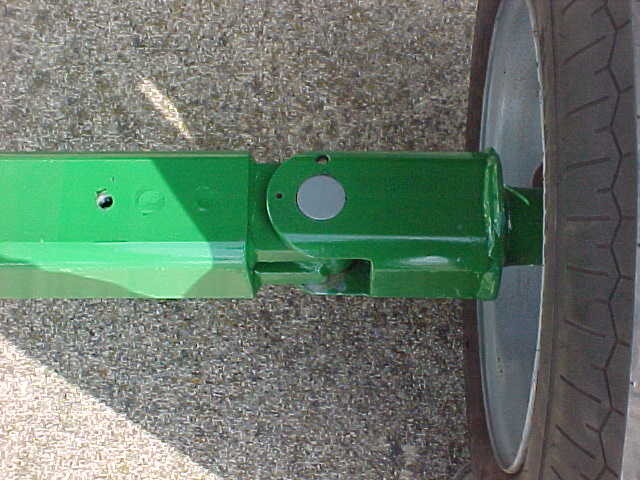
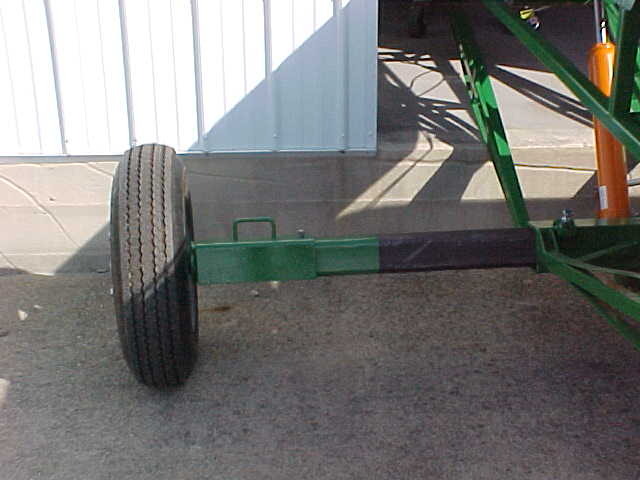
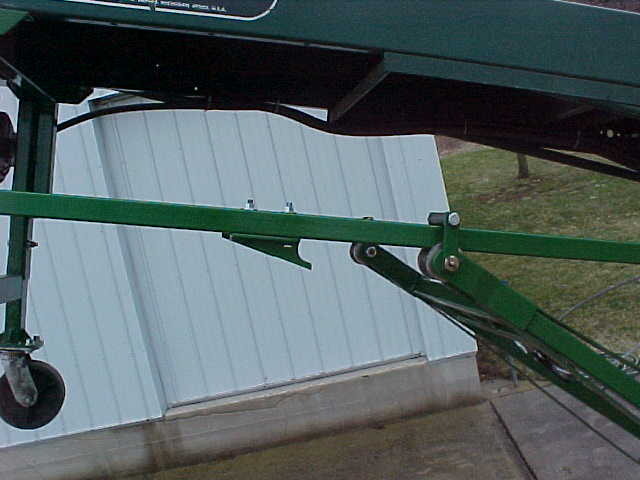
I can then just simply pull the whole running gear out. This is why I made it bolt on.
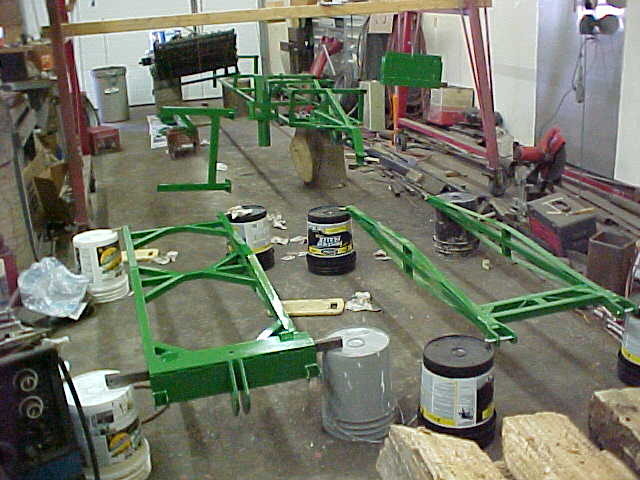
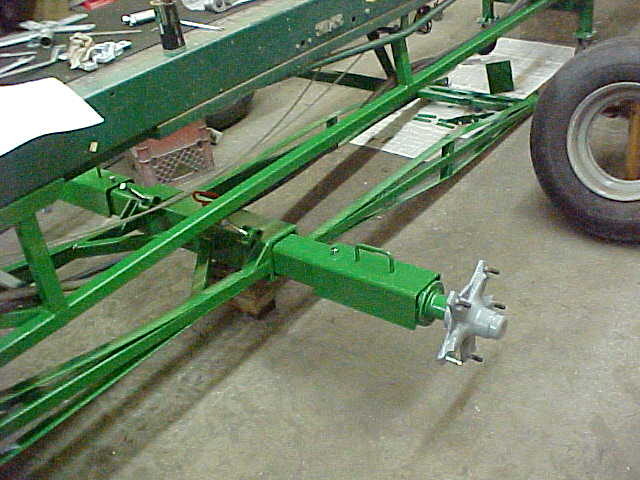
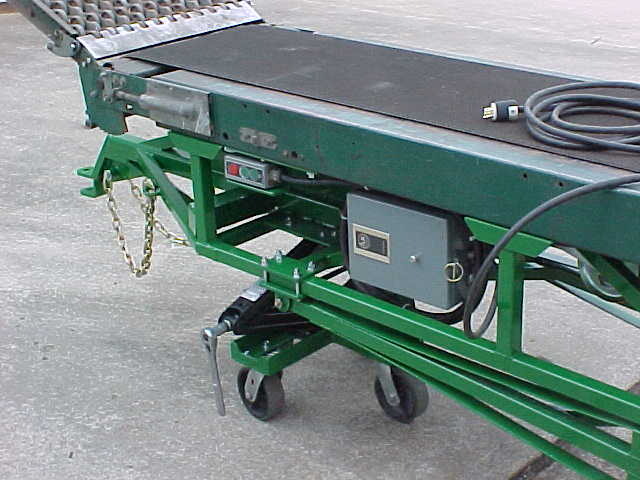
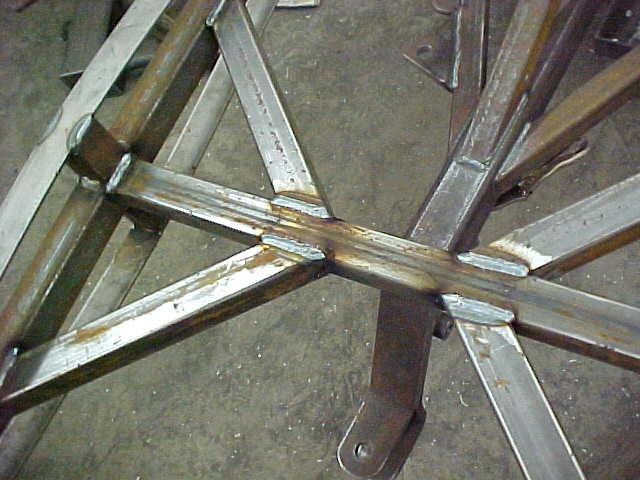
Need to add some gussets here and there too so I'll do that now. Plus I can roll it around/over for easier welding. Cheat when you can!
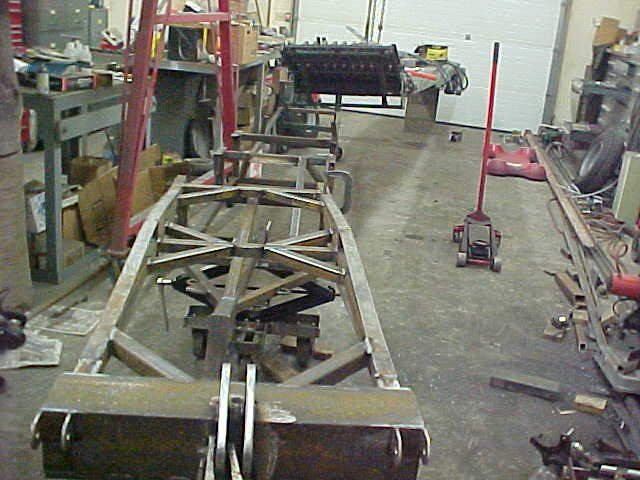
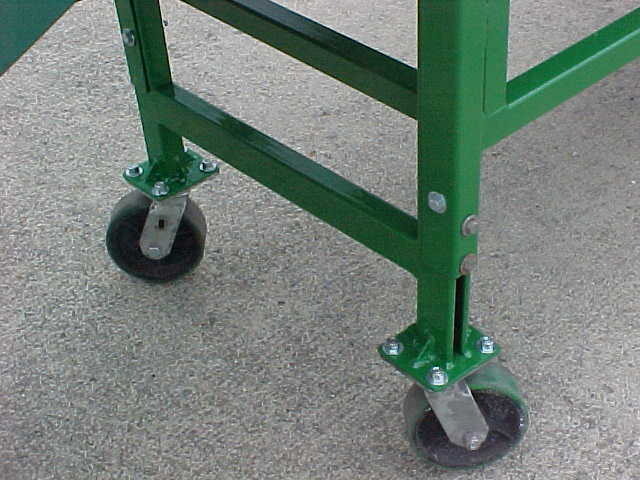
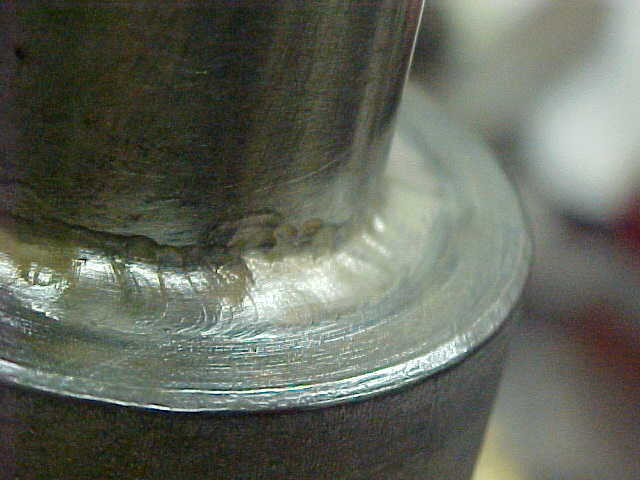
Gussets all tacked in. Weight is a non issue on the front end so only helps.
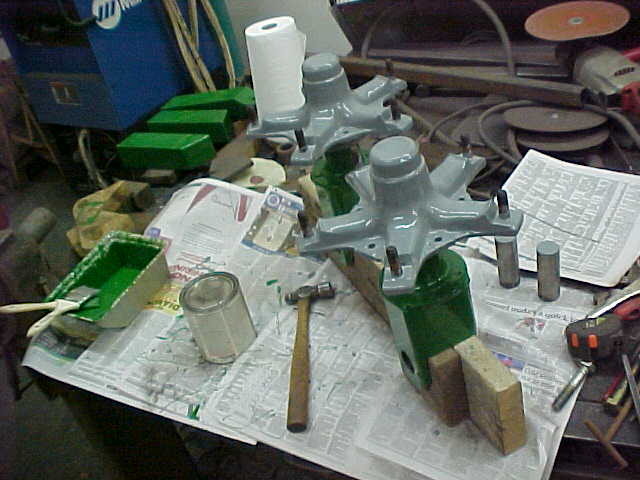
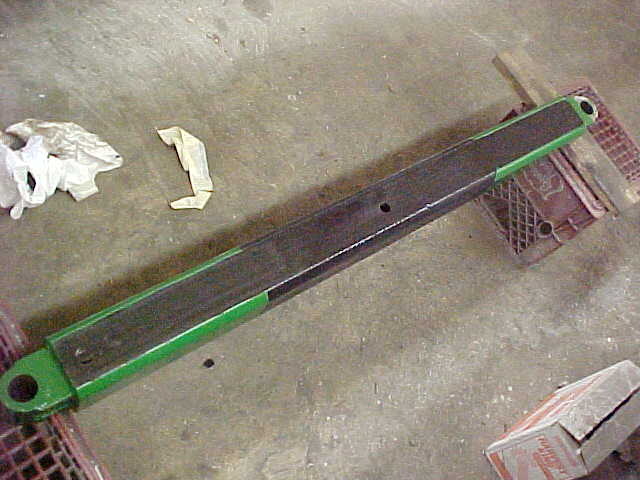
All the welding done now so it's the pain of cleaning, smoothing to get ready for paint. Not my favorite part of any build, that's for sure.
It's going to take a few days to get it all smoothed and cleaned. probably paint it in 2 sessions. Not spraying it, just brush and roller as I just want some kind of protection from rust on it. I'll post some paint and finish pics of it then.
Erik B