Husqvarna 162, 2x 266, 268 Frankensaw Project

Arborist Forum

Help Support Arborist Forum:

This site may earn a commission from merchant affiliate links, including eBay, Amazon, and others.
Okay but does this method work with the 266 because they dont have anything to bottom out on unless you have the plastic seal flange on. But you wouldnt want that off when heating the case half..? Just wondering. Thanks!
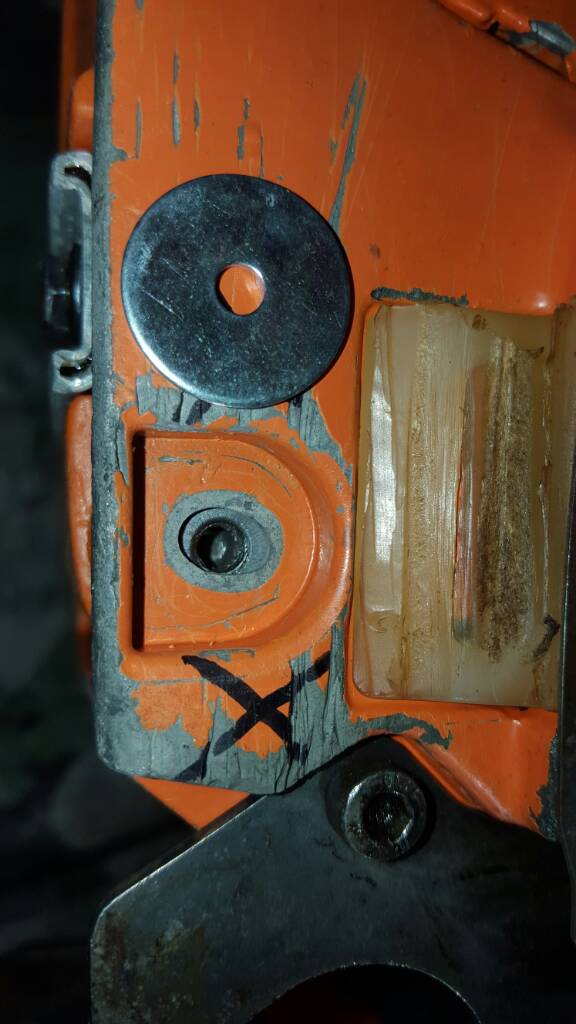
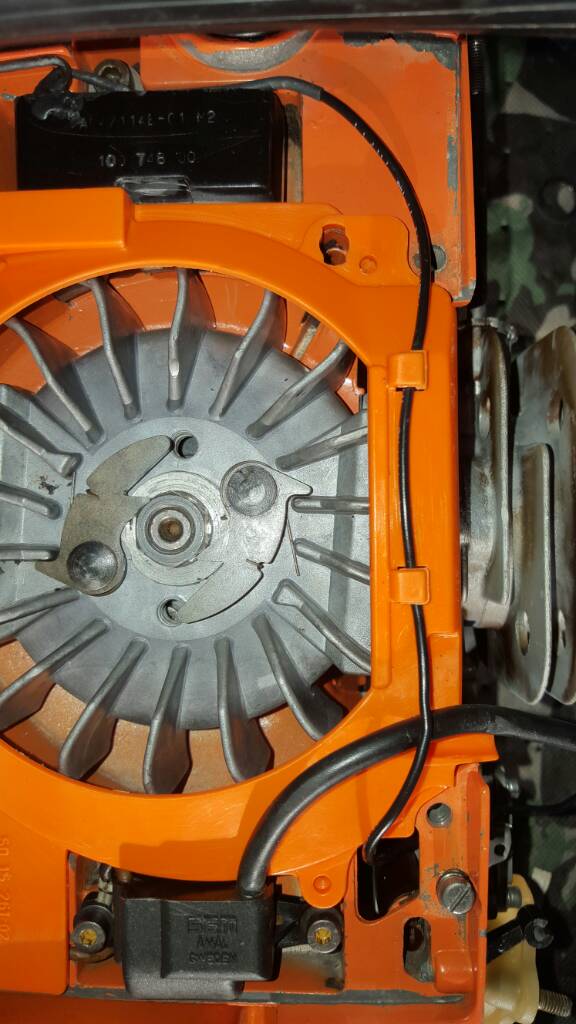
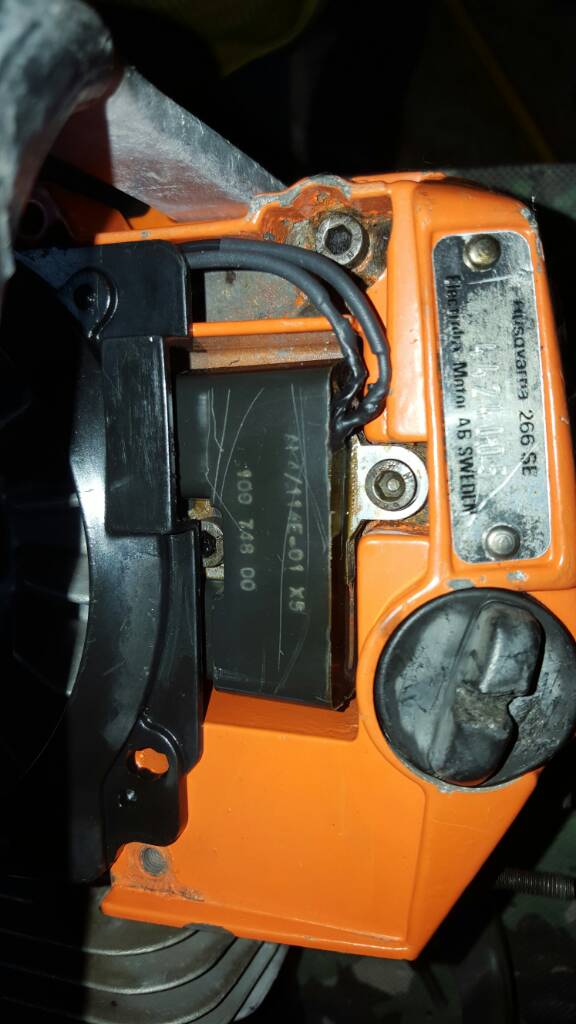
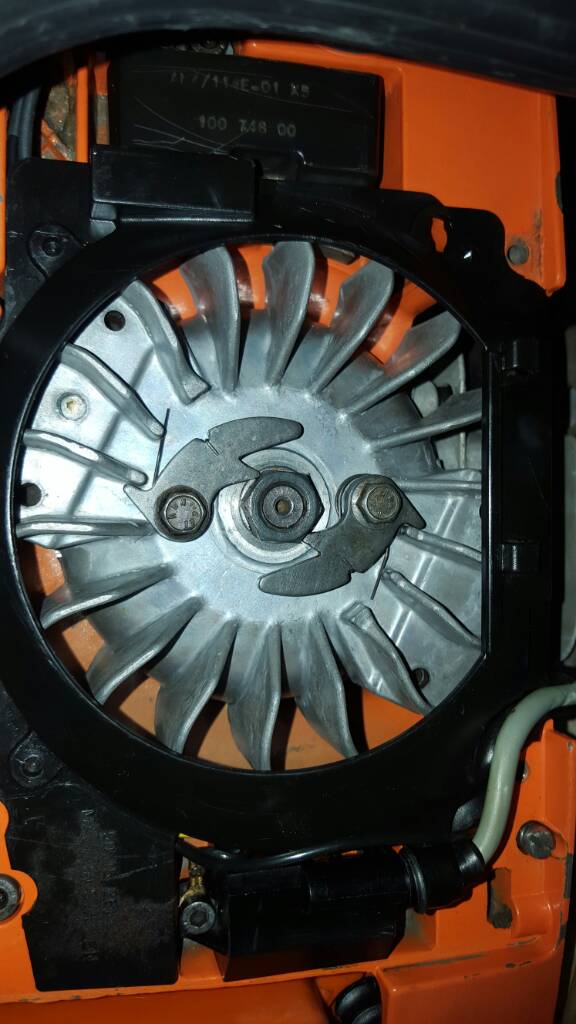
Yes, the crank has a natural stop and when all together it looks right and it spins freely after the brass hammer tap. It was the 266 I was fighting.

Brian
 
b91937a9ee18efee717cdd13112ed295.jpg


Power switch questions. The switch on the right is the 268 switch, figured out how to correct it. However, looking at the other three one has two spade connections but all three saws were set up with just one wire coming up from the coil. Why the two terminals?

Brian
Probably for another source of grounding the switch.
 
Probably for another source of grounding the switch.
I agree but then I started thinking why don't all three have it? The 268 is clearly screwed to the metal with that tab for that reason, positive ground to case.

Brian
 
Would the other ones maybe be grounded on the metal clips that hold them in, unlike the 268 switch has plastic clips.?
 
Now I really have a mystery. When these came to me, none of them had a wire connected to the second terminal[emoji53]

Brian
 
Now I really have a mystery. When these came to me, none of them had a wire connected to the second terminal[emoji53]

Brian
Because the saw is a metal body and the switch grounds at the mounting hole?

Since the AV bushings isolate the handle from the crankcase, it would be a good move to add a jumper wire from handle to crankcase. JM .02
 
ac4c835f0fdab3d4f13bf86f8282ae42.jpg


Well I am still missing some little odds and ends pieces to button these all the way up but I just confirmed all 3 have spark! My coil wire replacement job must have worked. I also confirmed the switches do not need a second wire. The copper pieces on the side of the switch make enough contact with the case.

Brian
 
Rebuilt the 268 carb and ready to install it. However the idle adjuster seems too easy to turn. Turn to the IPL and see there is something called the "speed screw ret ball" in the same hole or the oddly intersecting hole parallel to the idle adjuster? Anyone familiar with this?

af0b25fb8b9827b10cbed31a0136d5d5.jpg
ef0c908e199434ee439303cef48774ab.jpg


Brian
Once you get the idle where you want it, use the wife's hot glue gun in the hole.

BTDT on a saw the idle screw kept jumping ship.
 
1c959294c90e483888805eefdd259287.jpg


The 162/266 frankensaw has a case issue where the chain catch goes. Note the oblong hole from wear. My solution is to make this fender washer fit behind the plastic catcher since the original metal one with rounded top is unobtainium. Should work to let the washer take the beating not the soft case.

Brian
 
I really enjoy you dulling these up. They are my favorites to build and run. I did a few frankin saws but with the jonny 625 630 670 saws blended with the huskys
 
6ad5c6a211354db6bc2e209997b7f931.jpg


14795496a9e0833cd49c3c356ab84154.jpg


As I tinker along waiting for the last but if odds and ends I noticed something. I had ran both wires from the coil in the lower trench and then the long one up and past the other part of the ignition. Then I noticed the plastic cover that goes over the flywheel has two clips on the top. I rerouted the kill switch wire as shown. This seems better, less wires in the second coil area, easier fit.

Brian
 
bd1b2de0faaa440eaf05d2ae4b47aea7.jpg


5d086fde913216f15aa2614ac0fb43f6.jpg


Here is the way the other one is routed. Which seems best or correct?

Brian
 
f5bcaf3a3153df3b21e39b18556c961b.jpg


Also, for this carb bolt just go ahead and get yourself a set of ball end Allen wrenches. I made a stubby one to clear the case but you can quite get the last 1/4 turn done because there is less than 1/4 of movement between the case and the air filter duct. Ball end Allen and no issues. And don't forget the rubber gasket that goes around the plastic cylinder intake coupler or you get to mess with this twice [emoji6]

Brian
 
Now I really have a mystery. When these came to me, none of them had a wire connected to the second terminal[emoji53]

Brian

Brian.....the second terminal on these switches is where the heated handle system gets it's ground......the second wire runs directly to the heated handle switch......if you don't have heated handles it is not needed/used.
 
Brian.....the second terminal on these switches is where the heated handle system gets it's ground......the second wire runs directly to the heated handle switch......if you don't have heated handles it is not needed/used.
Got it, mystery solved! Thanks!

Brian
 
Back
Top