You are using an out of date browser. It may not display this or other websites correctly.
You should upgrade or use an alternative browser.
You should upgrade or use an alternative browser.
Husqvarna 50/51/55 - Meteor P&C Performance Build
- Thread starter Four Paws
- Start date


Help Support Arborist Forum:
This site may earn a commission from merchant affiliate
links, including eBay, Amazon, and others.
old-cat
Fir Man
Are you REALLY 4 pawed!!!!!! How in the world do you work on saws????? 
Duke Thieroff
Fill your hands, you SOB!
This is looking awesome so far!The next step in this process is to see what you are working with. So, I poured myself a hot cup of coffee and got an early start.
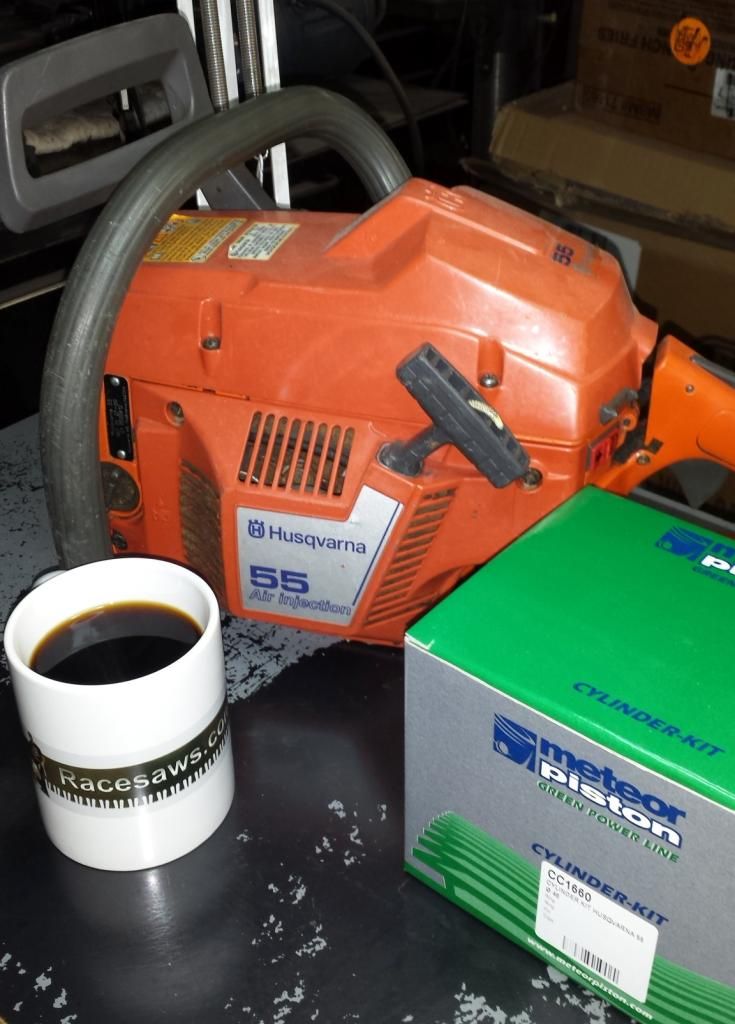
The first thing I do is pull the muffler and have a look. This one was crispy as I already knew.

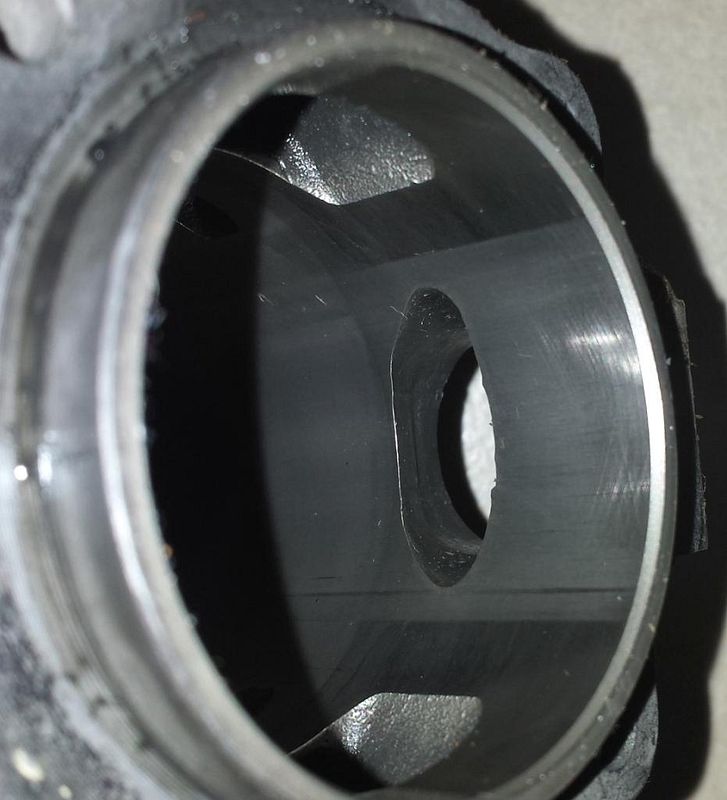
Next, I investigate the intake track as I disassemble. I am looking over the fuel line, impulse line (if it exists), intake boot, etc. I am looking for holes, thin spots from abrasion and wear, loose connections, etc. This intake plate/baffle pictured below is the Achilles Heel of the Husqvarna 50/51/55. To be honest, it sucks. It is cheaply constructed and could have been improved substantially by the simple addition of threaded brass inserts by the Swedes. The problem is the plastic strips out in the carb mounting holes. If you know how to set a plastic fastener (insert fastener, turn CCW until fastener falls into threads, then tighten), it lasts longer, but will still ultimately fail. Instead, they did nothing, filling their pockets with countless dollars for new parts - at the very least, new intake plates. But pistons, cylinders and entire saws after failed threads result in air leaks causing failure. Just like the plastic intake boot clamp on the 34x/35x series of saws. Husqvarna ought to be ashamed.

If your eyes are good, you can see that the right hole looks funky. The threads are stripped, this saw had an air leak. At this point I do a pressure/vacuum test. It is easy to do with simple tools. While block-off plates are nice, you just don't need them. I use flat rubber that covers the spoke nipples on the inside of bike wheels. I punch 2 holes for the carb studs and exhaust studs. I use the carb and muffler to hold them on tight. I remove the plug and use an adapter from a compression tester to apply pressure and vacuum through the plug hole. Crank seals get talked about often, however I have found they are rarely a problem.
I have some more of these kits coming within the next 2 weeks....
This is looking awesome so far!
I have some more of these kits coming within the next 2 weeks....
Seem to be a pretty popular item these days.
")
Aside from the timing numbers, I'm also very interested in the squish numbers (minus base gasket) reported here.
Good to see the attention given to these kits and I'll certainly be following this thread along with the several others focusing on the subject.
Paragon Builder
AS Enthusiast
- Joined
- Nov 27, 2014
- Messages
- 3,029
- Reaction score
- 3,078
Duke Thieroff
Fill your hands, you SOB!
Poge,Seem to be a pretty popular item these days.
Aside from the timing numbers, I'm also very interested in the squish numbers (minus base gasket) reported here.
Good to see the attention given to these kits and I'll certainly be following this thread along with the several others focusing on the subject.
It appears they have been getting some serious exposure recently. For sure!
You're welcome!

Duke Thieroff
Fill your hands, you SOB!
I Thank you graciously for your undying quest for the finest detail of things.
I am also quite sure the definitive one feels the same way
I am also quite sure the definitive one feels the same way
four paws + wood =

David Young
ArboristSite Guru
- Joined
- Nov 27, 2014
- Messages
- 680
- Reaction score
- 855
Well said Joey

Duke Thieroff
Fill your hands, you SOB!
Nah, looks like my first girlfriend.four paws + wood =
and why did you go out with her ----- beaver!Nah, looks like my first girlfriend.
Looking forward to the next update paws!
 We'll keep the post alive till you get back.
stihlbro
ArboristSite Operative
Well said Joey
I remember you two doing the 460 build off, man how time flies!
Duke Thieroff
Fill your hands, you SOB!
So when I sent this kit over to Josh I asked him for the truth on it...
Not to pad it or say it's great to offer a sales pitch for something I obviously deal in.
Everyone of his postings is going directly onto my site content and being used for material for potential buyers to use.
Josh, we want the truth!
The whole truth!
Not to pad it or say it's great to offer a sales pitch for something I obviously deal in.
Everyone of his postings is going directly onto my site content and being used for material for potential buyers to use.
Josh, we want the truth!
The whole truth!
jughead500
Sasquatch
He's gonna like it.it's one awesome kit.
You know I put up my 51 back last fall in the tradin post.not much something like $225 or $250 cant remember.hadnt much more than got it up and posted pictures until somebody shot it down saying it was ok until I posted that it had a meteor top end.
You know I put up my 51 back last fall in the tradin post.not much something like $225 or $250 cant remember.hadnt much more than got it up and posted pictures until somebody shot it down saying it was ok until I posted that it had a meteor top end.
Four Paws
Addicted to ArboristSite
Let's take a look at the OEM closed port cylinder. It is made by Mahle. The bore is 45mm, stroke is 32mm. When building an engine, it is important to understand the relationship of crank stroke to bore diameter.
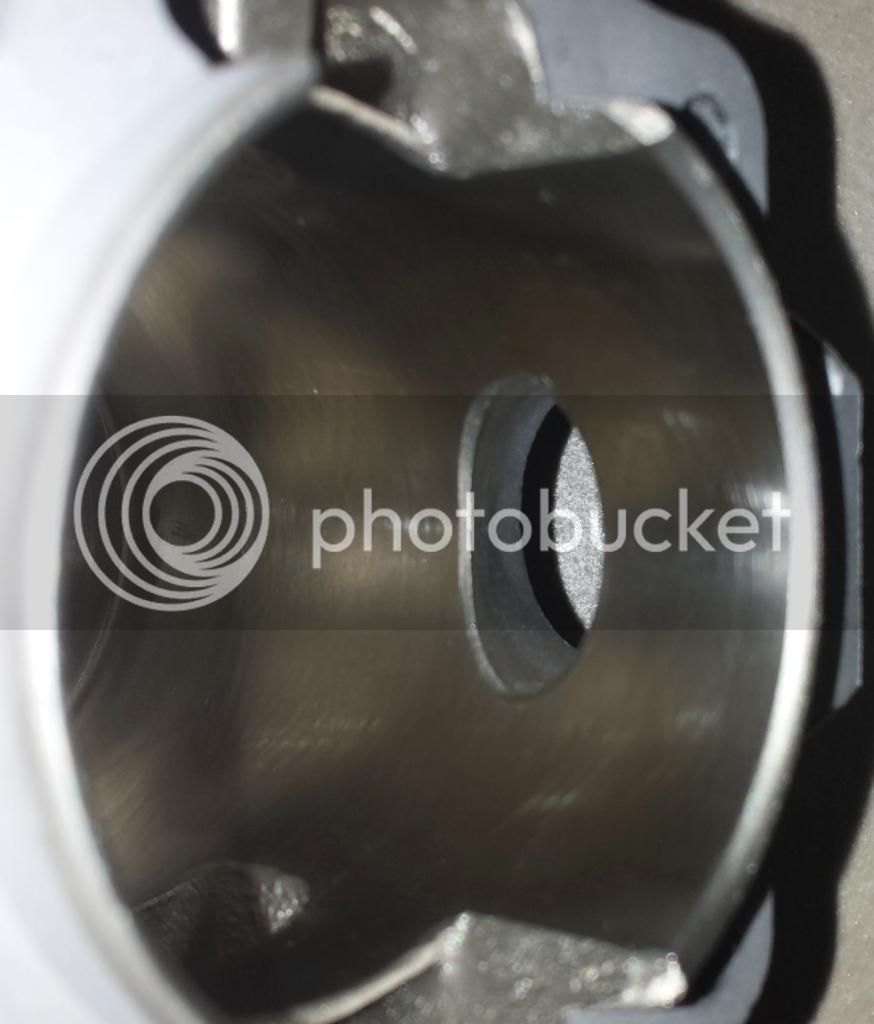
The OEM 45mm closed port cylinder has the ugliest looking intake port of any saw I have worked on. The shape is irregular and not what I am looking for in an intake port.
The transfers are the nicest part of this cylinder. They are cast VERY nicely, shaped nicely.
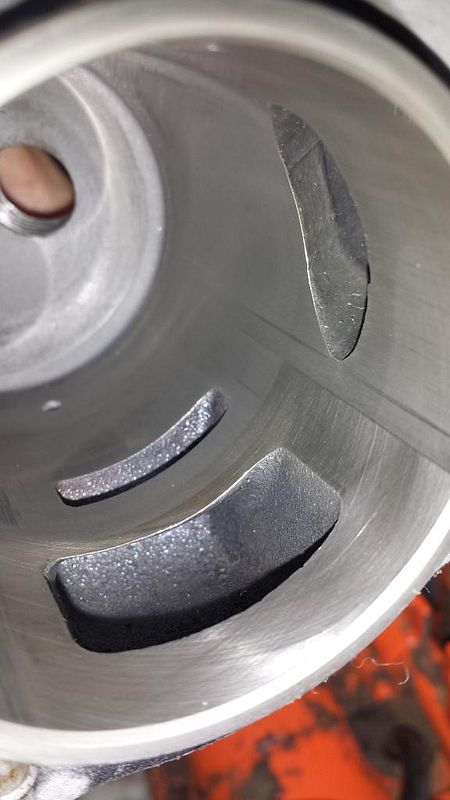
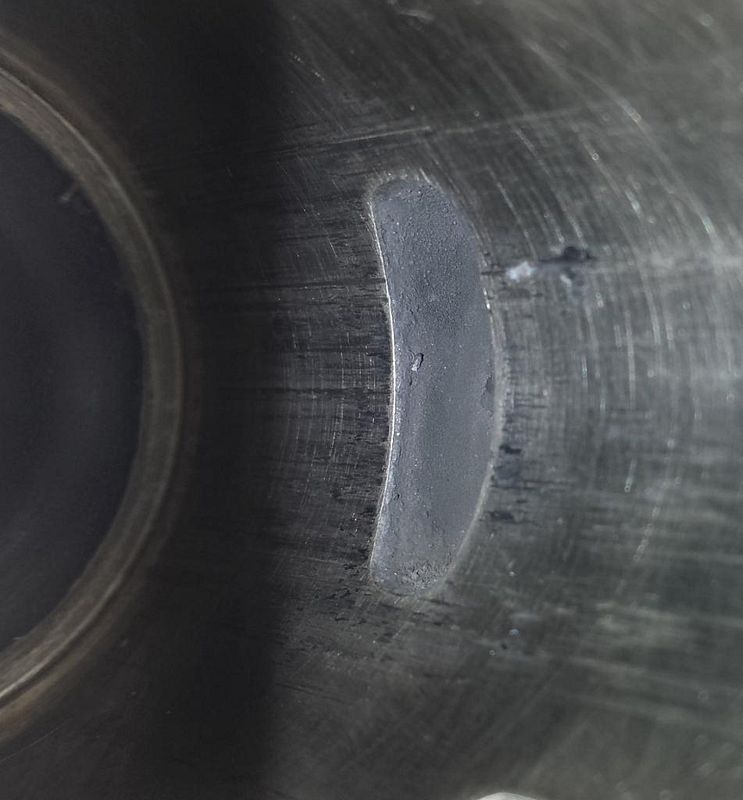
The exhaust port is decently shaped. Of course, this jug was scored. I cleaned up some of the transfer, only to find that beneath the mess, the plating was actually pulled off the jug in places, the largest of which should be obvious. I have found on multiple occassions that the 50/51/55 jugs can't be effectively cleaned and put back in service. The plating is thin in my opinion. I have surmised this could be specifically because these models were lower cost options when offered new?
I took the time to measure the port timing before I tore the saw apart.
Ex - 109.5
Xfr - 128
Int - 69
Squish .041" with factory .009" gasket.
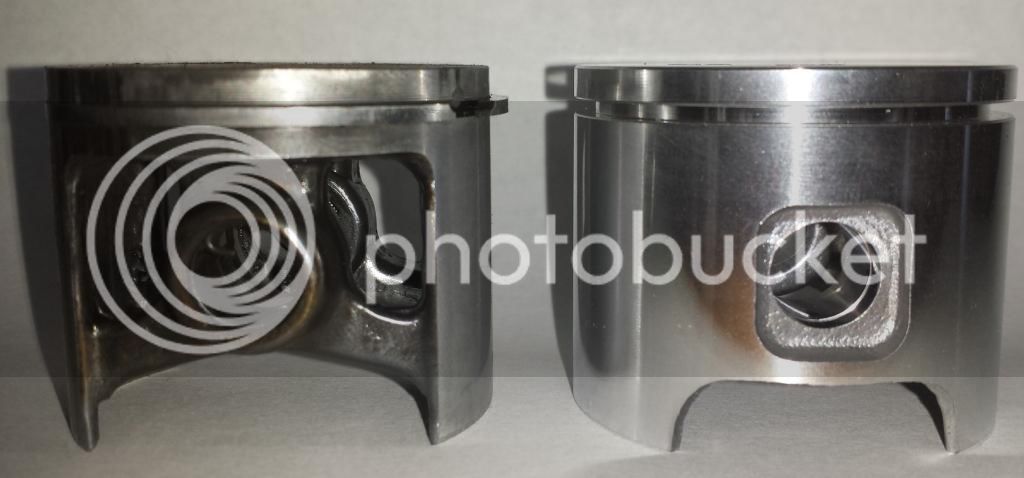
OEM CP piston
Compression Height = 19mm
Total Height = 37mm
Width between pin bosses -=14.75mm
Pin Diameter = 10mm
The OEM 45mm closed port cylinder has the ugliest looking intake port of any saw I have worked on. The shape is irregular and not what I am looking for in an intake port.
The transfers are the nicest part of this cylinder. They are cast VERY nicely, shaped nicely.
The exhaust port is decently shaped. Of course, this jug was scored. I cleaned up some of the transfer, only to find that beneath the mess, the plating was actually pulled off the jug in places, the largest of which should be obvious. I have found on multiple occassions that the 50/51/55 jugs can't be effectively cleaned and put back in service. The plating is thin in my opinion. I have surmised this could be specifically because these models were lower cost options when offered new?
I took the time to measure the port timing before I tore the saw apart.
Ex - 109.5
Xfr - 128
Int - 69
Squish .041" with factory .009" gasket.
OEM CP piston
Compression Height = 19mm
Total Height = 37mm
Width between pin bosses -=14.75mm
Pin Diameter = 10mm
Four Paws
Addicted to ArboristSite
Now let's look at the Meteor kit. Bore is 46mm, stroke obviously remains 32mm.
A couple things jumped out at me right away. The plating is nice and the finish is good. The chamber looks smaller than the OEM jug. The ports have a generous chamfer.
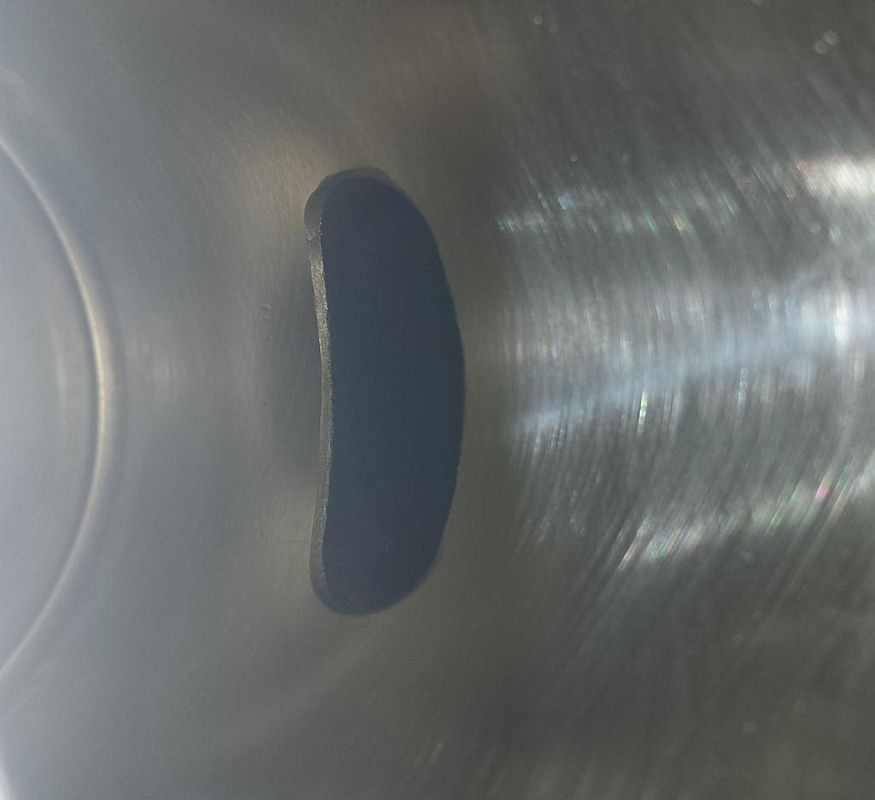
The intake port is shaped much nicer.
The transfers are a different design. They are also not as 'clean' and evenly shaped as the OEM jug. Meteor could benefit from a little more attention to detail here, as I feel it would add more visual presentation of quality. To be realistic, other than the relatively small number of gearheads here, the end user will never see the inside of the saw. They wouldn't likely even know what they were looking at, or recognize a power or performance difference. They would be happy with an affordable, and in this case, available alternative to OEM.
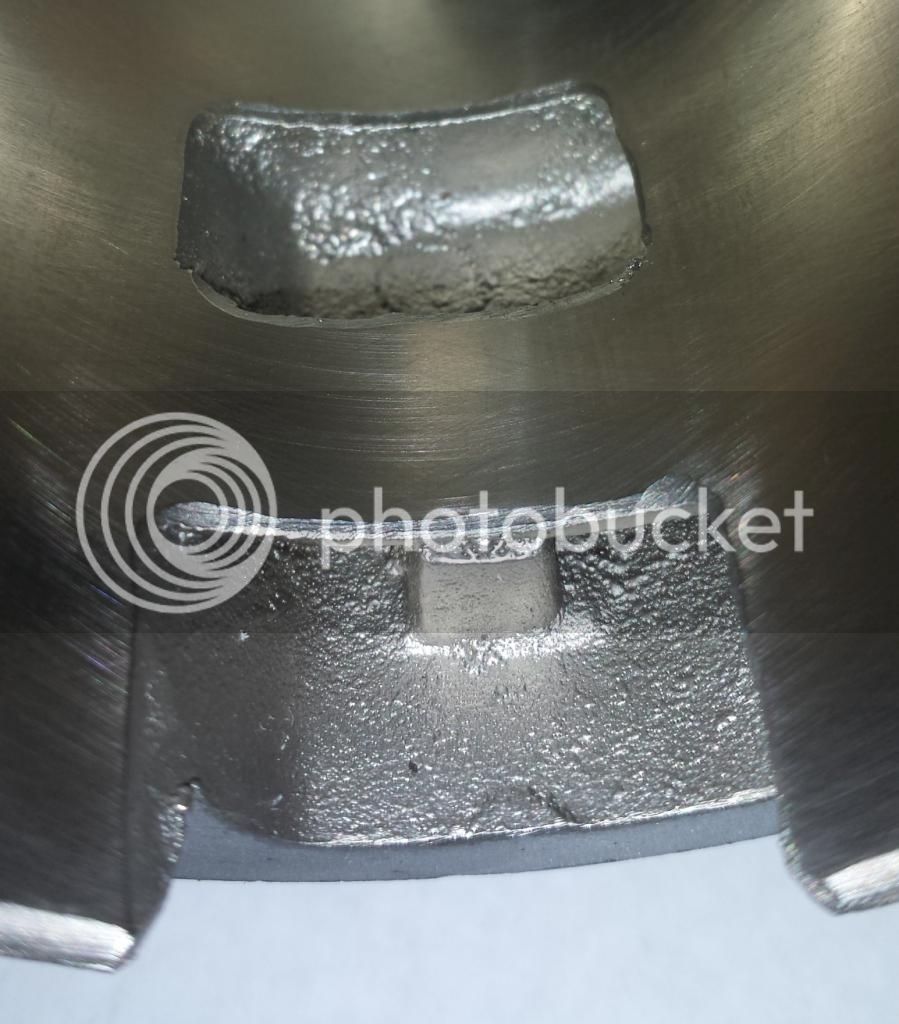
The exhaust port...easy on the ring.
I assembled and measured port timing of the Meteor kit.
Ex = 100
Xfr = 121.5
Int = 69.5
Squish.062" with .009" OEM gasket.
A couple things jumped out at me right away. The plating is nice and the finish is good. The chamber looks smaller than the OEM jug. The ports have a generous chamfer.
The intake port is shaped much nicer.
The transfers are a different design. They are also not as 'clean' and evenly shaped as the OEM jug. Meteor could benefit from a little more attention to detail here, as I feel it would add more visual presentation of quality. To be realistic, other than the relatively small number of gearheads here, the end user will never see the inside of the saw. They wouldn't likely even know what they were looking at, or recognize a power or performance difference. They would be happy with an affordable, and in this case, available alternative to OEM.
The exhaust port...easy on the ring.
I assembled and measured port timing of the Meteor kit.
Ex = 100
Xfr = 121.5
Int = 69.5
Squish.062" with .009" OEM gasket.
Paragon Builder
AS Enthusiast
- Joined
- Nov 27, 2014
- Messages
- 3,029
- Reaction score
- 3,078
So which timing numbers are theoretically better?
Similar threads
- Replies
- 22
- Views
- 3K
- Replies
- 1
- Views
- 2K