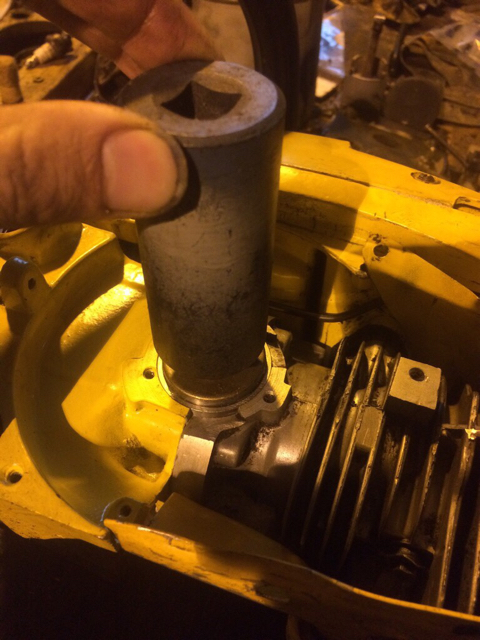
Unless you know or fear you damaged the seals there is no reason to replace them, but you do need to pressure and/or vacuum test to know the block is sealed. You can pressure or vacuum test without buying a lot of additional kit, just pick up a large syringe from your local Farm/Fleet store and you have an adequate vacuum pump for test purposes. Use you air compressor regulated to 3-5 PSI for pressure testing. If you are going to be in this business much, get a simple vacuum pump and pressure pump to make bench top testing easier. I have a very simple vacuum pump that does not do pressure but I understand there are MityVac kits that do both. I will add that I have a lot more stuff in that drawer today...
View attachment 551544
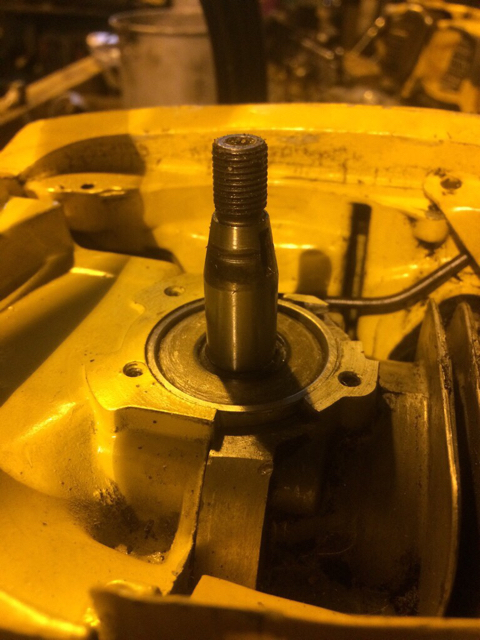
For pressure testing I have a simple pump like a blood pressure cuff, again there are lots of other options.
View attachment 551545
The one problem area that I have run into is a poor seal around the PTO side seal. I find the easiest way to attack it is to split the case again and start over. On the last few I put them together with the PTO side seal in the bore but not in the final position and finished pressing them square in the bore with the case assembled. Good quality 6119 seals have a bevel on the inside edge that makes it easy enough to press the in with the case assembled but some cheaper one have a sharp edge and it is impossible to press them in with the case assembled.
Mark