My new chainsaw mill

Arborist Forum

Help Support Arborist Forum:

This site may earn a commission from merchant affiliate links, including eBay, Amazon, and others.

rod.s

ArboristSite Lurker
Joined
Feb 22, 2011
Messages
37
Reaction score
17
Location
Newfoundland Canada
Here are a couple of pictures of a chainsaw mill that a fellow made up for me. It is still a work in progress. It has a total cutting width of 15" and I am currently using my 2171 with a 22" bar. The track that the log sits in is 12 feet long. I am planning on mounting it on a small trailer that I can tow around with my quad. I am still waiting to get a ripping chain for my saw, but in the pictures you can see a couple of cuts that I took of a fir log. Any suggestions on how I can improve this set up are welcome.


IMG_2332.jpg


IMG_2331.jpg


IMG_2330.jpg
 
Yeah I have to come up with an way to keep the log from moving, this seems to be a problem more on the first cut. Anyone have any pictures of what they use on their mills with similar set up.
 
Looks good - simple and solid - I like it!

Any suggestions on how I can improve this set up are welcome.

Here are a few suggestions.
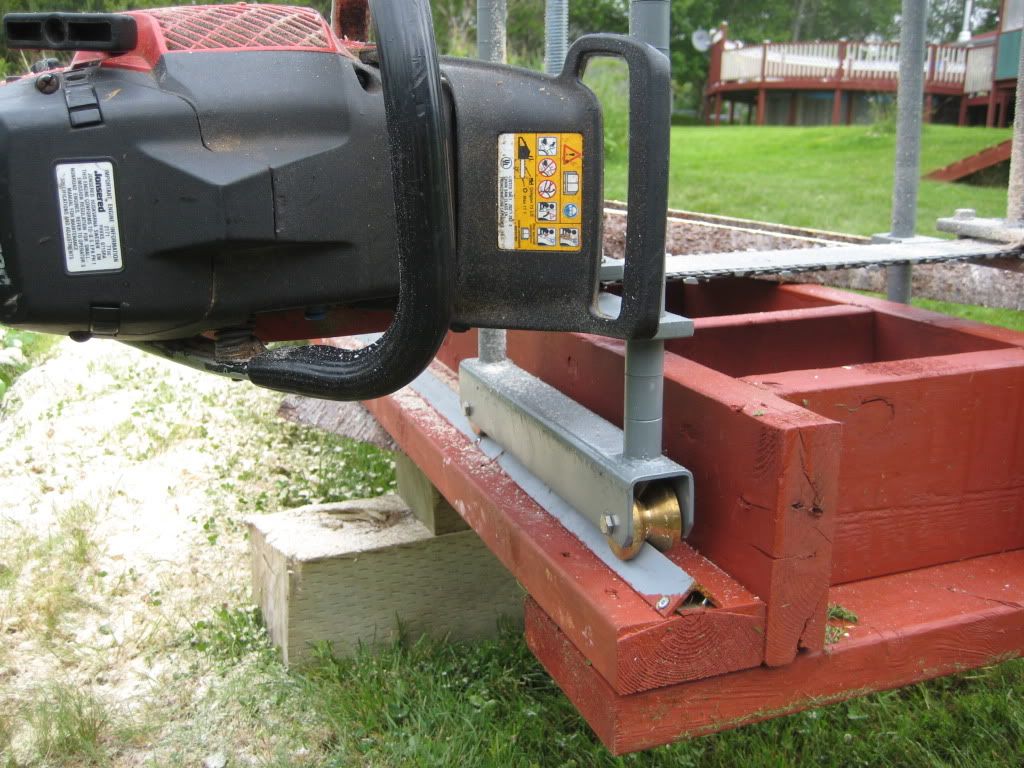
1) Remove the bar clamps and drill the bar so that the bar bolts on from underneath. That way to change chains you would just have flip the carriage over by 90º

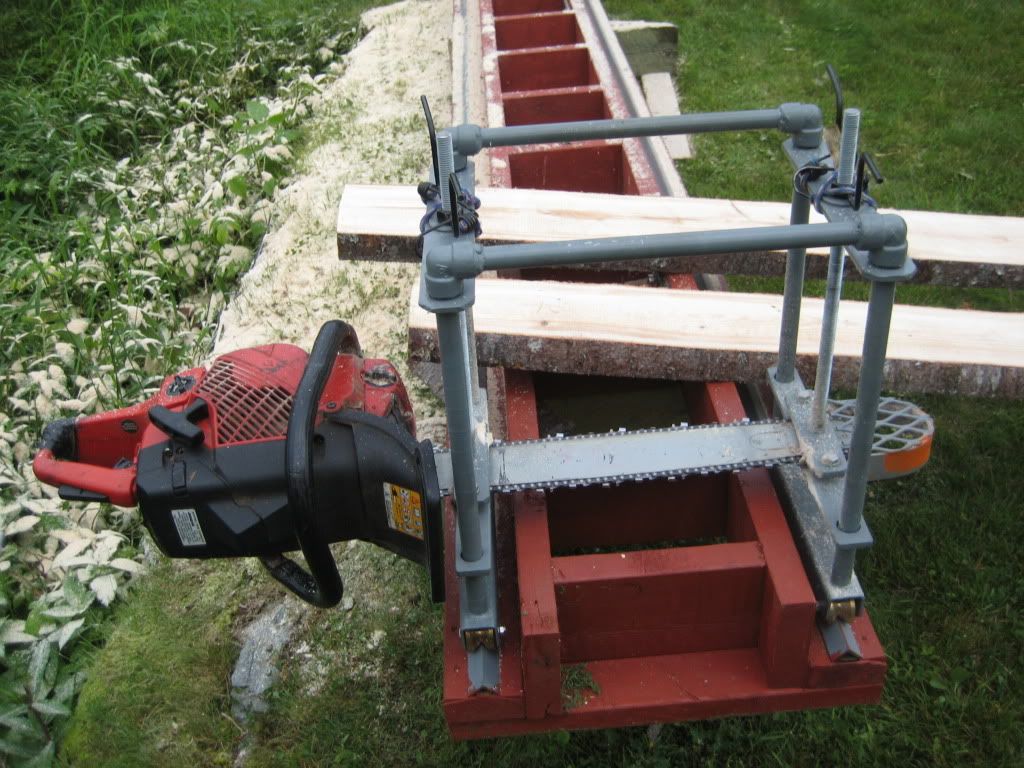
2) Seeing as you have a fixed bar length maybe add cranks and a chain that would raise and lower the bar at the same time.
156915d1288964854-chain-jpg


3) Attach some sort of a shield to reduce the buildup of sawdust on the inner track

4) To hold the log, a simple wooden stop attached to one of the wooden cross pieces of the track by a bolt and a wing nut would suffice. The stop could flip out of the way when not needed or unscrewed and moved to a new position for a different length log.

5) When you put it on wheels (or for that matter even now) arrange for the track to have a slope so that the saw and mill goes down slope (less pushing) - or add a crank to pull the saw through the wood.

6) Add an Aux throttle and a extra handle

Here's one of mine
89207d1233992576-top2-jpg


I'd put it as high up as you could (maybe even as high as A) and then add a vertical handle at B.
attachment.php

That way and operator doesn't have to continually have their arms spread apart (I call it gorilla stance) and can then stand up and mill.
Having a choice or vertical and horizontal handles helps give an operators hand a break and any extra weight is not usually much of an issue with carriage type mills.

7) Even at 15" of cut in softwood I'd be using an Aux oil. A CS milling saw (especially small ones) needs to have it's load lightened as much as it can.
 
Hey you have some really good suggestions there. I really like the twist trottle you have installed. How hard was this to do, did you do it yourself,
is there a kit that you can buy for this? Thanks.
 
Hey you have some really good suggestions there. I really like the twist trottle you have installed. How hard was this to do, did you do it yourself,
is there a kit that you can buy for this? Thanks.

In my sig you will see a link (modding the BIL Mill for the 880) that links to a thread and in post 18 of that thread you will see how I did it. The twist throttle is a used part from a motor cycle - I also linked in the kill switch in series with the one on saw the so that I can stop the saw without taking my hand off the remote throttle.

In terms of how hard was it to do, I'd say not hard, but other folk might think differently.
There are simpler versions that use levers to apply pressure direct to the trigger itself, I have tried that and I ended up damaging the trigger so this is why I went for this method. Other methods attach the cable direct to the carby which is how my 076 remote throttle works.

Of all the mods I have done on milling saws I would rate the remote twist throttle as one of the most useful, ergonomic and natural (especially to a MC rider) even if it is controlled by the left hand and the rotational direction is opposite that used by a MC.
 
I really like the twist trottle you have installed. How hard was this to do, did you do it yourself, is there a kit that you can buy for this? Thanks.
On my Stihls, I use a sliding zip tie to hold the throttle wide open. The zip tie is left a little loose so it can be slid over the throttle and slid off as needed.

It doesn't work on my Makita, though, due to the shape of its trigger.
 
Nice job. Much better than what I have just recently finished for doing those smaller longer logs. I can see now that I will have to extend my slabbing rails from 8 ft. to at least 10 to 12 ft if I want to do anything longer than 6 ft.

I'll probaly be posting some pics also of my recent creation. I wanted more flexibility than just producing flat stock and slabs. I also wanted to work in some way to do some edging and rip a small log down the middle.

I never gave a thought to painting the wood. I was going to used wood preservative but wasn't sure how the plywood would would react to the mineral spirits in it disolving the glue. Anyone know about this?? My creation will be out in the weather and I don't want to see it rot away after two years.

Again nice job on your mill. Simple and uncomplicated and very functional.

Never seizes to amaze the different ideas that pop up here.
 
Yeah my log deck will be sitting out in the weather also. The 2x6 and 2x4 used to construct it is painted with a simple solid deck stain, and the
angle iron used for the tracks is painted with grey primer. I will probably re do it every couple of years. My deck is 12 feet in length and I figure I
can saw almost 11 foot logs.
 
very nice setup as time goes on you'll find little things here and there to change but it's one heck of a starting point...nice job keep us posted
 
Back
Top