Stihl 026/260 AM cylinder comparison - stock build - ported build - videos

Arborist Forum

Help Support Arborist Forum:

This site may earn a commission from merchant affiliate links, including eBay, Amazon, and others.

nstueve

Makita Freak!
Joined
Oct 22, 2010
Messages
4,772
Reaction score
2,768
Location
Iowa
Ok so I promised Randy over 6 months ago that I would write this thread. I will have some help from Justin a little later adding stock timing numbers.

I wanted to show the differences in quality between the dirt cheap hutzl 026/260 kit and one of Randy's Hyway kits (AKA "Grade-A" via www.weedeaterman.com). I am doing this review b/c Randy actually wants to take the time to differentiate between quality AM kits so everyone knows the difference and what their money goes to when they spend the extra $$$. Chances are you may have been led here from www.weedeaterman.com or you'll be going there once this review is done.

I am going to start this thread off with a bunch of pictures showing the quality between the two kits mostly the casting quality.

Spark plug threads: You'd think how could you screw this up but trust me you can!
Good clean threads

Bad threads with voids in them: lets not worry about blowing a spark plug out at a customer... :(
 
Pretty nice smooth but not too smooth intake.

rough as all get out, thin intake on one side and thick on the other. Don't get to overzealous clamping the hutzl kit or you might break the intake neck.
 
Transfers look pretty smooth like intake on the hyway kit again. Notice there isn't any over flash of chrome all over the bottom of the transfer. I comment on over chroming due to some guys who port saws will not use a cylinder that is over cast and will eat up their grinding burs right away. Saw porters are picky...


Hutzl kit transfers are over cast with chrome making them a pain to port not to even mention the voids in the casting (again) and they are also really rough.
 
Hyway kit has a few casting bugs in there but nothing a little emery cloth couldn't cure in a few mins. Also for a bolt on kit I would like to point out there is a nice arc in the roof of the transfer which is absolutly necessary so your piston ring does not buldge out into the exhaust and get hung up. If you have flat exhaust you have a good chance to hang a ring and kill your new P&C right out of the gate!


Notice the hutzl kit might get an A- for finish, but gets an F- for exhaust roof curve. BOOM! Enough said here.
 
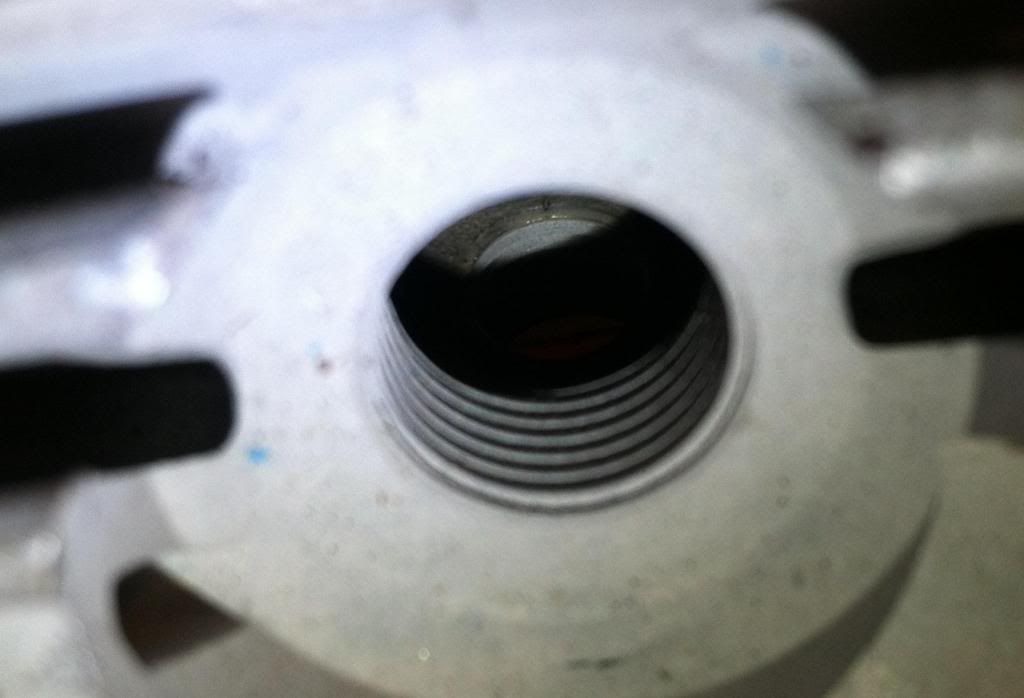
Combustion chamber, Has a nice flat squish band with a good curve right into a nicely shaped combustion camber center. Does not appear to be completely over cast with chrome an has an overall nice tight appearance which is what you want to see. Once seated on the saw you'll want 0.020 squish and Justin will comment on this later as well as the initial compression numbers.

Ok so here is the update:
0.017 thick base gasket
0.012 squish w/out base gasket
0.029 squish band total

Compression was at 140psi at 0.029 squish which could be improved with several things very simple things. The first is to put a plug in the decomp hole. Decomp buttons are not necessary on most 70cc and smaller saws (unless you have severe shoulder or wrist problems). Decomp valves are designed to bleed off compression from the combustion chamber for easier starts, and the valve closes once the saw fires. The problem is that they tend to leak when the valve has a bad sealing ring or when the valve seat itself is compromised (you wont know this unless you can leak check the saw). Do yourself a favor and get a plug and close it off! It's the only way to ensure your top end isn't losing power (and compression) through the decomp valve.
To make it simple:
Replace this...
http://www.weedeaterman.com/product_p/h11280.htm
with this...
http://www.weedeaterman.com/product_p/t635701.htm

Caber rings and an adjusted base gasket are the other way to increase compression of a bolt on kit. Instructions below...

Squish band:
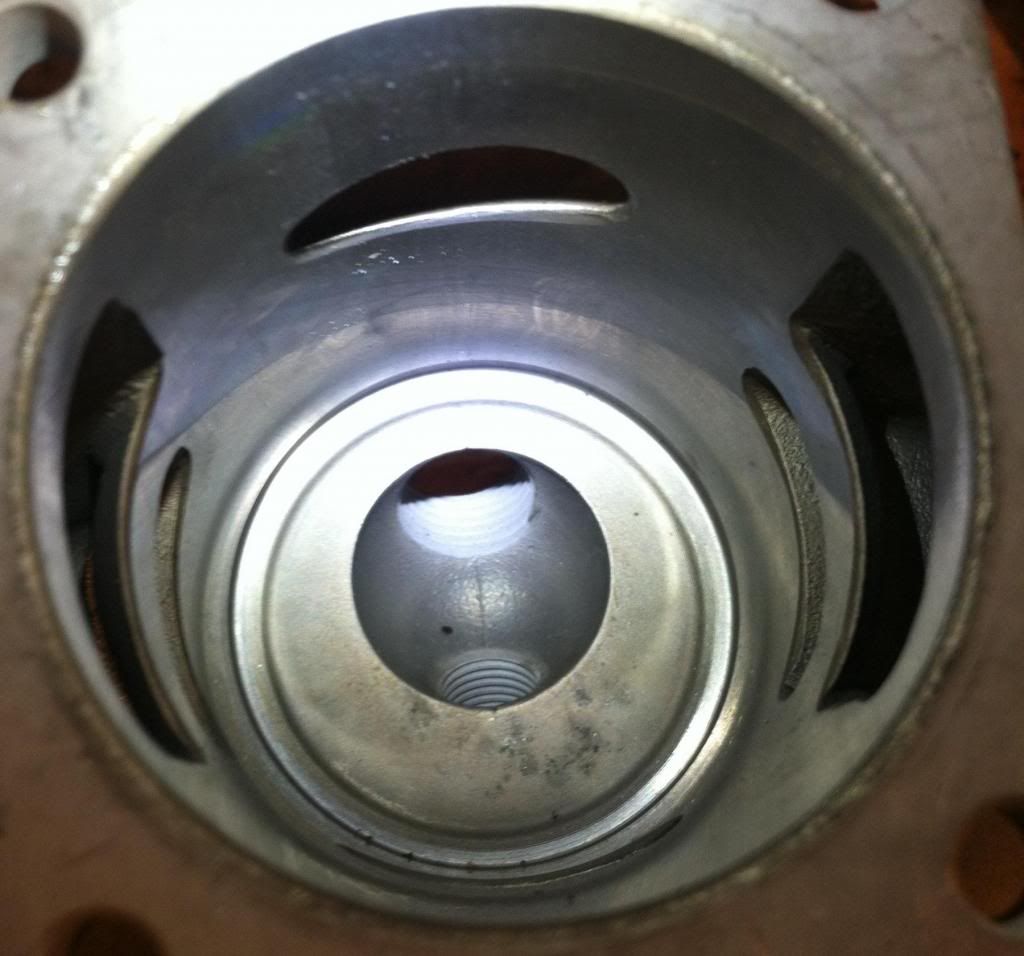
Definition- The area between the piston and inside top (roof) of cylinder. Rule of thumb is that you want 0.020'' average between 3-4 measurements. Insert some 0.050 electrical soldier into the spark plug hole and across the cylinder wall. Roll the engine over slowly to crush the soldier between the cylinder roof and piston (ie: squish band). Remove and measure with a dial or digital caliper ($8 @ Harbor Freight). This measures the distance you have left at TDC (top dead center), and ideal work saw will have and average of 0.019-0.022 in. Obviously the 0.028 squish on this cylinder kit is not "ideal" but can be adjusted by changing the thickness of the base gasket. The base gasket (on this saw) to 0.008 to make a perfect 0.020" squish band. This will decrease the combustion camber 0.009 thickness x diameter of the bore (44mm-44.7mm diameter in this case). The decrease in combustion camber area will increase the compression ratio, and thus increases the pounds per square inch (psi- rating). I would guess that an increase of 10-15lbs is about common with Caber rings and an ideal squish band.

NOTE: check your own numbers!
Aftermarket kits will not be 100% the same numbers. Some squish bands can be higher or lower depending on the individual kit. You may get lucky and be able to delete the base gasket and use some yamabond sealant on the bottom of the cylinder to get that 0.018-0.020 in squish band. It is your own responsibility to measure your own numbers. Neither Weedeaterman nor myself will take responsibility for cylinders ruined by your own negligence. That being said if you are not sure of what to do after my instructions just install with the base gasket.


Also a secondary effect of decreasing the base gasket width is the lowering of the overall cylinder height. This will lower the roof of the exhaust outlet (ie: lower exhaust timing) and increase the torque produced by a hair. It will probably not be noticeable to the lay user but just wanted to add it in as extra learning content for readers. You will read later what Justin's doing to the intake and exhaust timing to increase power.
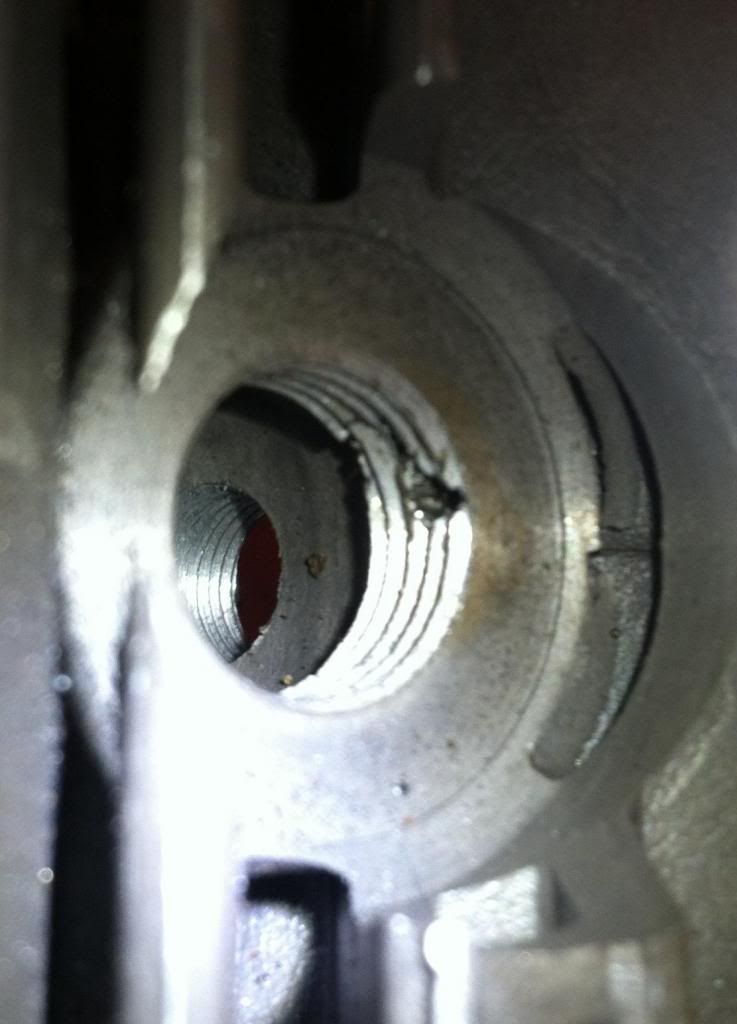
Hutzl kit:
Didn't even bother with a pic but it was completely overcast with aluminum and didn't have as good a shape to the combustion chamber toward the middle. I will try to get pics and add later...
 
Lets move to the piston. It has a pretty nice finish but is no Meteor... All in all a quality piece to use for the adverge Joe doing a DIY bolt on kit. I use my dremel or Foredom to open the piston windows just a little. There is a small lip from casting that I basiclly smooth out. You'll see this in a few of the below pics. I also want to comment that the skirts actual width were a little wider on the Hyway kit allowing porters to open exhaust up a little more. Rings are the standard cast ring (i'd suggest buying a set of Caber's but these will do).

left window flushed a little with dremel, right window is stock.


another look


Casting quality and finish of the Hutzl piston was significatly sub standard and on the piston alone I wouldn't use their kit. Again, I missed a pic of this and will try to back fill later.
 
Well that is a brief overview of the initial quality you will see from the two different kits... I personally went through this saw front to back. It started as crankcase halves and got new crankcase gasket, oil seals, etc. You'll notice it's acutally an older 024super crankcase (front adjust chain tentioner) with an 026pro tank and walbro 22C fully adjustable carburetor. I am actually more partial to the non-adjustable oiler that this saw has b/c it's a metal worm gear that wont strip out like the plastic ones and it pumps just as much oil as a fully adjustable oiler on high. I can't for the life of me remember the squish numbers or if I advanced the timing. Justin will be tearing it down for a port job so he can fill in the holes as he goes. For the adverage joe putting one of these together: this saw DOES like a timing advance of 5*-8*. Which can be accomplished by shaving 1/3-1/2 of the flywheel key and clocking the flywheel counter clock wise the width of what you shaved off.
 
My stock rebuilds are pretty dang snotty in hard wood. Justin just called me 5 mins ago and has the fuel tank vent which was the only thing it needed when it left here. If he gets another 15% gain it will be really really snotty and ready to go!

I like running 16in bars on these with 3/8 full comp. Very nice all around saw to compliment a 70-80cc saw.
 
I'm going to add some more information here.

The stock numbers weren't too far apart from OEM. The transfers were 3* low and the intake was 2* high. Now my only complaints about the top end were that the intake was not only a little bit higher (less duration) but the time area wasn't as comparable to OEM.the Intake tract was tilted slightly but it didn't hinder anything. As for squish it was very comparable to OEM. Deleting the gasket would give you about .008 on OEM. The Hyway kit was .012. I give it a thumbs up for a plug and play kit.

The ported video and pictures will be up in the morning.


Sent from my SM-N900V using Tapatalk
 
Great review and nice pics, guys. I'm running a Hyway on an 036Hybrid and it is great. I also just ordered a Hyway for a MS200T that I couldn't clean up (tried my best... jug is ruined).
It just so happens I am also into an 026 that should only need a piston. I'm thinking Meteor but this is for a cash-strapped school district... wonder if Hyway would suffice?
I have used 2x 200t hyway kits from Randy now and the tree service using them doesn't notice any difference over OEM. I'm sure there might be a very small difference but for the money hyway is the way to go. Same with Randy and Henry at weedeaterman. I've noticed that if something is MIA from their site you can email Henry and he'll usually add it the same day. Makes for easy one stop shopping. That and Randy has been on a mission to have us sort out the crap from the heard so we know what AM kits are good to use.

Also the biggest difference on the Meteor vs Hyway pistons would be the Meteor will come with Caber rings which are hands down the best you can get. For the average non-commercial use, hyway will work fine.

Randy,
I have pics of the 84cc bbk that you guys sell. It's next up.
 
Well that is a brief overview of the initial quality you will see from the two different kits... I personally went through this saw front to back. It started as crankcase halves and got new crankcase gasket, oil seals, etc. You'll notice it's acutally an older 024super crankcase (front adjust chain tentioner) with an 026pro tank and walbro 22C fully adjustable carburetor. I am actually more partial to the non-adjustable oiler that this saw has b/c it's a metal worm gear that wont strip out like the plastic ones and it pumps just as much oil as a fully adjustable oiler on high. I can't for the life of me remember the squish numbers or if I advanced the timing. Justin will be tearing it down for a port job so he can fill in the holes as he goes. For the adverage joe putting one of these together: this saw DOES like a timing advance of 5*-8*. Which can be accomplished by shaving 1/3-1/2 of the flywheel key and clocking the flywheel counter clock wise the width of what you shaved off.
I haven't ported anything but have a couple 024 saws. Does a timing advance help now ( with this kit ) or just if it is ported?
 
I tried the Hyway 026 BB, even with caber rings the compression was poor @ 120 lbs. It ran like a dog. I cleaned up the original 44mm Mahle and put it back on and it generated 160psi and rips in comparison.
 

Latest posts

Back
Top