Yes, ANOTHER OWB build thread... (Tank in tank style)

Arborist Forum

Help Support Arborist Forum:

This site may earn a commission from merchant affiliate links, including eBay, Amazon, and others.

Water volume in owb? 2500sf home and 34x48 shop

  • 100 gallons

  • 200 gallons

  • 300 gallons

  • 400 gallons

  • 500 gallons


Results are only viewable after voting.
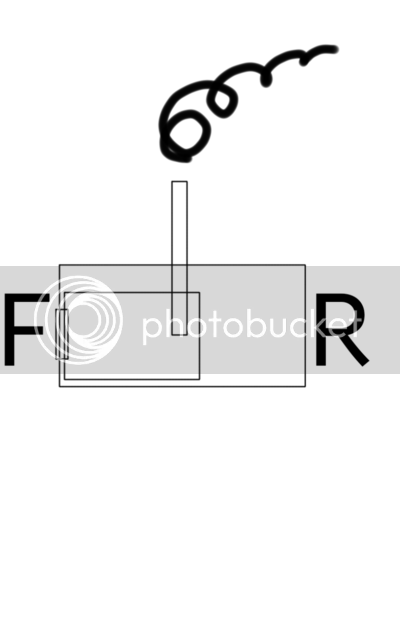
Ordered 1TDP7 Dayton blower. 146cfm stated. Figured I'd go big and can always add a fan control later if I needed to slow it down. Getting ready to order fiberglass rope for the door gasket. Looking at the 1" diameter. That looks pretty standard for boilers. Lastly I want some opinions on location for draw and return ports on the tank. I was planning on drawing from the top rear of the water jacket and returning towards the front almost directly under the firebox. The water jacket is almost twice as long as the fire box, will drawing so far away from the firebox hurt me? I've always heard that water layers and the hottest will be in the top 25%. Here is a quick drawing roughly indicating front and rear while showing firebox in relation to the water jacket.


Like your fan issue, water movement & heat transfer inside the boiler will likely be a fuzzy picture until you actually get burning with it. I think the locations you are planning for supply & return are the best for those purposes - but you also might end up needing to install a separate mixing pump to prevent localized boiling at possible hot spots above the firebox. I can picture there not being a lot of water movement in the top front part of your water jacket. Your system flows etc. will also play a part - so if you can plan for that eventuality now, adding a second pump later will be easy. Maybe extra ports top front & bottom rear? I know I have heard of guys with Garns adding secondary mixing pumps - they generate a LOT of heat in a big hurry though.
 
Blower duct through the door. Is regular fiberglass insulation ok or do I need rock wool or something like that?
20160814_135130.jpg
As for heat transfer and water flow, I have contemplated making some baffles to direct water flow within the tank...
 
Finally getting some more progress to show. I ended up going with mineral wool insulation in the door since it is good to 2000°. Door fab finished. Fit is pretty good. The 1" rope is just a slight squeeze. (Made groove 7/8")

20160819_205522.jpg 20160819_212111.jpg
 
Fitted the blower and draft door/ solenoid assembly. Door closes by gravity(made plenty heavy to make sure it closes no problem). Solenoid was kinda abrupt when triggered, so I used a heavy spring as my linkage to take the initial abuse of the big solenoid(4x241).
20160820_225257.jpg
20160820_225228.jpg
 
Not alot to show. Wire wheeled all the paint off the outside of the firebox. No paint chips in this water system!
20160828_114313.jpg
Purchased the most expensive part of this project... (Logstor pipe). Went to Greenville Ohio to Classic Comfort. Good guys to deal with. The second pic shows the end of the pipe. Real thick outer jacket! Perfect for me due to rocky soil.
20160828_123948.jpg
20160828_124017.jpg
 
Prepping the tank for fittings. Going to weld in 3 ins/outs. Only need 2 right now. Welding in pipes for 2 so that the water is drawn from the center of the tank. Hopefully that will promote equal flow around the firebox. Returns are going directly centered under the firebox near the front. Two thermowells(will use whichever one shows the highest temp).
20160901_174224.jpg 20160901_173954.jpg
 
Less critical welds, so I'm burning the door flange in with MIG.
I am curious how you came to the conclusion that mig/wirefeed welding is/was not designed for "critical" welds/welding. If concerned one could select a dual shielded fluxcore wire. Your not building a rocket booster for the Challenger. . . you welding together two old propane tanks to burn solid fuel in your yard. . .
Speaking of the Challenger. . .they mig welded the rocket booster with a Harbor Freight one heat setting 90am 110v mig welder. . . obama's cost cutting again.
 
Blower duct through the door. Is regular fiberglass insulation ok or do I need rock wool or something like that?

As for heat transfer and water flow, I have contemplated making some baffles to direct water flow within the tank...

I mixed castable refractory and perlite together to insulate my door after rebuilding it. I forget the ratio- but I remember finding it on a site for homemade kilns. It seemed to work better than new other than the door being heavier. It has less creosote building up around the inside door edges.

Something like this:
http://www.myheap.com/casting-molding/my-heap-mold-book/chapter-1-materials/how-to-make-irc.html
 
More welding done tonight. All the bungs fully welded in. Three returns, two 1" and a 1.5", equally spaced every 6" from the front directly under the firebox.
20160914_200021.jpg
20160914_200138.jpg
The two 1" draws I will be using have dip tubes that will pull water centered in the tank, roughly 4.5" from the top, and an extra 1.5" for the future. Two 1/2" for thermo wells(will use which ever gives the hottest reading).
20160914_200253.jpg

Decided that welding the flue from the top was going to be much easier than from the inside. So cut an access panel and will weld it back in around the flue after the flue to firebox weld is complete. Root weld is done, but out of time for the day.
20160914_200158.jpg
 
Are you dropping your chimney pipe down in below the top of the tank? If so, is it near the back of the boiler? I can't see well in the pics. Cool project!
 
Yes, the flue sticks down halfway in the firebox, and is almost at the very back.

That sounds good. I fixed fire in a boiler once that had the pipe way down in it, but it was near the front. It was easy to hit with every piece of wood going in and it really seemed to keep a person from "filling it up ".
 
The door and hinges were by far the most challenging parts of this build.
Sure didn't use the "hillbilly with a welder" design on the hinges - maybe that's why they were the most challenging part. ;)

Looking good. You're going to have to hustle to get it done for the start of the season. When you get to the legs, make it taller than you think you need it. I like not having to bend down to see how to put the last log in.
 
Back
Top