What are you building with your milled wood? merged

Arborist Forum

Help Support Arborist Forum:

This site may earn a commission from merchant affiliate links, including eBay, Amazon, and others.
I kinda like it! I'm part swedish, & it makes me think of something you'd see in a Viking mead hall or something (mead is "beer" made from honey if you haven't heard of it).

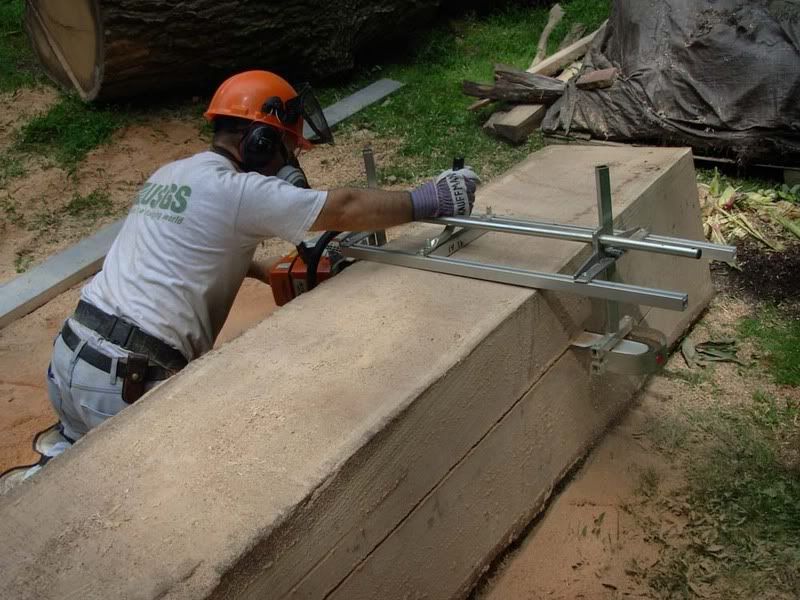
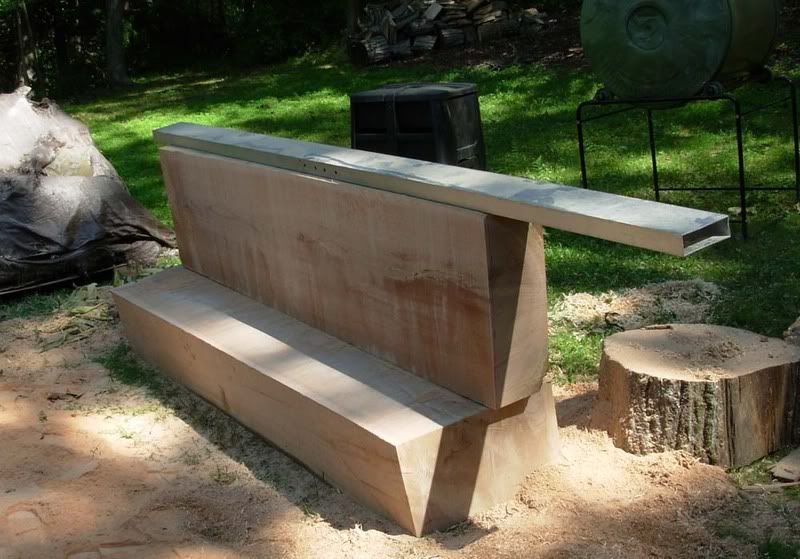
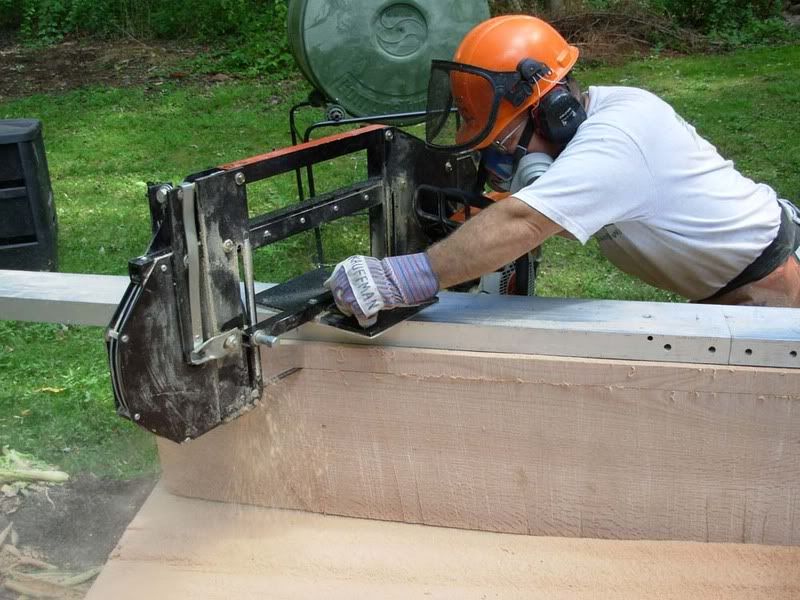
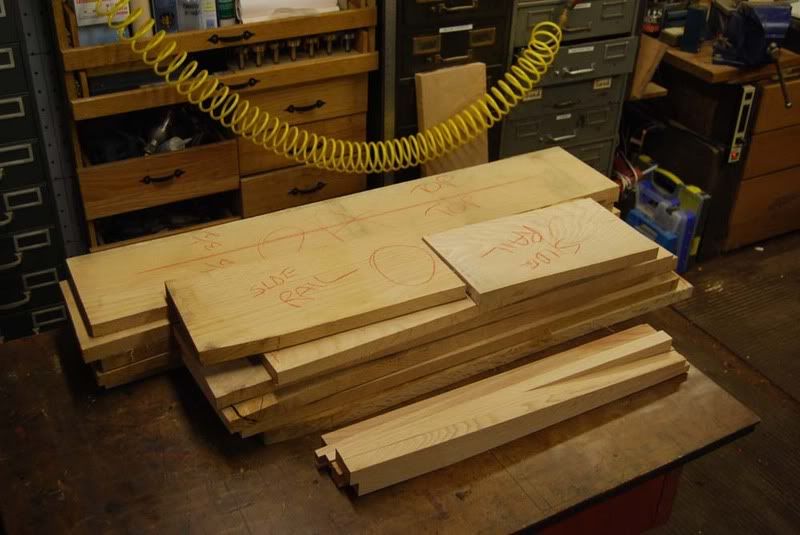
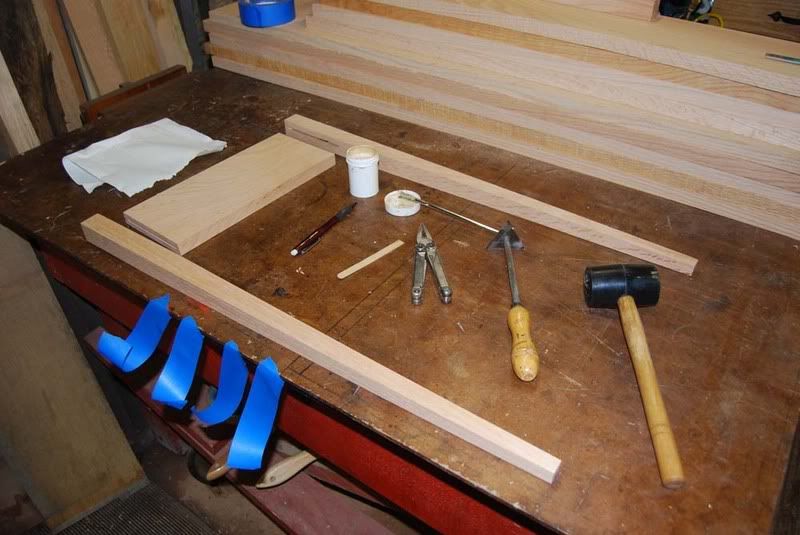
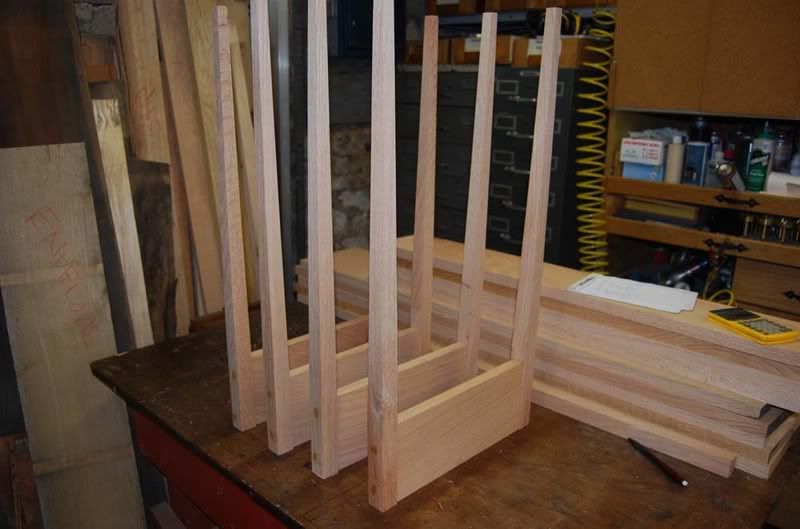
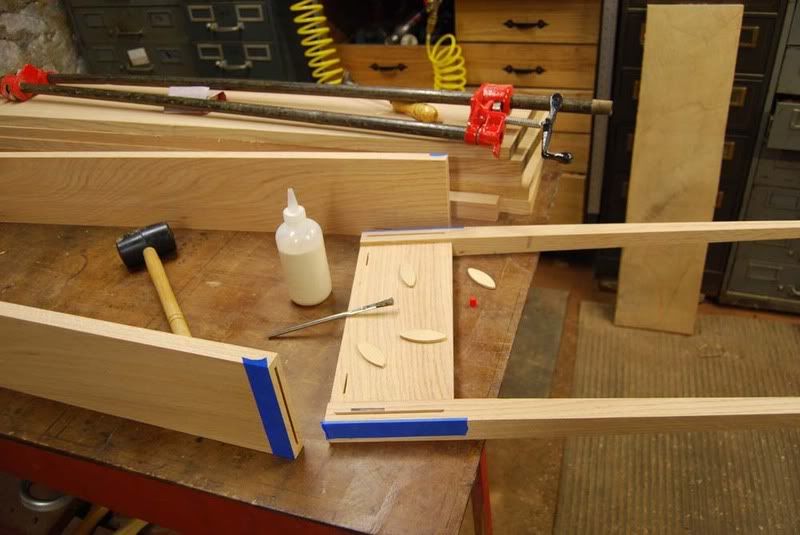
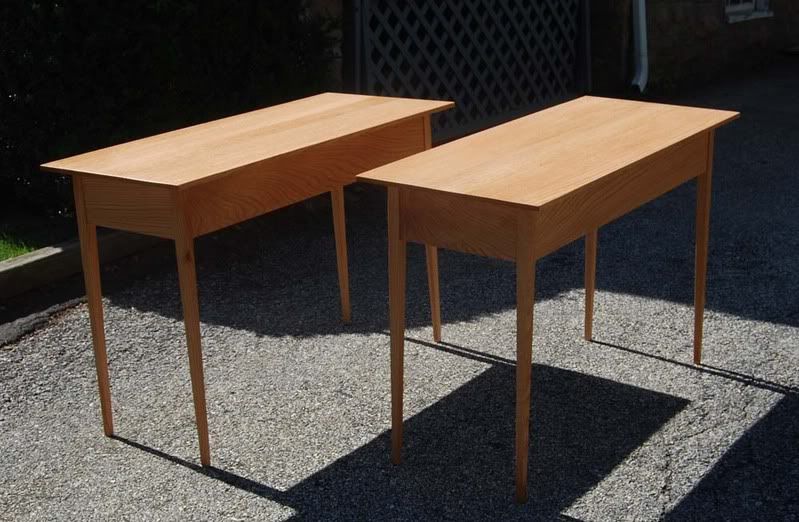
this is what my customer had in mind when we were discussing design. He is building his bar around this table:rock:
 
Great job Stony, very good job of distressing. I agree, if you use chain and the like to distress, if often doesn't look real. Fine looking old table, you got the details right. Thanks for showing us that. Now if I could only get my Shopbot to distress wood and make it look authentically distressed.
 
that's some great work there stony. the wife and i both like stuff like that. she went wild. how about showin' us some of that rustic stuff you do. saw on another thread you used the veritas tenon cutters. we like the stick furniture too.:clap:
 
I am so bad at remembering to take pictures. Here are a few of my current projects. Both are birch that I milled from my land. The table is shown just stained and with one coat of sealer on the top. I'll finish spraying in the morning. The 2nd table picture is right after I sprayed the sealer, so there is a bit of overspray in the pic. The 2nd piece is a tv cabinet I have been building. That one won't be done for a week or so as its no hurry. I'll post pics of both finished after they are done. The table pics should be here saturday. All the birch was milled with a 48cc 031, 24 inch bar, baileys lp chain.

http://picasaweb.google.com/stonykill/PROJECTS

You make some beautiful pieces, wish I could even get close.
The only reason I am posting is to ask if you ever used
pure swedish pine tar as a stain on birch wood.

I have & it brings out some awesome colors & grain of the birch.
 
You make some beautiful pieces, wish I could even get close.
The only reason I am posting is to ask if you ever used
pure swedish pine tar as a stain on birch wood.

I have & it brings out some awesome colors & grain of the birch.

thank you.

No I never had. I ought to look into that>>
 
Great job Stony, very good job of distressing. I agree, if you use chain and the like to distress, if often doesn't look real. Fine looking old table, you got the details right. Thanks for showing us that. Now if I could only get my Shopbot to distress wood and make it look authentically distressed.

Huh??? How long have you had that?


:popcorn::popcorn::popcorn:
 
Last edited:
Huh??? How long have you had that?


:popcorn::popcorn::popcorn:
My bot (Shopbot PRSalpha BT32) came about a month ago... but just now getting it operational. Unlike their larger CNC's the BT32 (their smallest bot) comes fully assembled. Thus first thing I did was uncrate it, and tear it apart into small enough chunks to get through a standard doorway and down into my basement shop. The thing weighs 700lb though, so was not an easy task, but eventually got it down, re-assembled, re-wired, realigned to specs and now learning how to program it. Shopbot control language is similar to ancient BASIC, and lots of commands are pretty intuitive, so the learning curve if you're halfway computer literate is not steep, just time consuming. It's an investment that will add another dimension to my little fledgling woodshop business.
 
One of several new gift items I added for the fall shows... this is a bill/letter holder. Kinda unique although I've seen similar designs before. Relatively easy to make, but often tough to find the 12/4 stock needed for the dowel which I make on a metal lathe using a jig that holds a 3HP router I move down the bed. (see first pic) These two were made from apple I milled from a neighbors yard. Can't really see in these pics but it has some curly figure to it that really makes the piece pretty to look at sitting on your desk.

This first pic just shows how I make the dowel, in this pic I am making smaller dowel than in the letter holder below.

12turnintodowelonmetallathejig.jpg


letter2.jpg


letter1.jpg
 
Last edited:
nice woodshop. I rough out all my leg blanks with a similar set up. I have a router mounted on an inexpensive duplicator. On a wood lathe. I can also knock out 7 to 8 legs an hour with this setup if they are simple turnings.
 
Nice piece Woodshop! How did you go about curving the top of the base?

I start with a 1 1/8 x 5 1/4 x 5 1/2 base, set it on it's side and saw the "slope" on the bandsaw, then clean it up on the osc spindle sander and hand orbital sander. Unfortunately this is one of those things that takes a lot of finish sanding and fiddling around. I havn't been able to get it down to less than a half hour per when I include making the dowel from scratch etc.
 
Summer of 2006 a cousin had a 34 inch red oak blow down in his back yard. That fall I milled about 700 ft out of it, mostly riftsawn lumber. This summer our church asked me to build them a couple simple Shaker type tables for the sanctuary and I wanted them to be stable, so I used the riftsawn lumber I milled from that tree to build them. Here is a quick and dirty (skipping lots of steps to spare you) order of events going from tree to finished table.

Buck main stem into 8ft logs and start slabbing with the csm
table_01.jpg


slice an 8 inch thick cant
table_02.jpg


flip cant on end ready for milling into boards
table_03.jpg


slice into 4/4 and 5/4 with the Ripsaw
table_04.jpg


sticker and dry for about 8 months, then dead stack under front porch for a year or so... pull out about 30bd ft, enough for couple small tables
table_05.jpg


figure how you're going to cut up boards to make best use of lumber, mark and crosscut (already cut and tapered the legs in this pic)
table_06.jpg


assemble ends... for this size table I used biscuits, which in this case are as secure if not more so than traditional mortise and tenon. (I might get some grief from other woodworkers on this one... so be it.)
table_07.jpg


four end rail/leg assemblies ready to go
table_08.jpg
 
tree to tables in 16 pics continued

attach end rails to front and back rail... the blue tape keeps glue squeeze out from the outside of the rails/leg
table_09.jpg


clamp them and let them dry for couple hours
table_10.jpg


machine edges dead flat on jointer and glue up top
table_11.jpg


crosscut top to size... I used a circular saw with a piece of angle iron
table_12.jpg


scrape off glue line, sand to 180 grit, put an 8 degree bevel all edges on table saw... here is a finished top ready to attach to rails/legs
table_13.jpg


attach table top to rails... allow for expansion by only screwing one side. The rest of the top is relatively tight and snug to the rails, but can move slightly as humidity swells and shrinks that oak with the weather. If you didn't do this, the top could crack. The wood worker who fails to take wood movement into consideration does so at his/her peril
table_14.jpg


I don't like stains... Danish oil brings out the natural beauty and color of the grain, in this case riftsawn red oak
table_15.jpg


finish tables sitting in sun to dry... they will get a coat of lacquer and then they are ready to be delivered. From tree blowing down in a back yard to something useful that with care will still be here long after I'm dead and buried
table_16.jpg
 
Those are some mighty fine looking tables Woodshop!!! You are a very gifted woodworker and I always love looking at your projects.
 

Latest posts

Back
Top