Looking for a Sawmill Shed Design

Arborist Forum

Help Support Arborist Forum:

This site may earn a commission from merchant affiliate links, including eBay, Amazon, and others.
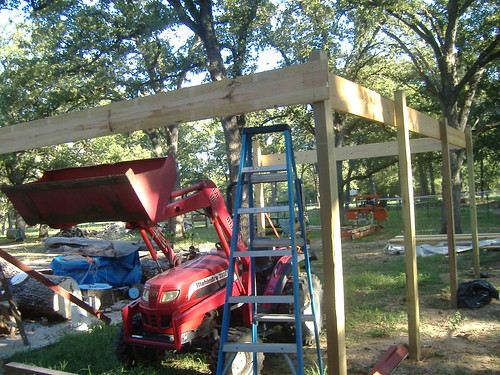
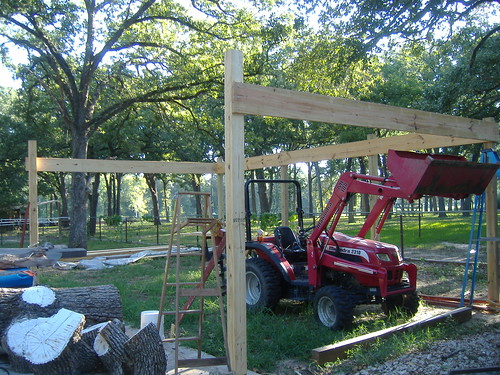
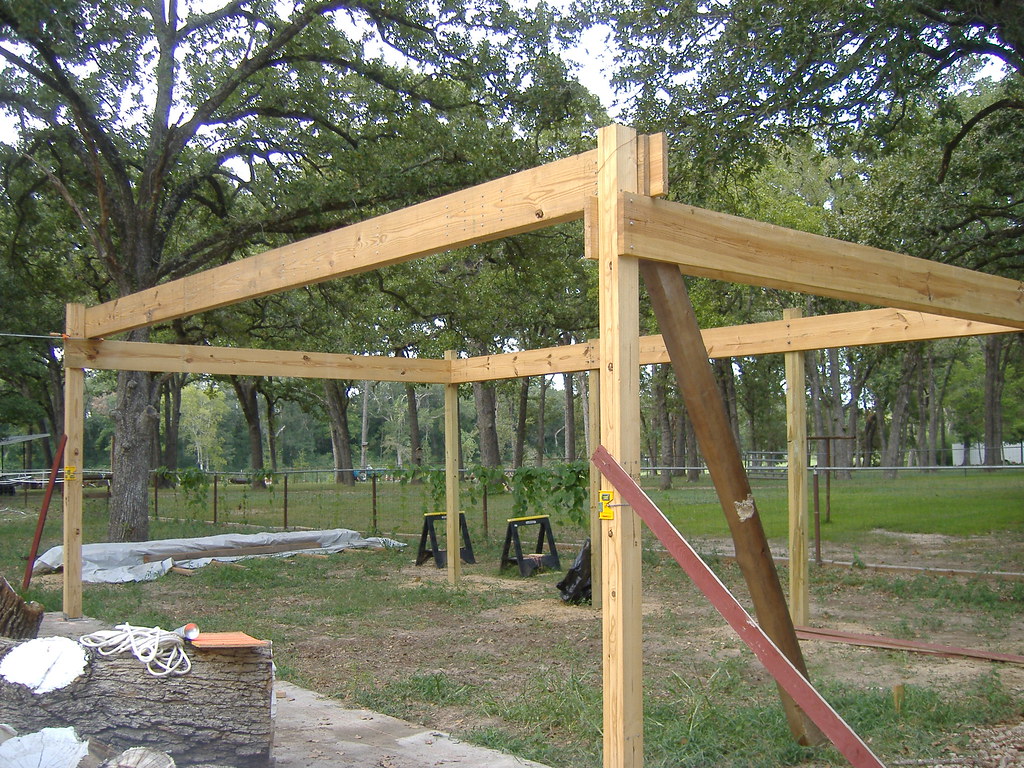
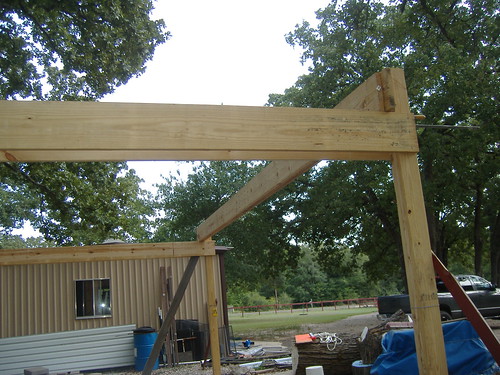
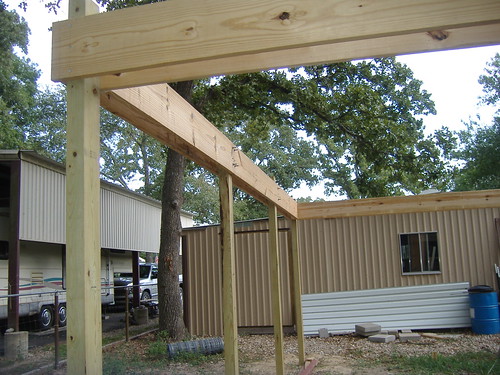
Yes this is an acceptable building practice, I have done this in outdoor construction and it is strong when done correctly. I don't know about the loading factors for your area, but keep in mind that you will loose some strength and rigidity with a spliced beam. If the original plan is for two 2x12s 24' long, you will want to make 3 layers.
Layer 1, 6' - 12' - 6'
Layer 2, 12' - 12'
Layer 3, 6' - 12' - 6'

or option 2:
Layer 1, 8' - 16'
Layer 2, 12' - 12'
Layer 3, 16' - 8'

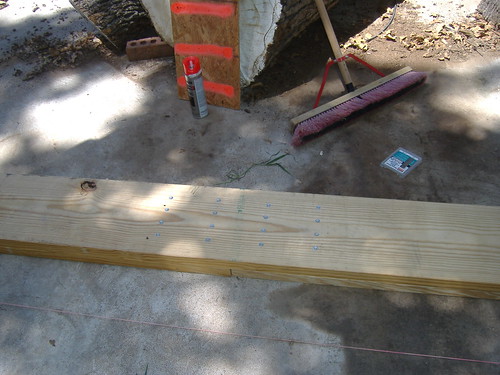
Either is acceptable. At the ends of each board you will want two fasteners, and then spaced in an up down zig zag pattern every 8-10". Drive your fasteners in on an approximate 30* angle, and use either galvanized spiral nails or an equivalent screw.

I had just posted my drawing when I noticed the second page of posts.....:clap:

Coalsmoke... Simpson makes 3 inch galvanized screws just for this, although they recommend driving the screws at least into 2 1/2 boards on 3 layered boards. I could only get the 3 inch so I will alternate sides with the screws.

but were thinking along the same line here....

Ted
 
As long as the log is not to big to handle you can mill it twice on your mill and end up with a 24’ beam. Cut as far as you can on the first cut and trim the tailing off then back the saw out, do that to all four sides then reposition the log on your mill and level the log to the band and finish all the cuts.

Right now I don't have the means to bring in a 24 foot log, but it's good to know what I need to do if I want to cut a log longer than the mill,
Thanks!!!!:clap:


I don't know about your area, but the 84 lumber up here carries microllam and it can be ordered in any length or thickness to support what ever amount is needed. most all pro builders are using them now. i used them in my basement to build new headers and support beams.

That's a thought, but I wanted to use real wood for the sawmill cover. The only other problem again is getting two of those beams home, unless I have it delivered. I wonder how much they would charge to deliver only two.......


thanks for all the thoughts and ideas. I love this place!!!!:clap::clap:

Ted

stay tuned, i'll post more pics as I go. :popcorn:
 
This is part of the header on the open side of my sawmill. It's 40 ft long, has openings of 18, 14 & 8 ft. Made of four oak 2x12's, double bolted every 2 ft. Overkill? Maybe a little. In the 14 ft span, using 2 chain hoists I picked a 24" old castiron planer off a trailer. We estimated the planer at 2800 lbs. The header never sagged, squeaked, or otherwise bit*hed about it's task. :)
header.jpg

Mike,
Do you mind posting some more pictures to get an idea of the overall layout of what you got there?
Ted
 
I had just posted my drawing when I noticed the second page of posts.....:clap:

Coalsmoke... Simpson makes 3 inch galvanized screws just for this, although they recommend driving the screws at least into 2 1/2 boards on 3 layered boards. I could only get the 3 inch so I will alternate sides with the screws.

but were thinking along the same line here....

Ted

Sounds good to me. I wouldn't bother getting fancy with the ends like in the drawing, but it sure won't hurt anything if you want to do it that way.
 
Ted, a few more pics. First is the overall view of the front [business side] The open part is 20x40, the closed in shop 20x20. The big header is along the 40 ft shown here.
mill1.jpg
The next pic shows the same header closer up
mill2.jpg
The span in the middle is 18 ft, as the mill will do 16' 4". The span on the far right I have an overhead crane for, just can't seem to get the time to put it up. There are 8x8 oak posts under it, with 3x5 braces that are half lapped let in & a 5" lag to keep them from falling out.
mill3.jpg
The last pic is from the inside looking out. I did this in '95, before that I'd just cover the mill up in early winter & not use it 'till spring. It was some pain in the :censored: Trying to get through the snow & froze down tarps, so I just didn't bother - "closed for the winter" used to be the motto.
 
Sounds good to me. I wouldn't bother getting fancy with the ends like in the drawing, but it sure won't hurt anything if you want to do it that way.

That is funny........ Let me tell you why.... I got out there this morning, got a couple saw horses set up for cutting, lay out the lines on a couple of 2x12's, grabbed the saw..... started thinkin'..... damn:censored:! Ya know it looks preety on paper, but it ain't practical!!!!:dizzy::laugh: Musta been a heavy coffee day or sumptin'?

I decide to just make the cuts straight and have two rows of screws on each side of every splice cut...:clap:

I didn't get much past that, as we had an appointment for the dog at the vet... at least the plan is a bit better.... :)

Ted
 
Last edited:
Ted, a few more pics. First is the overall view of the front [business side] The open part is 20x40, the closed in shop 20x20. ....................
Trying to get through the snow & froze down tarps, so I just didn't bother - "closed for the winter" used to be the motto.

Thanks for taking the extra pics, gives me a few ideas, especially the half lapped bracing.

Now about this snow stuff....... I would have welcomed it outside this morning, I was soaked in two hours, and it wasn't raining either.

Thanks again for all the comments,
Ted
 
That is funny........ Let me tell you why.... I got out there this morning, got a couple saw horses set up for cutting, lay out the lines on a couple of 2x12's, grabbed the saw..... started thinkin'..... damn:censored:! Ya know it looks preety on paper, but it ain't practical!!!!:dizzy::laugh: Musts been a heavy coffee day or sumptin'?

I decide to just make the cuts straight and have two rows of screws on each side of every splice cut...:clap:

I didn't get much past that, as we had an appointment for the dog at the vet... at least the plan is a bit better.... :)

Ted

Haha yeah, sometimes simple is nice.
 
A little progress is made considering the heat and humidity issues. :censored:
I only had to change clothes two times today, compared to four times yesterday.

I figured that I spend 1/3 of my time working, 1/3 wiping my brow and cleaning my glasses, and 1/3 taking a water break. I'm glad I don't do this for a living, 'cause I'de be broke, alot thinner, but broke! :dizzy:

I know that my real job as a desk/computer jockey, sitting in A/C all day doesn't help, but it does pay for the hobby. For those of you who work outside doin' this stuff for a living....:cheers:

Ted

3827935192_7e561ebfaf.jpg


3827937950_8c7fa78b33.jpg


3827143485_085fdaeea9.jpg
 
Seems I missed this thread coming up first time but for anyone else wanting downloadable plans for agricultural building its worth looking HERE, they tend to start out massive and get bigger from there on in though but there's a few that could be adapted for your use though I imagine, just click on the bar on the left to see whats there is on offer to download.


Just have a look through whats on offer and see what looks about the right size.
Regards Scott,.
 
You guys aint seen hot. But i do understand what yall are saying. I am a plumber/pipefitter and have spent the last 6 weeks on top of a asphalt roof running 6 inch weld pipe for chilled water air conditioning systems for a school. Roof surface temps taken with a infra-red digital temp at mid day hover between 165-189 degrees. with the sun beating down on you under a tarp tent it is usually aroun 120-130, if the wind stops, we get off the roof. If you bend over all the sweat condensed in your hard hat falls in your face. But somebodys got to do it. (wish it wasn't me!!!!) so when i was milling last weekend and the ground temp was only 101, i was thinking of going and getting a jacket. hahahahahahaha
 
You guys aint seen hot. But i do understand what yall are saying. I am a plumber/pipefitter and have spent the last 6 weeks on top of a asphalt roof running 6 inch weld pipe for chilled water air conditioning systems for a school. Roof surface temps taken with a infra-red digital temp at mid day hover between 165-189 degrees. with the sun beating down on you under a tarp tent it is usually aroun 120-130, if the wind stops, we get off the roof. If you bend over all the sweat condensed in your hard hat falls in your face. But somebodys got to do it. (wish it wasn't me!!!!) so when i was milling last weekend and the ground temp was only 101, i was thinking of going and getting a jacket. hahahahahahaha

See.... the heats done got to him!!!!! :dizzy::dizzy::dizzy: :)

Kobraken, Take it easy on those roofs......

Ted
 
saw and milling shed

Finally got my shed started she will be 18' X 32' with 10' walls I will post some pictures soon...

Mark
 
Finally, got some work done on the shed and the day wasn't too bad weather wise.
Got the rest of the banding around the top done, and the 24 foot beam is fabbed up, and placed up top. Until I can get up there and bolt it in, I have it clamped and wired in place. The boys were worried that it might fall over if we had another storm blow through again, so for safety's sake, just in case.
Here are the pics:

Ted

3871951149_73c47e0408_b.jpg


3871953775_2ee5b5922c.jpg


3872740144_fbb68a7149.jpg


3871958791_230fdcdf5f.jpg
 
Finally got my shed started she will be 18' X 32' with 10' walls I will post some pictures soon...

Mark

That is the same size as the one I am working on, only my side walls are11.5' tall. I am building mine for firewood storage but hope some day to get a band mill. That is the main purpose,build it bigger than you think you need because it is never big enough. The Wife came out and said" I thought you were building a little shed" I said " I am building a little shed" She said "That dosn't look like no little shed to me"

But honey I got almost all the lumber free, And it was enough to put up this shed.

She said whatever and walked back into the house.:hmm3grin2orange:

You can check out my progress on the firewood forum.

Beefie
 
Back
Top