Roper 3.7 tear down and rebuild

Arborist Forum

Help Support Arborist Forum:

This site may earn a commission from merchant affiliate links, including eBay, Amazon, and others.
I believe I can still use that motor, I plan to fab up a "shoe" of sorts on the end of the release lever to extend its reach a bit. I will dig around in my Box-O'-odd bits and come up with something very similar to a spent bullet casing. That will sleeve over the end of the lever where it is supposed to contact the top of the compression release valve. The length of the sleeve will not allow it to fall off the end, but will be long enough to extend the "reach" of the lever. Seems like an easy fix for this issue, and is a bit bettern' duct tape and baling wire. I can't think of any particular item I have laying about like this, so may just end up using a spent bullet casing since that is the first thing that popped into mind. Time to start digging about, of course I'll photo what I come up with. I may have to go visit Koko head shooting range and scavenge for brass casings now........
 
You can always plug the comp. release hole with a short socket set screw and use a 'D' handle on the pull rope. That's what I did. I didn't trust the release to work properly.

When you get farther along, pay attention to the recoil pulley and rope. Use the largest rope that will fit as the pully grove is too wide and the rope pinches down and drags on itself.

View attachment 200612
200612d1317029341-rope-pinch-006-small-jpg


View attachment 200613
200613d1317029341-rope-pinch-009-small-jpg


The rope with the blue threads is some fine tuff stuff BTW.
 
Last edited:
I plan on forging ahead with the buildup, the trigger to activate the compression release valve is "external" so to speak, all I need to do to mess with it is to remove 2 screws and the side cover on the handle is off, and there's the trigger. If it doesn't get activated at this point, it will act as if the compression release hole is already plugged. Somehow I feel like I'll pull my shoulder out trying to pull that thing over without the compression release working though. I have a few ideas, but won't have quality time to play with this likely til the weekend. I have already replaced the cord with a thicker one on these saws in general and this one in particular, haven't gone to a D ring. Thanks for the crisp photos of the cords, and all your helpful suggestions.

:cheers:
 
I got those pictures of the decomp setup on my saws

I was surprised to find my "parts saw" had no decomp, not even a boss on the head to install one.
100_2767.jpg


Here is the Craftsman branded saw, notice there is a pretty good size gap between the decomp lever and button.
100_2769.jpg

100_2774.jpg


Here is the Roper branded saw, has the same gap as the Craftsman saw.
100_2776.jpg


One difference I found is the Craftsman saw has a spring loaded decomp that automatically deactivates when you flip the switch back to the run position. The Roper saw has a decomp like a modern saw and actually "snaps" back and forth, it does not deactivate until the engine starts and pops the button back out.
 
Thanks for the great photos--note in the first photo on the parts saw, there isn't an extension on the end of the comp release trigger to depress a compression release valve, and on the other photos, it does have that extension. Mine has that as well. When you depress your compression release trigger, I'd be willing to be it contacts the top of the comp release valve and depresses it a bit. I have come up with a few ideas on how to fix mine with a protective rubber end cap that I may RTV in place as it only needs a few mm for it to contact and depress the comp release valve, and disengage from it when the trigger is released. I promise to add in photos this weekend. Thanks for taking the time to pull apart your saws and take those photos.


And can you BELIEVE the deal that bluesportster02 got on the Craftsman badged Roper he posted up........that was a very exceptional score. Looks like that carb/filter cover just came out of a sealed package, brand new.
 
Last edited:
More on the recoil pulley.

The recoil pulley from a Homelite XL-100 series would interchange and end up with a narrower groove to match the diameter of the pull rope. The only problem is the spindle diameter is different between the Roper and Homie. You would have to make a sleeve/bushing to make up the difference.

Before I retired, a sleeve would be a quick 'government job' in the macine shop at the plant.
 
Okay, so I went and took some photos so they can be compared to yours. First of all though, these are the 2 compression release valves, the one on the top is the "new" one.

DSCN8132.jpg


Here is the setup with the compression release trigger DISENGAGED:

DSCN8136.jpg


Here is the setup with the compression release trigger ENGAGED:

DSCN8138.jpg


Closer shot, engaged.

DSCN8137.jpg


Just doesn't quite touch the top of the compression release valve. What I plan on using is one of those stout closed-end rubberized sleeves that often are shoved over the end of bolt threads, don't know what they're called but I have an assortment of them in a drawer at work, and if one of those won't fit I can find some other ones at City Mill/Ace Hardware or equiv. place here. I can shove that on and if needed I can add in a small spacer between the end of the trigger extension and the bottom of the sleeve thing and RTV it if it is a bit loose. I'll put up some photos of that when the time comes, but figured I'd owe everyone photos of the current setup so went ahead and posted them up.

Going back over your photos now, it seems there is a sort of knob-like appearance to the bottom end of the comp release trigger--the part that contacts the top of the comp release valve. Maybe mine broke off or something, but it doesn't appear to be broken. Might have broke a long time ago and the end smoothed itself out pressing down on the top of the release valve. More photos now for you just of the trigger/end.

DSCN8135.jpg
 
Last edited:
If you use the throttle rod as a reference point it looks like your decomp lever hangs just as low as mine and your decomp button looks to be sticking up to the same height. One thing I did notice is the area that hooks on the handle looks different.


attachment.php
 
Interesting. Good eye there. I just went out and looked at mine critically, I am sure it is the same PN, but the groove does seem cut deeper in mine. I suppose I can scrounge around for a replacement compression release trigger, but the bodge job I have planned will likely work until I come across a replacement trigger. I believe you did find the problem there though.

DSCN8142.jpg


DSCN8141.jpg


I dug around in the box-O'-bits and found an example of what I intend to add to the end of the prong to make it longer. This one of course is way too large, but likely you'll get the idea. I suppose it is easier to do that than to gum a piece of JB weld on the worn part on the top and then file that to fit, and have it break on the first use.
DSCN8143.jpg


I did put on your flywheel and set the air gap, then the puller cover and gave it a few pulls without the spark plug in it but plugged into the plug wire, it made spark......
 
You guys are pushing down and pulling back on the on/off button, right?

The plastic cap on my comp. release was 'mushed' from contacting the linkage. So, I guess it was working. But I didn't trust it not to leak. Only blew 110 psi in the closed position.

High compression 60 cc saw is a tad much to pull over from cold to get fuel up to the carb.
 
Just looked and there is a used switch on Ebay right now, as well as some NOS air filters.

I'll have to look thru ebay and see if I can find those sites, it might be good to have a "new" trigger.

Yes, push down, pull back. Of course this saw has not been in my sole possession all its life, and honestly it almost looks as if it has been purposefully filed down there based on the transverse scratches. Can't imagine why that would have been done though.
 
Just looked and there is a used switch on Ebay right now, as well as some NOS air filters.

You must have some mad internet ninja skills--I searched ebay etc and could not find a listing for the items you mentioned. Could you bottle feed me a link to them if you can get to them again. I musta gone thru about 30 pages of items, used advanced search and cut out a lot of the fluff, and still no joy.

I did find this, listed as "kill switch" but it really does not look completely like mine, the bottom appears significantly different.

http://www.ebay.com/itm/SEARS-CRAFT...938?pt=LH_DefaultDomain_0&hash=item51965536b2
 
Last edited:
I am working from my phone so I can not post direct links but I can tell you the search conditions. With the search set to Newly Listed and 50 items per page you will find the switch fourth from the bottom with a search for Craftsman 3.7, it is listed as power sharp chainsaw kill switch. Using the same search settings you will find the air filter second from the top with a search for Roper 3.7.
 
I am working from my phone so I can not post direct links but I can tell you the search conditions. With the search set to Newly Listed and 50 items per page you will find the switch fourth from the bottom with a search for Craftsman 3.7, it is listed as power sharp chainsaw kill switch. Using the same search settings you will find the air filter second from the top with a search for Roper 3.7.

I guess then I didn't do too badly, I found the one listed as kill switch and linked it above. I was skeptical about it being the right one though, likely will have to send an email to the seller and ask for some specific closeups.

I'll look for the filters now--found them. Thanks!!
 
It's alive........

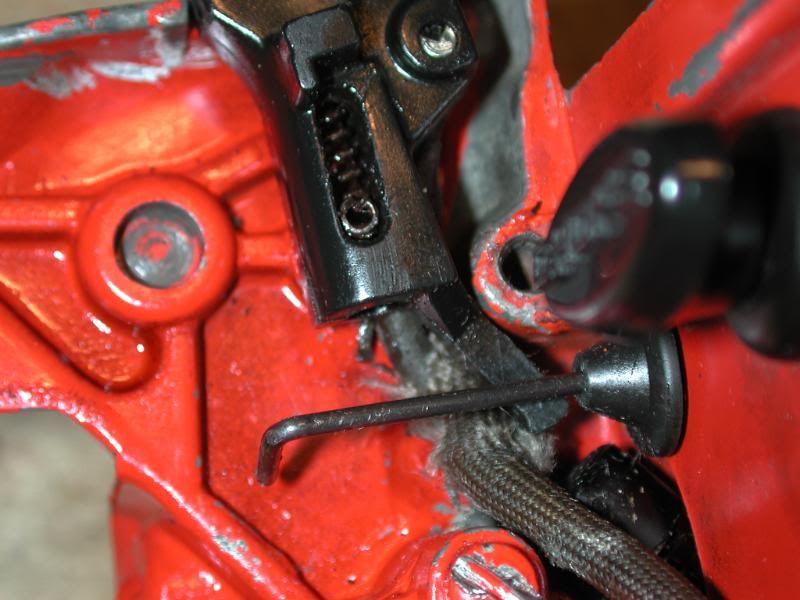
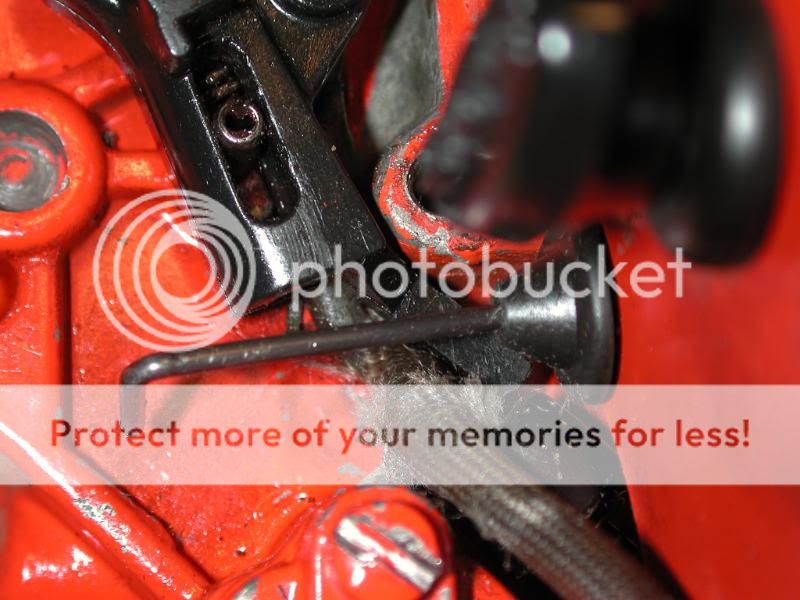
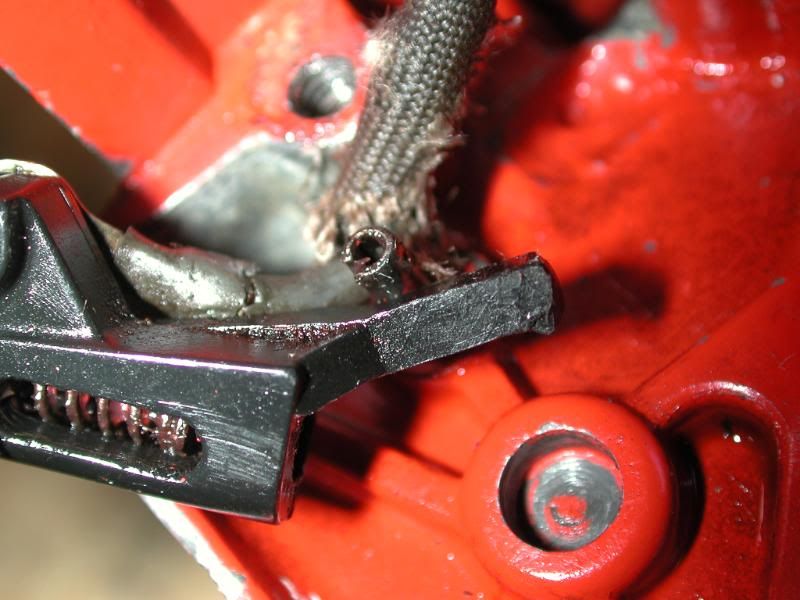
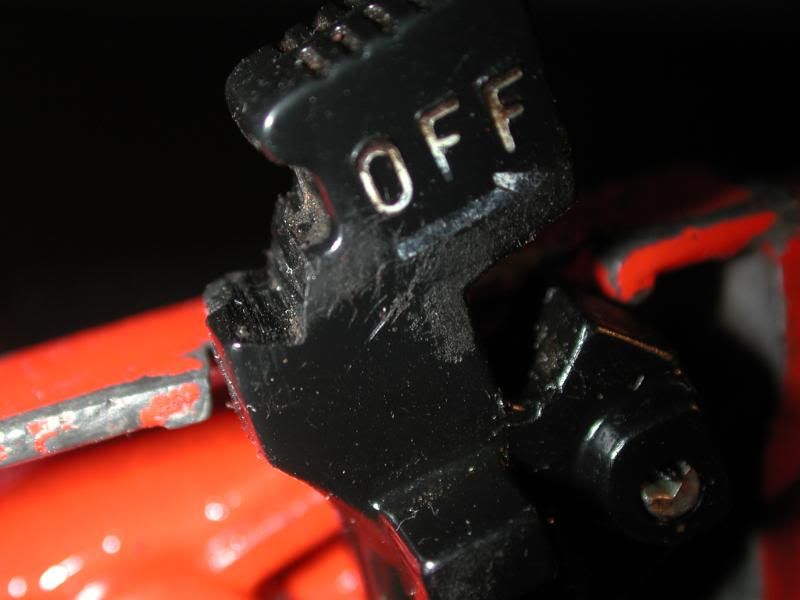
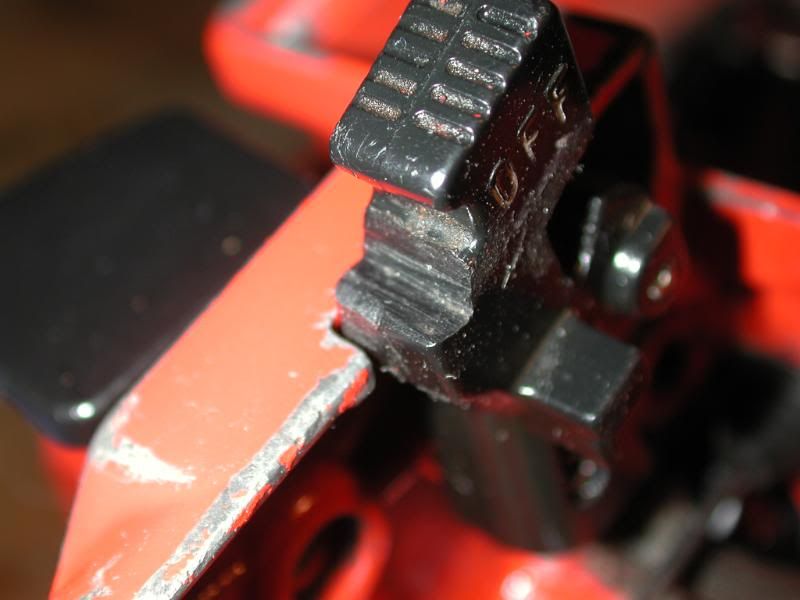
I suppose I just couldn't help myself, but had a little bit of discretionary time tonite. Really all I needed to do for a run test was to install the plug, muffler, stuff some gas in it and give it a pull--who can restrain themselves at that point? After only a few pulls, it fired, so I closed the choke and it literally screams. I put that little "thread protector" on it to extend the reach of the compression release trigger, and that worked fine. As you've likely already guessed, I am still planning to replace that trigger with a new one when I find one. So now it runs, idles, howls up to speed in a very satisfying fashion.

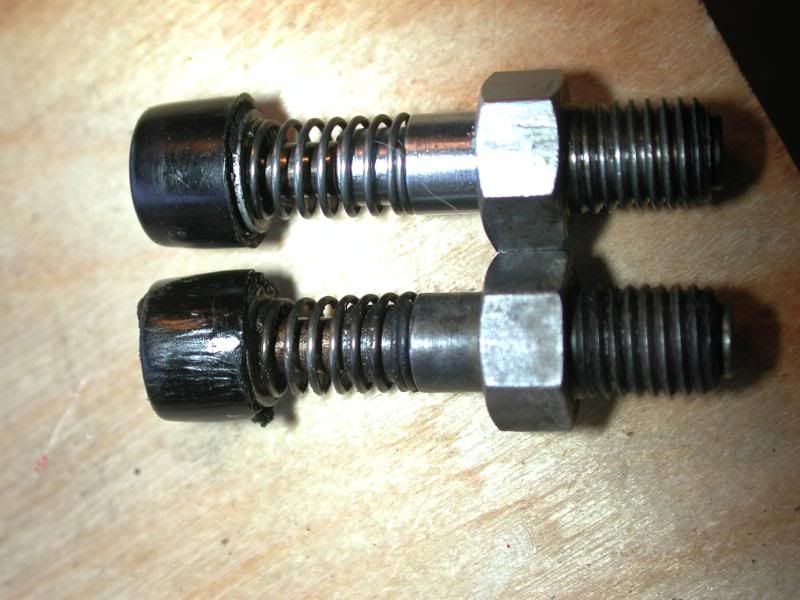
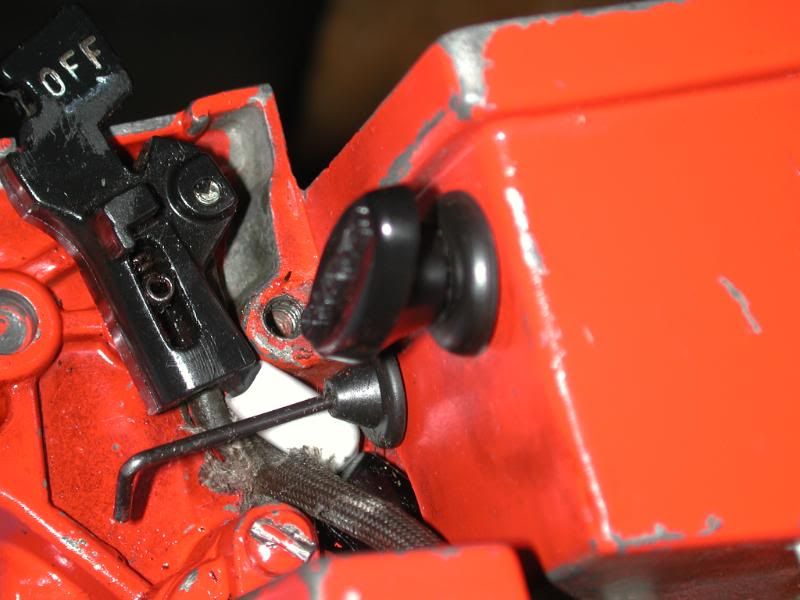
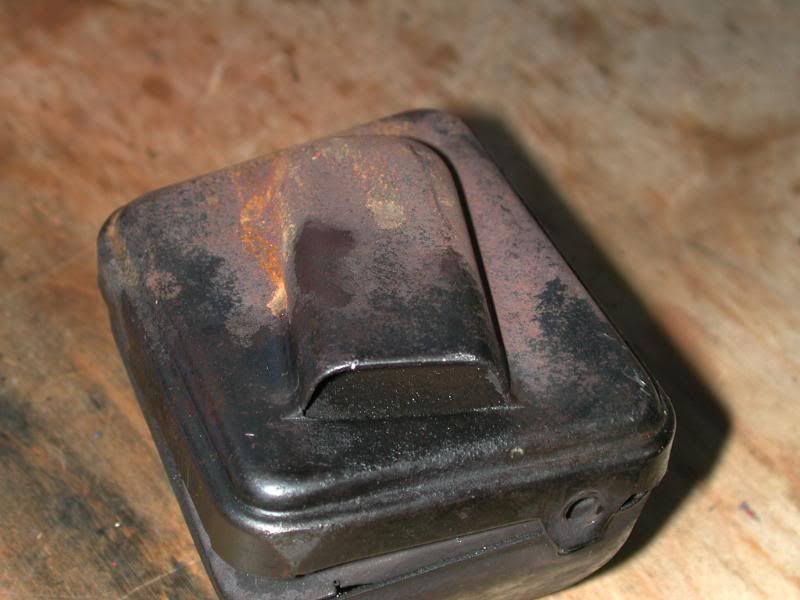
The "thread protectors," I used the white one.

DSCN8156.jpg


DSCN8157.jpg


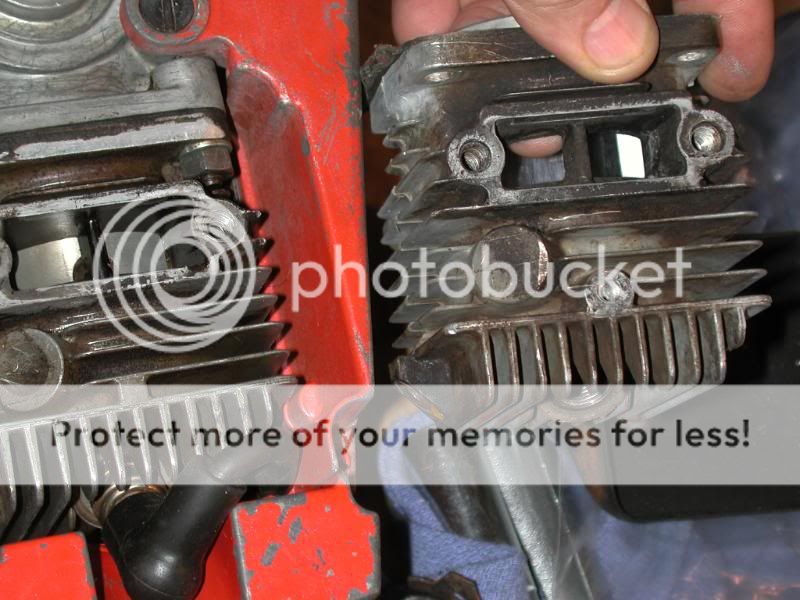
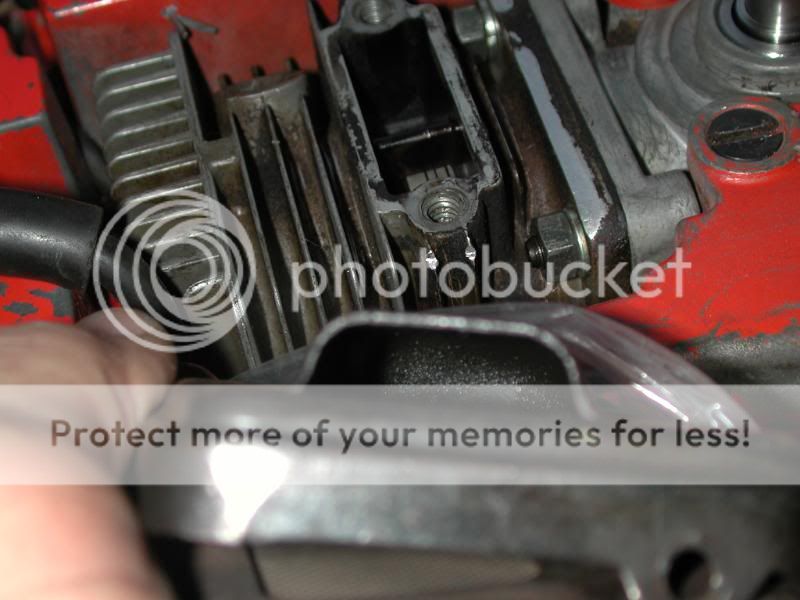
In installing the muffler, I noted that there was a screw hole missing in the side of the cylinder. Orig cylinder on the right, "new" cylinder installed. You can see the missing screw hole bottom center of the pot on the right. I don't think this is a problem, I could drill and tap it out, but now that the saw is running, I will tear it down again to replace the rings, re-install my old cylinder, and put it back together one more time.

DSCN8158.jpg


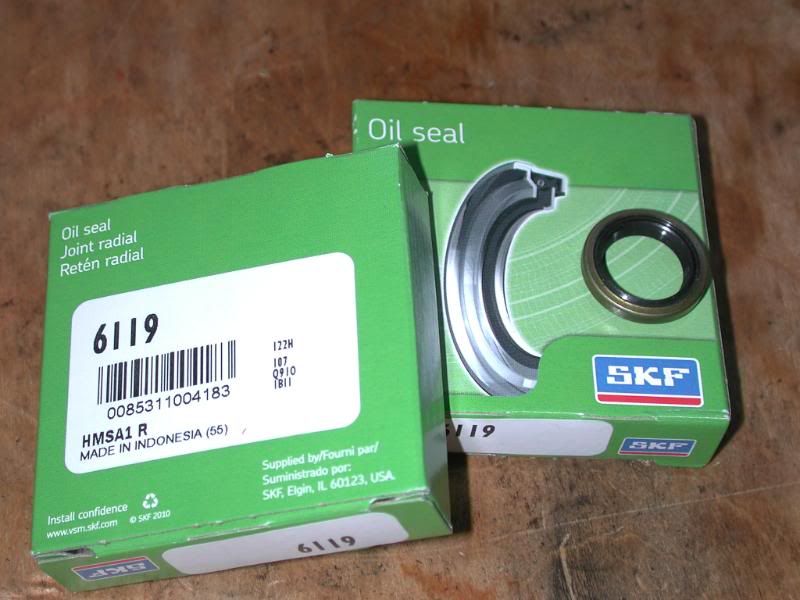
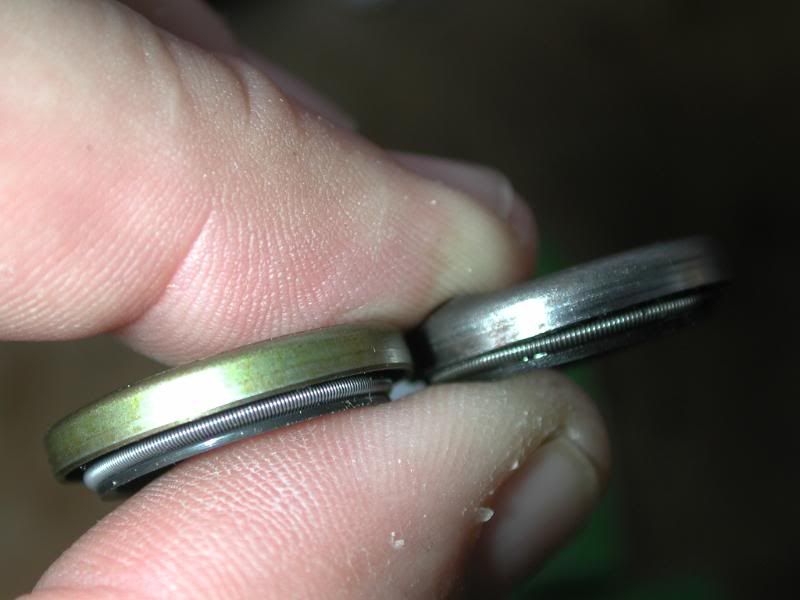
Also, on the next assembly, I'll replace the crank seals. I did manage to come up with crank seals for this, part numbers below for those with Ropers that need new seals. I am not certain it really needs them as I did no pressure leak or vacuum test, but I don't think it's a bad idea since I'm doing a rebuild on a more than 40 yr old saw that I want to have around for a long time yet. It was a real pain finding those seals, but once found, now everyone can benefit from the result.

DSCN8144.jpg


Original Seal on the right.

DSCN8145.jpg

DSCN8146.jpg

DSCN8147.jpg


Of course, I haven't spiked the ball in the end zone after a 100yd kickoff return, but it's a field goal and a few points on the board. It runs, the tank halves don't leak, now I can comfortably pull it all apart again for the rest of what I want to do to it. I'll contact the Greek and buy 2 different sets of rings, and go with what fits best.
 
Last edited:
Plans for Muffler Mod/opinions being solicited

I'll ask later about a muffler mod when I get to it, but I have no intention of porting the cylinder, yes I have a Mig welder so will Mig in the muffler mod, but pictures for that later on down the line. This is what I have to work with, and of course, I am totally unencumbered with any experience in the matter.

DSCN8148.jpg


DSCN8151.jpg


I'm not sure I should pontificate or anything, but when I install spark plugs, muffler bolts etc, I alway dab on a bit of this stuff. Not just on Chainsaws, but when I do my vehicles as well.

DSCN8159.jpg
 
My rule of thumb for muffler mods. are: "Make the holes bigger and more of them!"

What I had in mind was a short section of round tubing, maybe 7/16" to 1/2" diameter, either bring it straight out the side of the existing muffler, or perhaps angle it a bit forwards. This mod though is a bit off in the future, but I need to start scavenging for a suitable piece of metal tubing next time I go scrounging thru my favorite junk yard.

Anyone modded this particular muffler by any chance, or should I just leave well enough alone and quit messing around?

I don't remember what I did to mine, likely the above rule of thumb. In any event, it sounds like a real chainsaw and not a leaf blower.
 
Back
Top