


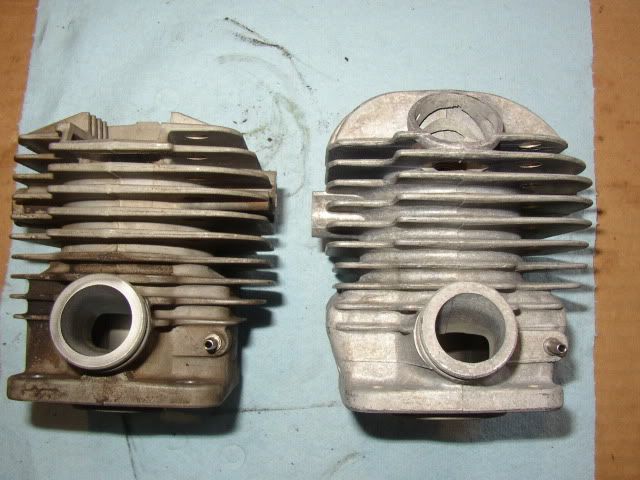
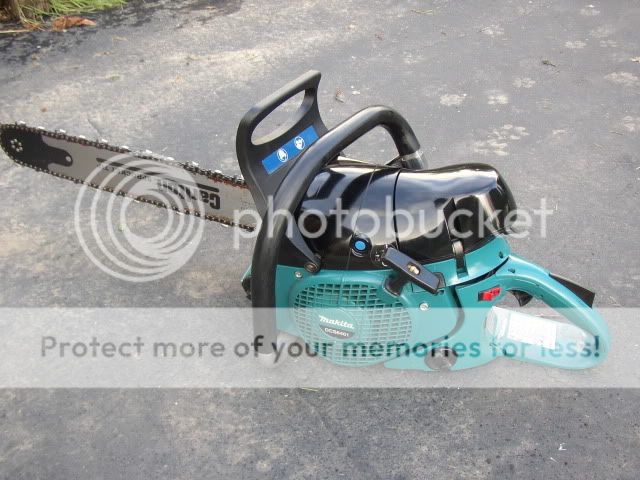
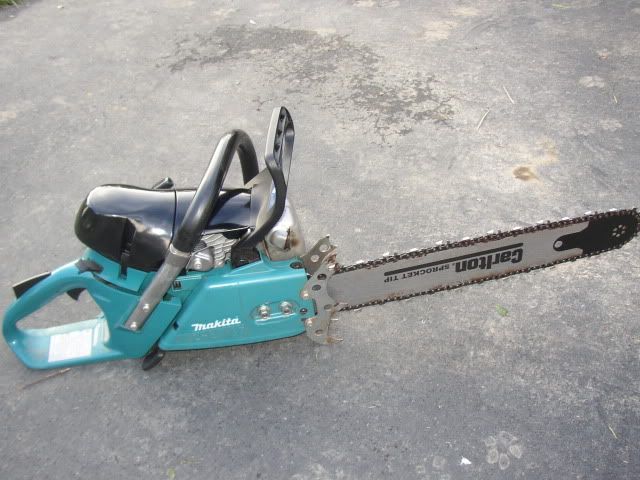
I installed the 7900 p/c today on my Home Depot Makita! I thought it would be worthwhile to post up some pics and give a few tips that my help a first timer. First off I want to start by saying that I am NOT a chainsaw mechanic nor do I claim to be one. If anyone has anything to add or feels I did something incorrectly, please post up the correct way or any tips that would make it easier on the next guy. Thank you.
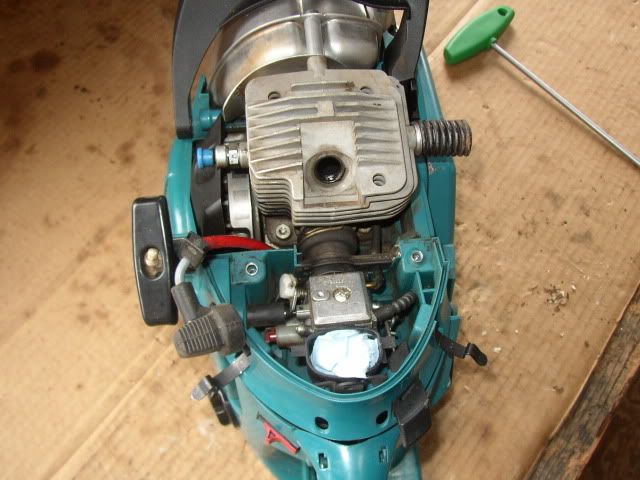
To start off, remove both top covers and the handle as it will just get in the way. Before going any farther, blow off any dirt and grime around the carburetor, cylinder and exhaust.
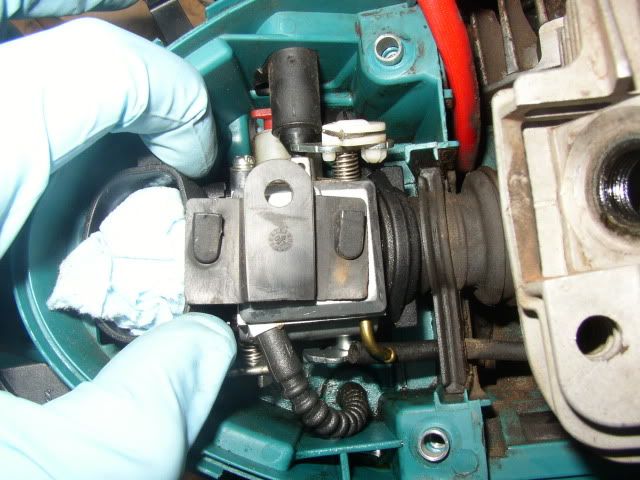
The next step is to detach the exhaust and carb. The exhaust is self explanatory but the carb can be a little tricky. To remove the carb, this rubber plate has to be removed to gain access to the screws.
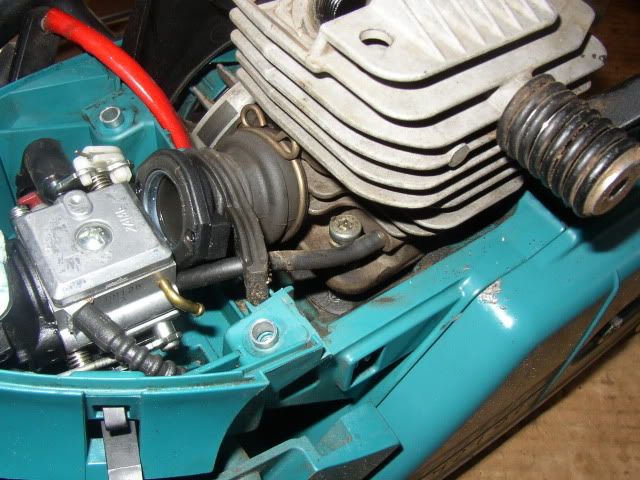
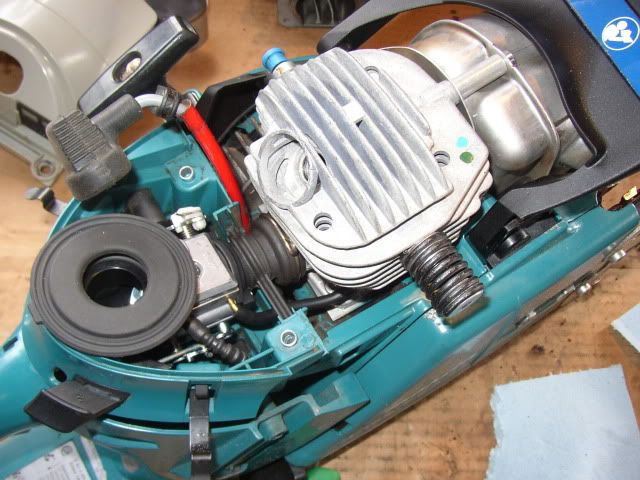
Once the carb is unscrewed and the impulse line is disconnected the cylinder can come off. This next step is not 100% necessary unless you need to reposition or trim the limiting cap but it will make reassembly easier. The intake manifold is mounted to the saw with a plastic ball and rubber socket. Simply pull up on the intake manifold and the ball will pop out of the socket. Now the carb is free... well sort of, disconnect the throttle cable and choke linkage.

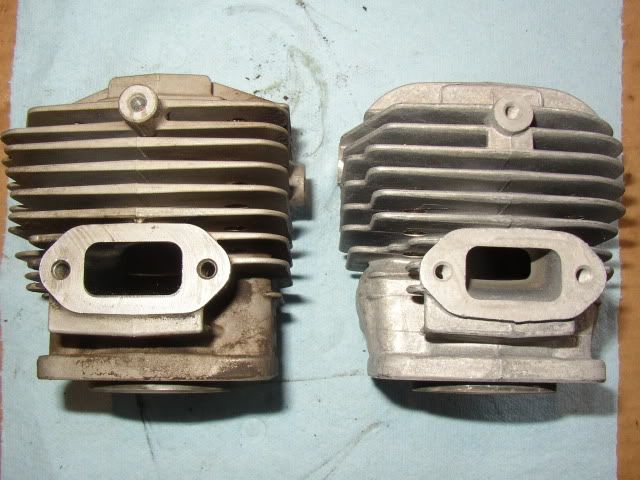
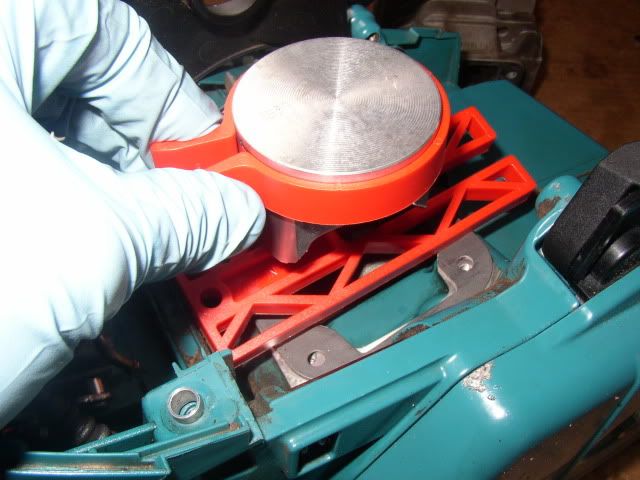
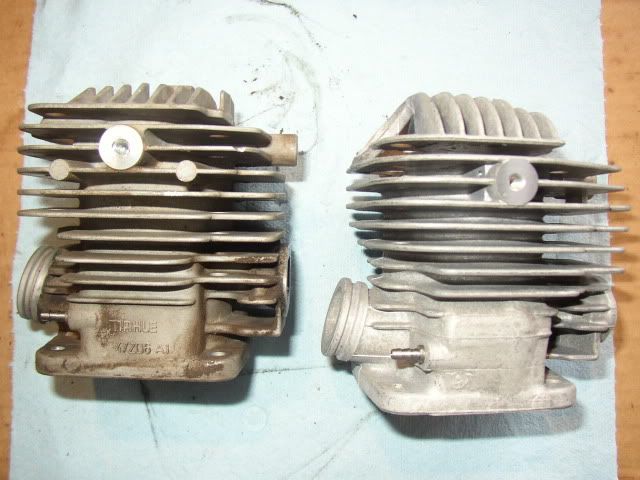
Now on to the cylinder, break all 4 screws loose (I like to use an “X” pattern) then remove them. Now the cylinder can be carefully removed. If the cylinder does not move, GENTLY tap it a dead blow hammer or rubber mallet.
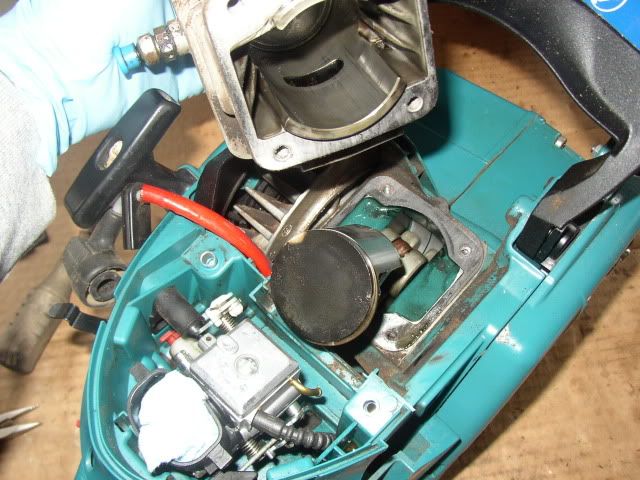
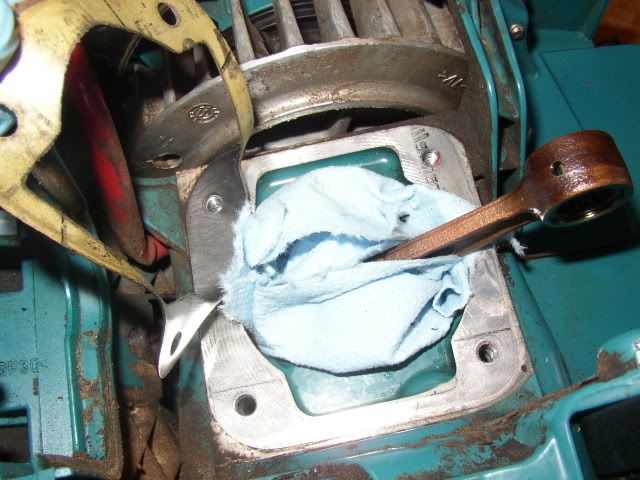
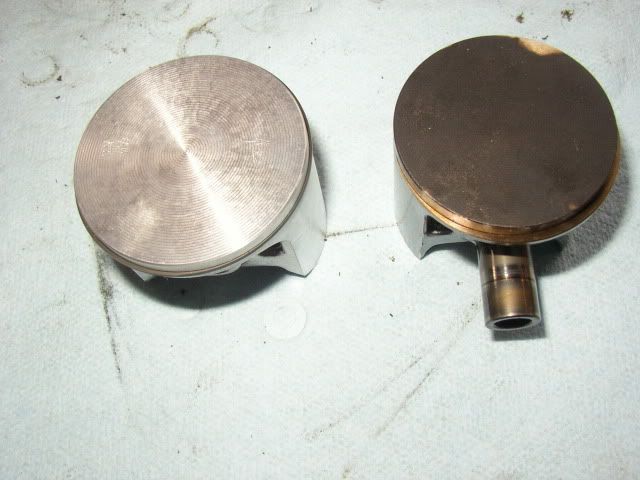
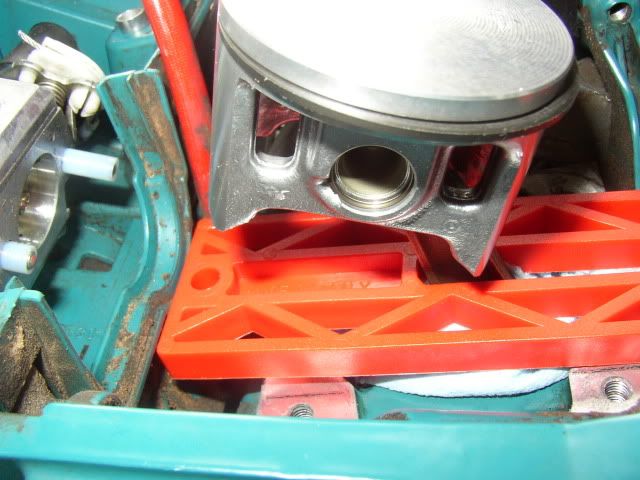
Before even breathing again, stuff a clean rag in the black hole you just created. The case just loves to suck down any kind of bolts, clips, or dirt. Now the fun part, remove the wrist pin clip from one side of the piston and push out the wrist pin. I like to use a small pick and get behind the clip to pop it out. Be sure to wear safety glasses and cover the side of the piston with your hand or a rag before you pop it out.
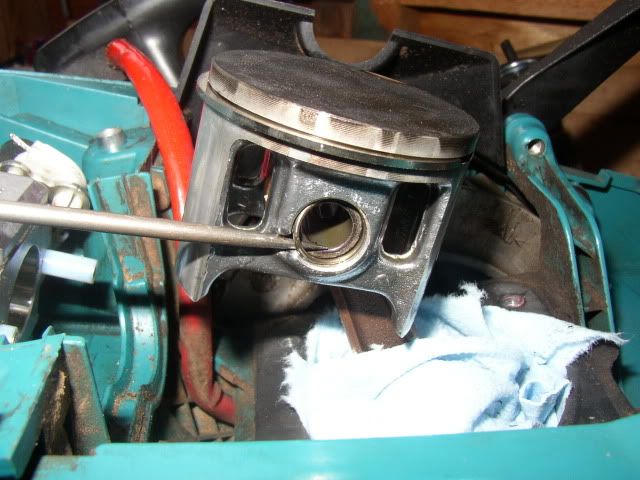
If the wrist pin doesn't slide right out, use the back side of a pen to push it out. Remove the old cylinder gasket and clean the surface well. This is easier to do before you put on the new piston.
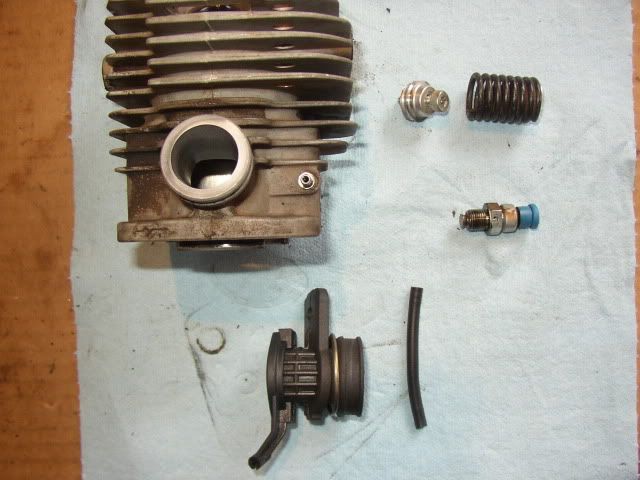
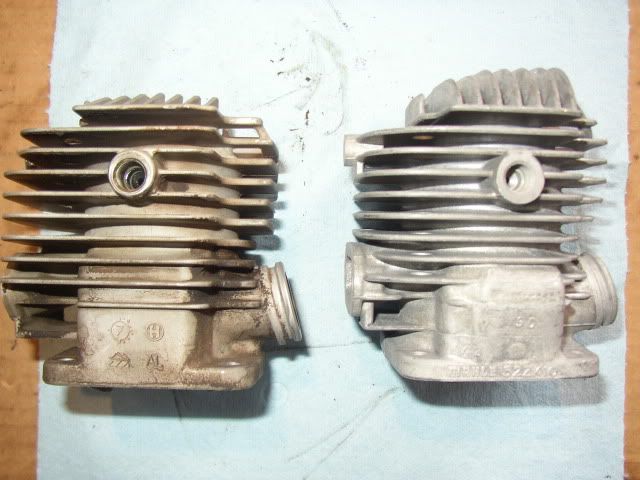
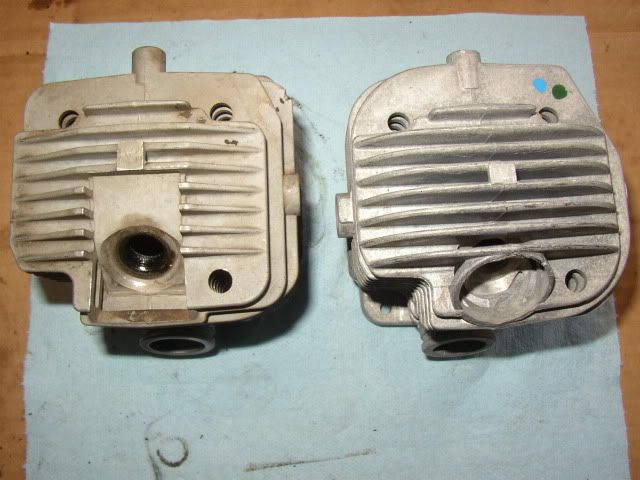
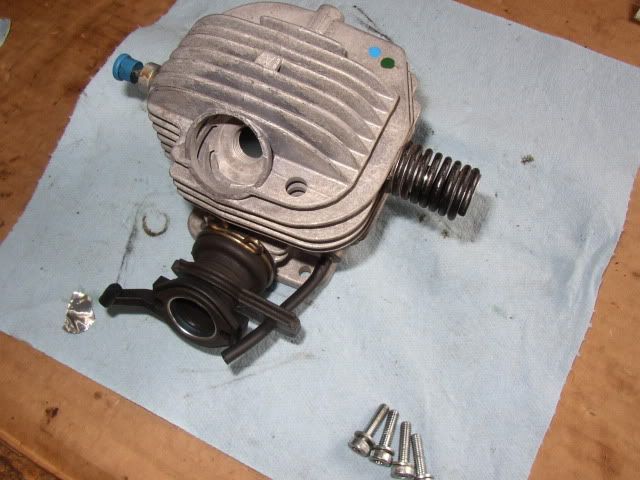
I then swapped the intake boot, impulse line, decompression valve and AV mount onto the new cylinder. The decompression valve and AV mount can be put on after the cylinder is installed but I would defiantly install the intake boot and impulse line before. The AV mount spring has to be removed before you can get to the screw. It is as simple as turning the spring to unscrew it.
to be continued…
To start off, remove both top covers and the handle as it will just get in the way. Before going any farther, blow off any dirt and grime around the carburetor, cylinder and exhaust.
The next step is to detach the exhaust and carb. The exhaust is self explanatory but the carb can be a little tricky. To remove the carb, this rubber plate has to be removed to gain access to the screws.
Once the carb is unscrewed and the impulse line is disconnected the cylinder can come off. This next step is not 100% necessary unless you need to reposition or trim the limiting cap but it will make reassembly easier. The intake manifold is mounted to the saw with a plastic ball and rubber socket. Simply pull up on the intake manifold and the ball will pop out of the socket. Now the carb is free... well sort of, disconnect the throttle cable and choke linkage.
Now on to the cylinder, break all 4 screws loose (I like to use an “X” pattern) then remove them. Now the cylinder can be carefully removed. If the cylinder does not move, GENTLY tap it a dead blow hammer or rubber mallet.
Before even breathing again, stuff a clean rag in the black hole you just created. The case just loves to suck down any kind of bolts, clips, or dirt. Now the fun part, remove the wrist pin clip from one side of the piston and push out the wrist pin. I like to use a small pick and get behind the clip to pop it out. Be sure to wear safety glasses and cover the side of the piston with your hand or a rag before you pop it out.
If the wrist pin doesn't slide right out, use the back side of a pen to push it out. Remove the old cylinder gasket and clean the surface well. This is easier to do before you put on the new piston.
I then swapped the intake boot, impulse line, decompression valve and AV mount onto the new cylinder. The decompression valve and AV mount can be put on after the cylinder is installed but I would defiantly install the intake boot and impulse line before. The AV mount spring has to be removed before you can get to the screw. It is as simple as turning the spring to unscrew it.
to be continued…


")