- Joined
- Jan 14, 2002
- Messages
- 4,799
- Reaction score
- 12,593
- Location
- North of Goderich, Ontario, Canada
Put a wrap of 2" masking tape around the tree, use it for a guideline until you get your lazer eye used to it.


Put a wrap of 2" masking tape around the tree, use it for a guideline until you get your lazer eye used to it.


trukn2004, don't be afraid to cheat abit and use stuff like tape to get your cuts better. I would much rather laugh at you with tape on the tree than see your obit because you didn't. I do crappy cuts all the time but I pick my trees to do them on. I do most of my cutting in a bush and direction seldom matters so I practice trying to make trees go where they naturally wouldn't want to go. I dropped 3 big trees a week ago on a front lawn and they went exactly where I wanted them to go. The practice paid for itself that day. My buddy would cuts all the time was impressed, especially when I pointed out a widowmaker laying across the tree he was starting to cut down. It was about 50' up and he never noticed it because he was in a hurry to show me how good he is. You can never spend too much time checking for "oh crap" moments.
This isn't the one but it was one like this but much higher up in a tree that didn't get damaged, the branch landed in that tree from a tree 30' away. This one was up about 30' high. We dropped 6 trees so far and have a few left to go. The most dangerous ones are on the ground now but we'll still treat them with respect. Wind can cause damage that you can see until you start cutting. The ashes are 30+" and the silver maples are 24 to 36" dia. There is a 7' willow but not sure if I'm going to drop it or not yet.
View attachment 444303
I totally agree!!!Have heard good reviews on the Jotul stoves----sure a nice looking mantle, rock, stove, etc.
Have heard good reviews on the Jotul stoves----sure a nice looking mantle, rock, stove, etc.
I totally agree!!!
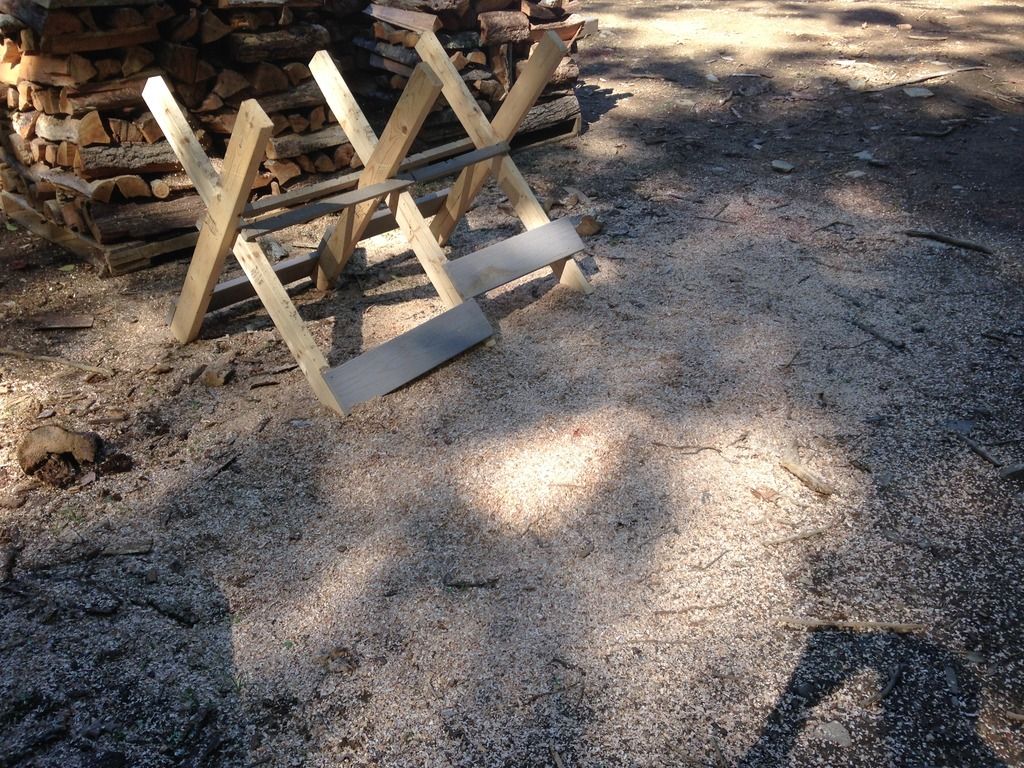
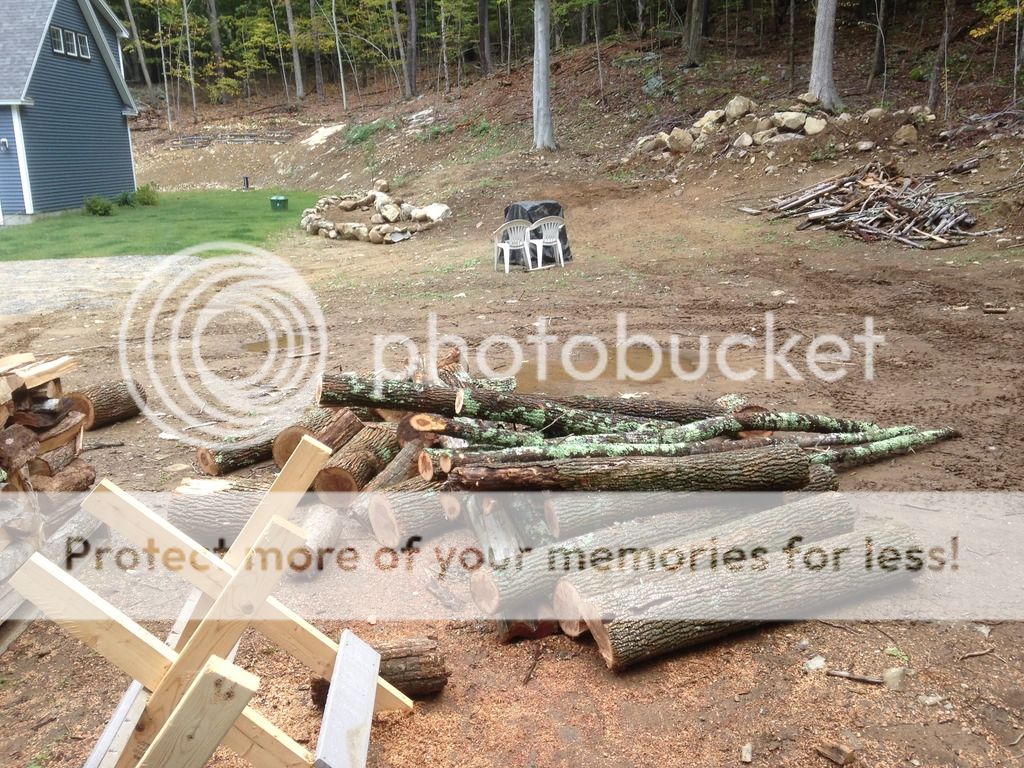
 All in all I cut up two cedars, 5 standing dead ash, and a few small maples. Nothing had a diameter of more then 8" and I cut and saved down to roughly 3". Overall I have to say I LOVE the sawhorses. makes processing this type of wood a lot easier, cleaner, and quicker. On to the photos!


Your'e doing some good work up there in Maine, I like the saw bucks!


I figured another installment was due. the following work was done over a couple days, but it made a nice addition to the stack and cleaned up the woods too!
My first run was a bunch of dead, small maples laying on the ground. completely de-barked, solid and dry as a bone!
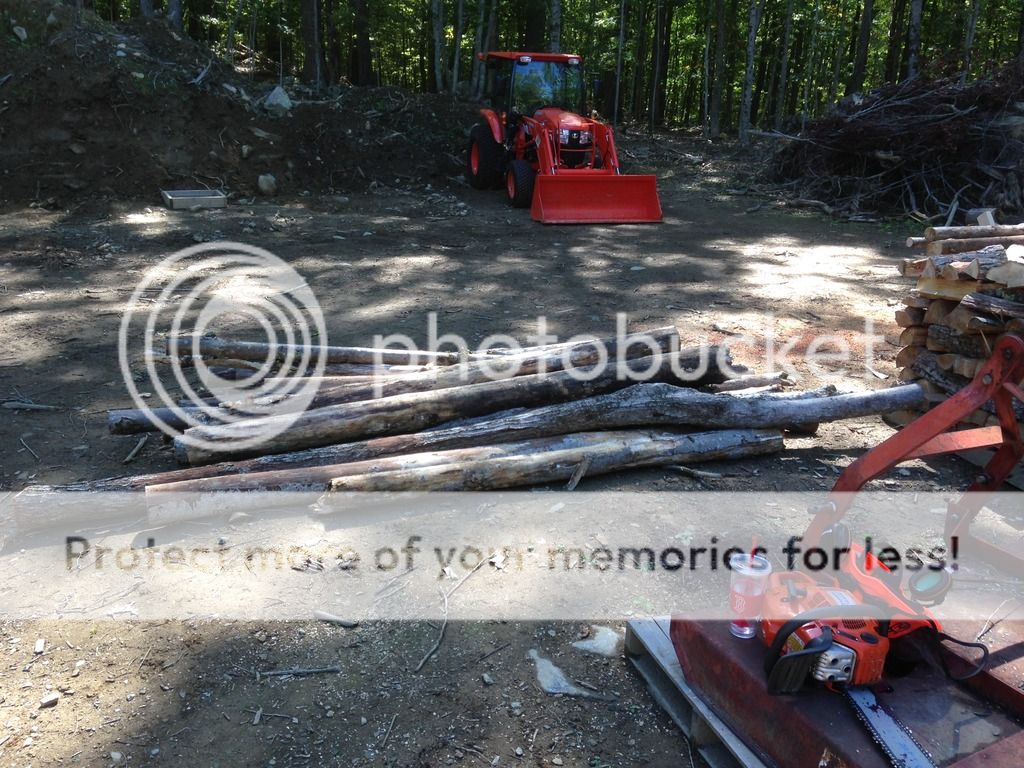
the middle pallet is the resulted stack. not too bad for a bunch of little trees that were easy to get and already very dry

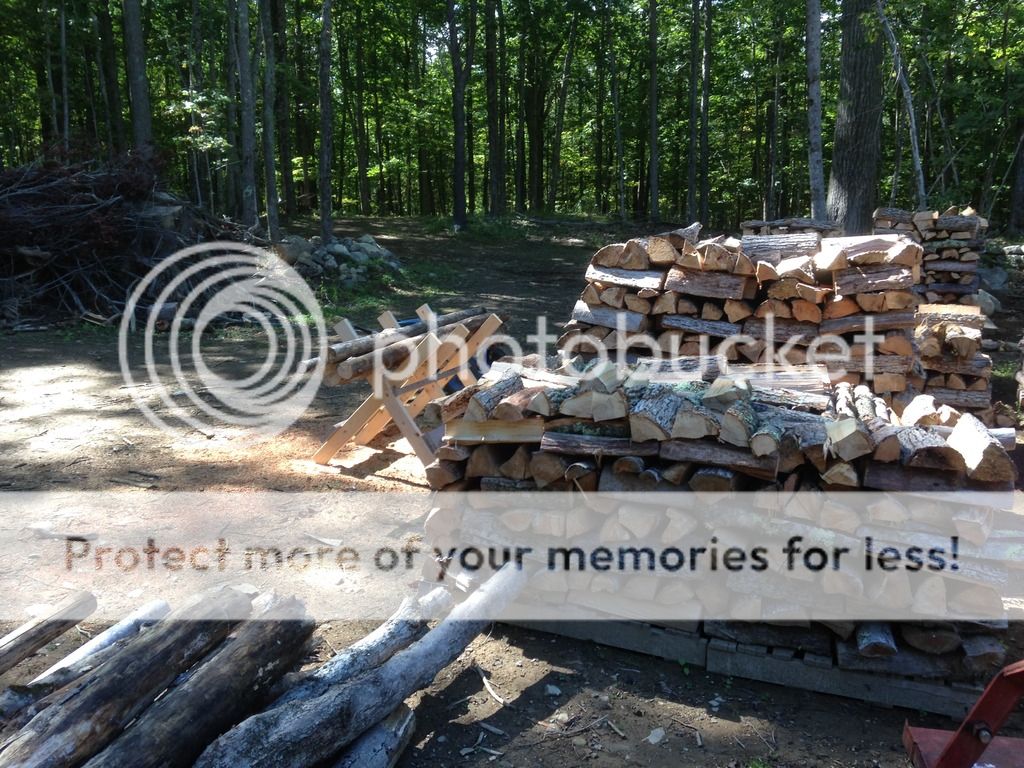
I know its all the same, but i love the chips piles ive been making!
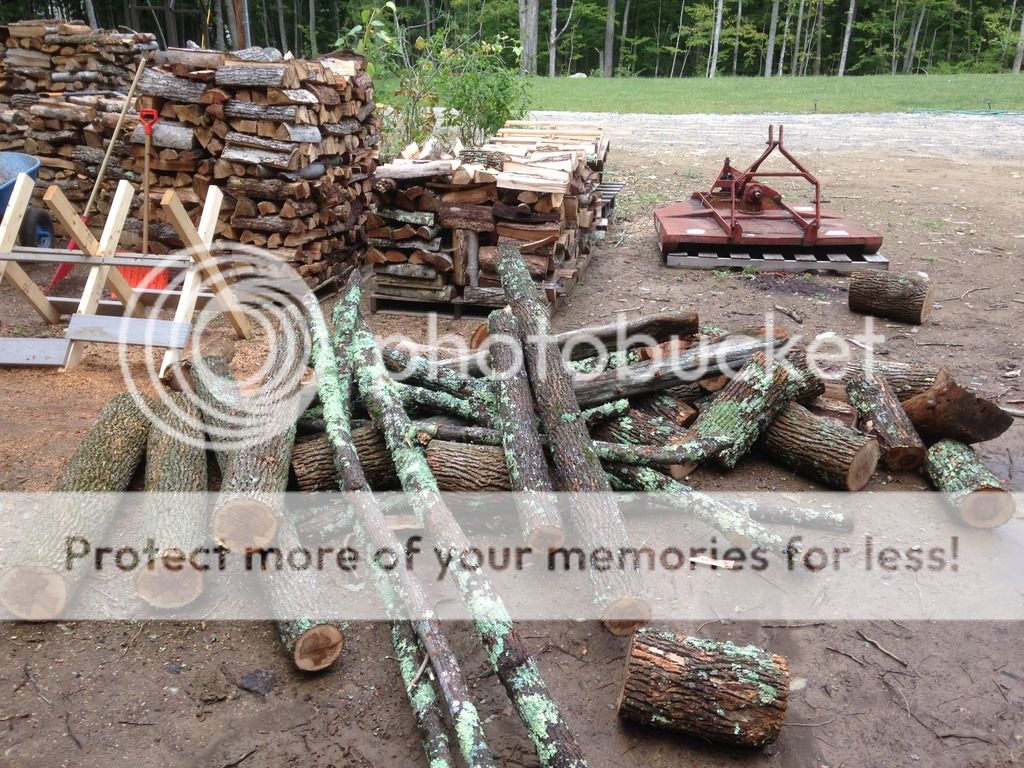
Second, i went back into the woods and took out two of the ash trees i had marked, as well as a little dead cedar. Bigger ash carried to where i could get the tractor.

the pile from the two trees.
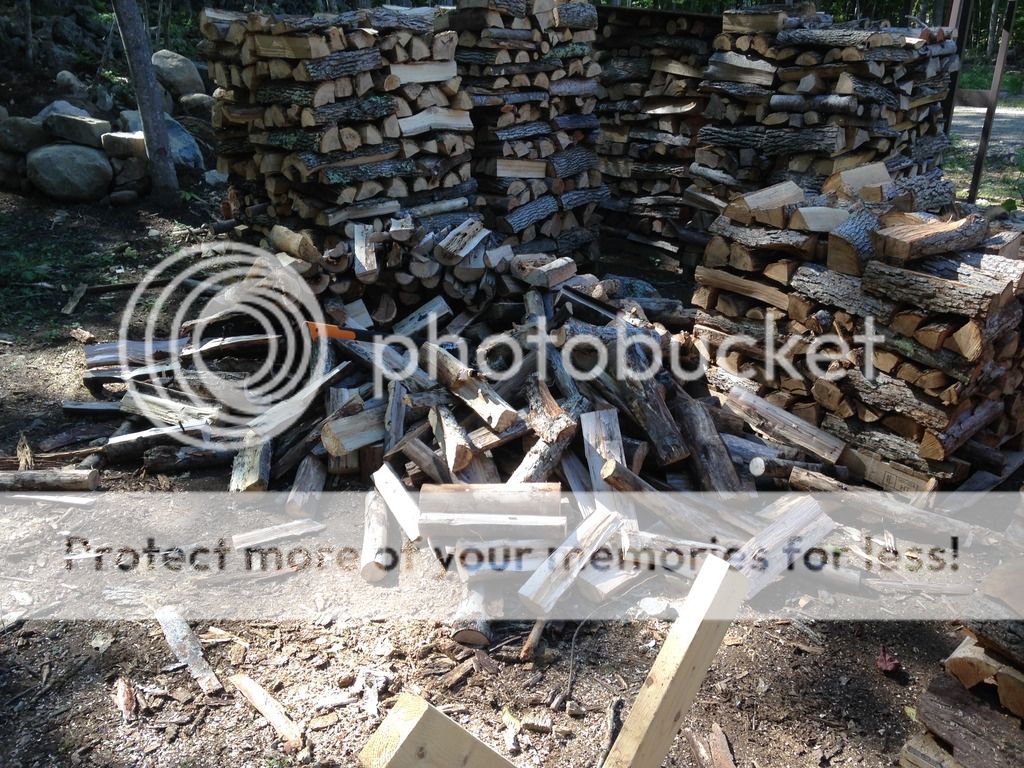
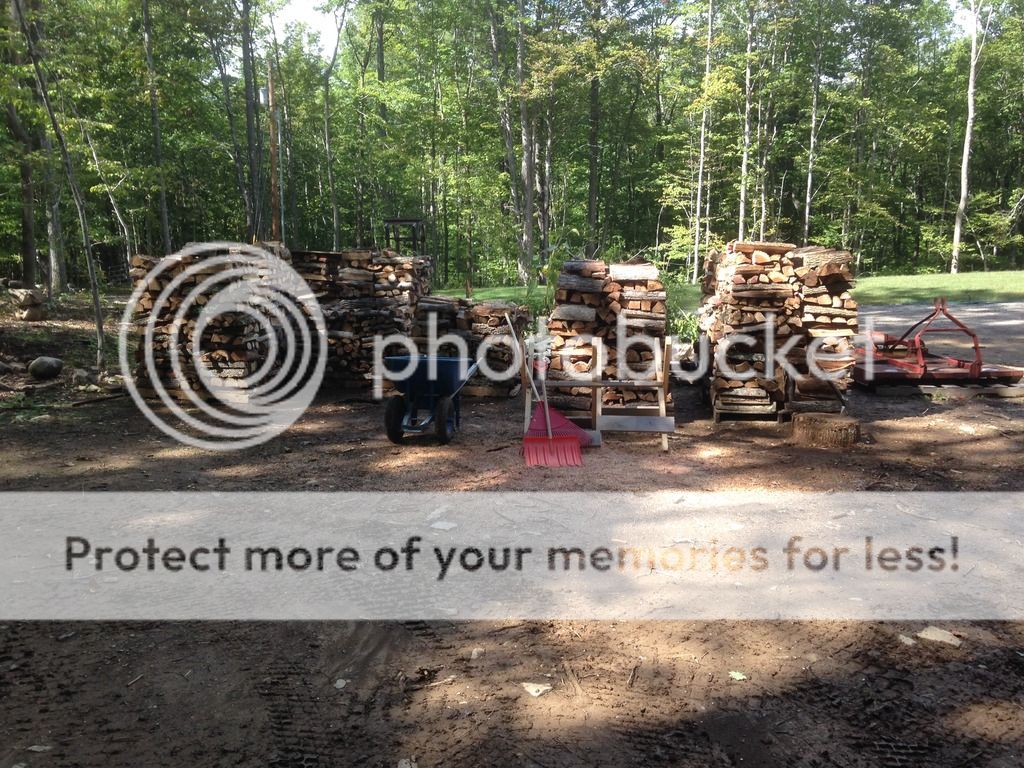
split and stacked! I put in on top of the maple that they took down in my backyard. Figured they will both be perfect for next year.
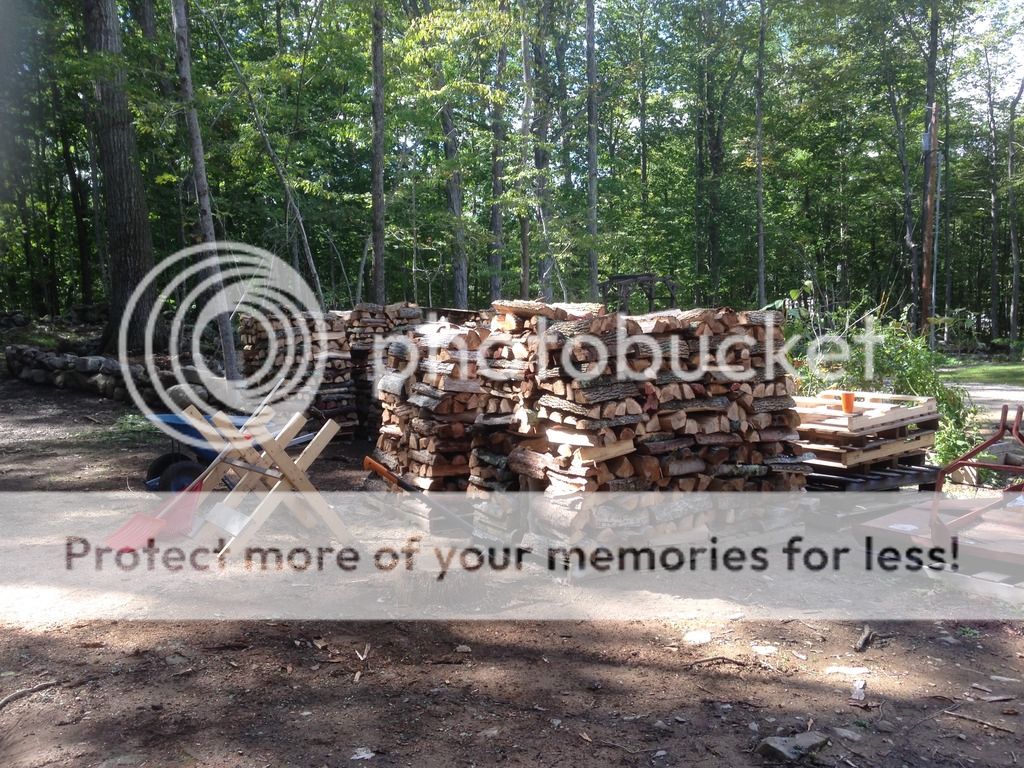
splitting area all cleaned up!
Regarding the saw buck, how do you fellas stop the top sticks from bouncing around? Straps? Make sure only larger sticks are on the top?
What about bent bits that don't stack so easily in the saw buck?
Whoop! too neat! heheheh Good feeling, isn't it?
Thanks.Mostly careful stacking. Bent ones get put in all the same for me, but I have had some jump and spin. I try to go slow and ease in to minimize the issue.


Enter your email address to join: