Great post davidbradley360... thank you for adding some more info to the thread.
Best part about this forum is that there is always more info to learn... even from those of us that have been doing certain things for years...
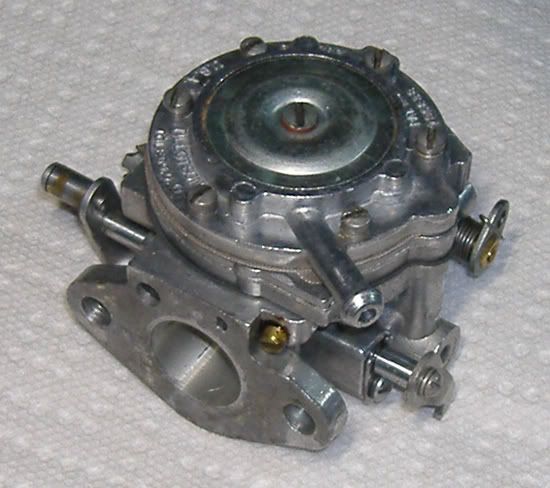
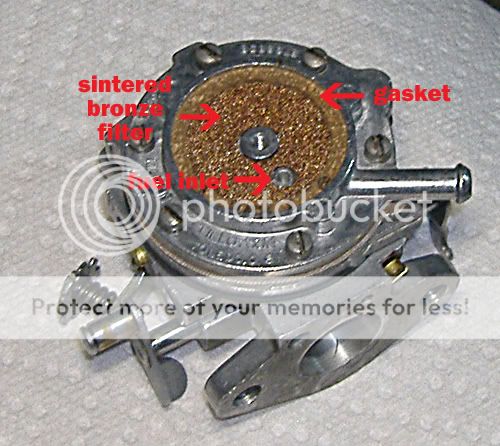
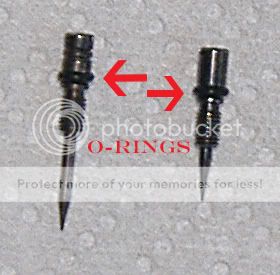
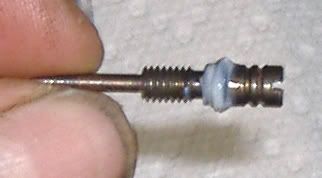
After I had discussed the "88" kits with another well known saw guy here in WA... he told me to yank that needle and seat out of the carb that I had initially used. I will admit there was a noted difference.
So... I wish I could go back and edit the tutorial and reitterate the use of the RK88 kits instead of what I used... which I thought were an "improved" design... maybe the mods will let me do that some day.
Dave? Dan? What say ye?
Gary
")
I'm glad to see this old thread gettin' kicked up...definitely one of the top ten quality posts on A.S. .At least the mods should let you edit Gary,and I'm giving a strong vote for sticky status