I got this 044 in fairly poor condition but at a more than fair price point (free) from a fellow addict. The bottom and top end are in great shape and the saw is near complete otherwise.
The tank took the brunt of a fall at some point and had a large crack down the seam. It was surface JB Welded, so I chipped that off during the initial inspection. Below is the process of the tank repair . I thought I would document this technique with pictures, but for as little time as it took, I should have just made a video.
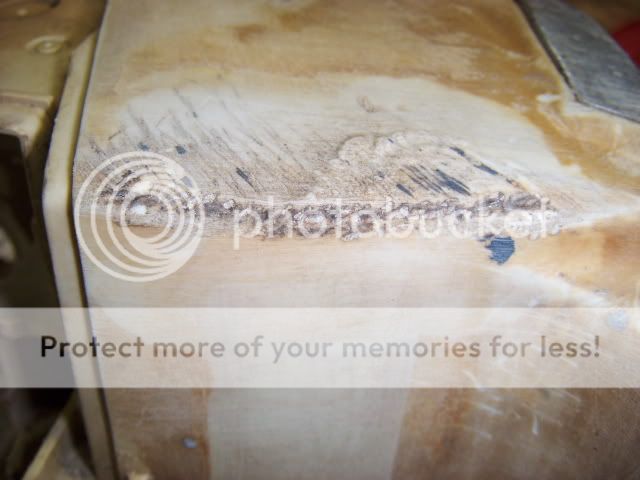
Tank condition following the JB Weld removal: It was sanded with rough grit paper and sprayed with brake cleaner to do what was possible in purifying the area.
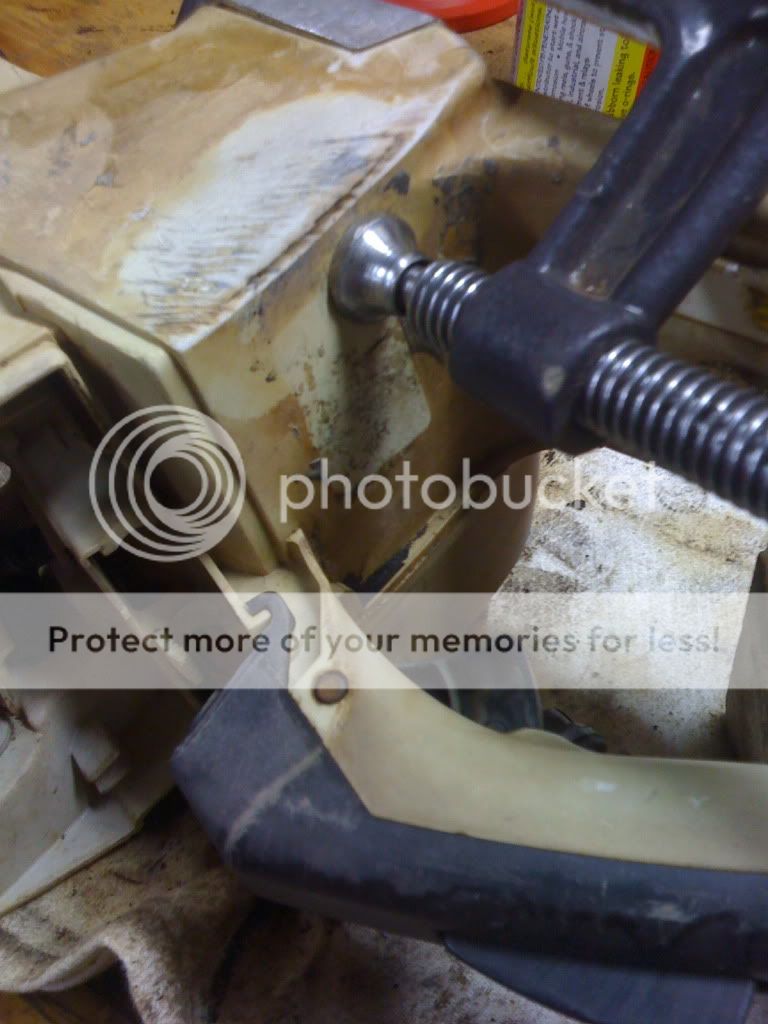
The plastic was then clamped into place as well as possible. The attempt here was to pull the thicker back plastic forward to provide a solid welding surface for the thinner side plastic.
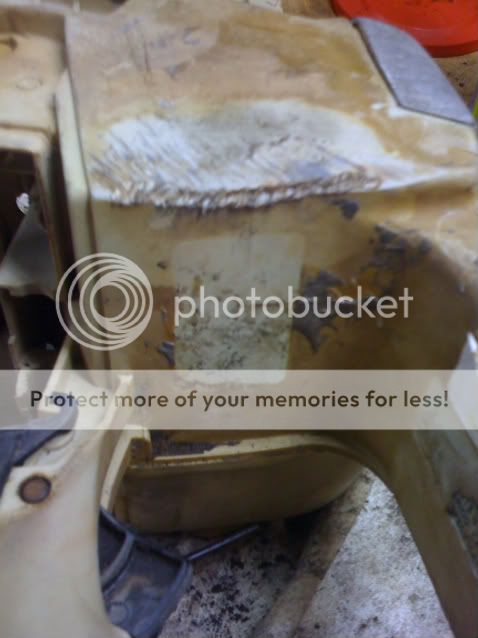
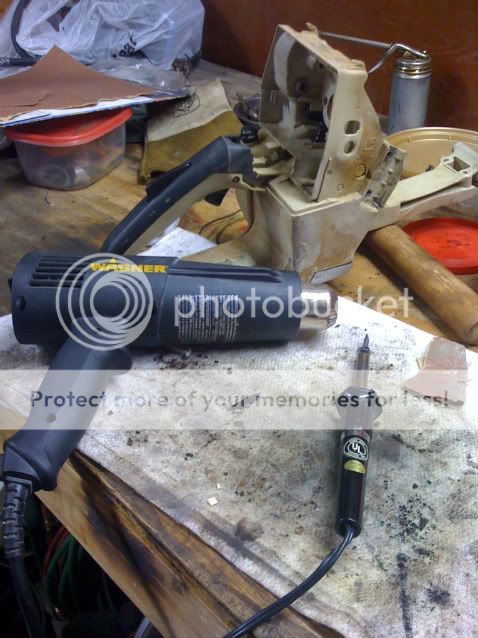
The area was then heated with a Wagner (Milwaukee) adjustable heat gun on 850* on the low blower setting. Do not focus the heat directly and stop prior to discoloration. It will be very hot to the touch, so wear a thick glove on the off-hand to hold the pieces in place while welding.
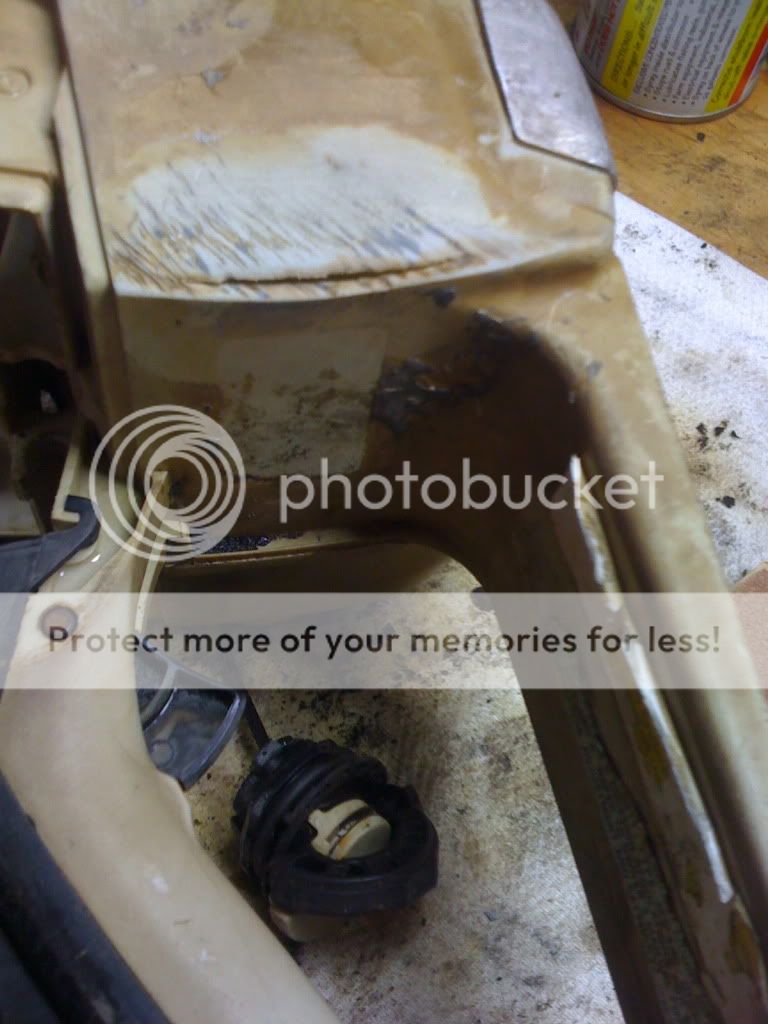
This was followed by welding the seam together by melting the thicker back flap and dragging the puddle through the seam with a soldering iron, joining the two. I didn't use any filler material since I don't have suitable extra plastic. If a person has welding experience, this is a simple procedure.
Let it cool slowly and then sand as smooth as desired. Between a clamp, a simple heat gun, and the most generic soldering iron you can find, it's not a bad repair. Should some additional tank material show-up, I'll probably add some filler on top of the current weld. That being said, It is fuel tight and very rigid.
The tank took the brunt of a fall at some point and had a large crack down the seam. It was surface JB Welded, so I chipped that off during the initial inspection. Below is the process of the tank repair . I thought I would document this technique with pictures, but for as little time as it took, I should have just made a video.
Tank condition following the JB Weld removal: It was sanded with rough grit paper and sprayed with brake cleaner to do what was possible in purifying the area.
The plastic was then clamped into place as well as possible. The attempt here was to pull the thicker back plastic forward to provide a solid welding surface for the thinner side plastic.
The area was then heated with a Wagner (Milwaukee) adjustable heat gun on 850* on the low blower setting. Do not focus the heat directly and stop prior to discoloration. It will be very hot to the touch, so wear a thick glove on the off-hand to hold the pieces in place while welding.
This was followed by welding the seam together by melting the thicker back flap and dragging the puddle through the seam with a soldering iron, joining the two. I didn't use any filler material since I don't have suitable extra plastic. If a person has welding experience, this is a simple procedure.
Let it cool slowly and then sand as smooth as desired. Between a clamp, a simple heat gun, and the most generic soldering iron you can find, it's not a bad repair. Should some additional tank material show-up, I'll probably add some filler on top of the current weld. That being said, It is fuel tight and very rigid.
")