Yes the 075 tank has to be modified if you want to use the -1301 coil. I never realised this until reltaively recently, of the few conversions I had done it was virtually always upgrading to the pawl system from the -1305 coil or installing the -1303 module.
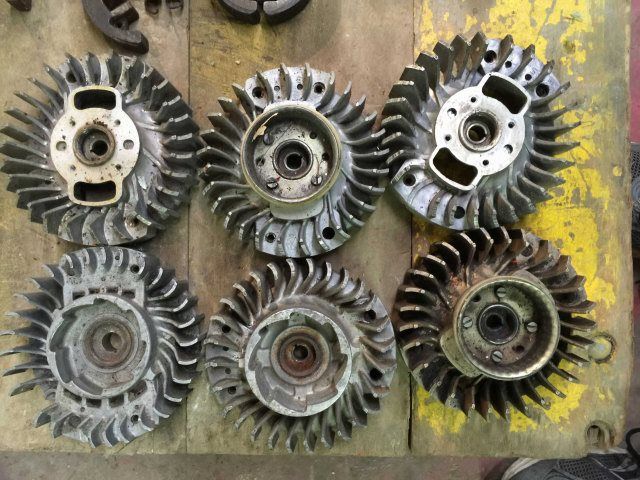
This is what happens with the -1301 coil and the "stock" 075 tank(friction shoe);
This is what it should look like, -1301 coil with 076 tank (pawl);
You can take a carbide burr and files etc to the 075 (friction shoe) tank, the area you need to create clearance does not actually form part of the gas tank. It is also far enough away from the seam in my opinion not to cause a weakness should you ever need to split the two halves.
Also, you may choose to chamfer where the tank comes into contact with the HT lead (the 076 tank has this from the factory). It will likely rub if not. Don't go crazy as that is the shoulder of the gas tank! Alternativley, you can just unclip the HT lead and make it follow a slightly different route.
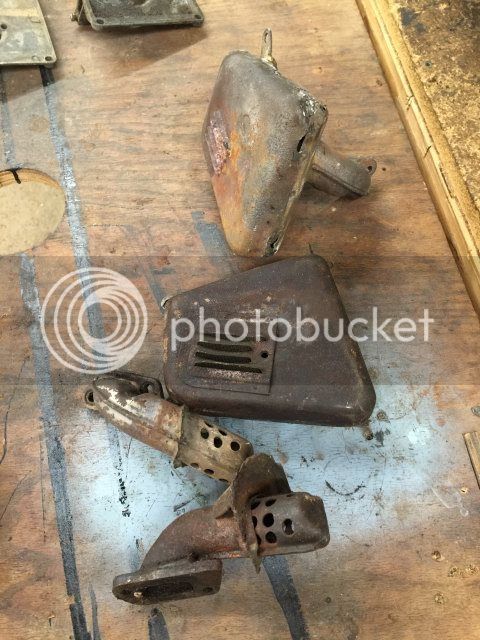
"Modified" 075 tank with -1301 coil;


")