Dai Sensei
ArboristSite Member
Beautiful wood with especially good grain. thanks for sharing.


Beautiful wood with especially good grain. thanks for sharing.
man i wish i could drive (only 12) but yer only a drive away for me (live in sf area) man i wish i could get a chance to go milling this (darn rain) :bang:
The local walnut orchards are all in the flood plains around here. They seem to like the loose gravel for sending there roods down to water. Stock up while you can there is some nice wood in your stacks.
Hey Neil, when are we gonna see that blue beast of yours in action again?
") Too busy having holidays, diving and collecting more timber. I have some big Blackwoods that are too big for my bandsaw, so not too long
Too busy having holidays, diving and collecting more timber. I have some big Blackwoods that are too big for my bandsaw, so not too long 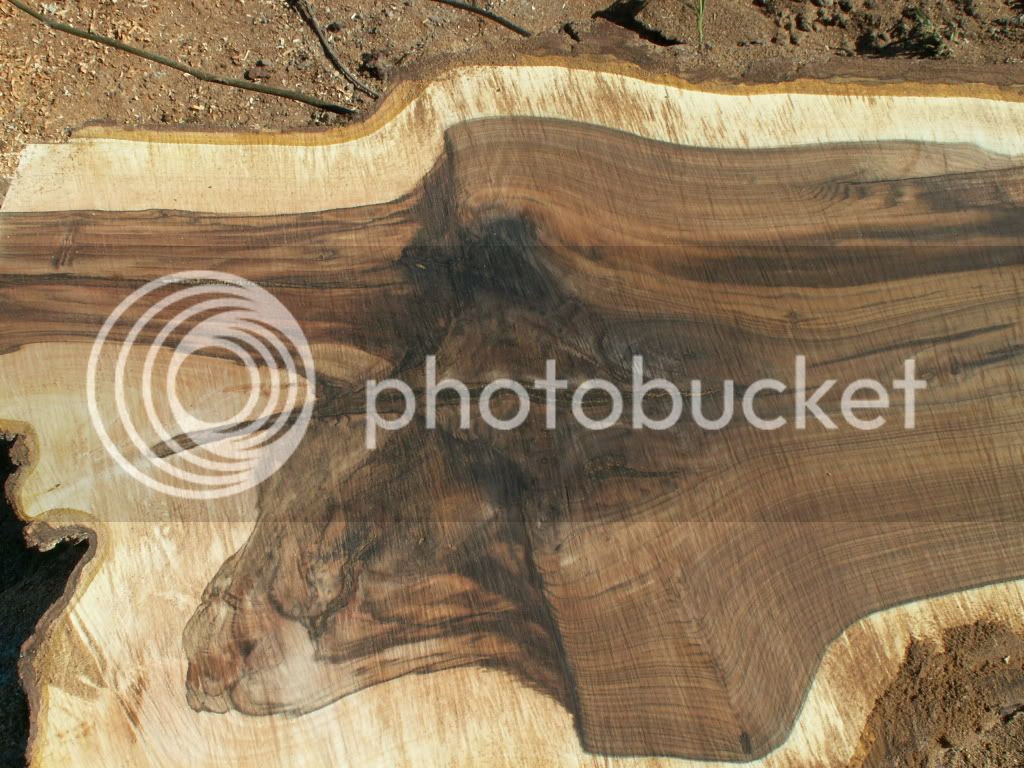

I hope you guys aren't getting bored seeing so much walnut.

I hope you guys aren't getting bored seeing so much walnut. [/IMG]
Under that log photo that looks like a lot of sawdust, what sort of chain are you running?
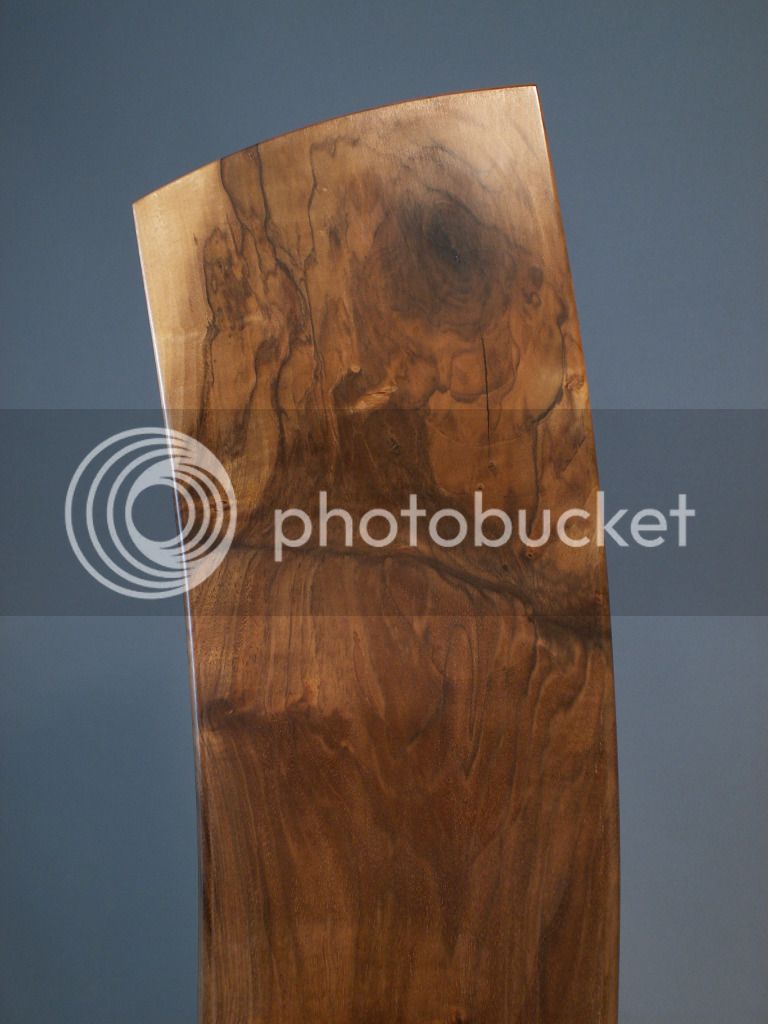
I hope you guys aren't getting bored seeing so much walnut. With yesterdays haul the total is now 109 slabs, most 2" with a few 4". I have mentioned how these trees are claro with english grafted at the top of the bole. Here is a great shot showing two graft lines.
This log was one of the only ones that had a crotch in the claro so I milled it for the crotch figure. What showed up even more spectaculerly was this burl at the base.
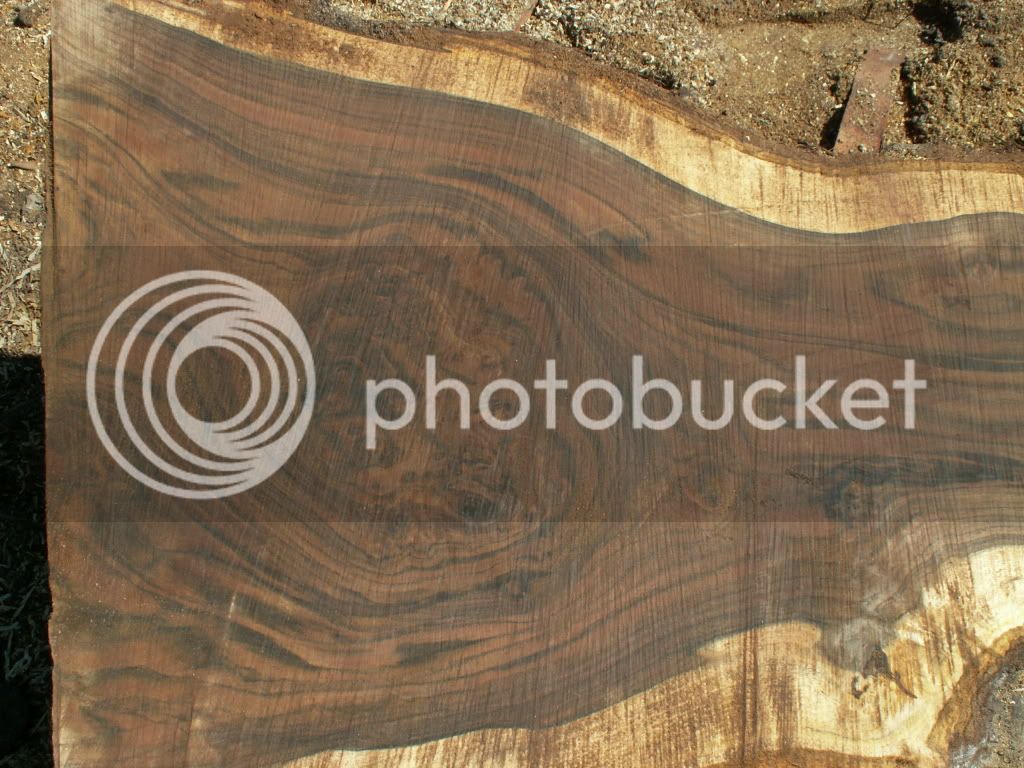
Here is a shot of the crotch figure. Looks like there might be a rifle stock in there for the Rossi M92 puma I just picked up. At the widest point of the crotch I had to trim it to 36" wide to fit my bar/mill.
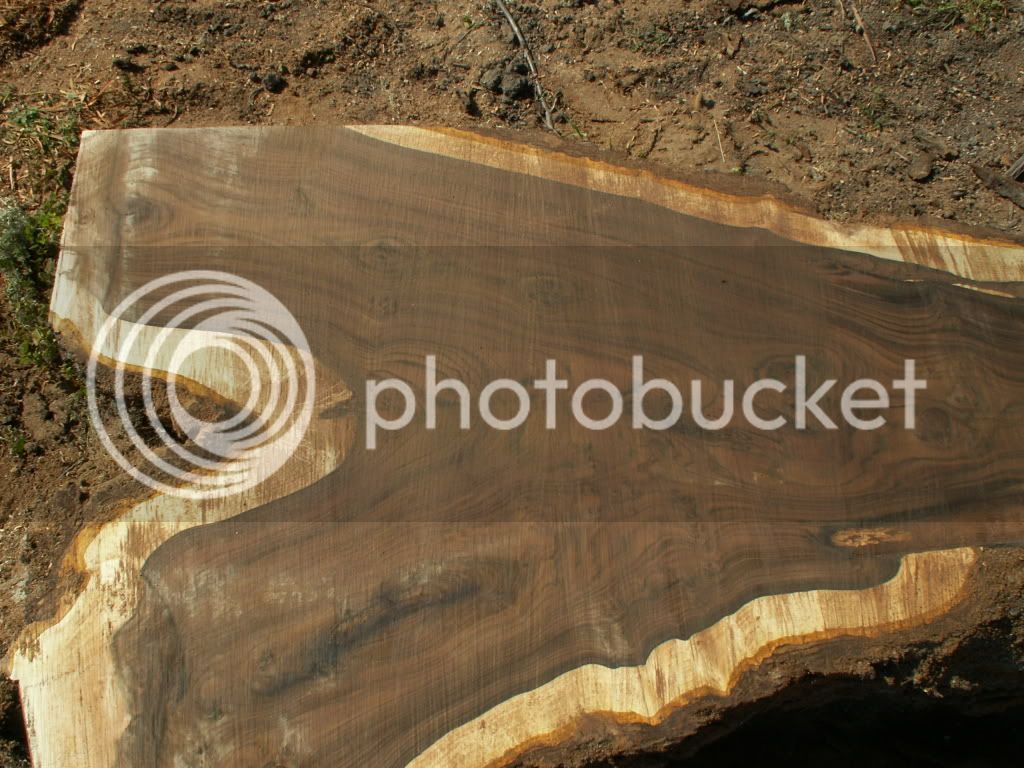
This is that same log as I got to the last slab. normaly I might leave something like this or take a 1" board off to use as stickers. I liked the stricking pattern created by the heartwood/sapwood contrast, plus there was another burl at the base so I took one more 2" slab. With all the sap wood this one will be unlikely to dry as a usable slab but it only cost me a half a tank of gas for the saw.
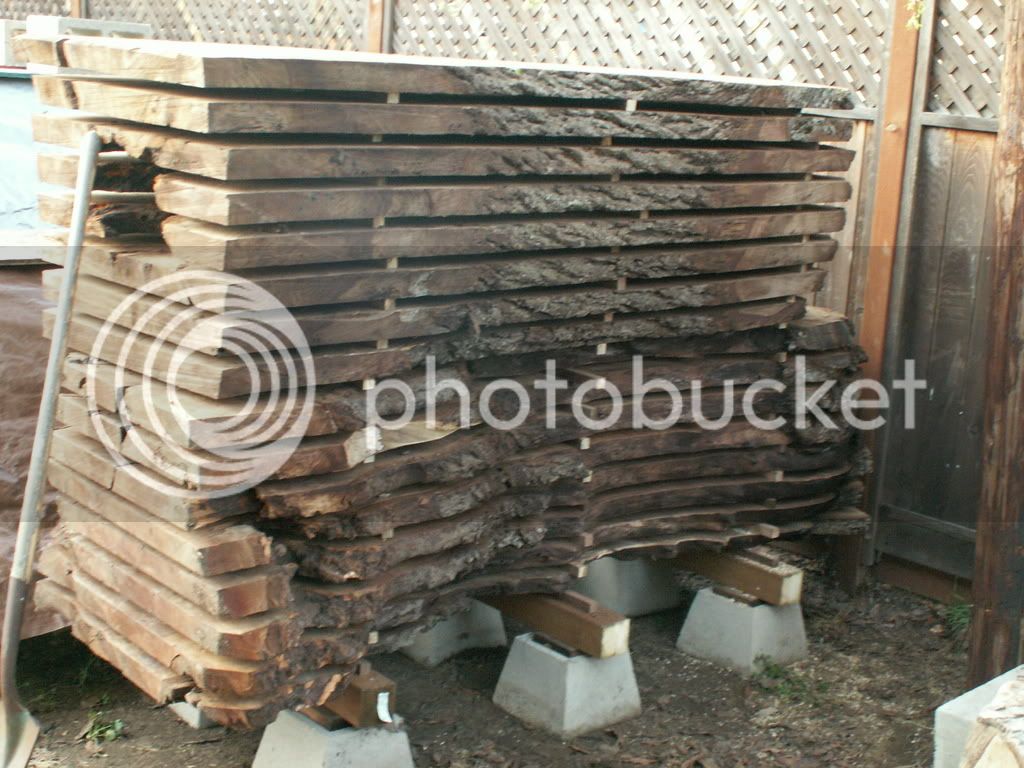
With all the rain we have been having I have not gotten out to the walnut orchard to mill as much as I would like. It takes 2-3 days after a rain before the ground is firm enough to drive out into the orchard. On the plus side I have had plenty of time to get the 075 back up and running along with fixing the starter on my 038. Here is a pic of the first two logs, some milled on my first trip and the rest milled a week ago.
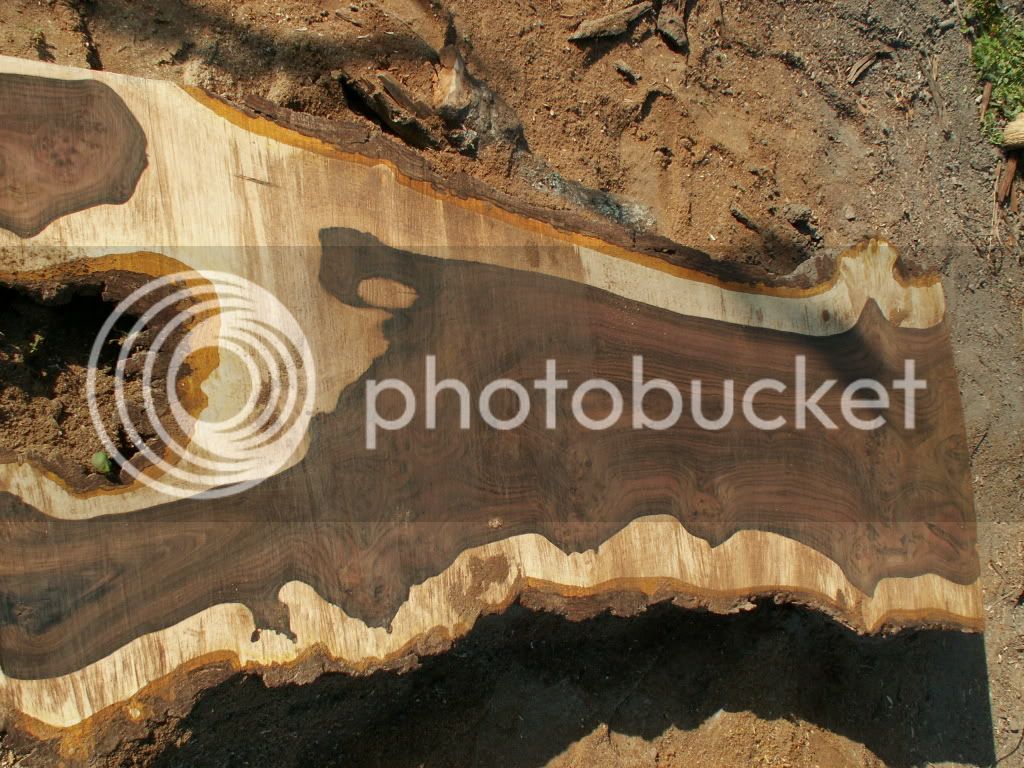
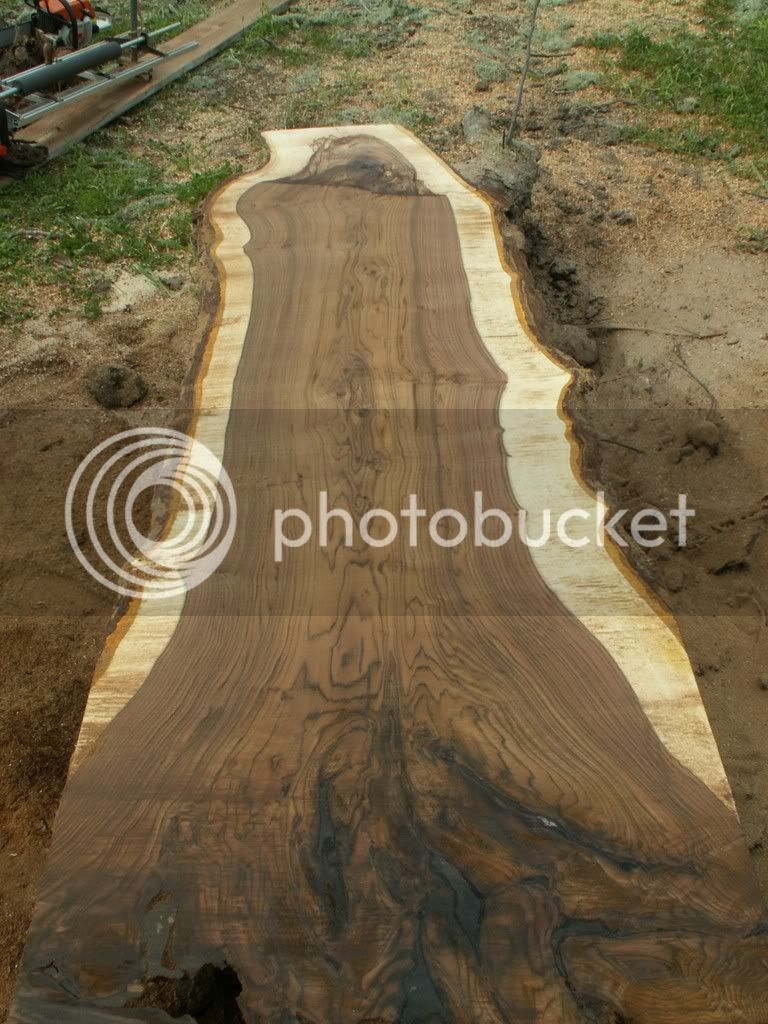
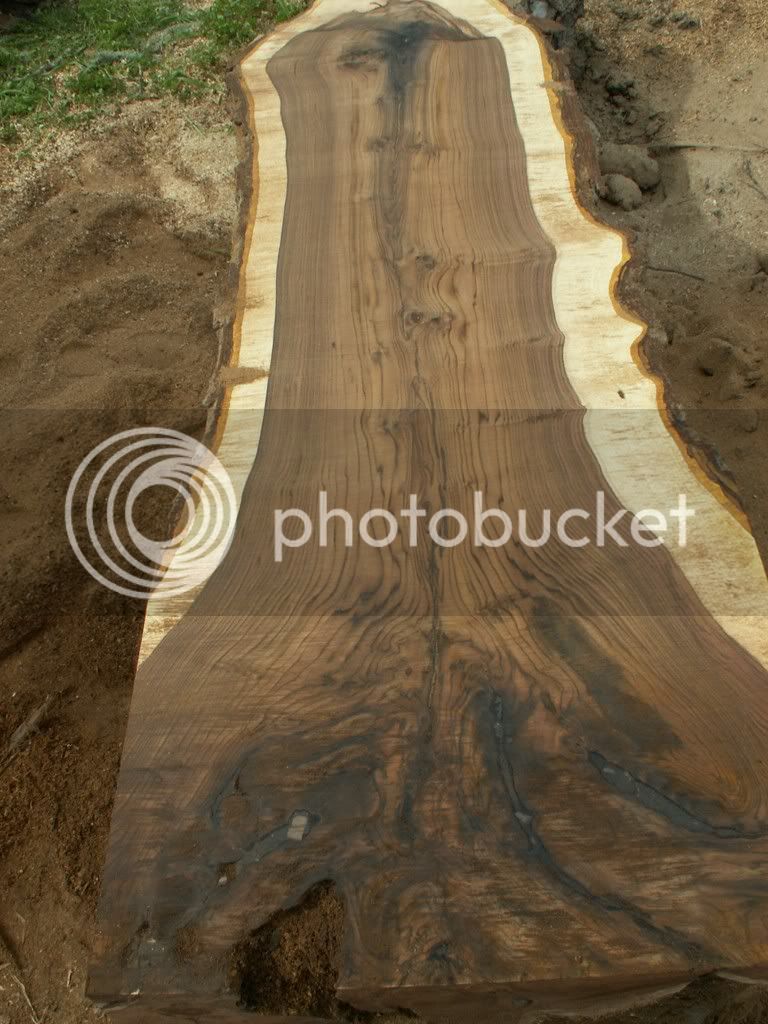
Here are pics of 2 of the six slabs I milled this past Saturday. You can see a fair amount of occluded dirt near the root end of each slab. As bad as this sounds it really wasn't as hard on the chain as you would think. The small bit of limestone on the left side of the bottom pic however was a bit more of a problem. I milled 3 slabs before I had to resharpen and then it only required 4 file strokes on each tooth.
It rained yesterday and it's raining today with rain forcast through Friday so I'm not sure when I will get back out to get more wood.


Enter your email address to join: