Marc
Addicted to ArboristSite
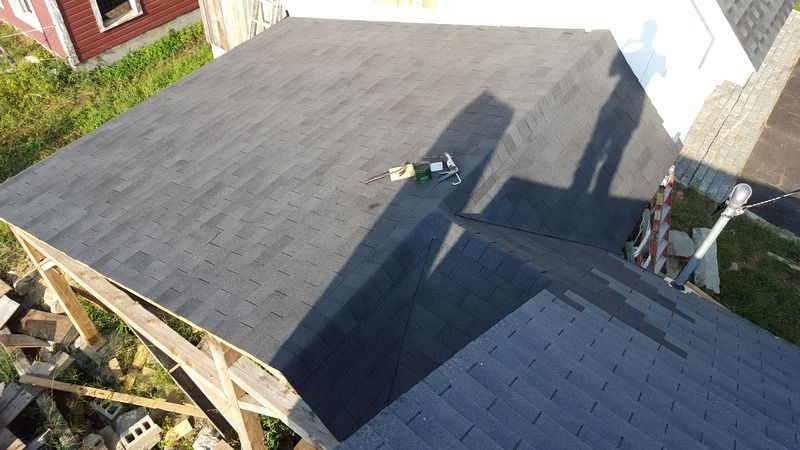
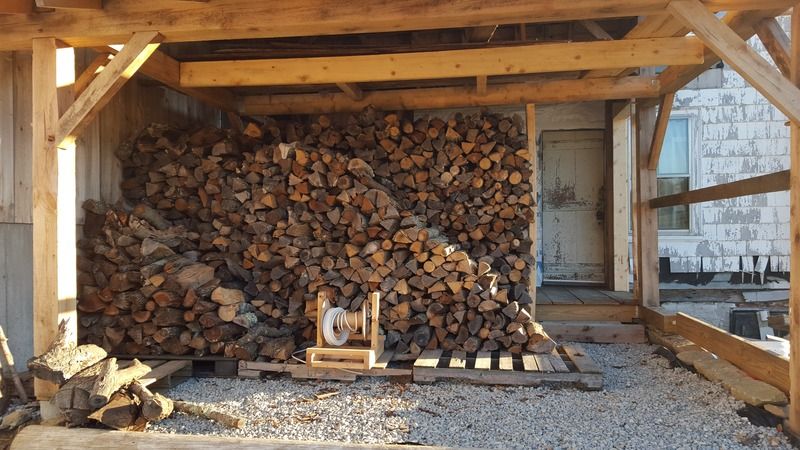
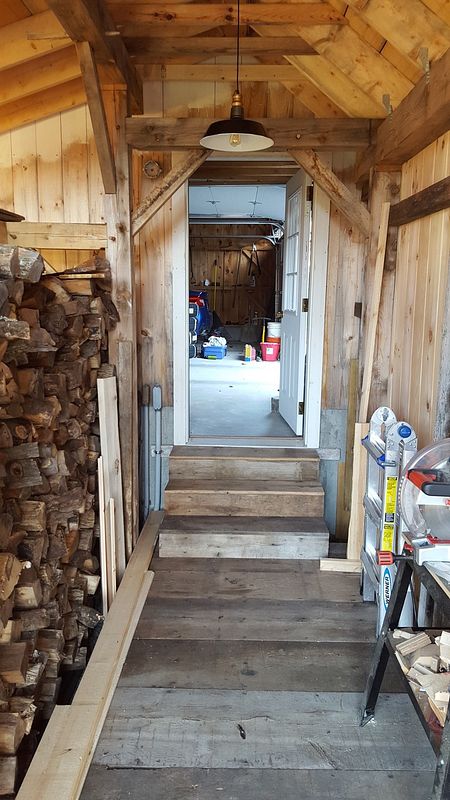
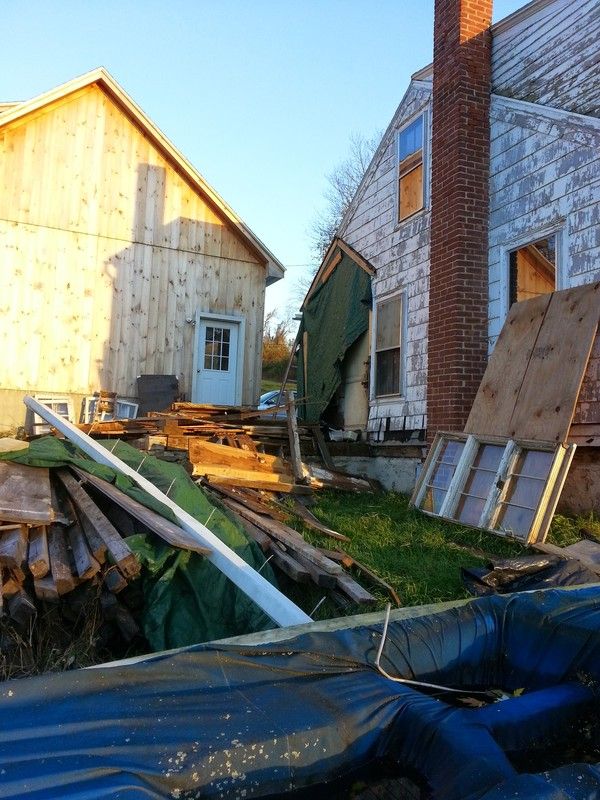
Hey all, been a while since I've posted anything here, but I'm still cutting, splitting, stacking, hauling, and burning. I'm finally wrapping up my woodshed project, working on and off for about a year, in between the ongoing reno/resto of the meandering family farmhouse, which will probably never be done. So the new woodshed, as I envisioned it, would also connect the north end of the house to the new garage we had built about 2 years ago. Below you can see the new garage and the remnants of the old "shed"/ garage (with the tarp hanging off) that was falling in from rot and a host of other problems. Yes, in 2 years I haven't gotten around to painting the west side. It'll happen sooner or later.
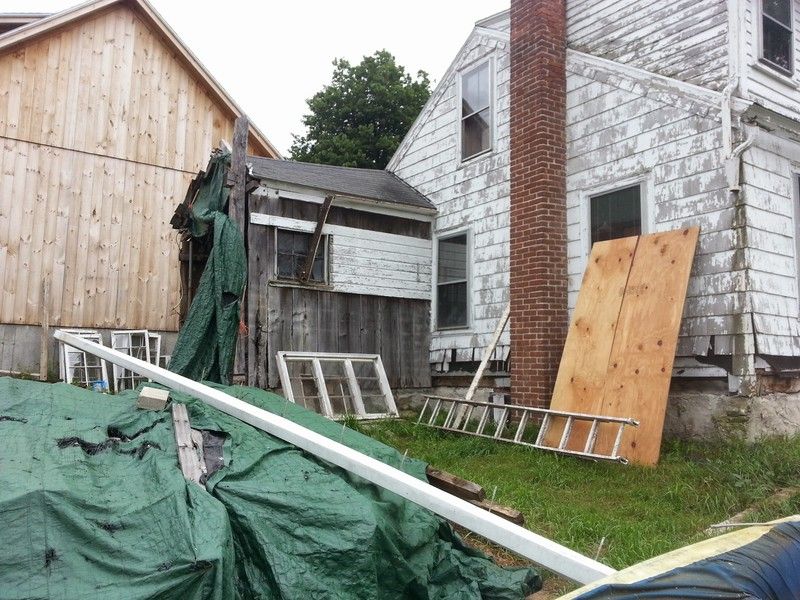
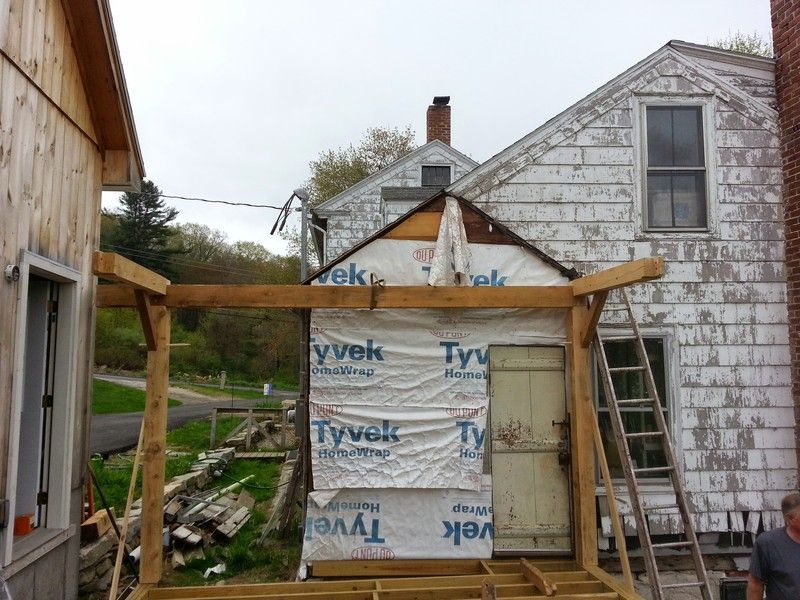
Here's another before, looking at it from the driveway/front side of the house. Also shows how I've been working my way around the house with the exterior work. Those clapboards are originals, by the way! Hidden for the last 70 years under cedar shingles that you can still see on the side of that dormer. The old shed is that bit of the end of the house.
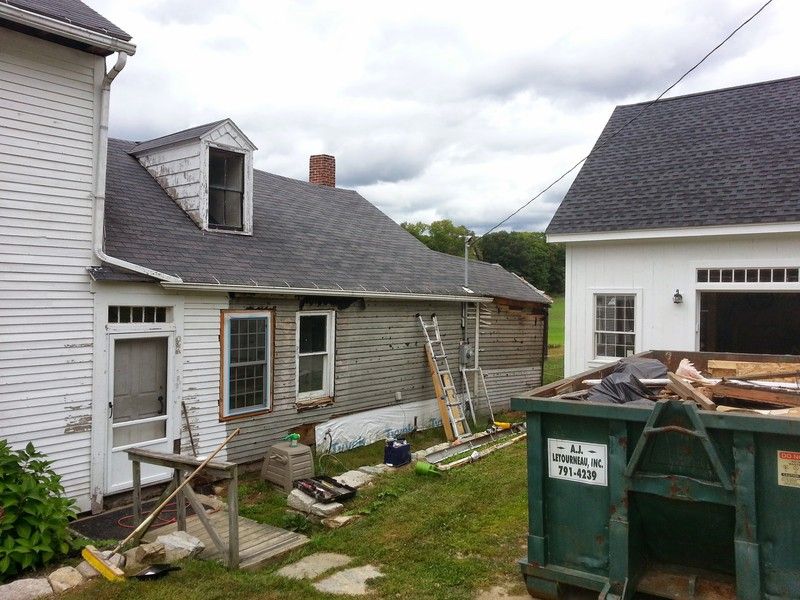
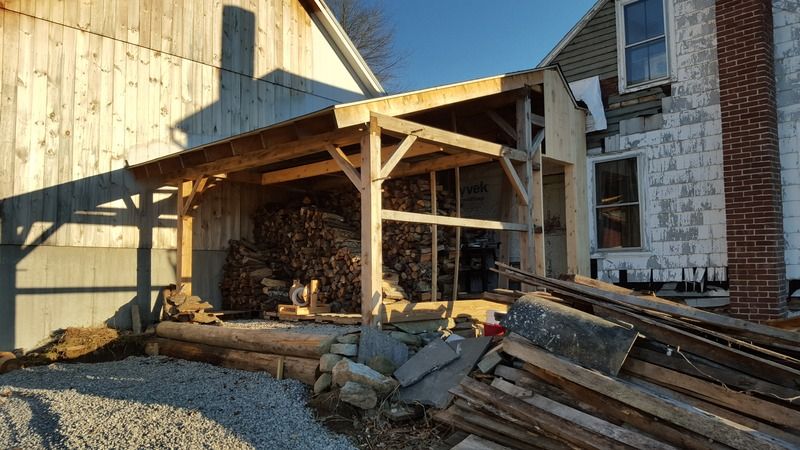
Ok, so here it is with the old shed gone. You can better see why I wanted to connect the two buildings with a covered walkway.
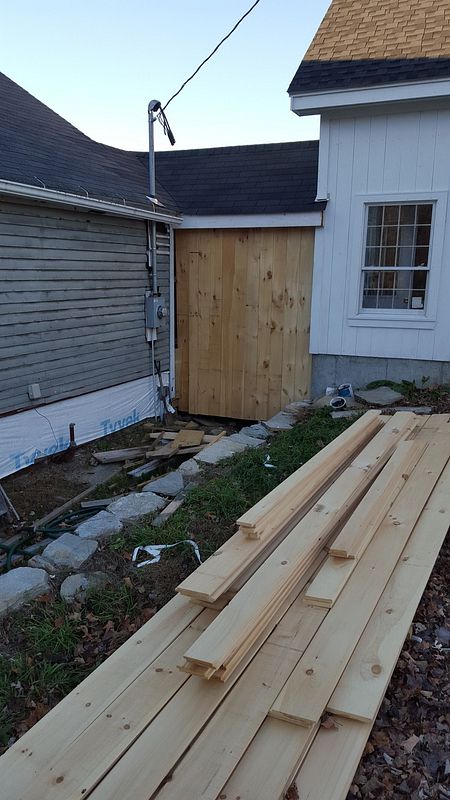
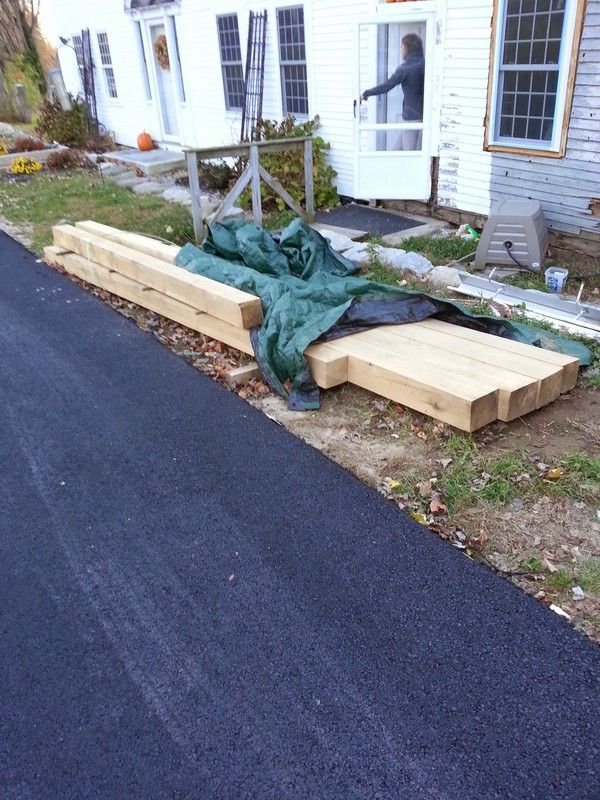
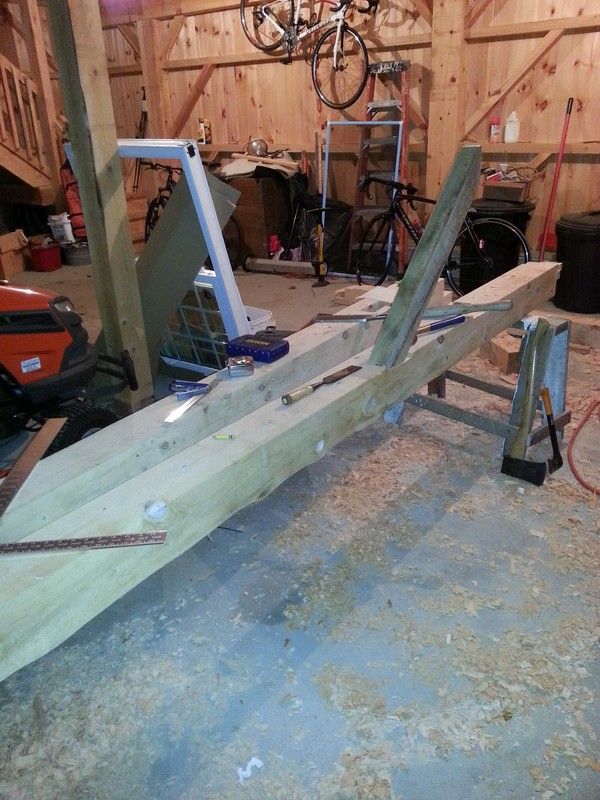
This is the lumber for the frame of the new shed. I decided, since I wasn't busy enough, that I wanted to learn English style timber framing, as it was practiced around here, for reasons still unknown to me. I got the timbers from a local mill. The post and beam stock are hemlock 6x6s and 6x8s. The knee brace stock is white oak.
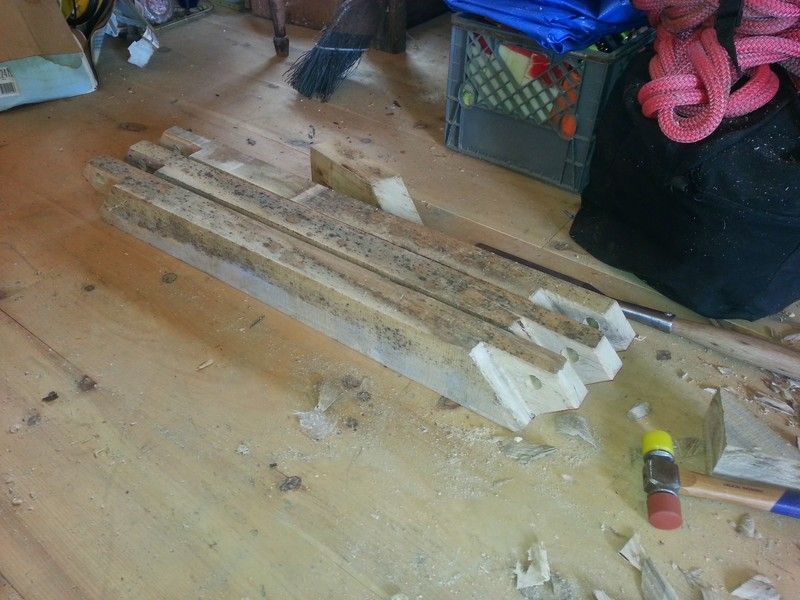
After the initial concept and design, the first project was making the knee braces from the 3x4 white oak stock. Here are the first few I made, with my 2.5" wide slick in the background. I love that tool.
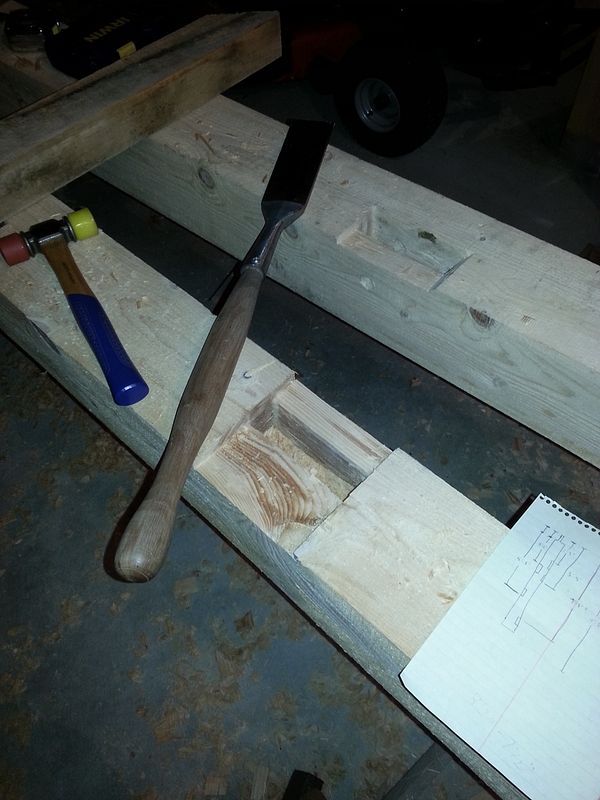
Ok, here's some of the first work on the hemlock, making some of the housed mortises. I used Jack Sobon books for pretty complete guide to the whole thing.
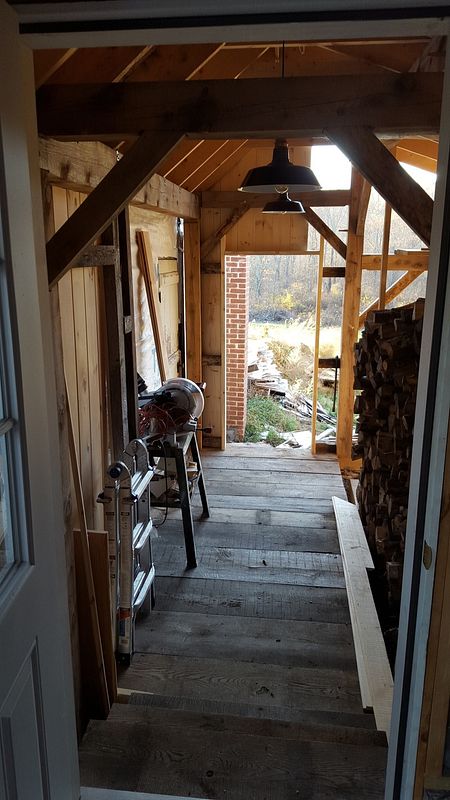
And the first test fit of a knee brace. The garage is post and beam as well, however, there was no real joint work. Everything was nailed for the most part. There's plenty of bracing to make a solid structure, but really wanted a learning experience as well, partly so I could better understand how my house was built.
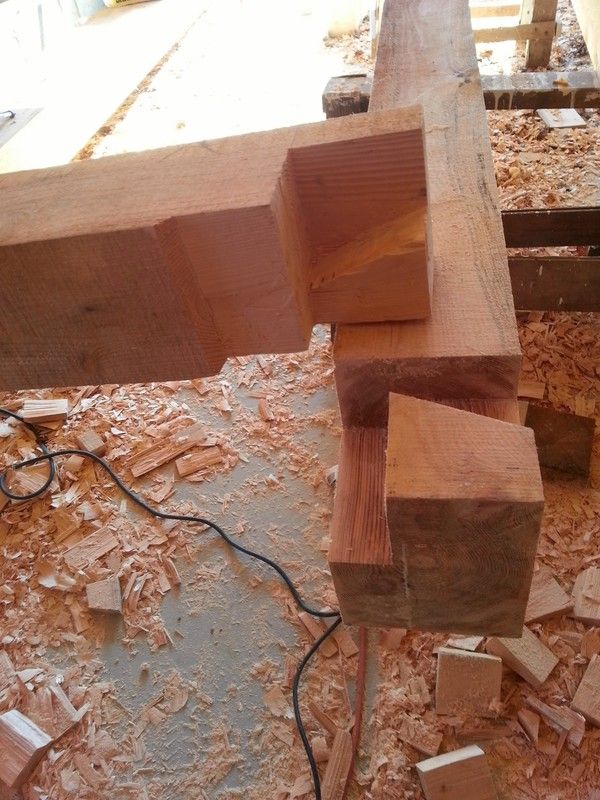
Ok, now I'm progressing into the more advanced joint work. This is a half lap-dovetail. This ties the plates and keeps the top of the frame from spreading. Hemlock worked up ok, but did tend to splinter. The greener the better. Pine would've been easier, but I like the extra strength.
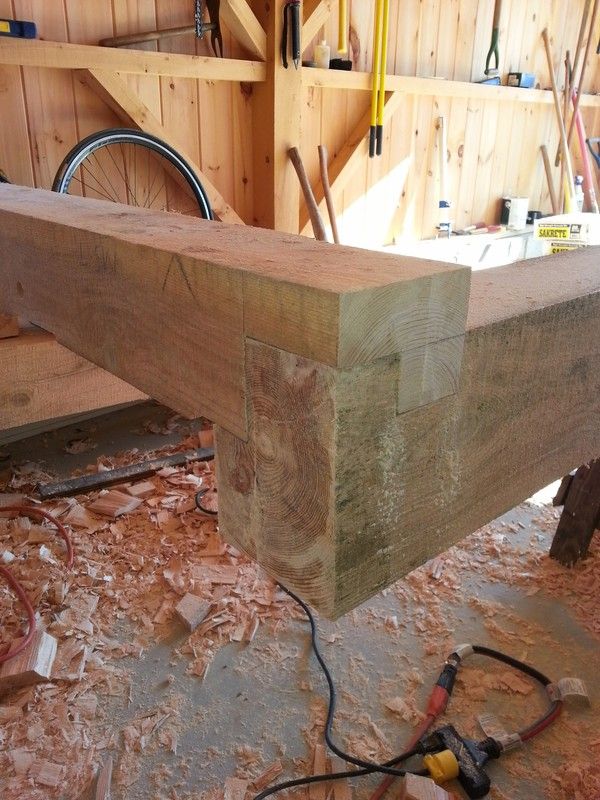
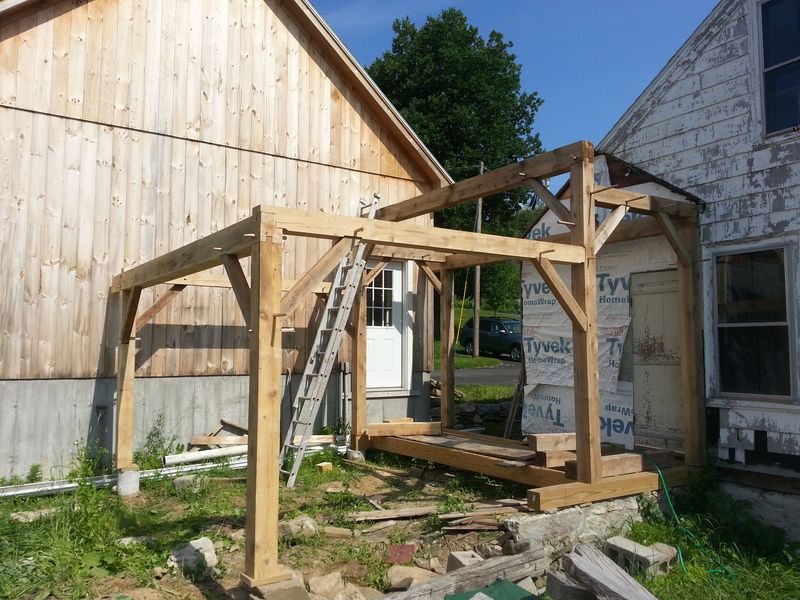
Fast forward a bit, I got all the joinery cut on the beams, all the braces done. Last thing was to make the pegs. All the peg holes were bored in advance, since they're all drawn joints (offset holes). I raided the firewood pile for some straight grained stock, found some good ash and red oak. I rived the blanks to have continuous grain through the pegs. They came out pretty good considering I didn't have a draw horse. I ended up shaving the corners with my trusty no. 4 Stanley:
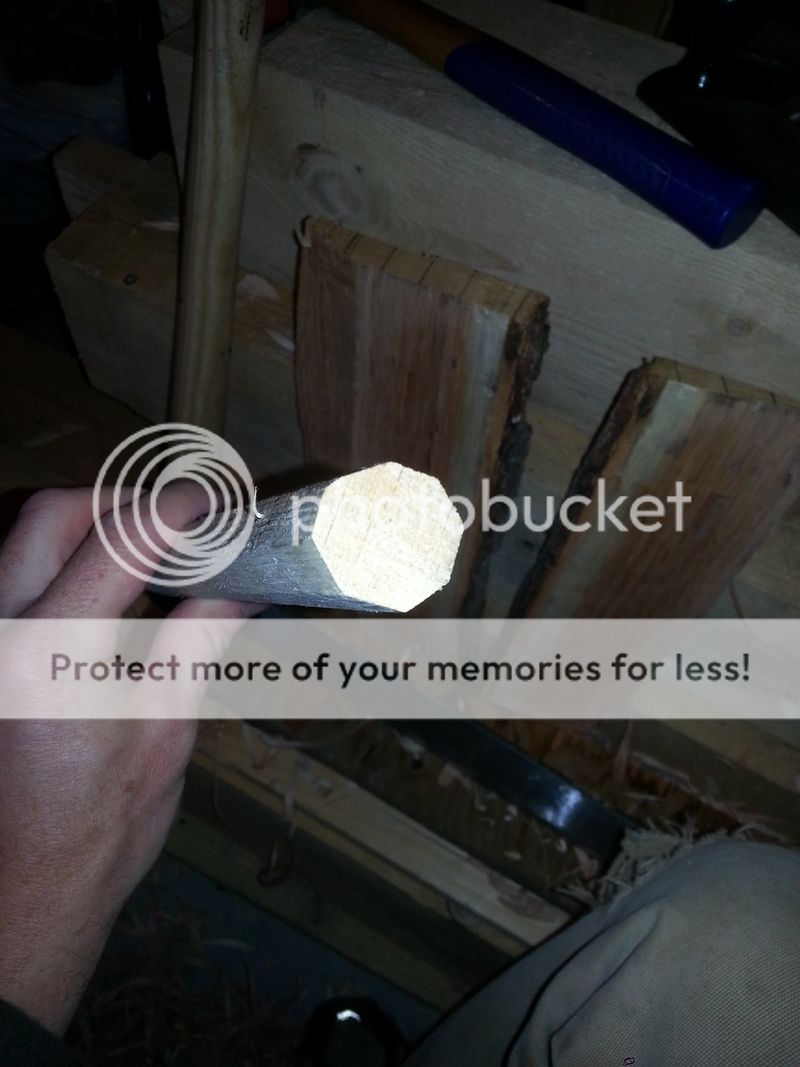
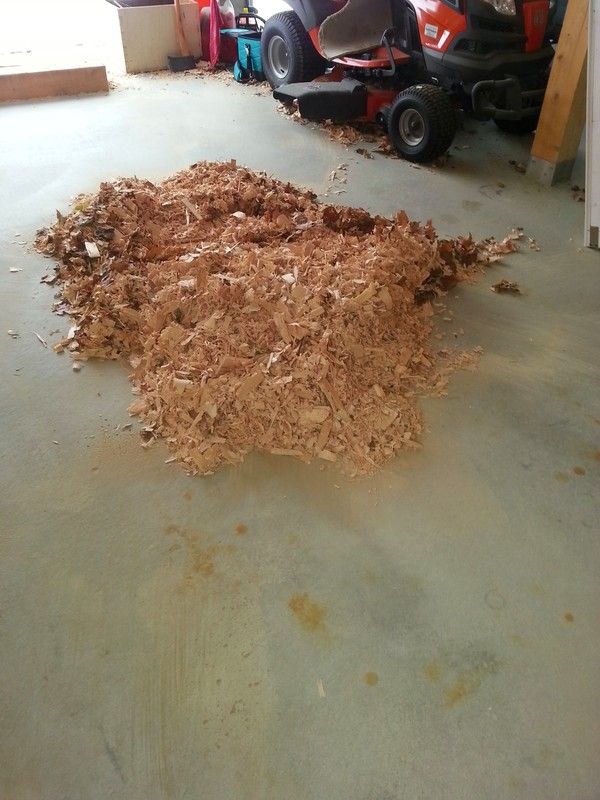
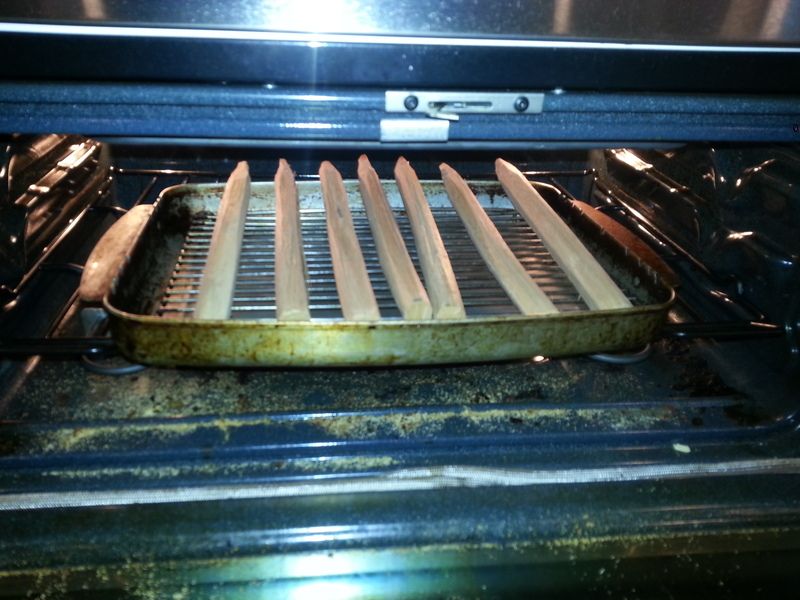
And since you want the pegs good and dry when they're driven, I kilned them in my, uh, custom drying kiln. I had to take the apple pie out first.
... stay tuned for more in subsequent posts...
Here's another before, looking at it from the driveway/front side of the house. Also shows how I've been working my way around the house with the exterior work. Those clapboards are originals, by the way! Hidden for the last 70 years under cedar shingles that you can still see on the side of that dormer. The old shed is that bit of the end of the house.
Ok, so here it is with the old shed gone. You can better see why I wanted to connect the two buildings with a covered walkway.
This is the lumber for the frame of the new shed. I decided, since I wasn't busy enough, that I wanted to learn English style timber framing, as it was practiced around here, for reasons still unknown to me. I got the timbers from a local mill. The post and beam stock are hemlock 6x6s and 6x8s. The knee brace stock is white oak.
After the initial concept and design, the first project was making the knee braces from the 3x4 white oak stock. Here are the first few I made, with my 2.5" wide slick in the background. I love that tool.
Ok, here's some of the first work on the hemlock, making some of the housed mortises. I used Jack Sobon books for pretty complete guide to the whole thing.
And the first test fit of a knee brace. The garage is post and beam as well, however, there was no real joint work. Everything was nailed for the most part. There's plenty of bracing to make a solid structure, but really wanted a learning experience as well, partly so I could better understand how my house was built.
Ok, now I'm progressing into the more advanced joint work. This is a half lap-dovetail. This ties the plates and keeps the top of the frame from spreading. Hemlock worked up ok, but did tend to splinter. The greener the better. Pine would've been easier, but I like the extra strength.
Fast forward a bit, I got all the joinery cut on the beams, all the braces done. Last thing was to make the pegs. All the peg holes were bored in advance, since they're all drawn joints (offset holes). I raided the firewood pile for some straight grained stock, found some good ash and red oak. I rived the blanks to have continuous grain through the pegs. They came out pretty good considering I didn't have a draw horse. I ended up shaving the corners with my trusty no. 4 Stanley:
And since you want the pegs good and dry when they're driven, I kilned them in my, uh, custom drying kiln. I had to take the apple pie out first.
... stay tuned for more in subsequent posts...