sILlogger
Addicted to ArboristSite
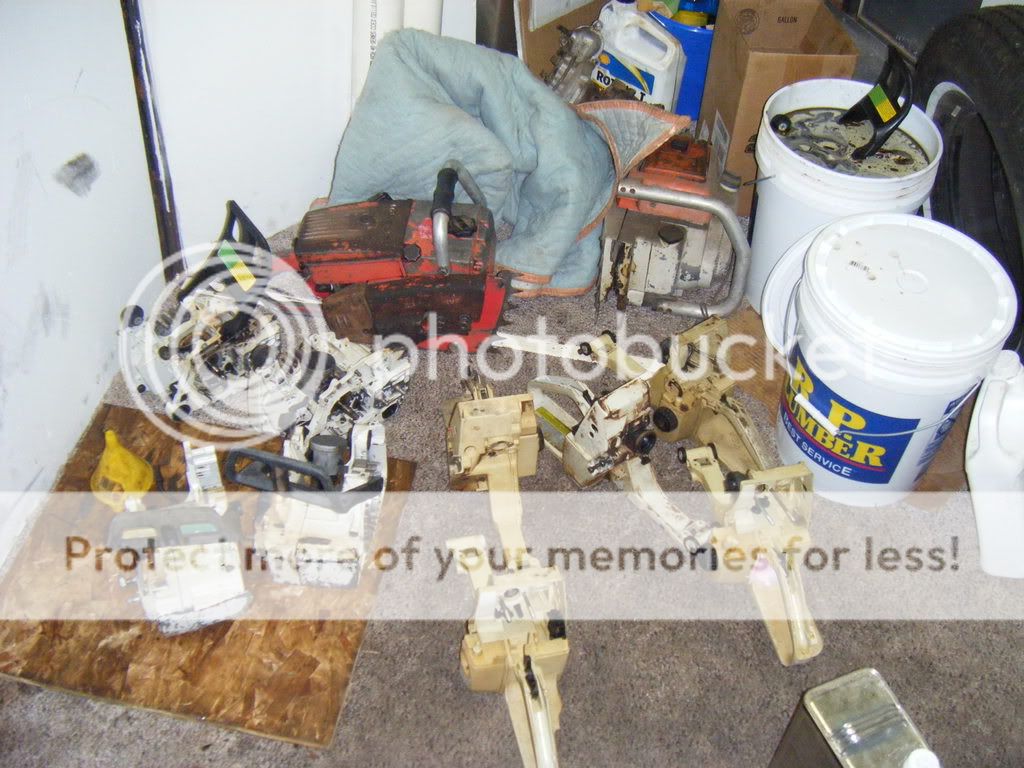
I got a couple saws to build for one of my buddies that owns a tree service...440's & 046's mainly. well this is the beginning of the first one(will be an ongoing project) I had pictures from the time of my splitting it and cleaning it up..but my other camera took a crap on me. so we will have to start at the reassembly.
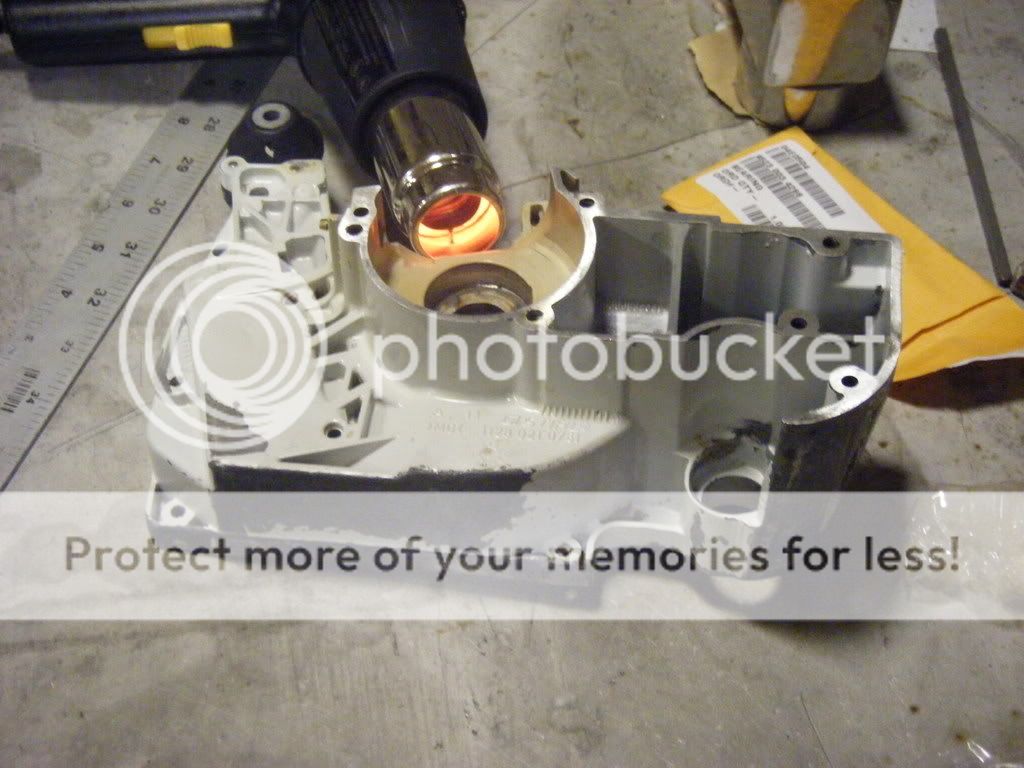
I know alot of guys use an oven of some sorts..but this is the method that I use. a good ole heat gun...you would be amazed at how hot these things get!! turn it on..let it sit for about 5 mins and the flywheel side bearing just falls into place.
a little pressing with a 3 ton arbor press will get you set up for the clutch side (i pushed it in from the cluth side in and pressed it in deep(attached the oil pump and flushed the bearing up to the oil pump)
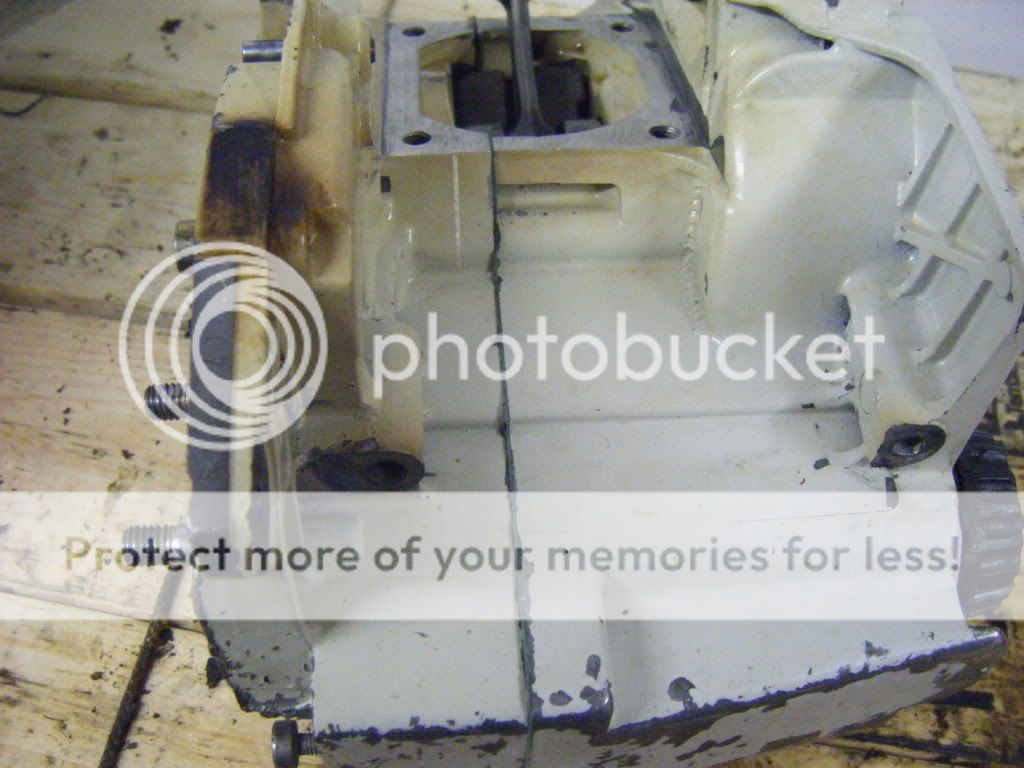
 before i started the reassembly i put the crank in the freezer just to help things along-and when it came time to put it all together I put in the flywheel side first and gave it a little bump with the press to get it in place. then i mated up the two case halves with the new gasket and got a couple of the crankcase bolts started. i began pulling the crankcase together in sequence with the bolts as to keep the case square..right before the case was all the way closed up i drove in the 2 alignment pins. and torqued down the case. here it is all buttoned up
 I then installed the flywheel nut and got a rubber mallet and gave the crank ends gentle raps while rotating the crank to recenter the bearings(you can really tell a difference in how the crank turns after doing this)
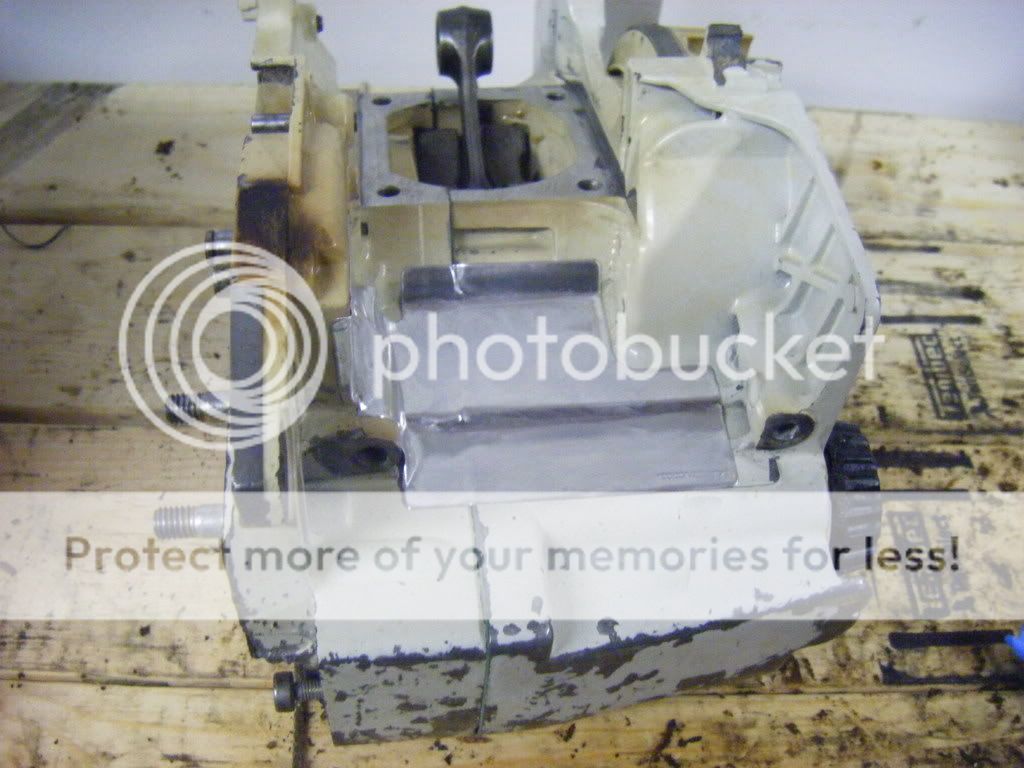
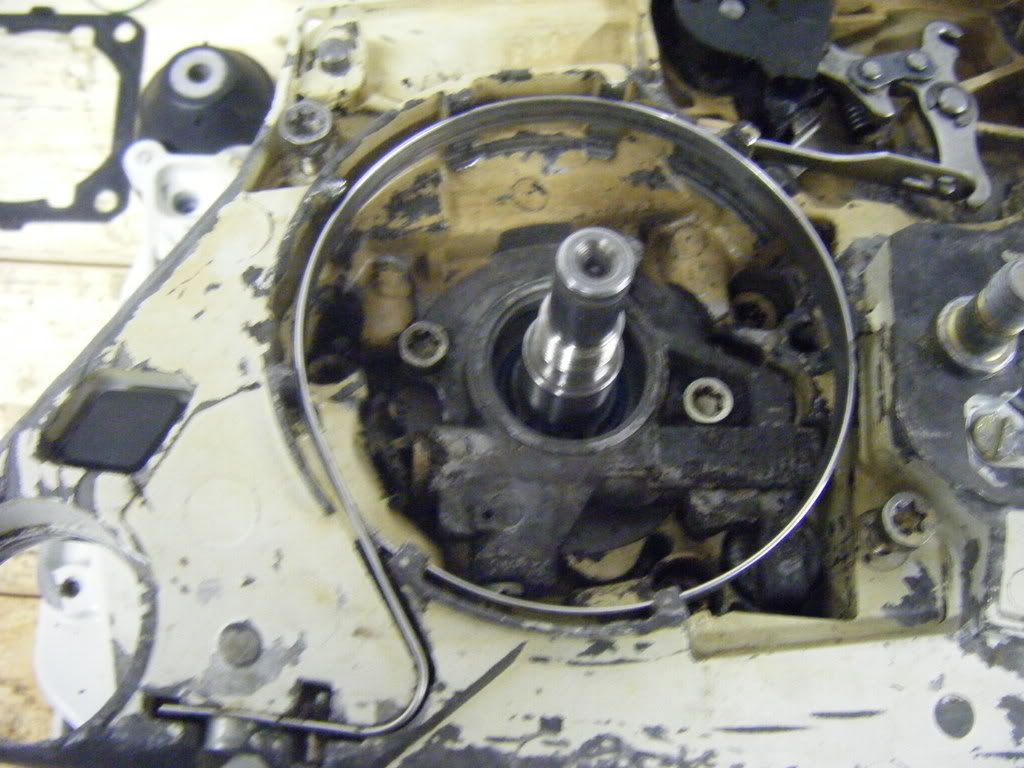
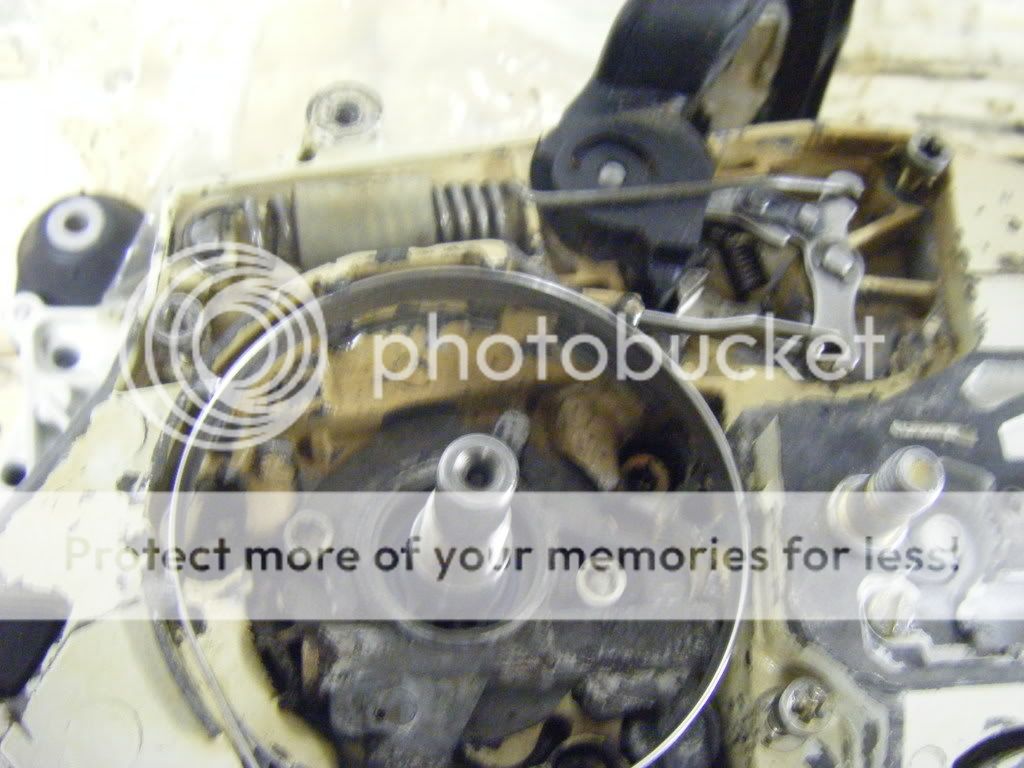
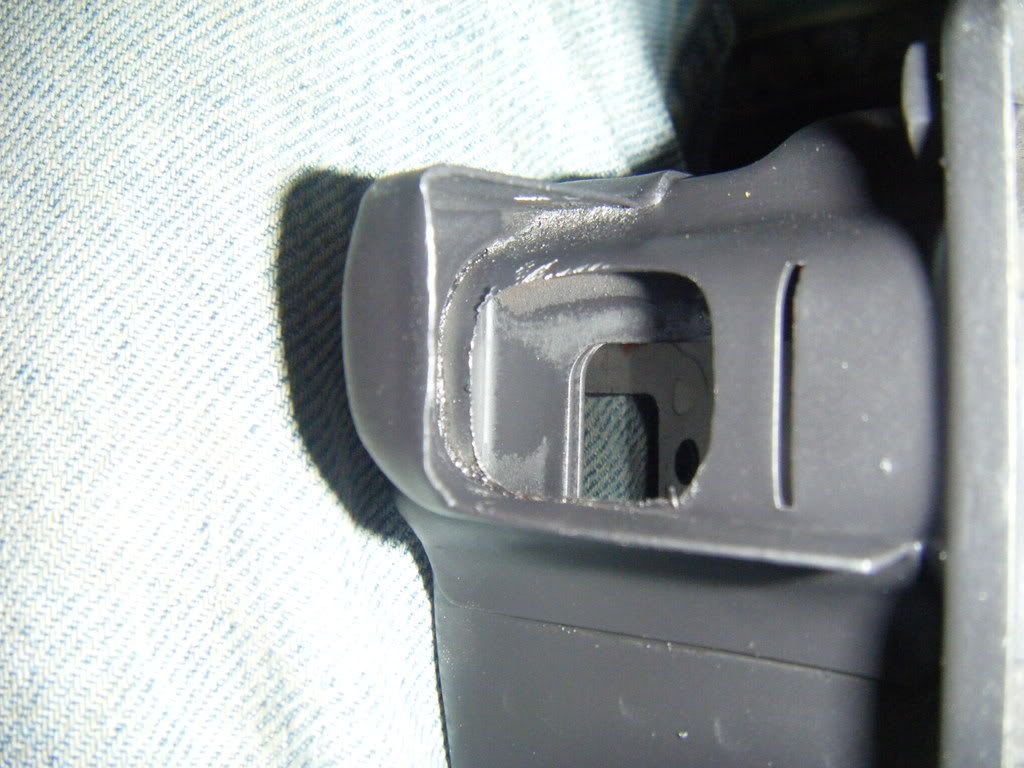
Now take a razorblade and trim up the crankcase gasket so that the new heat deflector will sit correctly
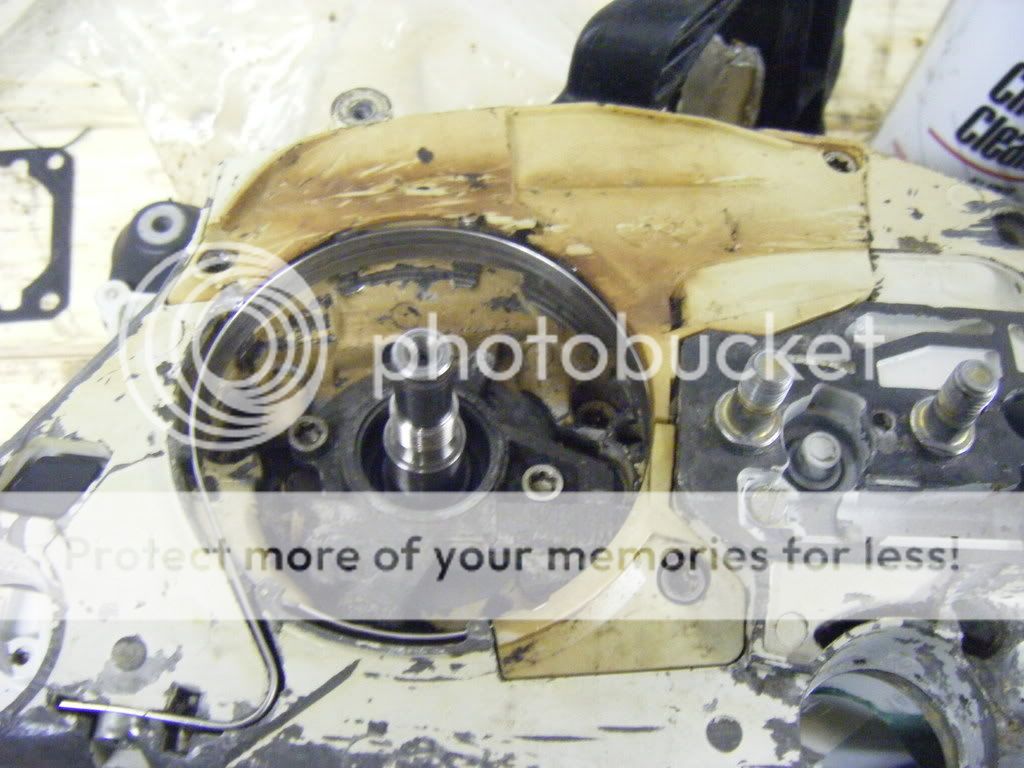
 apply the new heat deflector, I give mine a good wipedown with Coleman camp fuel before hand as to remove any oils that were on the area
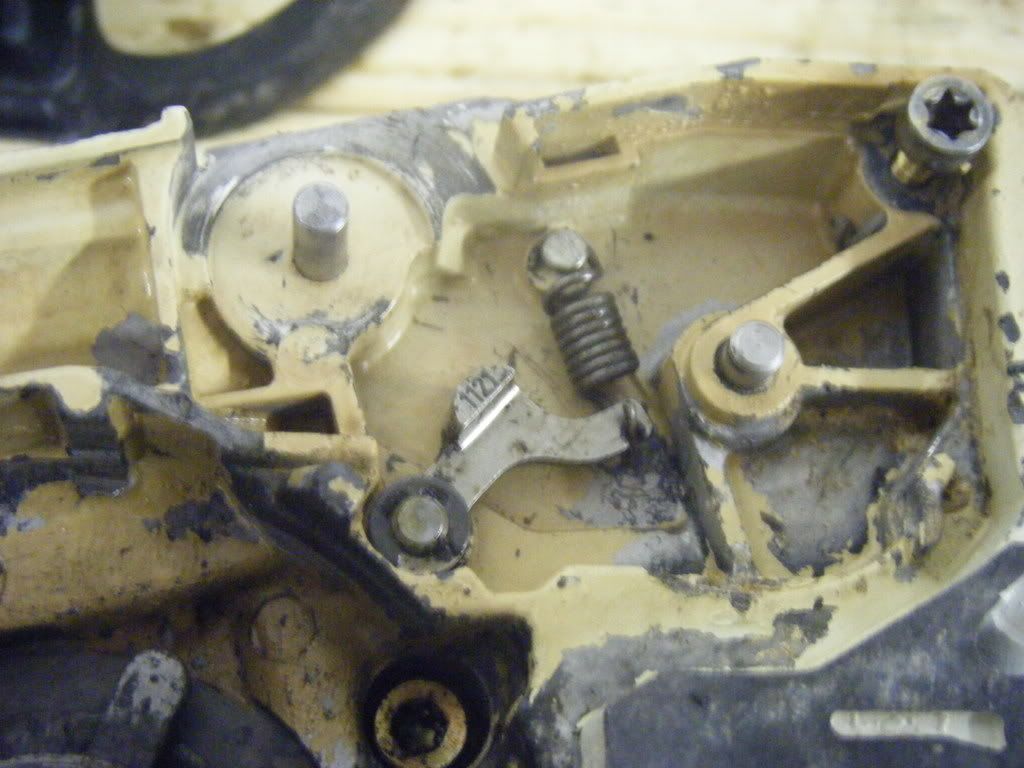
 I don't have any pics..but on the seals..i looked up the crank, and the seal itself and used a socket and eased them onto the crank so to not roll over the edge of the seal and drove them in with a deep well socket(left the clutch side a little out and installed the oil pump to check for the depth needed and then inspected further-installed the flywheel side as well-sorry no pics)
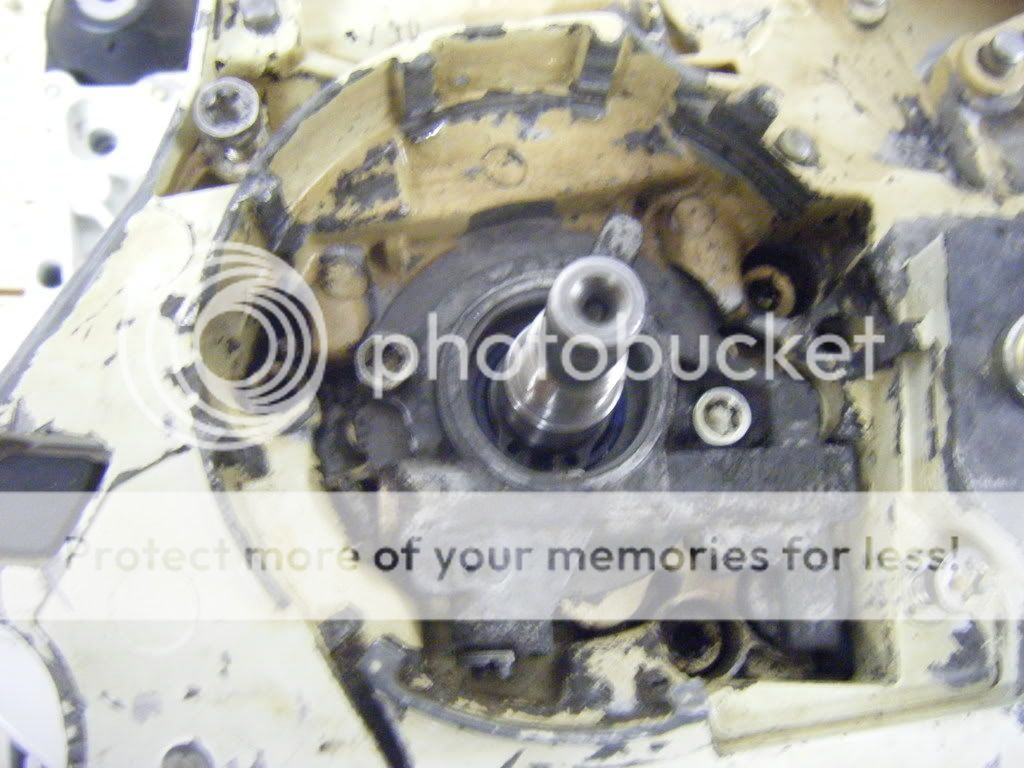
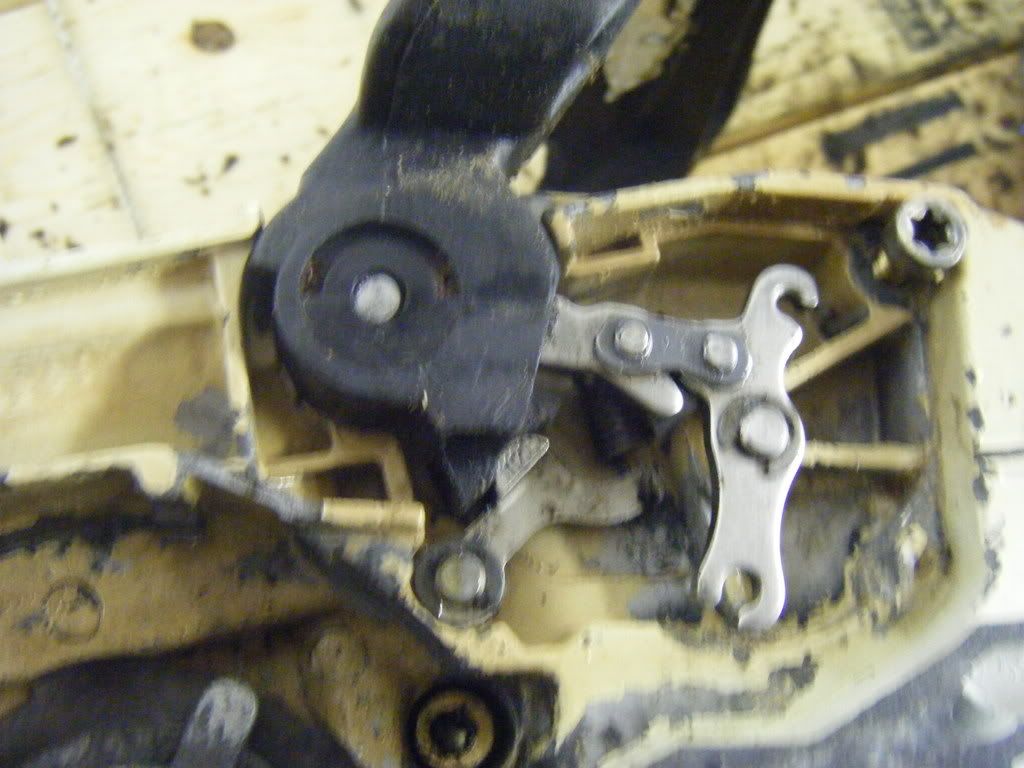
Seals in..ready for the oil pump and chain brake(btw..don't forget the snap ring on the crank!!) o yea...and there is a little rubber o-ring that the oil pump mates up to..install that and the oil pickup before the oil pump
I know alot of guys use an oven of some sorts..but this is the method that I use. a good ole heat gun...you would be amazed at how hot these things get!! turn it on..let it sit for about 5 mins and the flywheel side bearing just falls into place.
a little pressing with a 3 ton arbor press will get you set up for the clutch side (i pushed it in from the cluth side in and pressed it in deep(attached the oil pump and flushed the bearing up to the oil pump)
Now take a razorblade and trim up the crankcase gasket so that the new heat deflector will sit correctly
Seals in..ready for the oil pump and chain brake(btw..don't forget the snap ring on the crank!!) o yea...and there is a little rubber o-ring that the oil pump mates up to..install that and the oil pickup before the oil pump
Last edited:

")