What are you building with your milled wood? merged

Arborist Forum

Help Support Arborist Forum:

This site may earn a commission from merchant affiliate links, including eBay, Amazon, and others.
Fallguy1960

Fallguy1960

ArboristSite Member
Joined
Feb 15, 2008
Messages
94
Location
Elk River MN
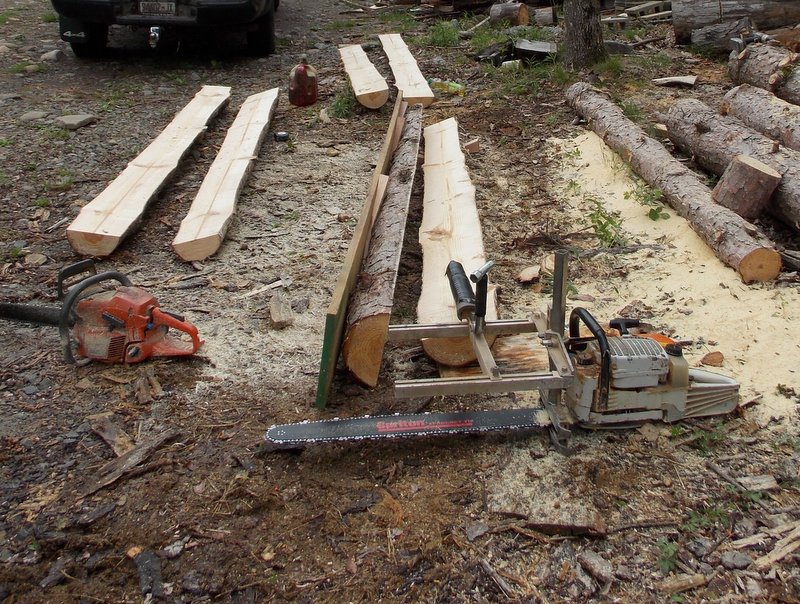
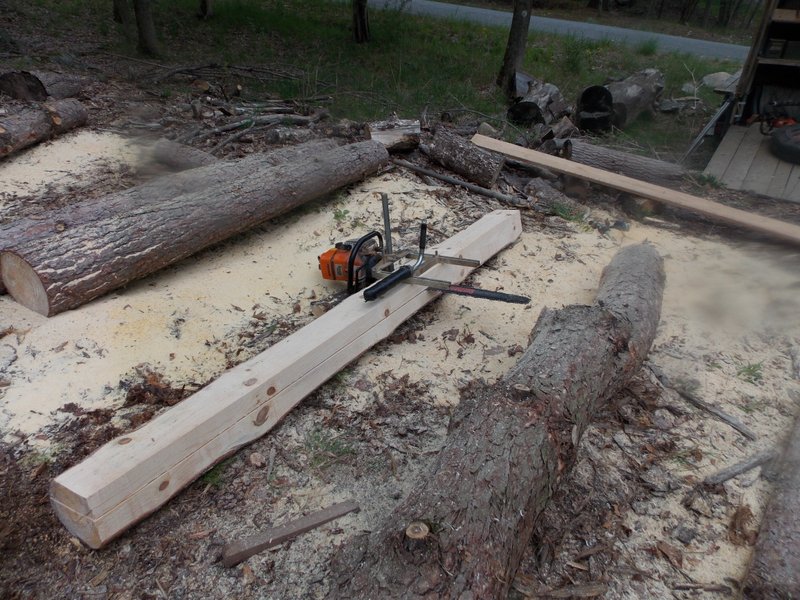
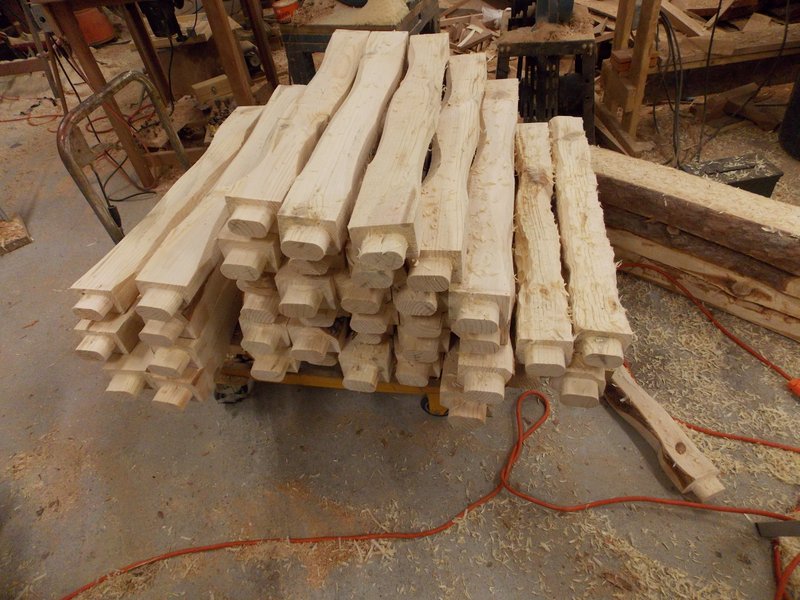
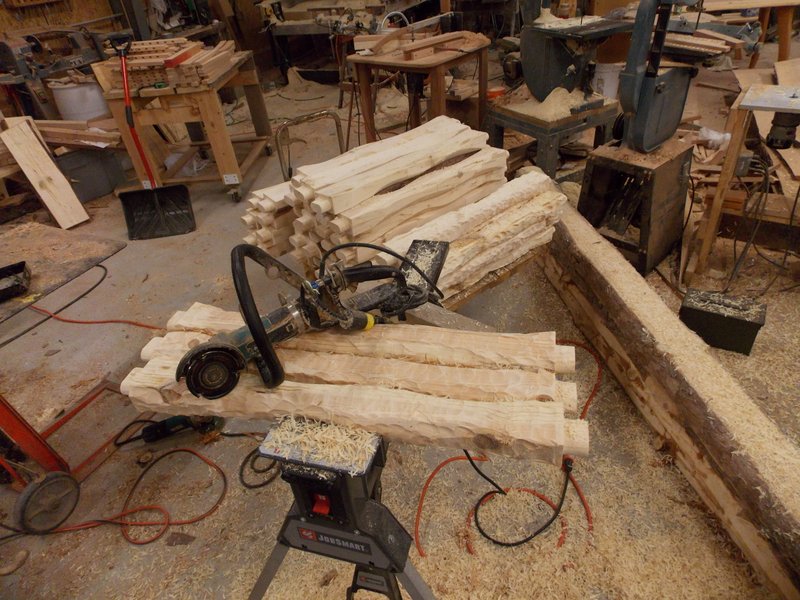
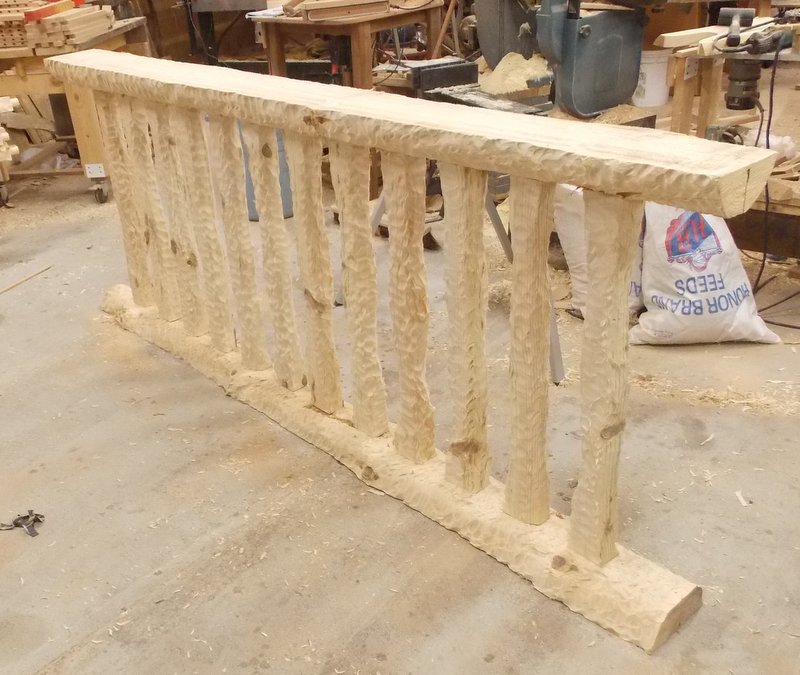
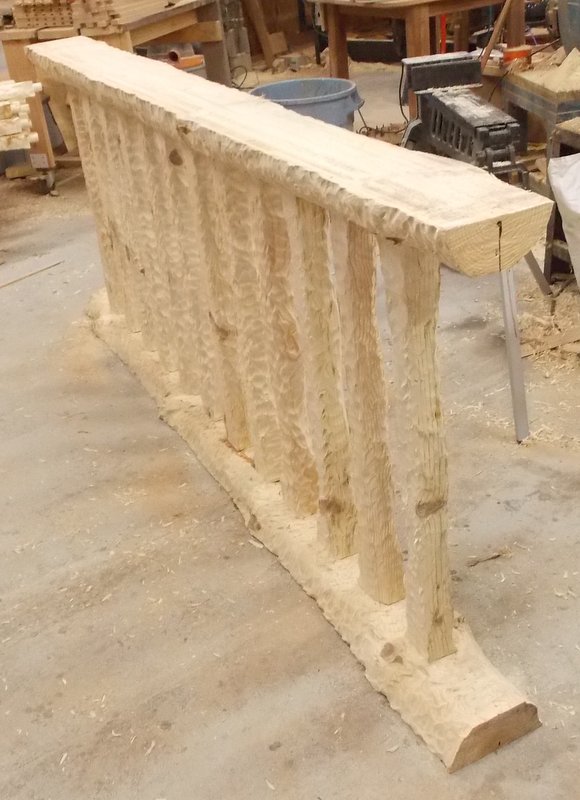
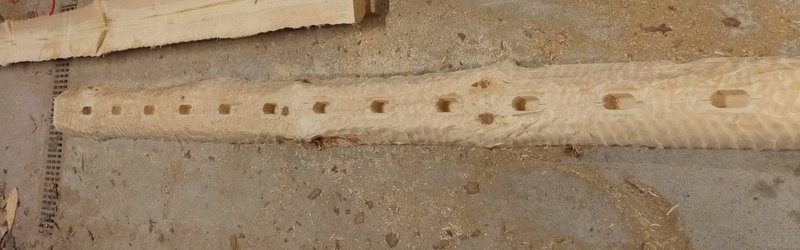
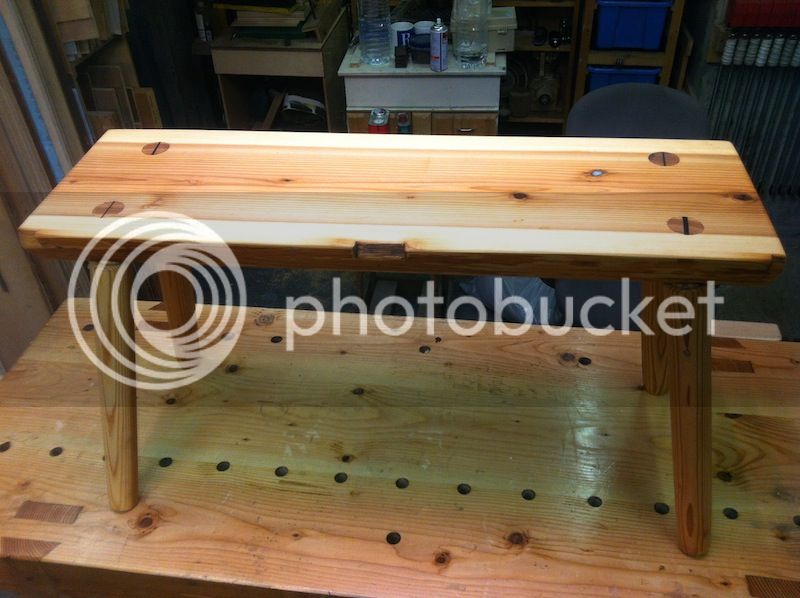
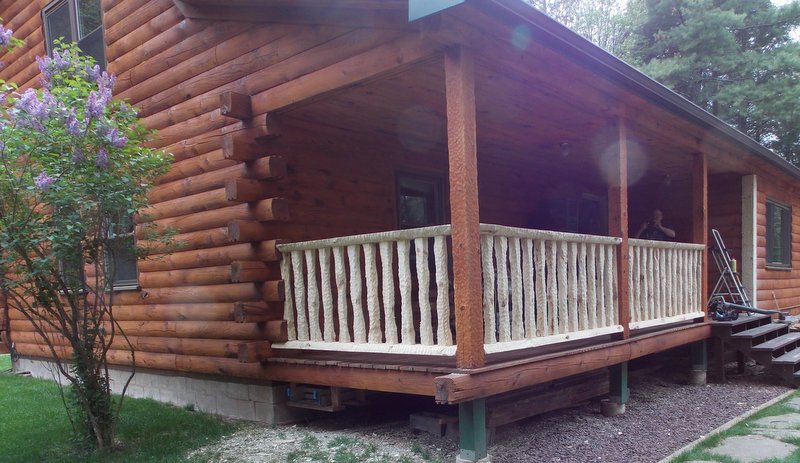
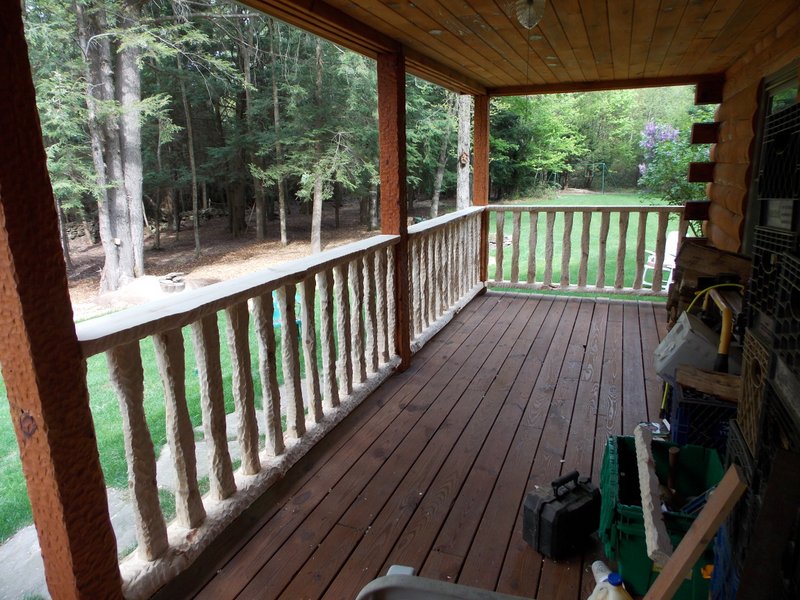
Sorry Dave I have been away for a while. It is Slippery elm, the tree was on the property line and growing over the neighbors house so we took it down. Now I have to get a picture of the mill frame I built that I used to mill the log.
 
Stu in Tokyo

Stu in Tokyo

ArboristSite Operative
Joined
Dec 13, 2005
Messages
225
Location
Tokyo Japan
A garden Bench

IMG_5767_zps6b0cc9c8.jpg
 
Brian Harnett

Brian Harnett

ArboristSite Lurker
Joined
Feb 25, 2010
Messages
36
Location
NY Catskills
Red pine railings for a log cabin

Should be installing the railings this weekend red pine is very aromatic and seems to have a bit more sap than white.

The railings are mortised to receive the balusters, after tenoning the balusters they were bandsawed and textured, I used an arbortech pro cutter with a makita grinder mounted in an old stihl 170 handle assembly the throttle trigger operates a switch to turn it on.

2KjpHd2.jpg


34fr0Dj.jpg


W5lEdxt.jpg


FtW3AiH.jpg


w40Vn6e.jpg


VReUQzV.jpg


60F0tZV.jpg
 
Stu in Tokyo

Stu in Tokyo

ArboristSite Operative
Joined
Dec 13, 2005
Messages
225
Location
Tokyo Japan
Brian, that is a whole lot of work :clap:

Will this be an outside or inside railing?

I got my little bench done.....

IMG_5796_zpsabddaef6.jpg

The wife loves it and has claimed it for herself, so I have to get busy and make another one for my buddy.

IMG_5793_zps696e1d32.jpg

The wedged through tenons are kind of neat :msp_biggrin:
 
kimosawboy

kimosawboy

ArboristSite Operative
Joined
Mar 14, 2010
Messages
343
Location
vancouver island
I finished up a Coffee table last week from some slabs of Maple that I got my hands on earlier this month. Usually I try to use only wood that I mill myself but for 8$ I could not resist (my local bandmill guys yearly clean up and sale).
The miter was a challenge but it came out spot on.Some feedback that I have gotten is that it might be a tad dangerous for small children/dogs.... but since I'm not fond of kids and my dogs are at least twice the height it's a moot point(yes that was a pun intended)
Hope you like
G Vavra
 
Timberwerks

Timberwerks

ArboristSite Operative
Joined
Oct 24, 2004
Messages
262
Location
Mequon,Wisconsin
Here are a few photos of current build. This table is being built for the Urban Wood Encounter show here in July. This will be an origami inspired coffee table, base will be ebonized Ash. To stabilize the crotch I used a 32" X 3/4" steel rod. The rod passes through the main butterfly. More photos later as I make more progress.

View attachment 301725

View attachment 301726

View attachment 301727
 

Pfin

ArboristSite Lurker
Joined
Dec 22, 2012
Messages
24
Location
Eastern Minnesota
Here are a few photos of current build. This table is being built for the Urban Wood Encounter show here in July. This will be an origami inspired coffee table, base will be ebonized Ash. To stabilize the crotch I used a 32" X 3/4" steel rod. The rod passes through the main butterfly. More photos later as I make more progress.

You may be the Chuck Norris of woodworking. How did you drill the hole without breaking through the slab and how are you adhering the rod to the hole you drilled? Great work!
 
Timberwerks

Timberwerks

ArboristSite Operative
Joined
Oct 24, 2004
Messages
262
Location
Mequon,Wisconsin
Here are a few photos of current build. This table is being built for the Urban Wood Encounter show here in July. This will be an origami inspired coffee table, base will be ebonized Ash. To stabilize the crotch I used a 32" X 3/4" steel rod. The rod passes through the main butterfly. More photos later as I make more progress.

You may be the Chuck Norris of woodworking. How did you drill the hole without breaking through the slab and how are you adhering the rod to the hole you drilled? Great work!

Thanks! I started the hole with a standard 6" x 3/4" brad point bit. Then I switched over to the 16" bit. I used the aluminium straight edge as a site line for level and drilling course. Same site line was used when I attached extension. It's actually a fairly easy task. No glue was used to allow for the wood to move. The entry point of the rod will be hidden by a cut off of the slab, it will mimic a fold. The photo will give you an idea of how it will look when done.

View attachment 301736
 
Top