What did I do wrong

Arborist Forum

Help Support Arborist Forum:

This site may earn a commission from merchant affiliate links, including eBay, Amazon, and others.
Wow Farmall thats pretty much what Im after,just not as thick. I also didnt cut mine square. I will let it dry morebefore I start messing with it. Great pics and Great Table. Oh and at least your doing something productive with spare time. :cheers: :yourock:
 
Very nice woodshop!
The spalting in the third piece probably relieve some of the tension too.

Here's a piece of crazy silver maple I soaked in PEG for a few days. Got a little warp but no cracks. Would have been better to turn a little and let it dry, then turn more. Had no problem applying polyurethane.

Sorry Rookie - not trying to hijack your thread, just wanted to show what PEG can do to stabilize wood.


Tried to rep you for that bowl buzz. AS says I gotta spread the love first...
Nice work. I've never used PEG before. Is it dissolved in alcohol or water? I have a big 8" x4" block of it that I got on closeout a while back from one of the turning catalogs.
 
Wow Farmall thats pretty much what Im after,just not as thick. I also didnt cut mine square. I will let it dry morebefore I start messing with it. Great pics and Great Table. Oh and at least your doing something productive with spare time. :cheers: :yourock:

Thanks for the complement, I didnt do the whole thing in one stretch I roughed it out with the cross cut saw then let it dry for a couple years in the pole barn before I did anything else to it. When I started in on it again I would work on it for a couple days here and there then let it sit for a while. I turned into a project that couldnt be rushed. After working on it for several months on and off I was finally able to get it finished up. Sure was alot of fun, but I dont think I would have had as much fun trying to do all the work by hand in one stretch.

I'm getting ready to start a smaller end table with some oak that I want to mill up with my free alaskan mill :) That one will be done the same way, finished with hand planes a little at a time. Going to be a long process but I'll try to keep everyone here up to ddate with pics :popcorn:
 
cherry is very difficult to air dry ..on stuff like that i pack it in sand and let it dry for a couple months the sand slows the drying out and really will make it much more stable.use about 12 " of sand all the way around find a old tub or something...
 
Old thread coming up from the grave... I managed to dry a 34" wide, 5" thick slice putting it in a very damp cellar under my house. Waited 4 years until I took it to the basement. Been there for 2 years now. Thick slice and very slow drying is the key. Still got 2 cracks but both under 1/8th".
 
I've had decent luck with cutting the cookies at an angle. Instead of holding the chainsaw at a 90 degree angle to the log your cutting, drop the angle to 60 or 45 degrees.....the cookie will now have an oval shape (if log was round) and seems to deal with the stress cracks a little better. But like everyone up here has been saying........the turtle won the race.....dry that baby sloooow.
 
Just add bow ties. I built a table and the bow ties are what everyone loves about it. I always use a wood that is a differant color to show it off.
 
I have seen a lot of pics of the bowties in cookies like this and always think they look great. I have never made one myself though... what is a good way to go about this? Is the bowtie as tall as the cookie is thick?
 
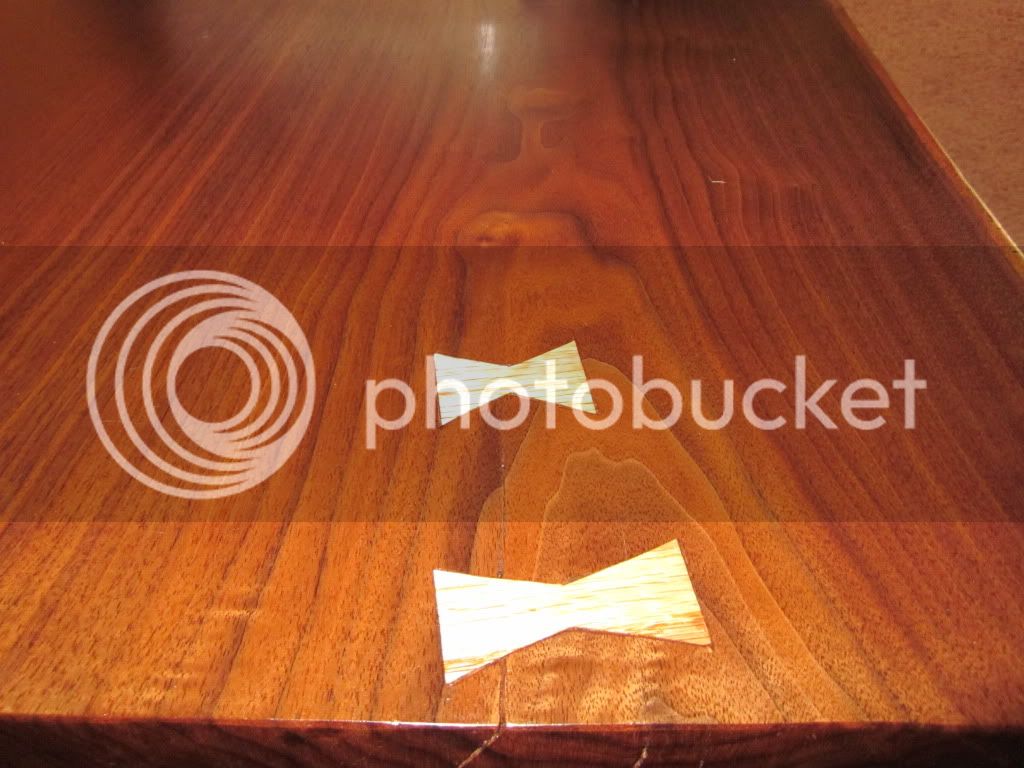
Piggybackin on the bowties, they add alot o character to the piece. You could cut a thin wedge out of cookie, add a contrasting wood...say maple, then add bowtie, or maybe a couple to hold it all together using another contrasting wood...say walnut or beech. As for the planing, I do quite a bit of end grain planing and for success the wood needs to be dried to 8-10% moisture so it is stable and then use a planer with variable speed control rather than most planers that run 2 speeds....fast and faster 16-20fpm. I run end grain at about 10fpm, if you go any slower it will tend to friction burn the wood. Hope that helps, good luck
 
I cut my bow ties on a jig saw but a band saw whould of been easier. Then I traced them on the wood and used a chisel to cut out the wood. Mine didnt go all the way through the piece but I put them on the top and bottom of the table.

IMG_0117.jpg
 
Even after putting poly and then bar coat (glaze) my big white pine cookie cracked, so I ripped a straight edge on it and made this shelf/ table in our kitchen. It is anchored to the wall with two 90 degree brackets and that Japanese maple limb is there basically to hold it level. I always thought I would be pretty cool if the other side of the cookie was on the other side of the wall.View attachment 220990
 
If you can, make sure to check the moisture content before you starting working the table into form.

One thing you can do to fill the cracks is by using a two part epoxy. I like to tint the epoxy black and cover the entire slab. Once dried I run the electric planer over the top to remove most of the black epoxy, leaving what filled in the cracks and checking.
Don't try removing the epoxy with a sander. The paper will get to hot and gunk up in seconds. Once most of the epoxy is gone you can start sanding it down.

Make sure to coat the bottom as well (can be clear of course). If not, whatever moisture is left in the wood will dry unevenly and will likely create more checking.

If that one crack gets real bad consider making to 1/2 round end tables.
 
Cookie wedges

I like the half-round tables! Nice work. Another solution is to make a straight cut from the edge to the center before you start to dry the cookies, so that they open up along a straight line. Do the same with the next cookie, but in a different place, and the same for a third cookie. Once dry, cut wedges out of cookie #2 to fill in the cracks in cookies #1 & #3, matching the ring patterns. Then use cookie #2 as a half round table.
 

Latest posts

Back
Top