milled a Chinese Chestnut today

Arborist Forum

Help Support Arborist Forum:

This site may earn a commission from merchant affiliate links, including eBay, Amazon, and others.

woodshop

Addicted to ArboristSite
Joined
Dec 13, 2004
Messages
2,641
Reaction score
221
Location
Fort Washington PA
Dropped a 30 inch Chestnut tree last fall... just now got around to milling it. For those interested, this was one of the easiest woods I ever milled. Unlike some trees like Hickory, Pecan and even some oaks, this stuff was a dream. Put a new blade on the Ripsaw for the 90 ft of Cherry I milled yesterday, and that same blade ran through 200 ft of this Chestnut today and is still pretty sharp judging by the speed at which is was still cutting when I quit today. I cut most of it into 8 inch wide boards. By the way I slabbed it, about half of that was quartersawn or riftsawn. You never know what you're gonna get when you open up a log, and this one surprised me with some curly figure on the flatsawn boards. Had I known that, I would have sliced more flatsawn and less quarter... oh well. Curly figure kinda gets lost in quartersawn boards. Also, this stuff was heavier than I figured. It is a relatively soft wood, but turned out to be heavier than oak when wet. My van was dragging with only that 200 ft and about 300 lbs of equipment. I can often get 300 bd ft of wood plus equipment in my Astro, which will take 1600 lbs of cargo, but not with this wood. Didn't weigh it, but seems to be more than the 5 lbs per bd ft that wet oak is.

Some milling pics for those interested.

30inchchestnut.jpg

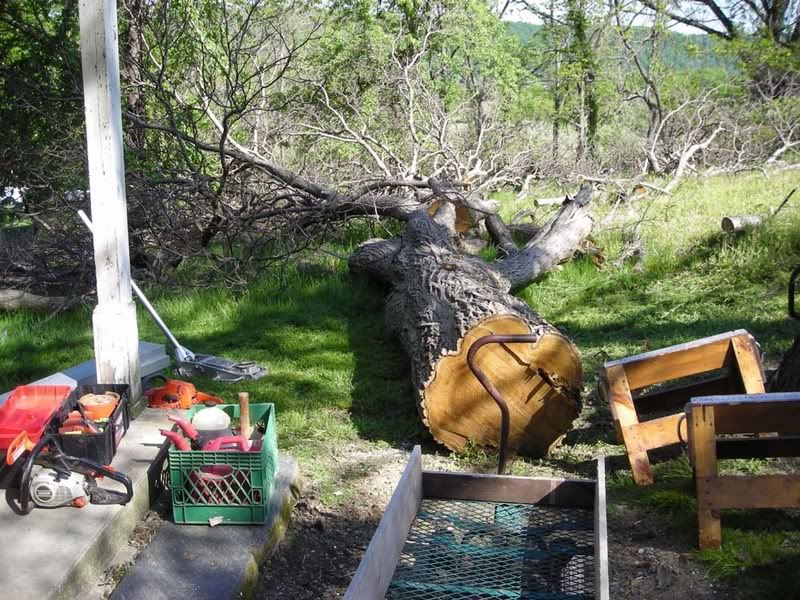
here is the tree as dropped

startslabbingwithcsm.jpg

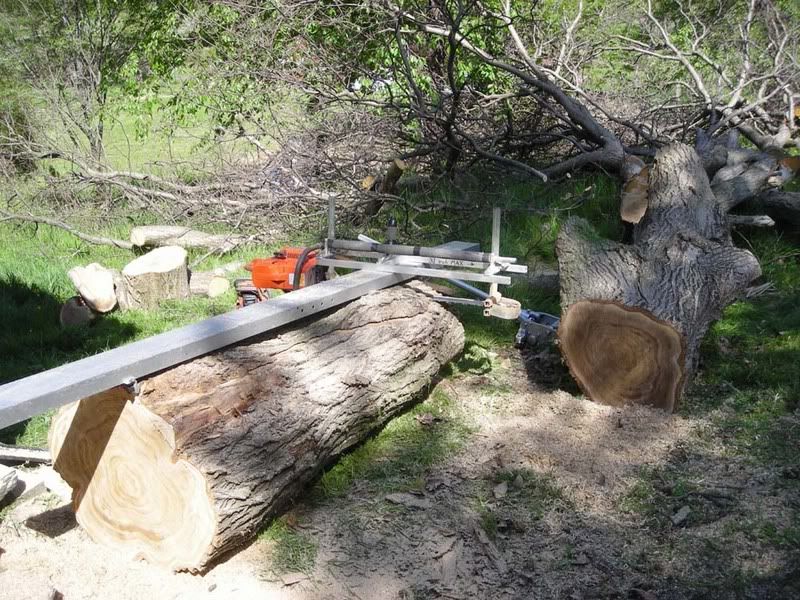
Started slabbing with the csm. Took a slightly different take this time and didn't make as square a cant as usually do. Basically slabed off 8 inch thick cants and then squared those individually.

slicing8inchboards.jpg

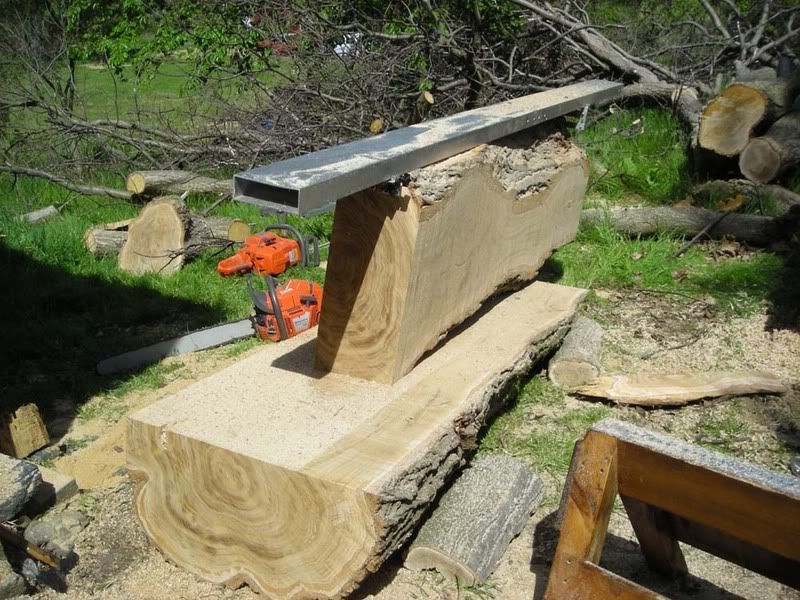
As you can see, I stood the 8 inch slabs upright and started slicing.

ripsawguide.jpg

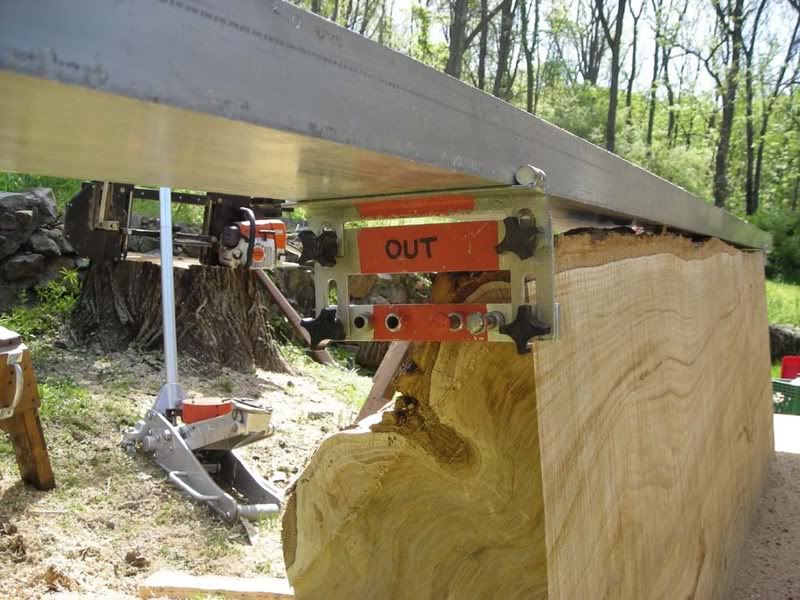
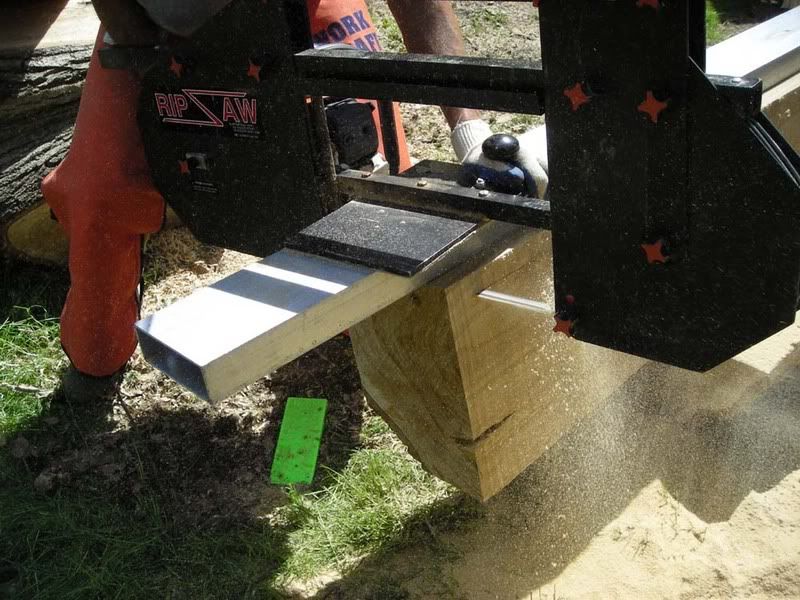
The aluminum 2x6 guides that come with the Ripsaw easily attach to odd shaped ends of a cant as you can see here. Those two pins can be moved along that jig to where the meat is.

endofslice.jpg

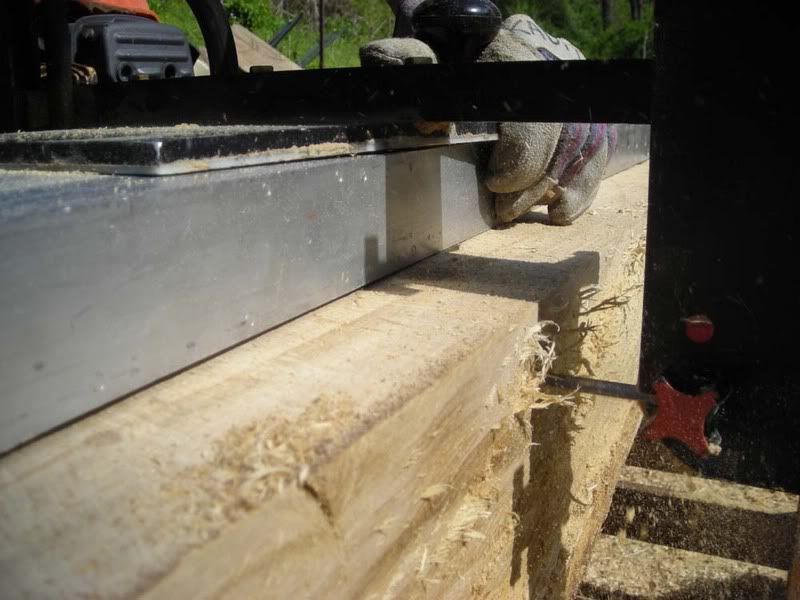
Just finishing up a 6/4 board. With this wood cutting so easily, and the cant only 8 inches wide, I was able to push the saw down the cant at about an inch per second, or 10-12 seconds per ft. This stuff mills NICE.

upcloseandpersonal.jpg

up close and personal with the business end of the mill

abouthalfthehaul.jpg

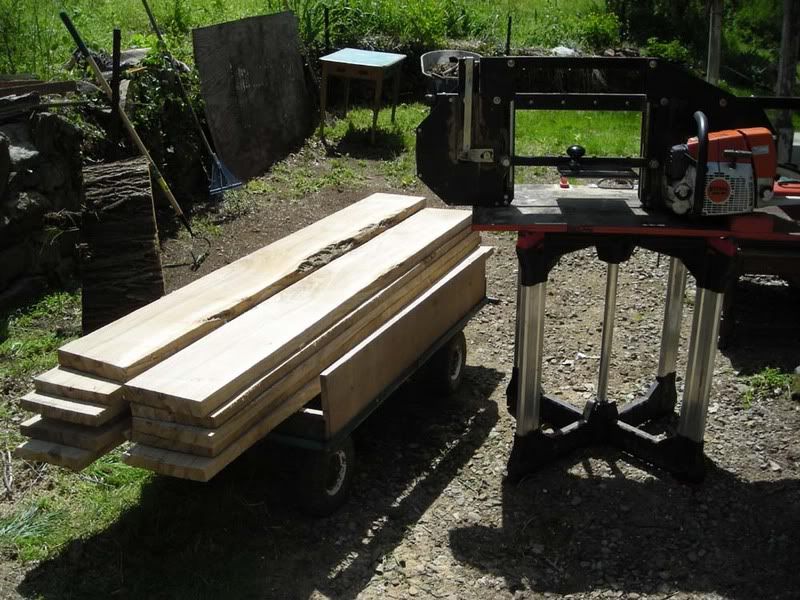
This is about half of the days take... some pretty stuff. Bottom line... if you get a chance to mill up a chestnut log... take it. This stuff was a dream to mill.
 
AS usual Woodshop, great pics, thread and wood, the cut end of that log looked great, nice tight grain. Look forward to seeing the chestnut with some finish on it.
 
Nice show, woods. Bet you felt good after that day.
I got a 14'x24" white pine log dropped off at my house this week, while I was down here at work. Right in the middle of my planned vegetable garden. I couldn't move it. I was looking at it and thought better get busy and start to cut it up. But the sap. I called the guy and thanked him but also asked if would hold off any new logs till the winter. I can use the pine but don't want to get into that sap. Gonna have to, the gf wants the vege garden.
Look forward to more pics. Happy milling, argh.
 
Having never worked with Chestnut Id be interested in hearing a little bit about how it "works" in the shop. Great post Woodshop!
 
Dave , in the up close and personal picture the guide arm and finger are missing . Did the the log have a very irregular shape or are you needing more exercise .

Actually, I took that little guide and arm off long ago. On logs 12 inches and under no problem, but for 12-14 inch wide, or highly irregular logs, yes it can get in the way. I was doing mostly 14 inch wide max cants back then so I just took it off and kept it off. Now, even though I do a lot more 8 inch widths than I used to and even though it only takes a few seconds to attach, I've gotten used to it not being there. I just put my thumb and palm around that holddown knob and use my fingers riding against the guide beam instead of that guide arm... which then keeps the saw from pulling itself towards you as it slices into the log. Works OK for me that way. Also, I like the way I can "feel" the saw in the wood better doing it sortof freehand like that. Yes it requires a little more finesse, and a little more strength/effort going down the log, but not that much more.

Pretty sharp of you to notice.
 
I've often thought that the friction of the guide finger on the aluminum guide beam was a lot less than the side of a log and remember the Ripsaw sales picture of the older gentleman with the electric model that had a wheel instead of the guide finger . Kind of like what Raily uses on his chainsaw mill .
 
I've often thought that the friction of the guide finger on the aluminum guide beam was a lot less than the side of a log and remember the Ripsaw sales picture of the older gentleman with the electric model that had a wheel instead of the guide finger . Kind of like what Raily uses on his chainsaw mill .

Definitely, the friction of that metal guide finger on the guide bar is a lot less than when you let the body of the saw contact the log. That's why I said I use my hand/fingers to do the same thing that metal finger does. Try it next time you fire up your Ripsaw. As the pic shows, I put a leather glove on, wrap my thumb around that big black knob on the plate there, and then hold my fingers kinda rigid, as if they were that little metal arm, as I run it down the log. It really doesn't take much to hold it there, and my leather glove slides down the side of that aluminum guide pretty well. I know it sounds awkward, and maybe for somebody else it will be. I find it a little quicker since I don't have to adjust that metal finger to keep the saw in the middle of the guide when doing different widths, plus I have a little more control over the saw since my fingers can be constantly adjusted as I skew the saw at a slight angle when I know I'm gonna hit some hard knots. (I found going through knots at a slight angle lessens the tendency for the blade to dip a little, especially when it's getting a bit dull). It's just the way I found it most comfortable and what works for me.
 
Nice picts!! Thanks for posting them!

I'm glad you didn't waste any of that chestnut by cutting all of those boards out with a CSM! These days chestnut tree's are just too hard to come by to waste any of it!

Rob
 
Nice picts!! Thanks for posting them!

I'm glad you didn't waste any of that chestnut by cutting all of those boards out with a CSM! These days chestnut tree's are just too hard to come by to waste any of it!

Rob

Actually, there is a lot of Chinese chestnut around this area. It's not the most popular urban tree because of those spiny porcupine like seed pods, but there are many around. Unfortunately, after only 10 days of drying, I can already see some ring shake appearing in about a third of the boards. I had a fair amount of ring shake in a Chestnut I milled a few years ago also that also surfaced shortly after I started to dry it. Large cracks appeared separated neatly along the grain at a ring, almost like if you were peeling an onion. I wonder now if this is species specific.

If you go up into the upper mountainous areas in middle PA, you can find many living American chestnuts, but they are sprouting from an old chestnut stump. They get 4-5 inches dia and then that blight hits them and the bark starts to crack at the base. They eventually die, but then new sprouts appear and starts the whole process all over. They have developed a blight resistant chestnut you can buy.
 

Latest posts

Back
Top