064 Mods?

Arborist Forum

Help Support Arborist Forum:

This site may earn a commission from merchant affiliate links, including eBay, Amazon, and others.
Thanks Lake! :cheers:

I've done some work to the plastic on the saw. They were horrible stained missfigured pieces with the saw model etched into them with something like a hot ice pick. :angry:


I priced what new plastic for the saw would be. :jawdrop: And there's no ga -run-tee that the colors of each piece would match.

Since then I've reclaimed the air filter cover and cleaned up the cylinder schroud i got from Hautions and it's looking decent now. I know's it's just a saw but after the work I've put in it I would it to look right. Kinda like Cindy Crawford missing her two front teeth, pretty but just not right.


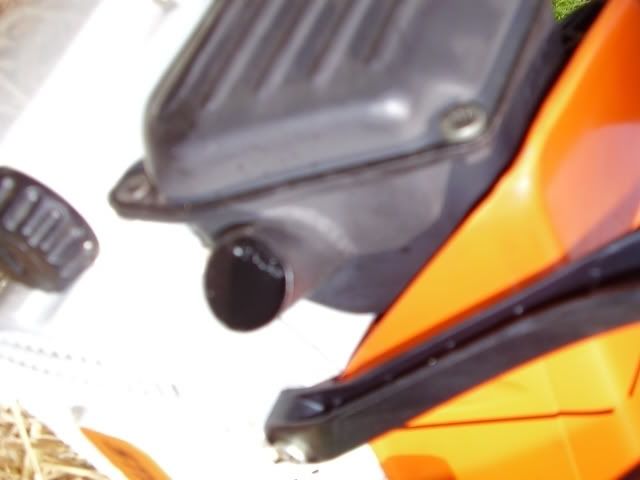
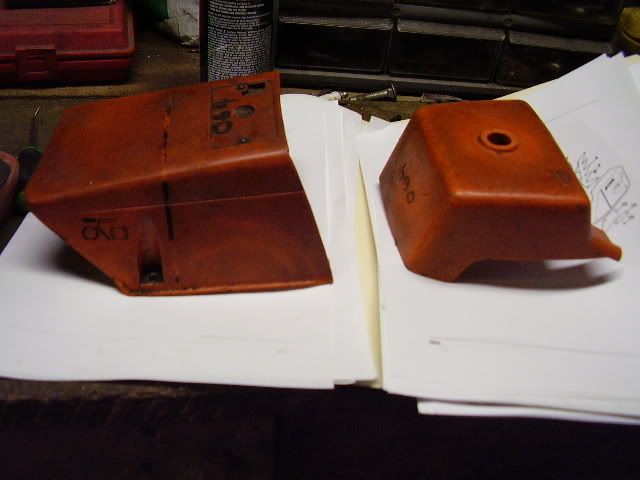
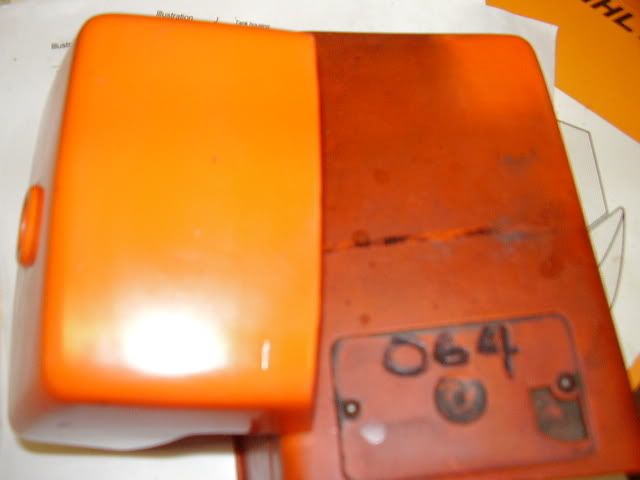
Here's what I started with. I think you can make out the 064 ETCHED into both pieces
P5030100.jpg


Half way done

P5030103.jpg


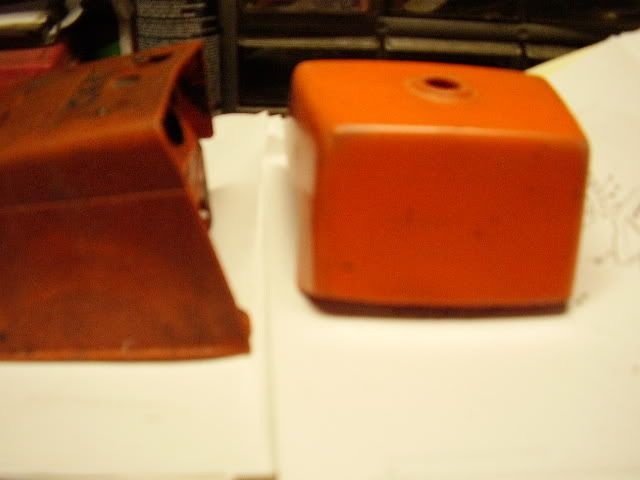
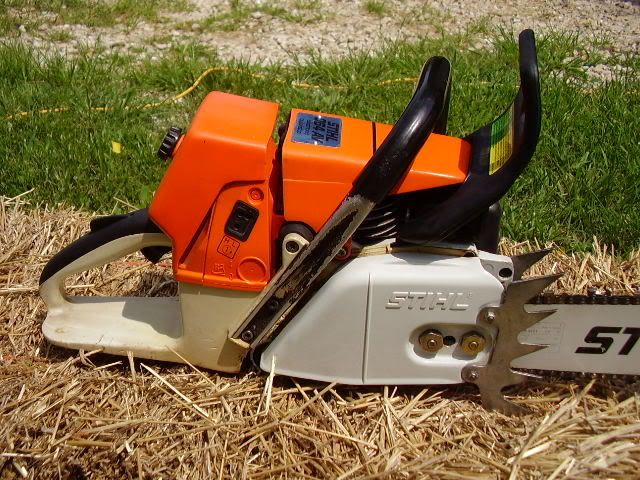
And close enough for a working saw
P5090108.jpg


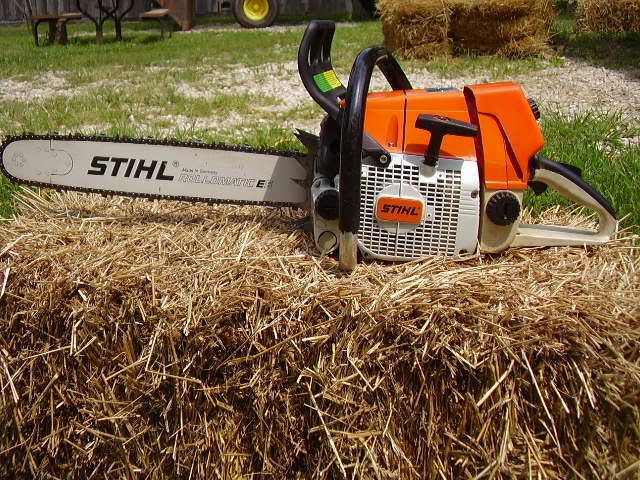
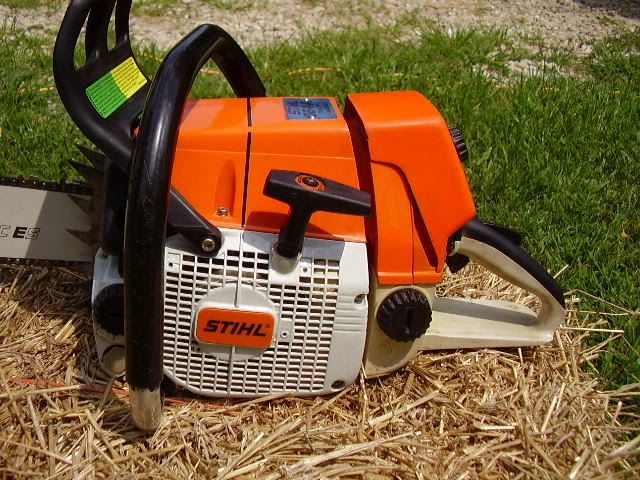
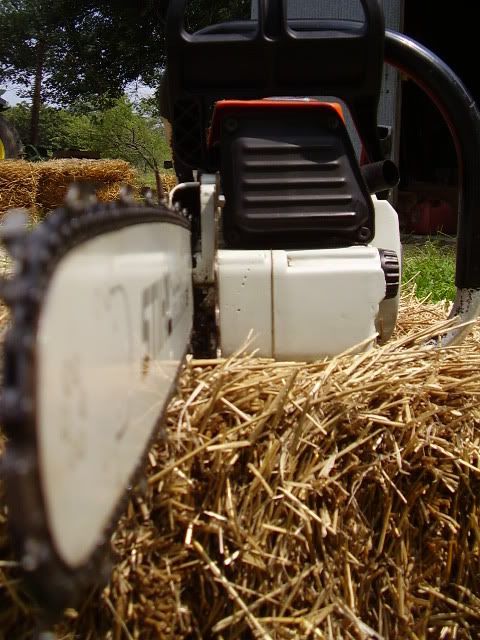
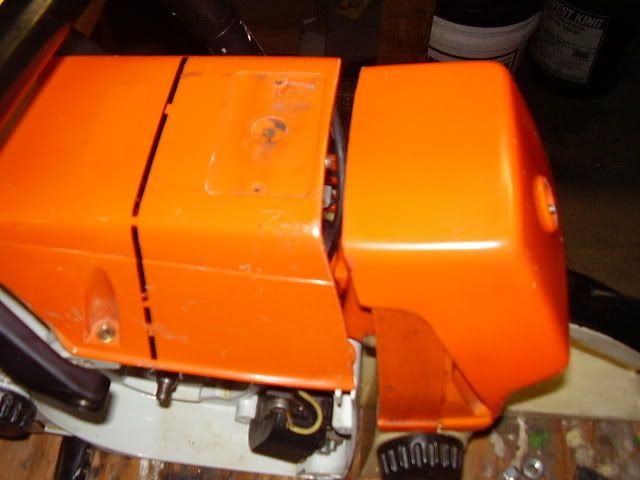
Here's both on the saw

P5090111.jpg
 
Real nice.... I know that takes time.. How about if I ship you a bunch of junk and you do them for me?:hmm3grin2orange:

You can still get the new name tags - about $3.00.

What was your process?
 
Last edited:
Real nice.... I know that takes time.. How about if I ship you a bunch of junk and you do them for me?:hmm3grin2orange:

You can still get the new name tags - about $3.00.

What was your process?


I've got the tags, just didn't have them mounted when the pic was taken.

*Disclaimer*

These parts were about junk when I started so I had nothing to loose. The following is what I did to try to renew them and in no way advocate that anyone try it on their new 660 mag. This won't hold up near as good as the original finish but it does look slighty better after a fresh coat of Meguair's carnuba.

*End Disclaimer*

Welp I started with 200 grit paper wet sanding the entire surface. This is mainly the stage I removed most of "064" that was engraved in the filter cover.

200 followed by 400, then 600, then 800..................blah, blah all the way to 1500, all the while keeping it wet. Other wise the paper will clog instantly. I really needed to find something finer than the 1500 for a perfect finish but it's what I had. After the 1500 I used the softest mounted buff I had (Got from Eastwood years ago, don't remember a thing about it) with turtle wax buffing compound smeared on the plastic. You have to be very careful with pressure, the buffing compound still cuts enough to smear/blur the plastic. Heat is also a bad thing. After that I used Meguair's machine Buff compound in the finest grade (10 being course I used a 1) with a very light touch. After that it was time for the Meguir's carnuba (because it smells so good) and yet more time in front of the buff. I hate the buff now. A very light touch with the wax on and I had the finished result. And also between each step I would alternate which way I worked the piece so as not to develop a "grain".

Just about the time you think you are done the buff will grab a corner a jerk the part out of your hands at a speed somewhat akin to lightning, usually drawing a finger or two into the wheel.

The cylinder cover was in pretty good shape to begin with so all I did to it was remove the pitch and buff with the machine glaze. You can hardly look at it in direct sunlight. But it still has all the original scratches as well.

Man I hate typing.

Lake send all the parts you wish. But new stuff will be cheaper! :hmm3grin2orange:
 
labors of love...:D

Then we go out and get them all messed up again:bang: :bang:

Yep part of the fun.

Well the confusion continues on the carb mount. I have three carb housings all three with the same part number but the inside flange between the studs is different on one of them. :monkey:

I've solved it and removed the pieces I need from the 066 mag parts saw so I should be getting closer. Really didn't want to rob any more than I had but a man gotta do what a mans gotta do.

Now all I have to do is get the cylinder base to stop leaking and a new impulse hose. Oreilly's just doens't carry much sealer for chainsaws. :laugh:

I removed the .040 base gasket ended up with a squish of .023 and have taken the intake and exhaust to within .035 of the edge of the piston. All I have left to do is raise the transfers .040, somehow. My 4 1/2" grinder doesn't fit in the jug too well.

Picked up the hondabond today should stop the leaks.

Mama is starting to get jealous of the saw, it gets more time with me than she has been lately. Must be doing something right. :hmm3grin2orange:
 
YEEEHHAAAAAAWWWW


It's ALIVE!

P7180013.jpg


P7180014.jpg


P7180015.jpg


P7180016.jpg


P7180017.jpg


P7180021.jpg


Now all that is left is some trigger time!

I'm so friggin happy. :D I'm never doing that again. :D
 
smokingdodge, now that's nice!!!

I'm soooo lucky my 064 started out super clean.
 
Thanks 046. It was a neat learning experience and I had the best help possible, thanks to generous folks like Lakeside & Gypo that don't seem to be bothered my newbie questions.


Now I really have to learn how to square file :rock:


Note to any one that wants to do something similar, START WITH A DECENT SAW. The 064 ended up being the best parts of three saw and some new stuff from ebay and a LOT of OEM stuff like gaskets and bearings and what nots. I can almost build another saw with the parts I have accumulated through this build.

In fact I just might, hhhmmmm 066 big bore with.............................................................:help:

:sucks:
 

Latest posts

Back
Top