You are using an out of date browser. It may not display this or other websites correctly.
You should upgrade or use an alternative browser.
You should upgrade or use an alternative browser.
Advanced hydraulics dual pump splitter build diesel mower conversion
- Thread starter sam-tip
- Start date


Help Support Arborist Forum:
This site may earn a commission from merchant affiliate
links, including eBay, Amazon, and others.
ChoppyChoppy
Tree Freak
Woodyjiw
ArboristSite Operative
Impressive machine!!

looks like a multi-gun battleship to me... one step down from a certified Mars Rover... nicely planned and executed!
I expected it to split wood!
 and I expected it to split big heavy chunks, too!
 but what I liked the most was the cool wood dragger and tree chunk lift tongs... with the remote controller!
and that the unit is driveable...
as for splitting, aside from size... looks as if u struggle like the rest of us... at times half chunks can be just as tuff as a whole chunk to move about! as we see in ur vids...
but as an engineering project... clearly form follows function.
very impressive! nicely planned and very well executed. great design, fabrication... and assembly!
and a tip of the hat... for all the problem solving you did so well, too... it reminds me of a big fat elephant... that can dance as a ballerina on the stage of Swan Lake, for example...
'fun toy!' a serious machine...
cool thread ~

thanks for taking the time to share it with us... job well done!

What is howling?
That would be me running some of the systems to hard to make the winch just a little faster. Will be tweaking more of the hydraulics. Adding another adjustable flow divider. The winch switch valve is only rated for 5 gpm. But the winch will work at 12 gpm. Plus the steering is only rated for 6 gpm at 1450 pressure relief. Will be switching back to the original switch valve which will handle the higher flow rate.
Now that the winch is fixed I can make appropriate adjustment to the rest of the systems. The winch was broken out of the box. So I changed more of the hydraulics than I needed to change.
Which means I need to go get another 5 gallons of hydro oil. Very messy making changes.
I also have a wireless remote setup for the winch to install. But the wired remote does work nice.
sweepleader
Chainsaws and Fire Trucks, perfect.
Great splitter, love it.
If you put the wireless unit on, watch out for delays in reaction after you push the button. I have dealt with 2 separate systems with wireless controls and they both had delays when called to work (seemed like forever on the tow truck, getting it to stop doing what it was doing.) I am sure this would be a function of the quality of the system so you may not experience it, but I would suggest you dummy up the system before a expending a lot of work integrating it only to find out it is unacceptable.
Thanks for sharing the build, very nice.
Sam a very great build. When I saw your frame work it caused me to start thinking. After seeing a completed splitter it made great sense. I have been using my portable winch to drag logs above my splitter then cut the logs into rounds. The general plan has been after the logs have been cut roll them onto the splitter. Was wondering how do you get the wood to the area that where you are splitting. It looks like your terrain is relatively level. In CA we do not know what level is. My first portable winch took me more than 2 months working full time to assemble it. The last one I built almost 35 years ago took even longer. Now that you are trying to make your equipment remote controlled really caught my attention because that is what I am trying to do also. Thanks 
Level enough that I did not install the brakes. Just take a smooth and short ride down the slope here at my wood lot.
I did keep the brakes if needed later. Thinking I should put the brakes back on.
I did keep the brakes if needed later. Thinking I should put the brakes back on.
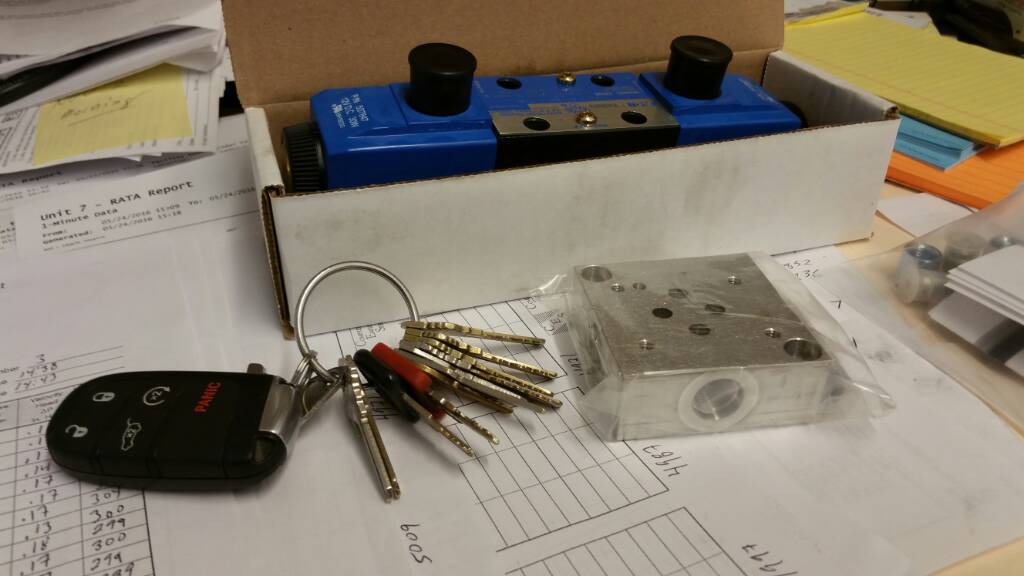
Switching more parts around this weekend. Got new solenoid valve body and pressure relief. All adjustable this time.
Sub plate for valve body is little small. Got bigger one coming in soon.
Also got new front tires.

Sub plate for valve body is little small. Got bigger one coming in soon.
Also got new front tires.
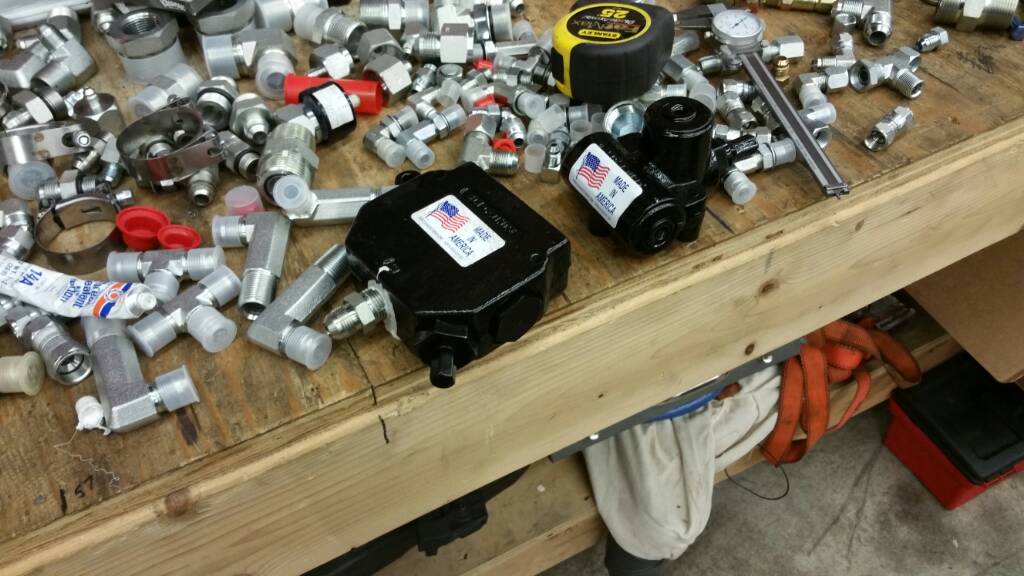
You can never have enough hydro fittings LOL
No never enough. LOLYou can never have enough hydro fittings LOL
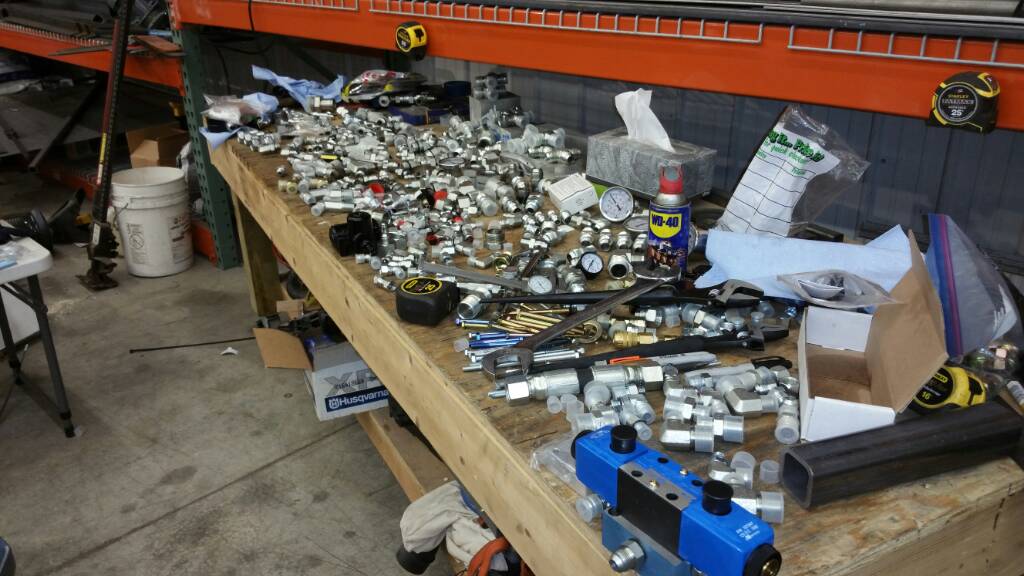
People at hydro shop know me by name now.
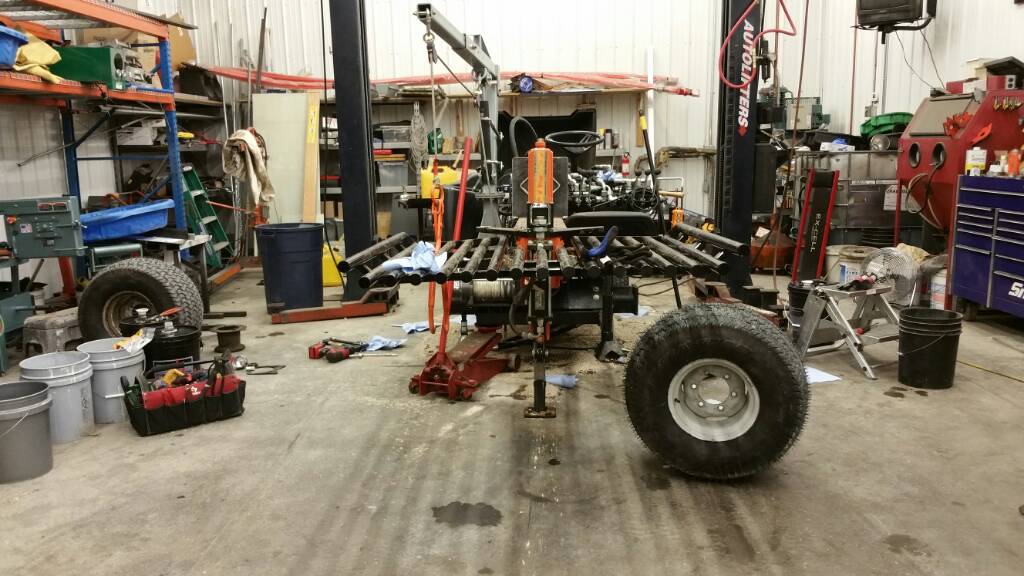
Update. I have put 15 hours on splitter so far in the heat of summer. Hydro temps are nice and cool. I can hold onto hoses with bare hand. Motor gets warm if I don't run at mid rpms or higher. To keep enough air going through radiator.
Drive wheel motor is leaking more than I would like.
Winch is working great.
Log table is taking a beating. Just bent on one side. Still solid. Got pushed down by a large piece of wood that went under the 4 way wedge.
AR400 knives are still razor sharp. I must be careful when moving wood near the knives. Ouch!
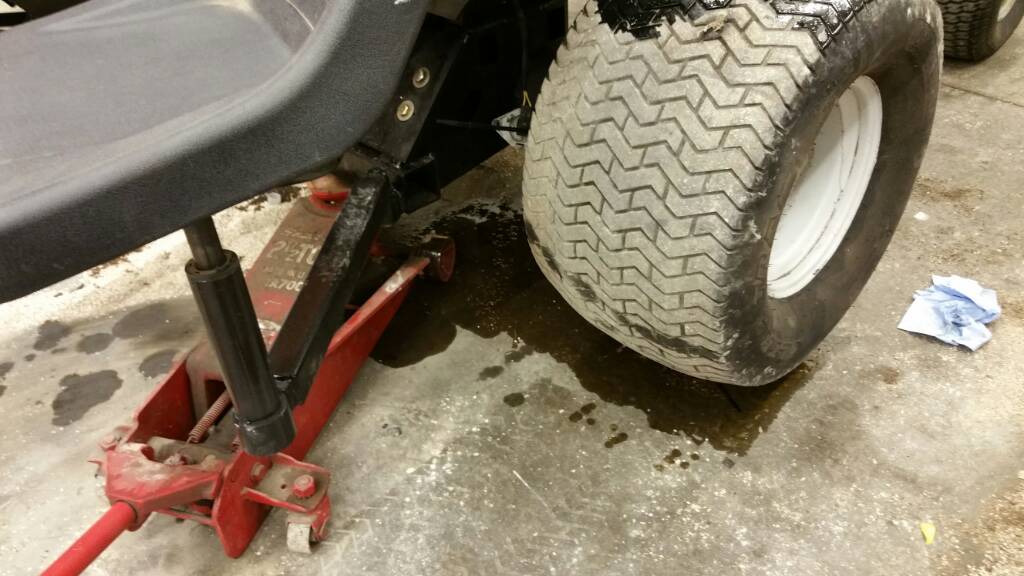
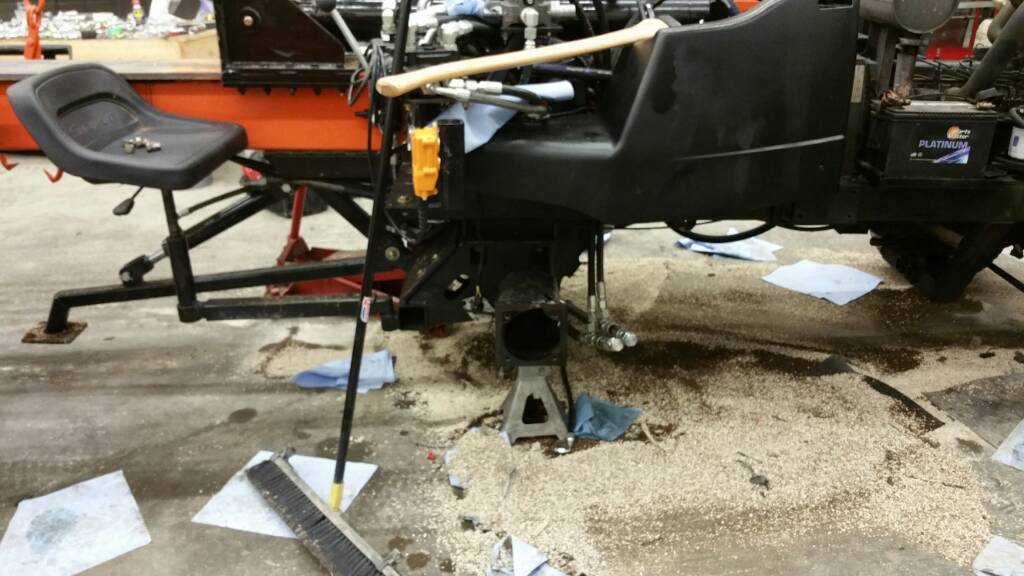
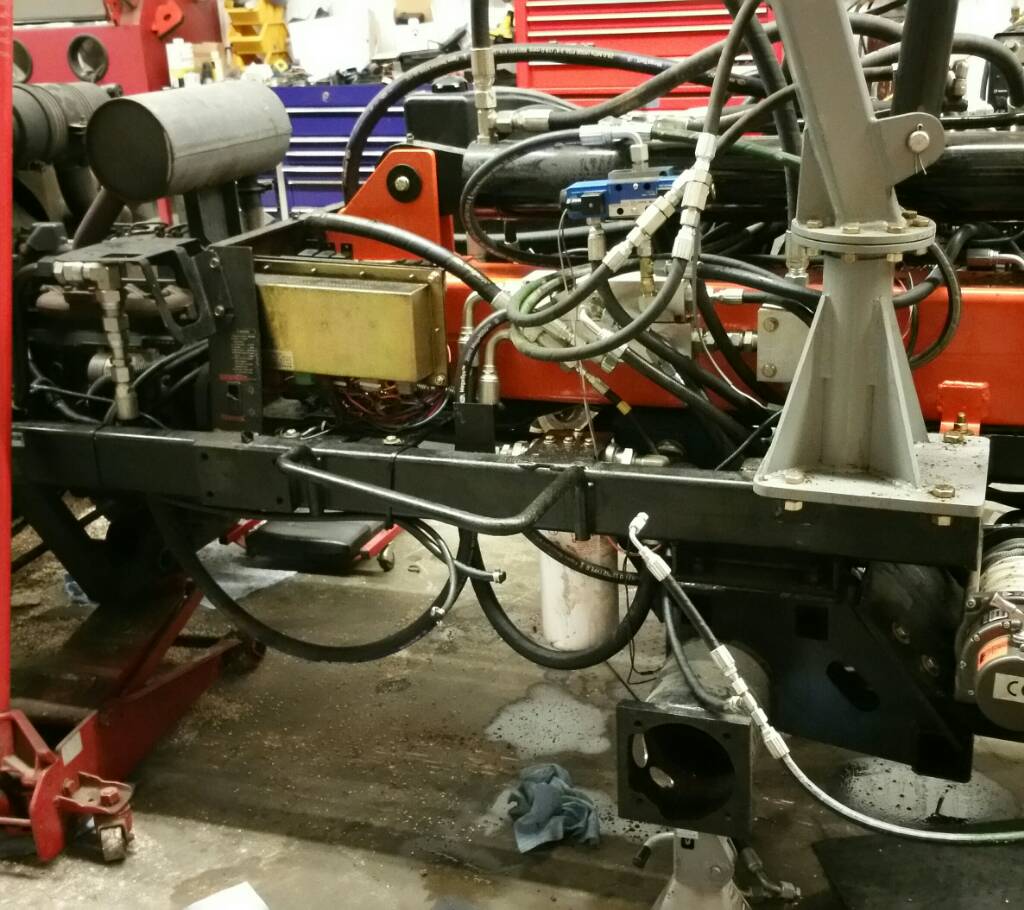
Back on the blocks again. Moving the wheel motor case drain away from the dump valve. Only thing I can think would be causing the wheel motors to leak.
Plus rerouting some hoses while apart again.
Tired of fixing new leaks. No leaks while warm and running. But next morning after everything cools there are plenty of leaks.

Plus rerouting some hoses while apart again.
Tired of fixing new leaks. No leaks while warm and running. But next morning after everything cools there are plenty of leaks.
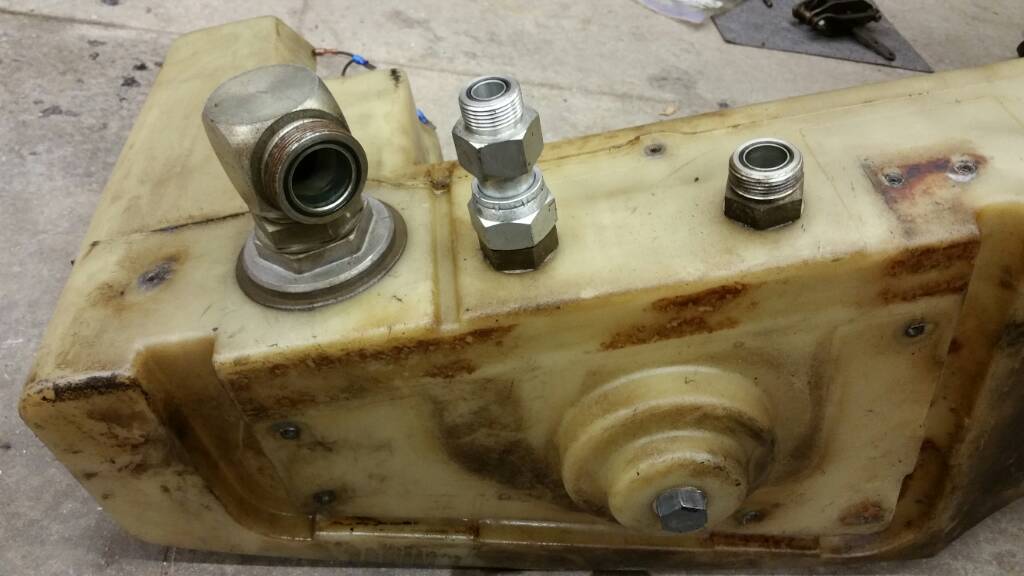
My new bead seal on suction tube. J B weld and wire. Sand smooth tomorrow.
Plus moved the hose to tube connection to a more convenient location.
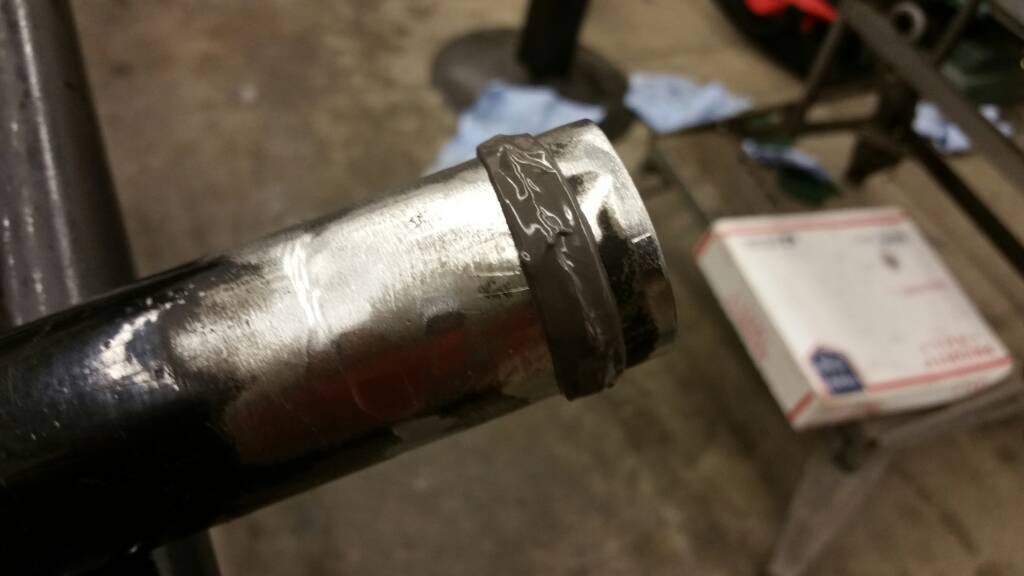

Size 24 flat face seal connector to the hydro tank.
Plus moved the hose to tube connection to a more convenient location.
Size 24 flat face seal connector to the hydro tank.
Does your case drain run straight from wheel motor to tank or is it plumbed into a return line. Plumbing the case drain into a return line can cause back pressure on the case drain which would cause a leak. Since you mentioned the dump valve in your description, I will speculate some, so if I am wrong just ignore. If you have plumbed the case drain into the dump valve return line, that as the dump valve is dumping excess oil to tank, it is possible that it could be causing back pressure on the case drain. If possible, it is best to run the case drain straight to tank
Does your case drain run straight from wheel motor to tank or is it plumbed into a return line. Plumbing the case drain into a return line can cause back pressure on the case drain which would cause a leak. Since you mentioned the dump valve in your description, I will speculate some, so if I am wrong just ignore. If you have plumbed the case drain into the dump valve return line, that as the dump valve is dumping excess oil to tank, it is possible that it could be causing back pressure on the case drain. If possible, it is best to run the case drain straight to tank
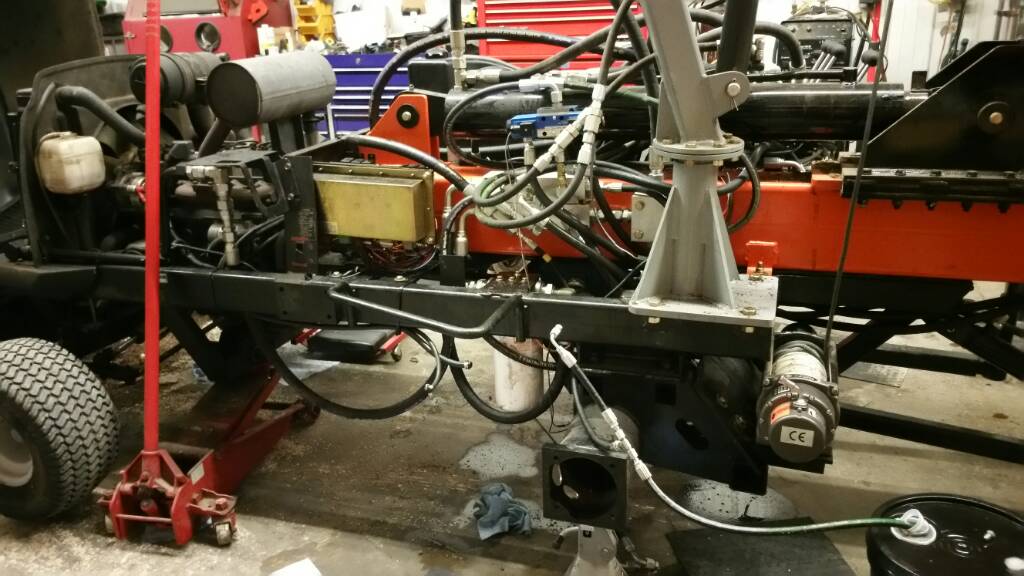
Yes it was plumbed into the return line manifold. The same manifold that the dump valve is plumbed. I have two return line manifolds to tank. The first manifold goes through the filter then to cooler then to tank. The second manifold goes directly to the tank. The second has the dump valve and return line for the auto cycle valve/power beyond(drive wheels). The cooler could not handle the dump valve so I switched it. The filter also could not handle the dump valve so I removed it. The filter was blown off the housing after first few cycles of the cylinder.
The easy fix is to move the drive motor case drain to between the cooler and filter to help eliminate back pressure. But will still have some back pressure.
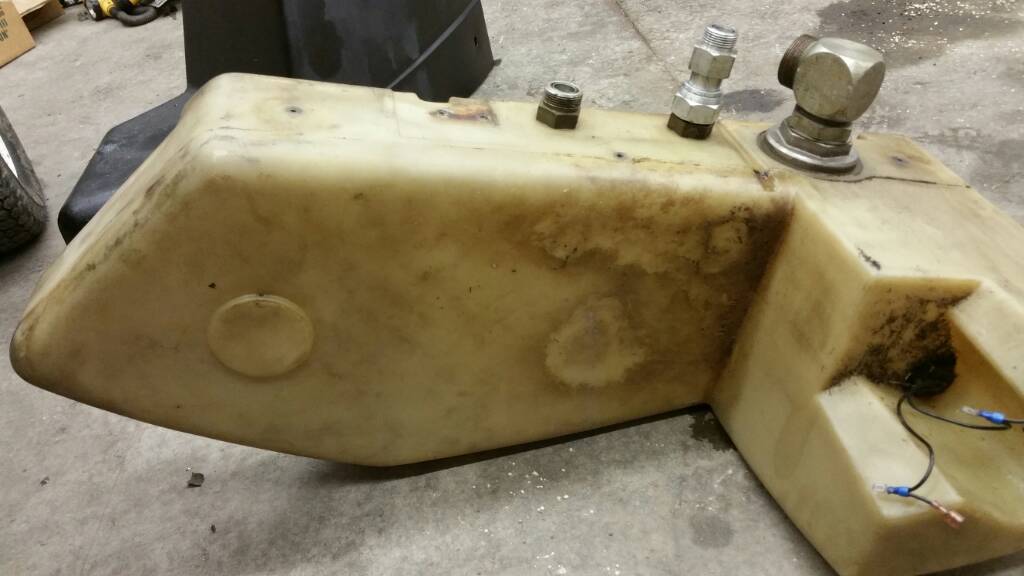
I think my best option would be to add a third return line just for the drive motors. Not sure how I can do that yet. It is a plastic tank. Any recommendations? I just pulled the hydro tank so now is the time.
The odd thing is the wheels only leaked after everything has a chance to cool down overnight. Was fine during normal operation/splitting. Using Bobcat brand oil.
On left you can see how I bypassed the blown filter.
Think my best option is to drill out and tap the adapter fitting at the inlet to the tank. But that is still inline with the dump valve. There is no clean out opening for the tank. The tank was sealed after the fittings were installed.
How much back pressure will the cooler create? 1" lines to and from cooler. Should be less than the dump valve surge.
How much back pressure will the cooler create? 1" lines to and from cooler. Should be less than the dump valve surge.
sweepleader
Chainsaws and Fire Trucks, perfect.
How about a tee at the tank drain? That would have no more pressure than the head in the tank, which would be less than if you ran the return line into the tank above the fluid level...
Yes tee to drain is an option. The drain plug does have a magnet attached. Will measure fitting size (SAE oring ) and check available options. Been reading up on case drain problems with motors. Even a filter can cause problems with motor case drains. From my google readings the less pressure the better. Just below oil fill line is best. The drain plug would be a just few inches of pressure. 13.6 inches of water is equal to 1 inch of Mercury which is equal to 0.49 psi. Should be ok.
sweepleader
Chainsaws and Fire Trucks, perfect.
Anywhere from just below the oil fill line to all the way down at the tank drain would have the same pressure in the line to the case drain. I am pretty sure that would be as low as you can get with the tank oil fill line above the case drain.
Sorry to see it giving you so many problems, great machine, thanks for sharing it.
Sorry to see it giving you so many problems, great machine, thanks for sharing it.
Similar threads
- Replies
- 93
- Views
- 4K
- Replies
- 17
- Views
- 2K
- Replies
- 28
- Views
- 3K