Justintoxicated
ArboristSite Member
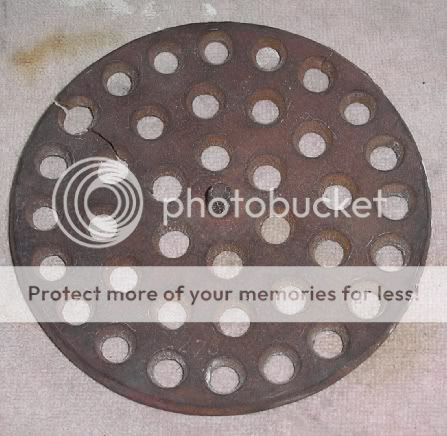
The reason I bought one was because it was missing. Who know what the last owners did with it, perhaps one day I will dig it up in the yard.
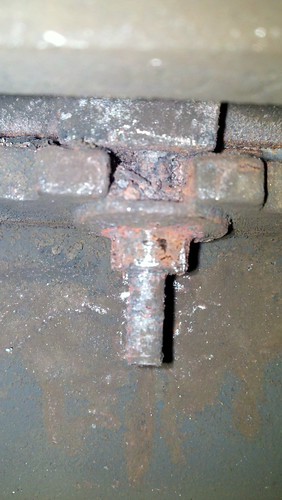
I tried to get the top plate off tonight and it was going well until it came time to undo the bolt/nut that is under the front lip.
The nut is rounded (not by me) and I can't visually see any thread on the bolt/stud either. What I don't know is the seriousness of this problem. Is it a stud welded into the top with a nut on the end? What would happen if I were to break or cut it off? Fixable or would the whole stove be trash? I mean I have a friend who could probably braze a new stud there, but I really don't want to go through that effort.
I can't see what is under there so I'll wait to hear back from someone like raybonz who has removed the top.
I HAVE to remove the top at this point because i was hitting it with a mallet to break the rest of the sealant off before I realized there was a bolt. So now it's pretty much just the bolt that is holding it together.
 arty:.