Hi guys, not a miller, just a firewood-er.
I am building a shed that is planned to have b&b siding, local milled rough sawn pine.
12" boards and 3" battens.
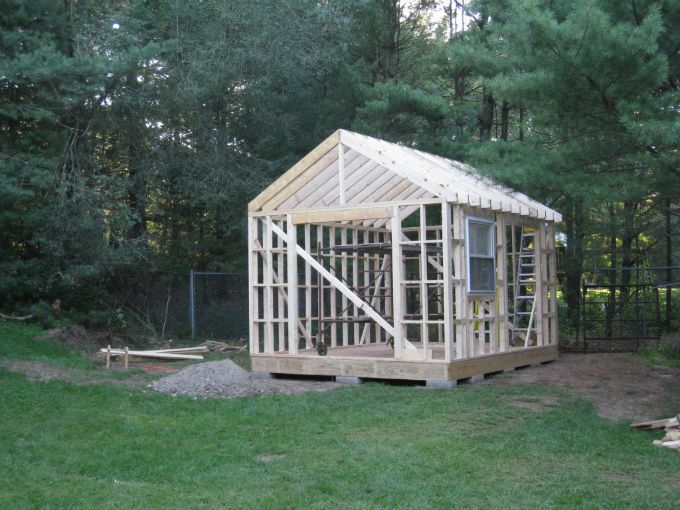
The shed is framed with the nailers (furring) in place. Might look goofy now, as on the left side there will be a lean-to. Gratuitous shed shot:
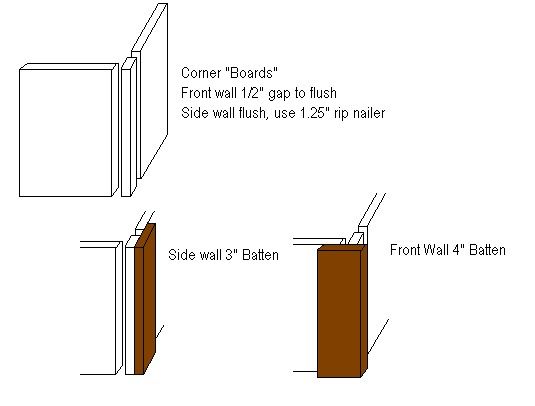
Now that I'm thinking more details, I can't understand how to trim the corners. My concern is that if I run the board to the edge, and trim corner battens, that will lead to splitting (nailing the boards on edge.) All I can think of is to rip a 1" "board" for each corner (so 8 total) and nail in place. Then have the other board run to it with the standard 1/2" gap. This will give the batten a place to nail and sit on both ends. Am I overthinking this?
Any advice on what kind of nails to use? My current plan is to use 2.5" ring shanks for the boards and 3.5" for the battens. I only have a framing nailer.... is that overkill?
Thanks, I'm definitely a newbie to this stuff.
I am building a shed that is planned to have b&b siding, local milled rough sawn pine.
12" boards and 3" battens.
The shed is framed with the nailers (furring) in place. Might look goofy now, as on the left side there will be a lean-to. Gratuitous shed shot:
Now that I'm thinking more details, I can't understand how to trim the corners. My concern is that if I run the board to the edge, and trim corner battens, that will lead to splitting (nailing the boards on edge.) All I can think of is to rip a 1" "board" for each corner (so 8 total) and nail in place. Then have the other board run to it with the standard 1/2" gap. This will give the batten a place to nail and sit on both ends. Am I overthinking this?
Any advice on what kind of nails to use? My current plan is to use 2.5" ring shanks for the boards and 3.5" for the battens. I only have a framing nailer.... is that overkill?
Thanks, I'm definitely a newbie to this stuff.