You are using an out of date browser. It may not display this or other websites correctly.
You should upgrade or use an alternative browser.
You should upgrade or use an alternative browser.
Husqvarna 162, 2x 266, 268 Frankensaw Project
- Thread starter briantutt
- Start date


Help Support Arborist Forum:
This site may earn a commission from merchant affiliate
links, including eBay, Amazon, and others.
briantutt
Addicted to ArboristSite
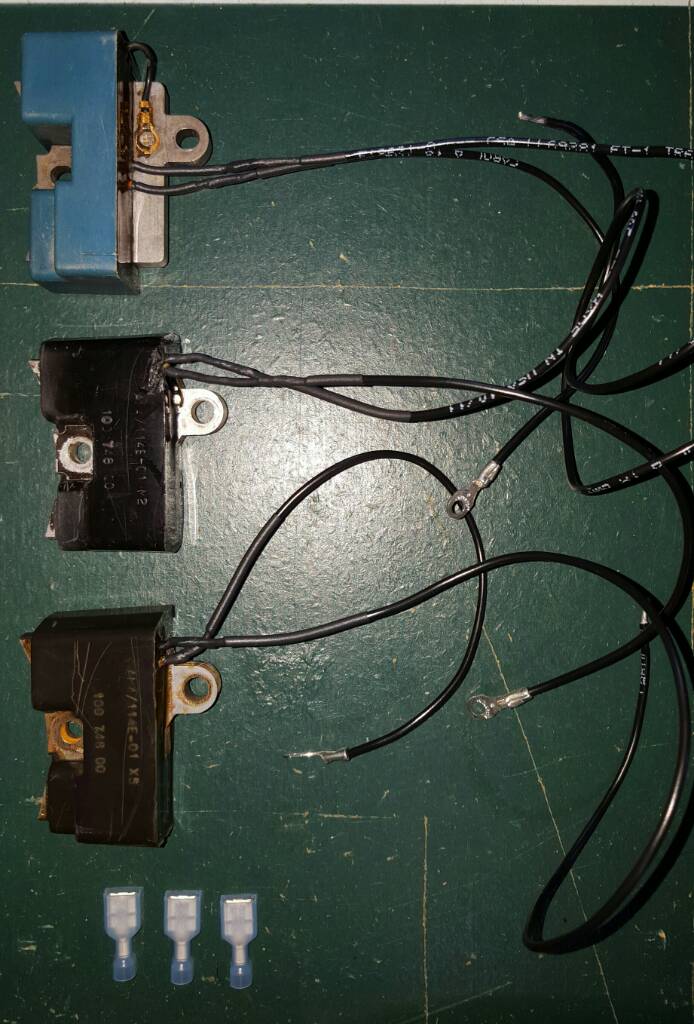
I rewired all the coils, ready to go now, not sure they all work but at least the wires have insulation and can't short to anything. I soldered on new wires, shrink tubed the bare area. New spade ends I will wait to do until I feed the wire through the grommet on case.
Brian
Brian
briantutt
Addicted to ArboristSite
Based on measurements I think flush on the inside seems correct. The bearings are all .433 wide. The witness marks in the cases run about .390 and the bearings have radiused edges of about .035 . So in that .390 witness range is pretty close when you take that radius into account.
Brian
Brian
briantutt
Addicted to ArboristSite
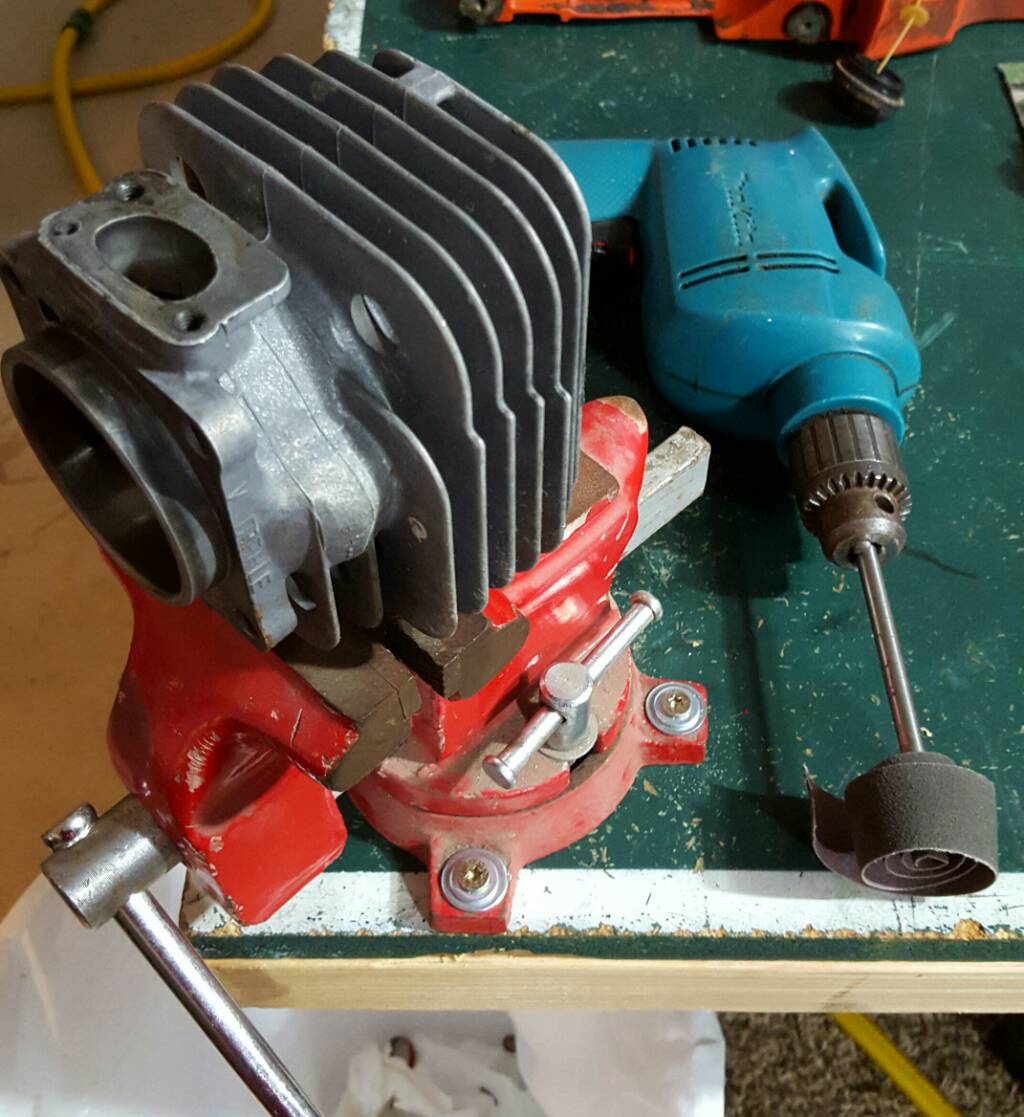
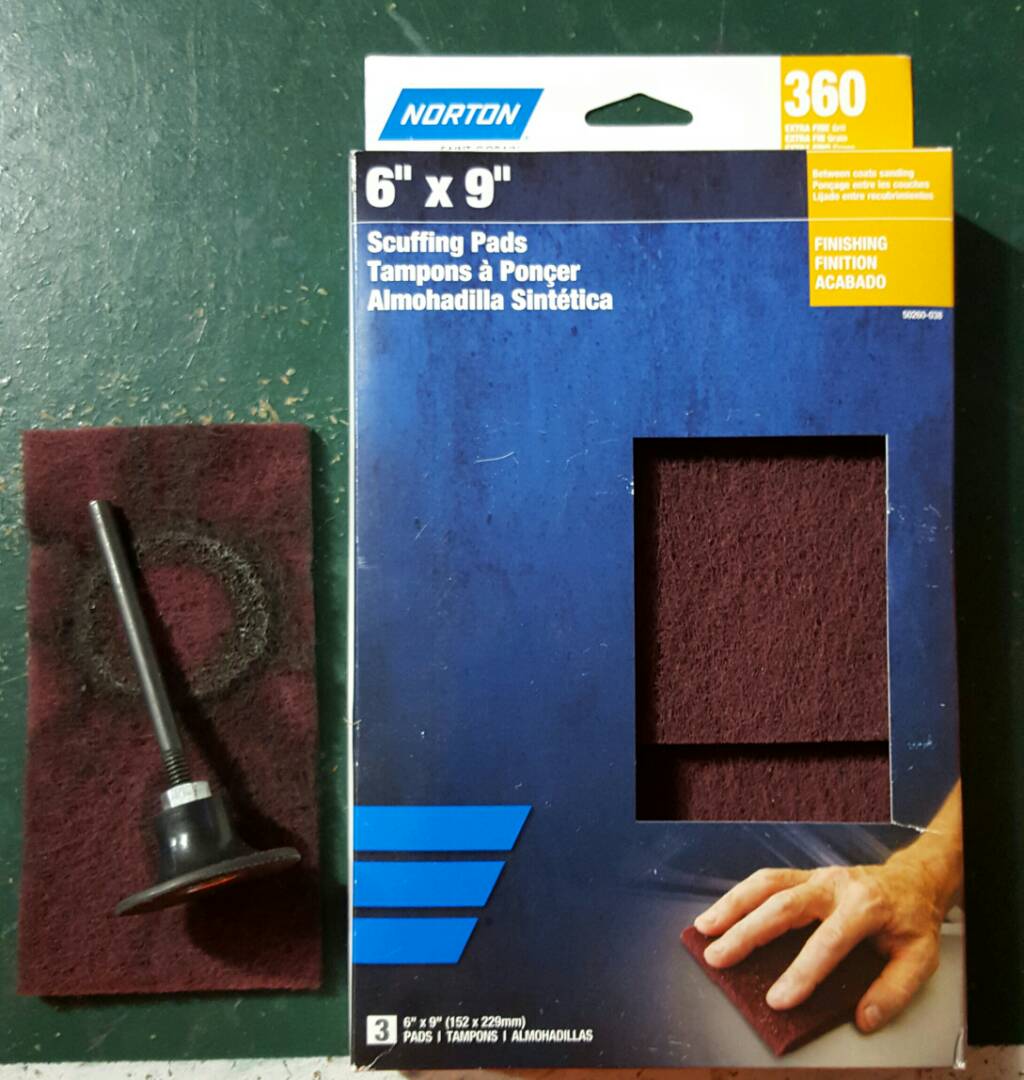
All setup for the practice run of the Mastermind cylinder cleaning method. If the drill is too slow a coworker has a foredom grinder he said I could borrow. He said his will take up to 1/4 shafts. Commence sanding...
Brian
Brian
briantutt
Addicted to ArboristSite
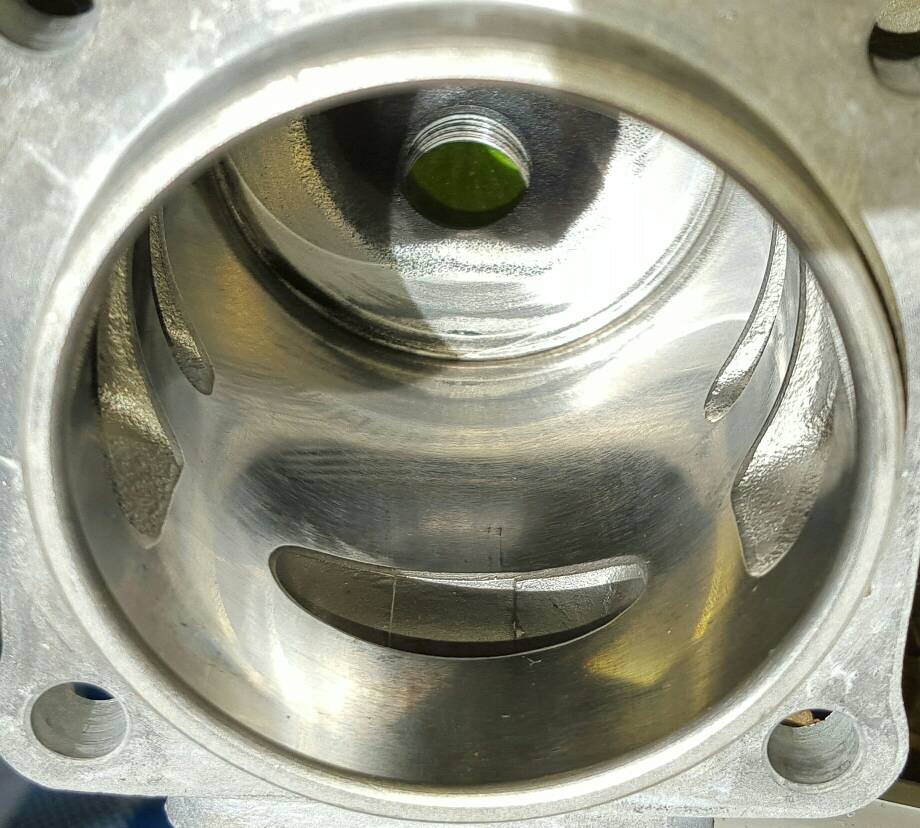
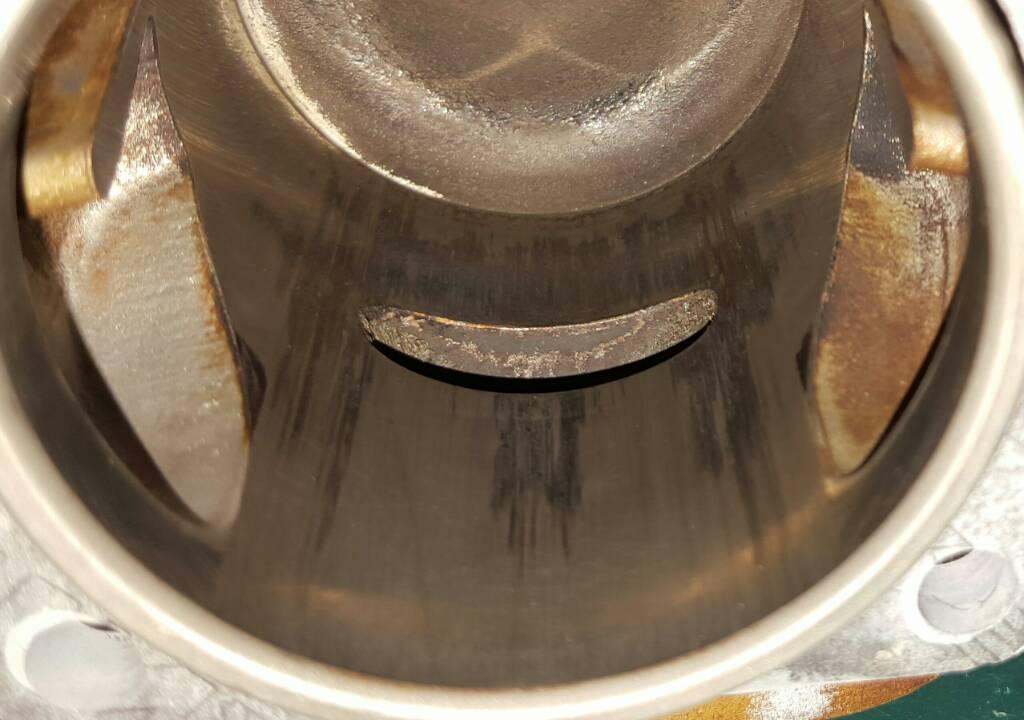
Well here is my practice run slash first attempt at the MasterMind method for transfer removal. I think I ruined it. I made 2 mistakes I think. (1) I shouldn't have went in with the course grit around 80, (2) I should have listened better to what I read in the MasterMind thread and stayed away from the edge of the port, more accuracy on just the transfer and less time.
Brian
Brian
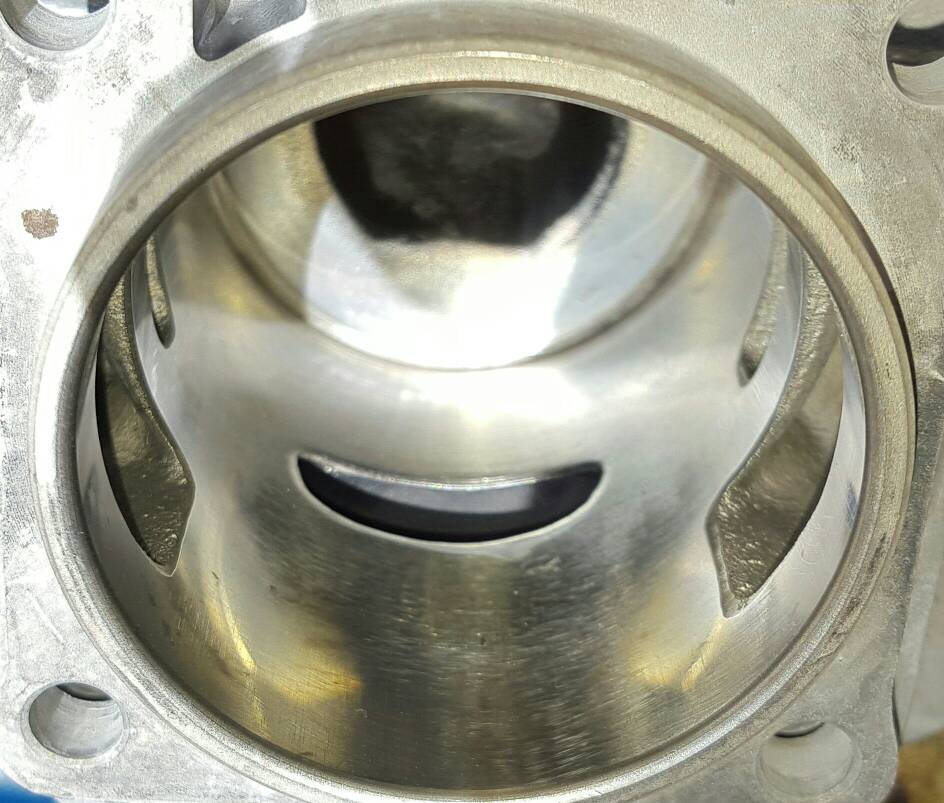
No. Outstanding!Here is the 268 cylinder after being cleaned up. Do I need to go further?
IS:
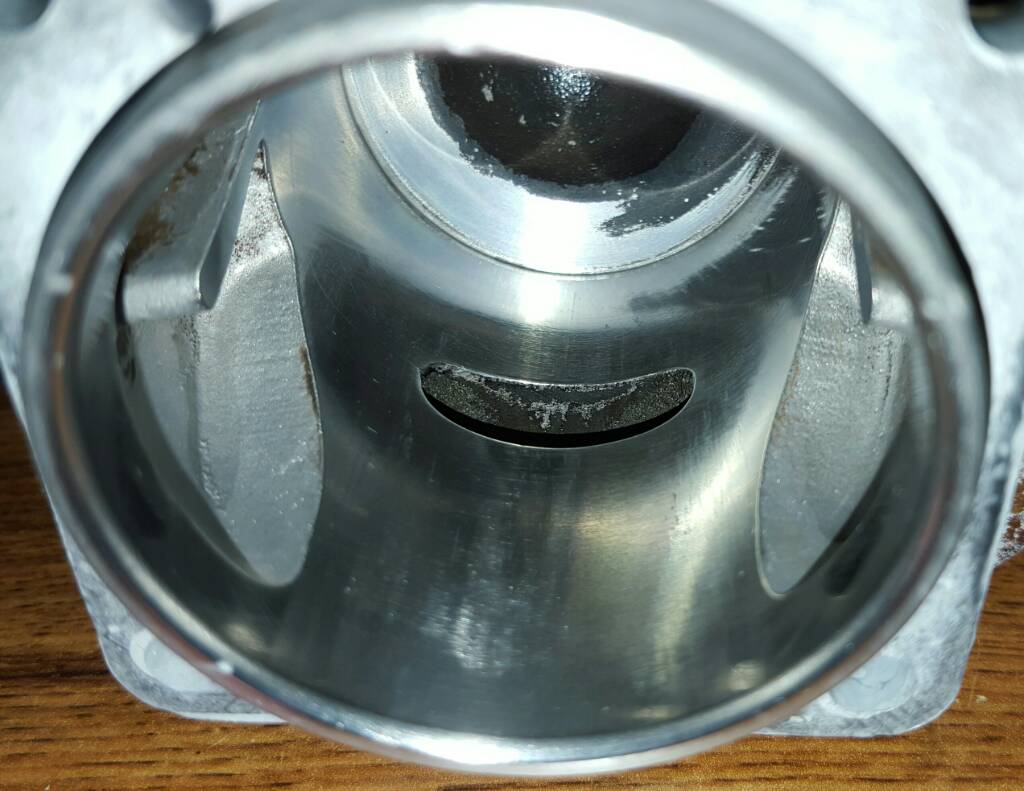
WAS:
Brian
I'm sending you all my cylinder clean up jobs from now on! LOL
briantutt
Addicted to ArboristSite
So I made a mistake rebuilding the carbs. I pulled the Welch plugs and cleaned them all up with my ultrasonic cleaner. Went to pit the new kits in and realized Tillotson kits don't come with the tiny c shaped clip that holds the small filter screen in. I managed to find 1 by looking around where I popped out the Welch plugs but the other 3 got swept up. Walbro kits come with this similar ring so it didn't dawn on me the Tillotson kits don't. [emoji35]

Brian
Brian
briantutt
Addicted to ArboristSite
Two of the gas tank assemblies were nasty inside. Thinking about how to clean them I got the idea to put simple green and water in, then I dumped in a container of pellet gun pellets collecting dust. Shook it around a few time over a day and then rinsed. Worked great!


Brian
Brian
briantutt
Addicted to ArboristSite
Also solved the bearing depth issue. First of all on the free table at church was a toaster oven. Second made a simple fixture to stop the bearing on the crank side at .020 protrusion. Worked great at 375 for 15 minutes, bearing in freezer.

Brian
Brian
Two of the gas tank assemblies were nasty inside. Thinking about how to clean them I got the idea to put simple green and water in, then I dumped in a container of pellet gun pellets collecting dust. Shook it around a few time over a day and then rinsed. Worked great!
Brian
Great idea there!!!
I have a nasty old JRed that needs a good cleaning, I will try that
I use broken window glass, the stuff from a car side window, works real well on metal tanks to.
Project is looking good.
BBB
Project is looking good.
BBB
briantutt
Addicted to ArboristSite
I bet that does work good. I used the pellets because they had some jagged edges. Glass even better.I use broken window glass, the stuff from a car side window, works real well on metal tanks to.
Project is looking good.
BBB
Brian
briantutt
Addicted to ArboristSite
So reading through the service manuals I have one of them says to put the piston ring down in the cylinder to check the gap. If it measures over 1 mm it is worn. The 162 is gap of around .088 but the 266 is over 1 mm for sure. Guess I need a ring for that one.
Brian
Brian
briantutt
Addicted to ArboristSite
What do you set the oven at? The service manuals say 400 but I put the one 268 bearing in at 375 and it seemed like it affected the paint a little and I just experimented with the a junk half at 375 for 15 minutes and it really messed the paint up. Maybe 350? Curious if anyone has pointers.Just put the bearings on the crank first, tight to the counterwieghts. Then put the crank with bearings on it in the flywheel side half first till the bearing bottoms in the case. Then put the clutch side half on. The bearings will be in the correct location when you are done. I usually use a toaster oven and freezer to heat or cool parts as nessecary so everything just slips together.
Brian
I don't know what temp my little toaster oven gets up to, I just know that I turn the dial to 4 minutes, the timer dings, then it is warm enough. There is no temp control on it. 4 minutes on my toaster oven is just before the case half start to smoke, figured this out through trial and error.
Similar threads
- Replies
- 15
- Views
- 34K