Bob, Here are few pics of the chain, don't know how usefull they will be, tuff for me to get good close-ups yet, gonna have to do some manual reading on camera. The "gunk" on the bar did clean off, and did no damage to the bar rails, yet! that I can tell. In a couple of the pics, you can just make out the small "flat" on top of the depth rakers. I assume the forward edge of these where it goes from flat to round, should be rounded over more. Am I correct? or way out it left field.
You are correct. The rakers are a good depth (1/8th of gullet width as worked out from the image) but the tope are far too flat. Don't be scared to round them over right to the back. Have a look at a new chain, you can go a touch more than that for milling.
The other small concern I have is possibly insufficient cutter hook, or side angle. What do others think?
This could be due to
- the Pferd file guide itself,
- using a wrong size file
- incorrect size file guide
What size file are you using? You could try using a 1/64" smaller file. It won't damage anything and if the chain becomes too grabby its easy enough to correct by resharpening with your usual file.
Another thing I notice is the extent of the chain wear at the bottom of the chain side straps given the amount of life left in the cutter and that you are cutting relatively soft wood.
This is a sure sign the saw has
- insufficient bar lube (If you had an alaskan I would say add an auxiliary oiler) or
- been pushed too hard.
I'd say its the second one and is related to the previous 2 discussion points above.
The wear seems to be more in the middle of the strap that the outer edges. This suggests a chain that is possibly too tight. Have read of
this post - it's pretty technical but tells you when you should and shouldn't retension the chain. A close up of your sprocket would be very diagnostic.
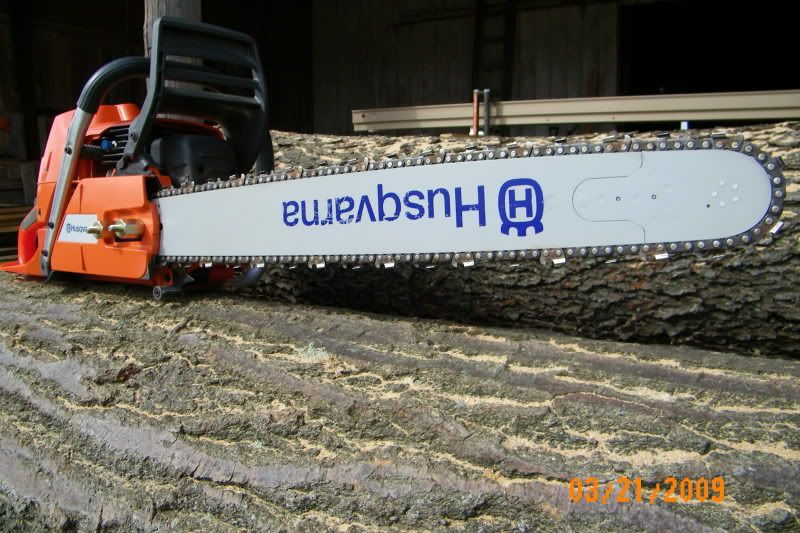
I turned the bar over also while I was at it. Another question I have, while Im at it, is there any big disadvantage using a 28" bar for this, over the 24" that I'm using now. So far I havn't needed the longer bar. I know the saw will be pulling more chain around the bar, but you would have more cutters working for ya too.
4" won't make a lot of difference with your saw. It also won't go blunt quite as quickly and it helps the chain stays a bit cooler if a length of it hangs out in the breeze.
I do have a couple new ripping chains for that also. My chains are from Baileys, buy the way. I think the angle on the cutters is 10 degrees. Neither file guide I currently have, has markings for that, so just been going by eye.
Even though they look pretty good your eye won't good enough, get your self a protractor and mark 10º on the file guide or rig up something like Rod suggests.
Thanks again Bob, for all your patience with us "new guys"

Gregg
No worries


")