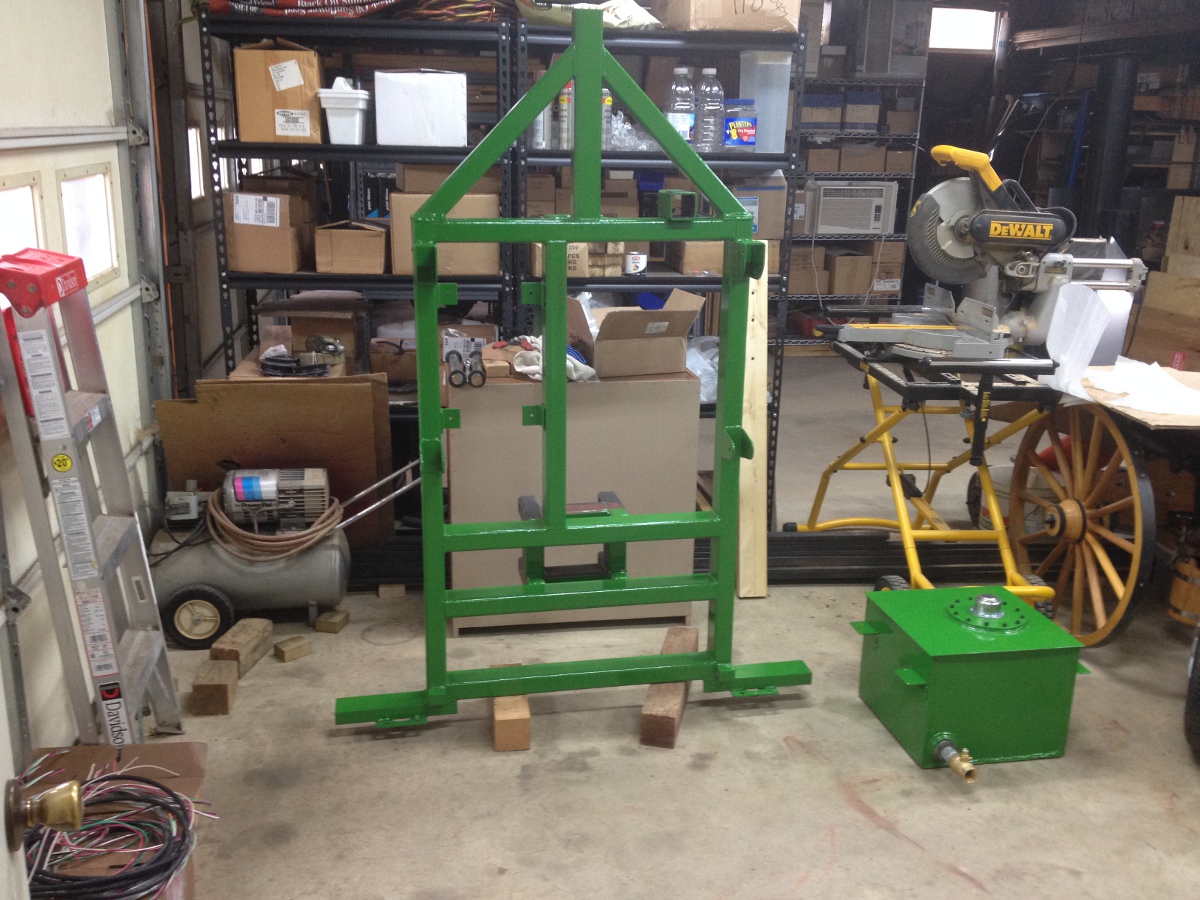
Stainless steel warps and pulls like crazy when you weld it so I was doing short welds out of habit to help stop the warping. On steel is not that much of a problem. I can comfortably weld about 6" if I can see the joint good. Any longer than that and I have reposition my hand as I rest my welding hand on something to help me keep the torch tip steady. If you have any tips I'm all eyes... oh and the hydraulic tank is 12 gauge. Boy did I foul up the tank, I forgot to remove the mill scale from the weld area when I assembled the bottom and I had leak after leak after leak... I finally got them all patched up.
I wish I knew the proper way to weld... all I know is from the school of hard knocks.
JT
instead of planting your hand, try planting your elbows, either into your stomach or on the table/work piece, i can get around 30+ inches of weld when i plant my elbows into my stomach, it also helps to lean on somthing or place your knee/hip againt something while welding, just standing without touching anything, you dont really have any refrence as to where you are,and your body seems to move on its own.
also before i weld i usually do a fast "dry run" to make sure im in a position that im able to weld that joint, if not i re-position my self...
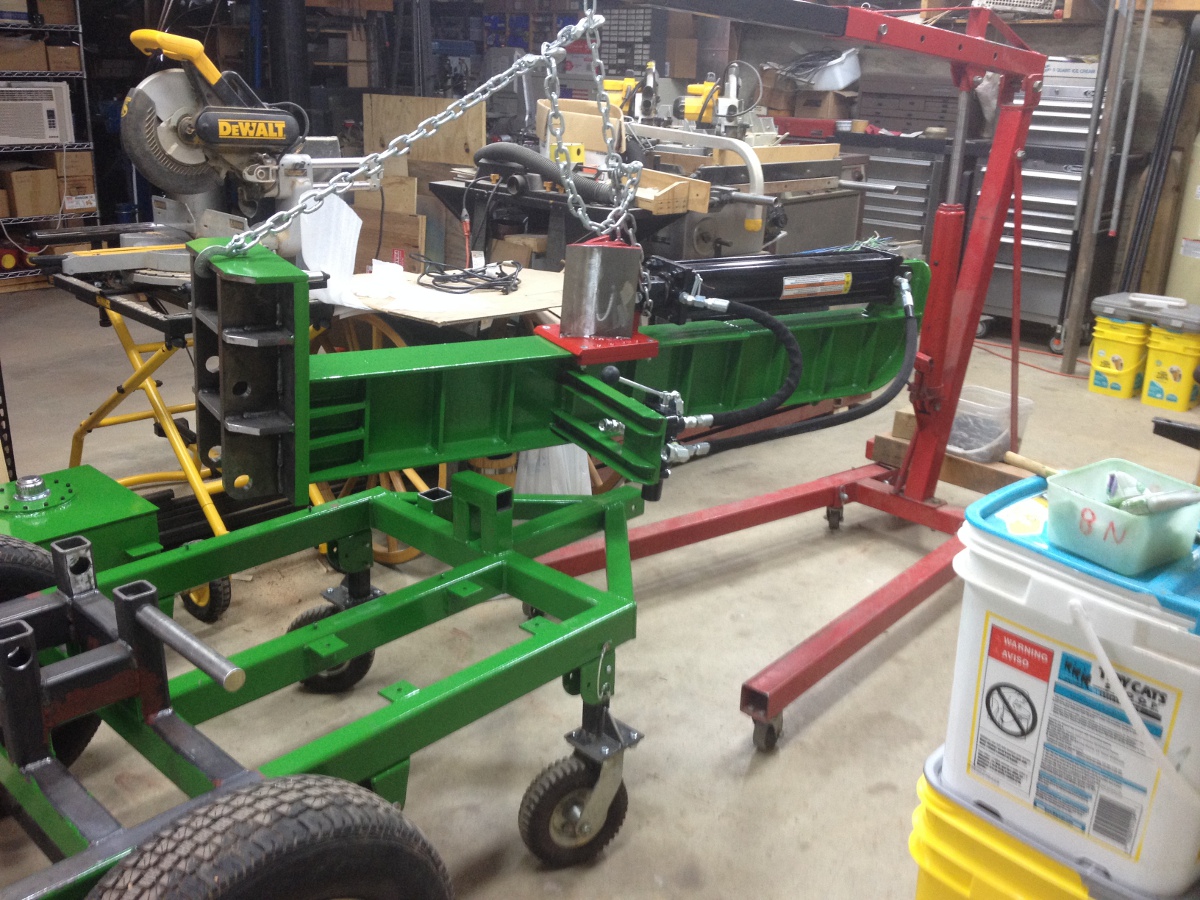
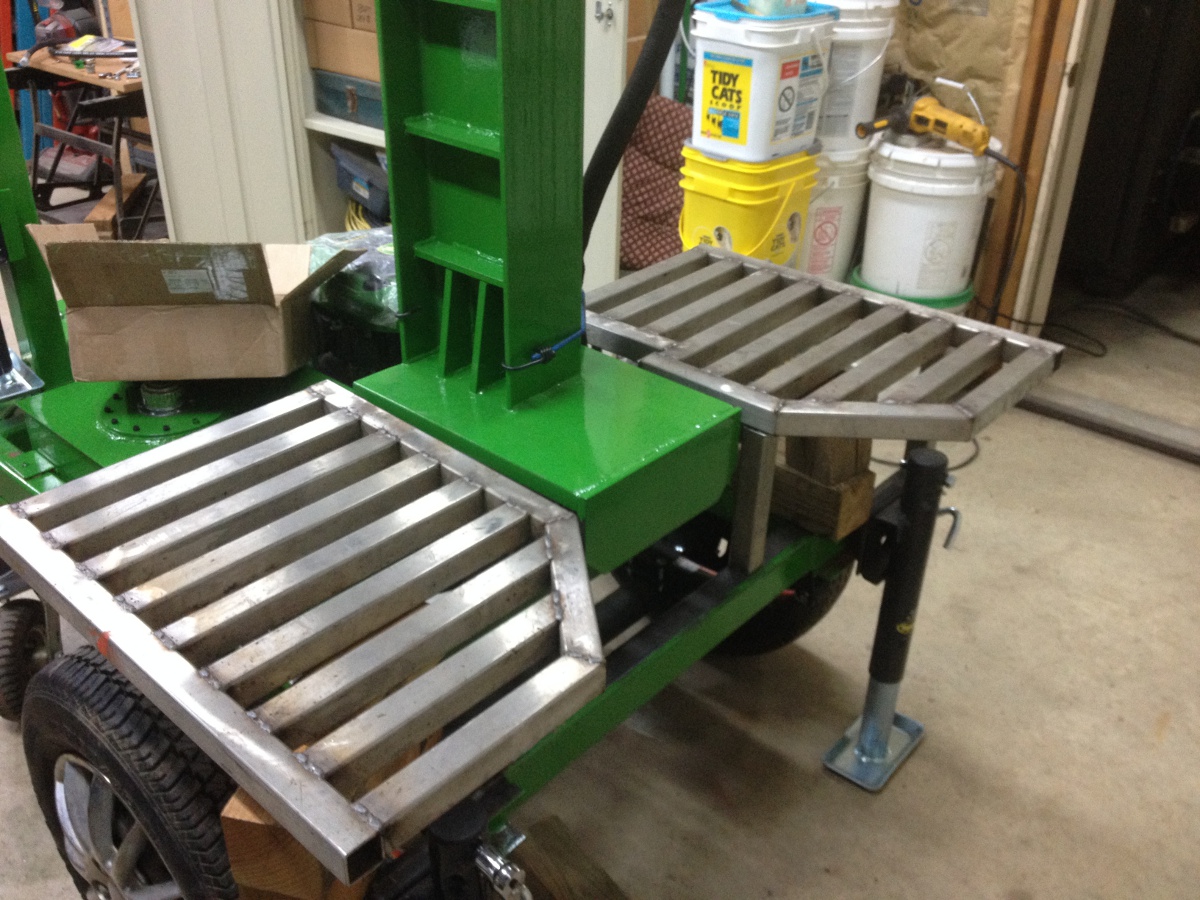
as for your stainless tables, and your tank, thats where a proper weld size comes in, as those are some heaftey welds for 11 gauge? tube, and on your tank the welds i saw on that are about the size i would run on 3/8"-1/2" material... 12 gauge material usually requires about an a 1/8" weld (with proper penetration) of course you can go bigger but then warping becomes a concern.
really though i think your machine/fab work is awesome, but your welding needs a bit of work...
im a self taught welder also, the only thing someone showed me was oxy fuel welding, as i didnt have a torch...
my dad was a welder for 30 years never taught me to weld though, just said go play with the welder till i got it right, that was with a mig. then i worked for a company and we only had a tig welder, so i picked that up too, then another job with only a stick welder, so i had to learn that also. neither one of those jobs had another welder to guide me, it was all trial and error and a little bit of reasearch...
machining was the same way, the only cnc's i can run are proto traks, as ive never had the chance to run any others, but i can run any manual machine out there, i guess i was just lucky to have jobs that let me screw around to try and learn something on my own...