You guys have gone and made me do it. I knew I eventually would someday. I checked the compression and measured the squish before I tore it down.
Compression(cold) = 168 psi
Squish = .024-.025"
My goal is .017"-.018" for the squish. When I had a ported jug on this saw by another builder, the squish was a .016" and it was fine. The problem is that I do not have a mill or lathe to deck this jug with. This cylinder protrudes below the mounting flange so it cannot be sanded on a flat surface to deck it. I measured the base gasket and it's .015" so I can't go just go without one. That would put me at .010" squish, way to tight. Sanding and polishing my 460 piston removed about .006". I think I'll just remove .007"-.008" from this piston and go without a gasket afterall. The only other option I can think of would be to go with a very thin gasket of some kind. I've heard some mention a grocery bag. That kind of scares me. I want this to be durable. I'd appreciate your input on this matter.
Porting will be done similiar to my 260 and 460. I will widen the ports as much as the skirt will allow. I will only touch the top of the exhaust enought to clean up the casting and give it the shape I want. I will not be raising it. This is a work saw and I want torque, ie compression. I will not be lowering the intake port either, only widening it. I will raise the tranfers only enough to make up for the few thousandths I drop the jug. Again I don't have the proper tools to get in there and do much anyway. I do all this work with a Dremel, files, and sandpaper.
Here's some pics I took before getting started.
This P&C only has a handful of tanks through it.
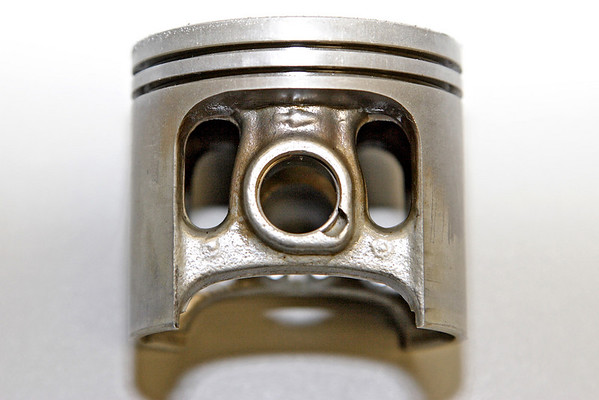
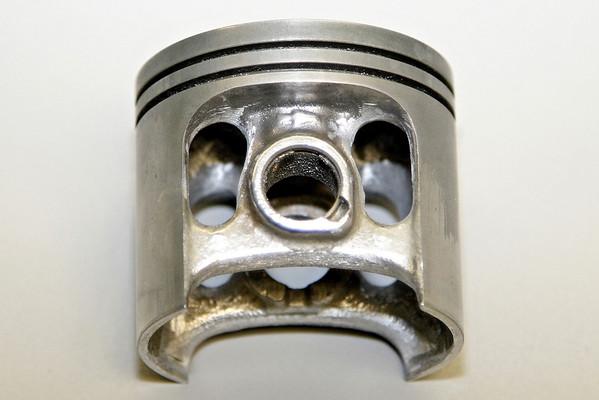
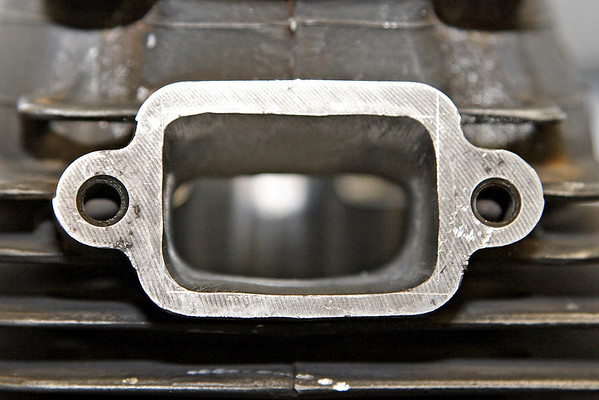
Intake side.
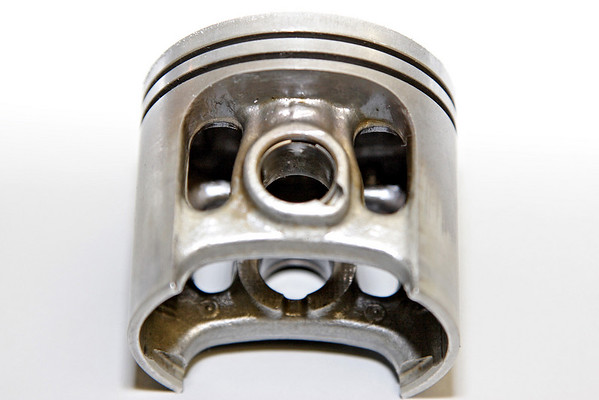
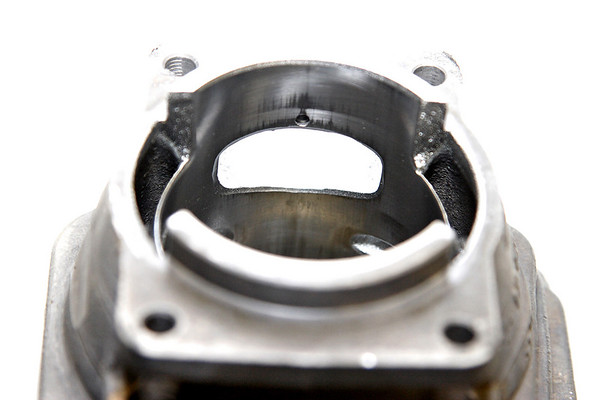
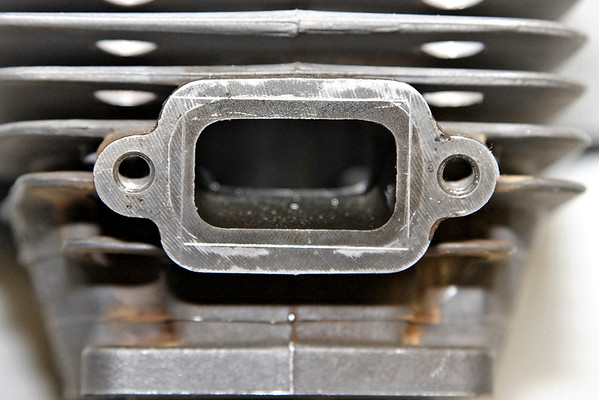
Exhaust side.
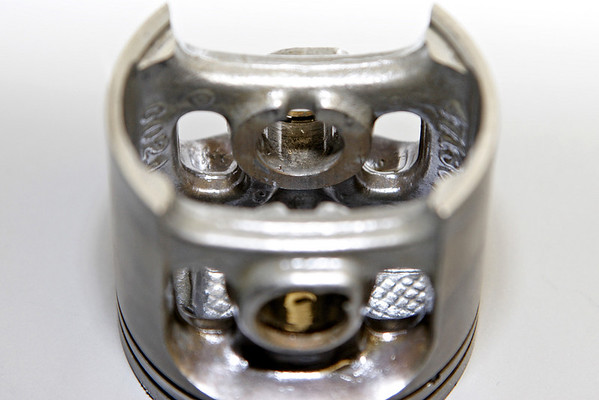
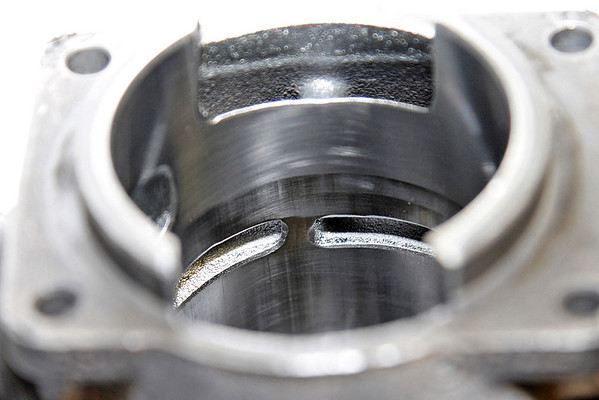
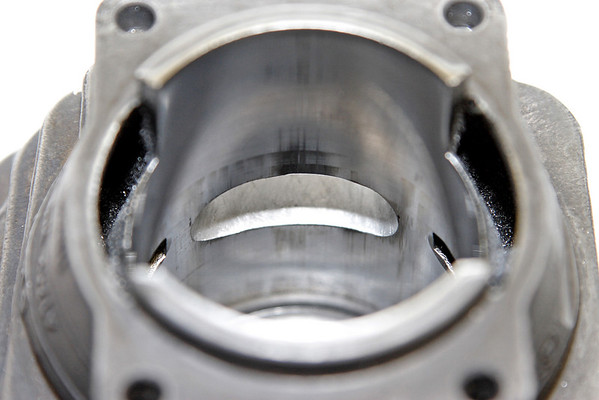
Transfers. Notice the huge sloppy bevels on all the ports.
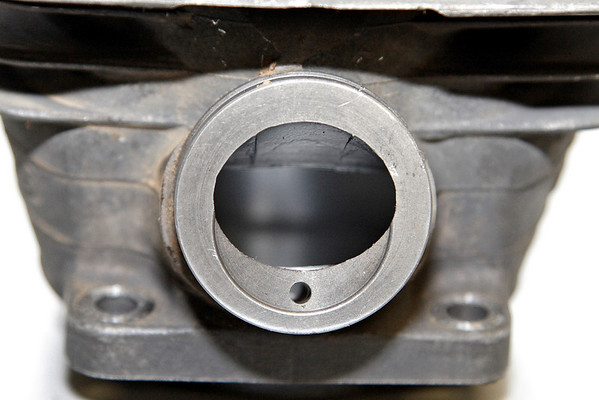
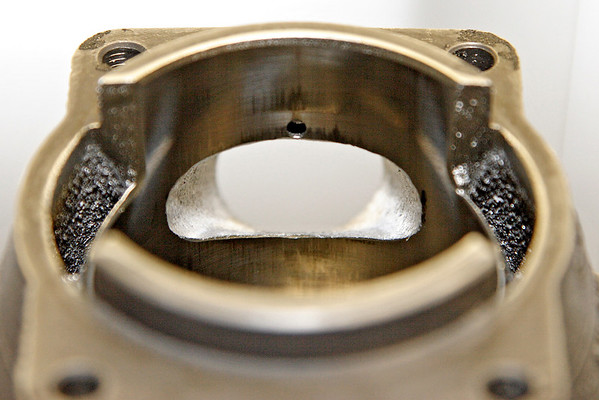
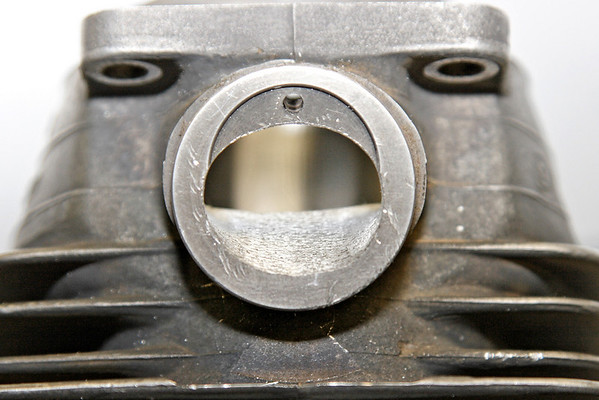
Intake port. It has the same strange little hole my first jug did.
Exhaust port
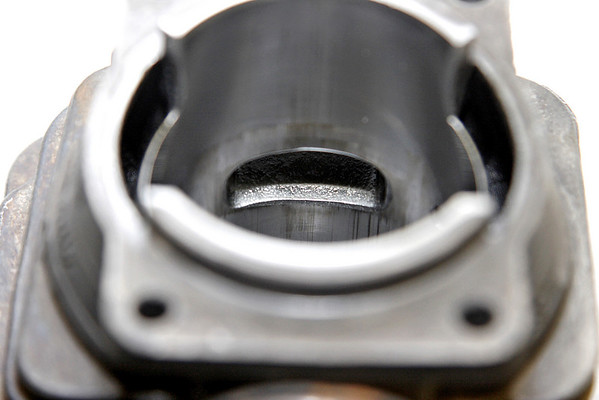
Notice the scribed lines where I'll be opening it up to.
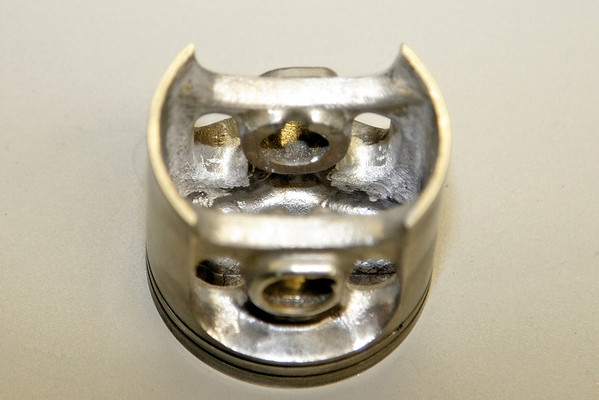
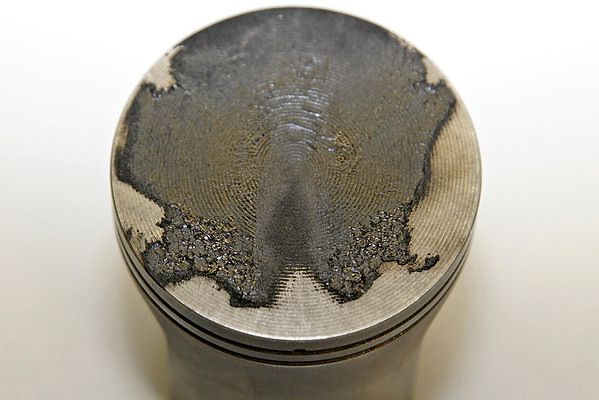
Here's a very interesting side not. This saw has been used with Maxima Castor 927 oil @ 32:1. I won't be doing that again. I've already switched over to Klotz R50 synthetic. BTW, I found the same carbon build up on the 460 piston. I did not take a piture of it though.
Compression(cold) = 168 psi
Squish = .024-.025"
My goal is .017"-.018" for the squish. When I had a ported jug on this saw by another builder, the squish was a .016" and it was fine. The problem is that I do not have a mill or lathe to deck this jug with. This cylinder protrudes below the mounting flange so it cannot be sanded on a flat surface to deck it. I measured the base gasket and it's .015" so I can't go just go without one. That would put me at .010" squish, way to tight. Sanding and polishing my 460 piston removed about .006". I think I'll just remove .007"-.008" from this piston and go without a gasket afterall. The only other option I can think of would be to go with a very thin gasket of some kind. I've heard some mention a grocery bag. That kind of scares me. I want this to be durable. I'd appreciate your input on this matter.
Porting will be done similiar to my 260 and 460. I will widen the ports as much as the skirt will allow. I will only touch the top of the exhaust enought to clean up the casting and give it the shape I want. I will not be raising it. This is a work saw and I want torque, ie compression. I will not be lowering the intake port either, only widening it. I will raise the tranfers only enough to make up for the few thousandths I drop the jug. Again I don't have the proper tools to get in there and do much anyway. I do all this work with a Dremel, files, and sandpaper.
Here's some pics I took before getting started.
This P&C only has a handful of tanks through it.
Intake side.
Exhaust side.
Transfers. Notice the huge sloppy bevels on all the ports.
Intake port. It has the same strange little hole my first jug did.
Exhaust port
Notice the scribed lines where I'll be opening it up to.
Here's a very interesting side not. This saw has been used with Maxima Castor 927 oil @ 32:1. I won't be doing that again. I've already switched over to Klotz R50 synthetic. BTW, I found the same carbon build up on the 460 piston. I did not take a piture of it though.
") I can't seem to quit working on this thing.
I can't seem to quit working on this thing.