


Hey Ya'll.
I just got my Speed Sharp Star from Baileys and was hoping someone could help me fit the grinding wheel.
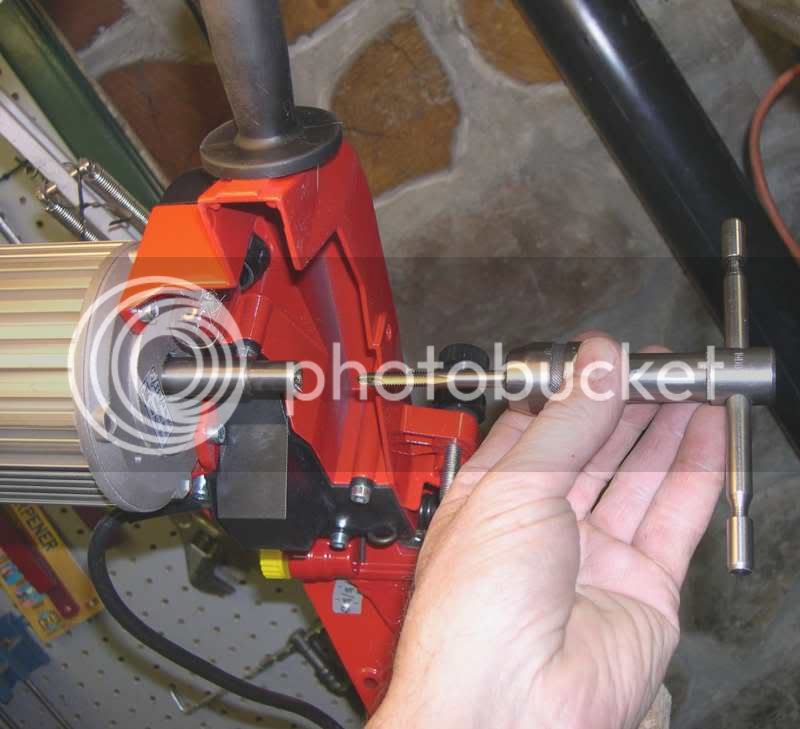
How the heck do you hold the motor still so that you can remove the bolt and flange? :monkey: There should be something like on regular saws that lets you lock it so you can do that kind of thing more easily.
My other question is what do I do with the Arm securing nut? The diagram seems to show it going between the washer and the knob but that doesn't make sense. Is it only to be used for wall mounting?
I just got my Speed Sharp Star from Baileys and was hoping someone could help me fit the grinding wheel.
How the heck do you hold the motor still so that you can remove the bolt and flange? :monkey: There should be something like on regular saws that lets you lock it so you can do that kind of thing more easily.
My other question is what do I do with the Arm securing nut? The diagram seems to show it going between the washer and the knob but that doesn't make sense. Is it only to be used for wall mounting?
")
 I added some memory aids to my Jolly Star.