Woods trailer 2.0

Arborist Forum

Help Support Arborist Forum:

This site may earn a commission from merchant affiliate links, including eBay, Amazon, and others.
Messy as hell with metal chips everywhere? :p

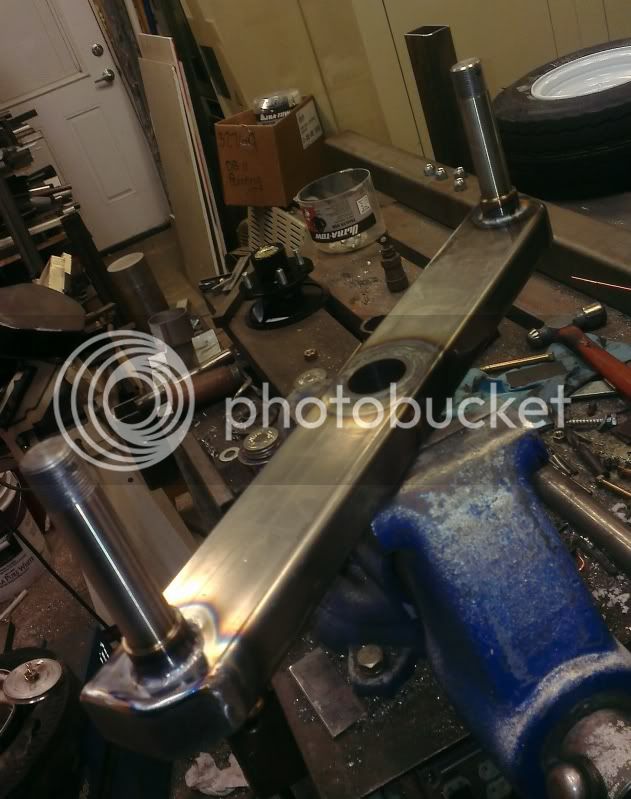
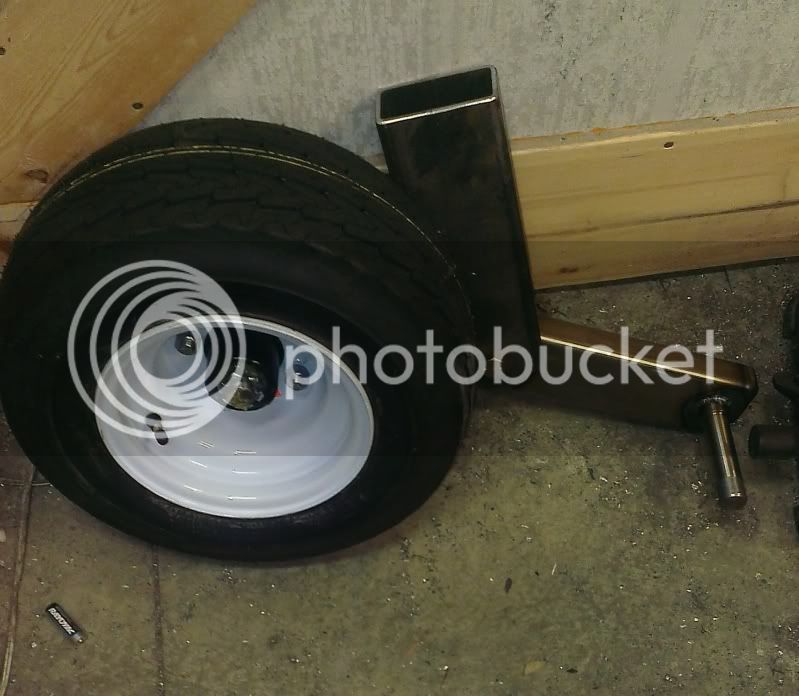
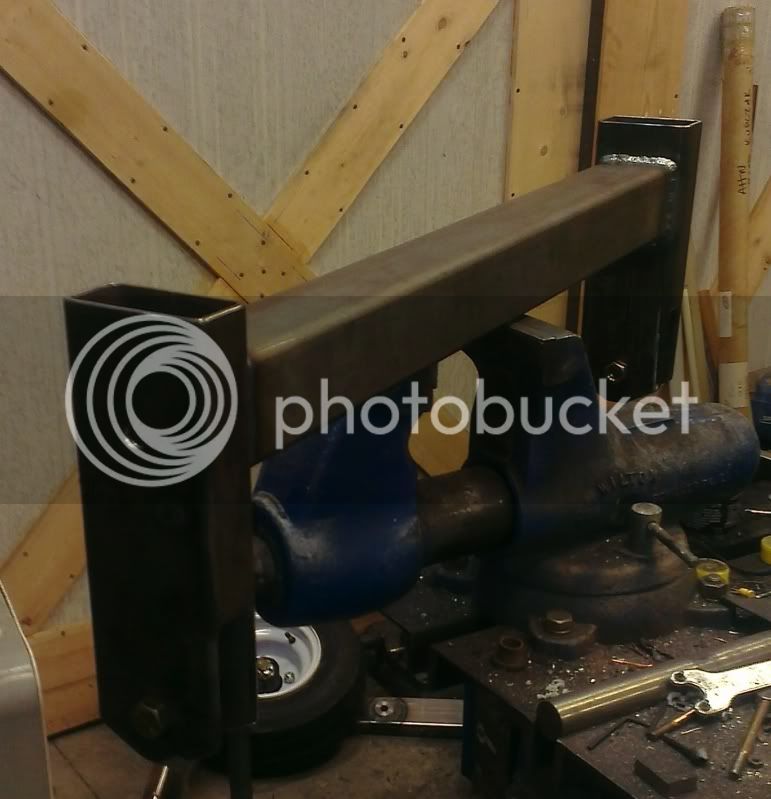
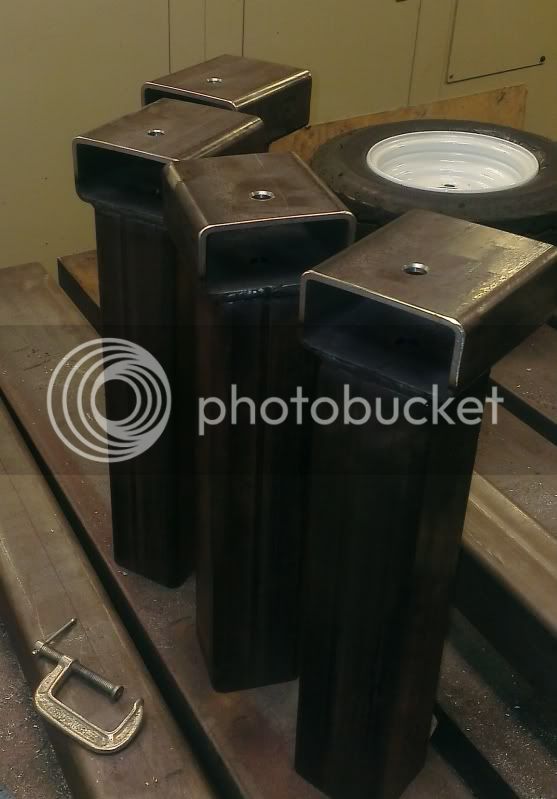
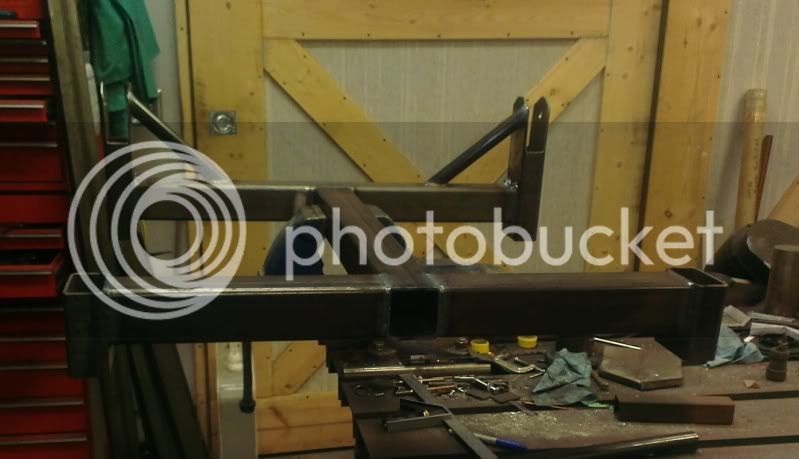
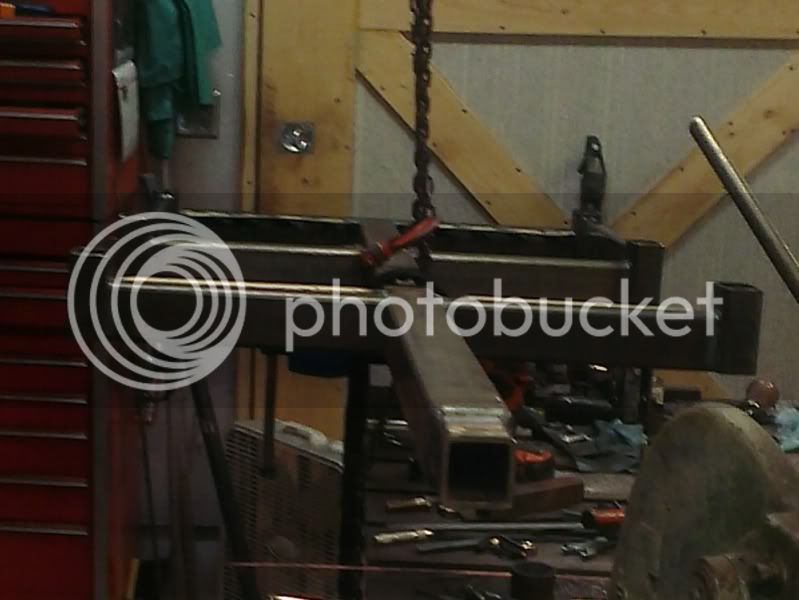
I didn't get the walking beams quite done, but I'm starting to hit the end of my day and I don't want to mess up what's coming next.

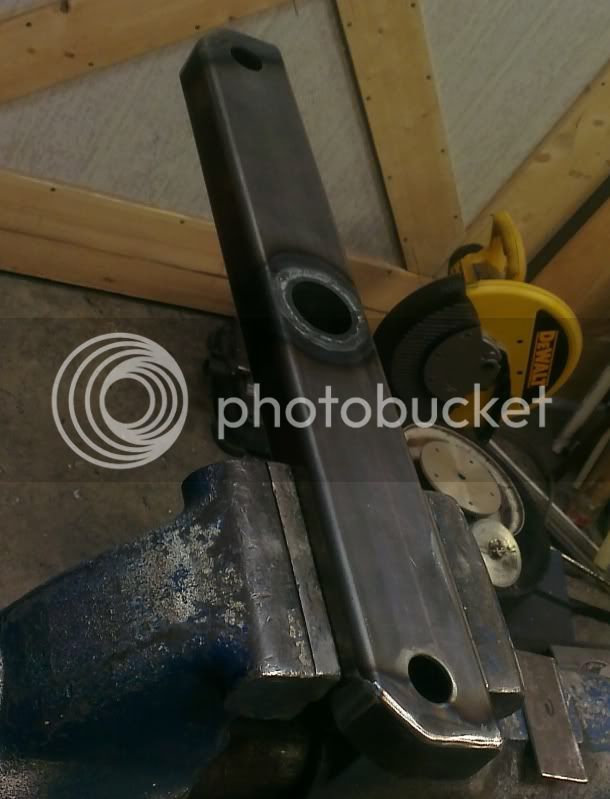
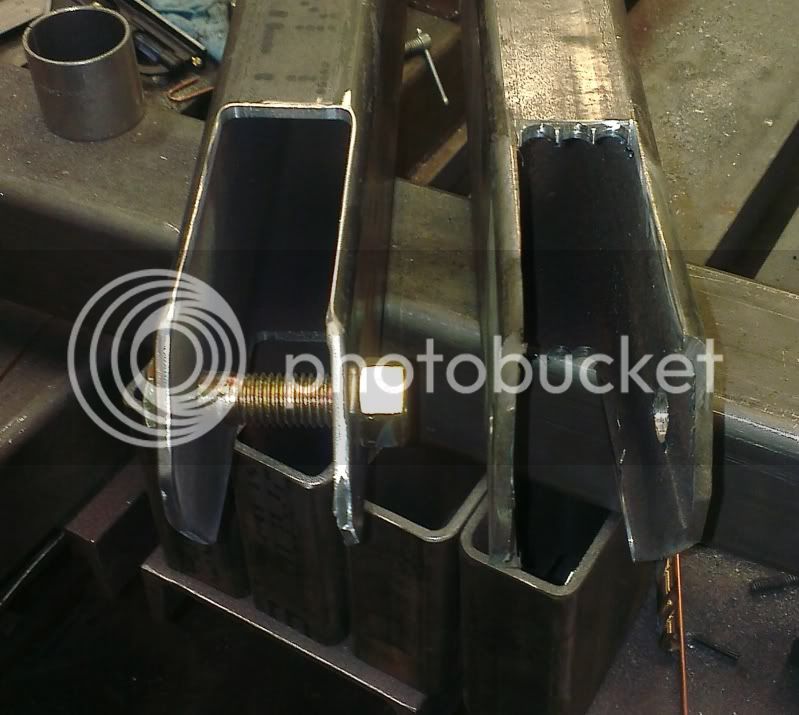
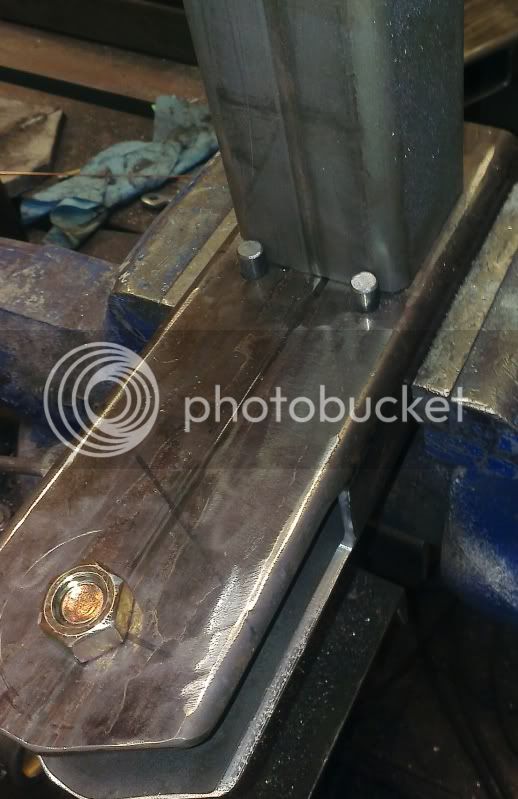
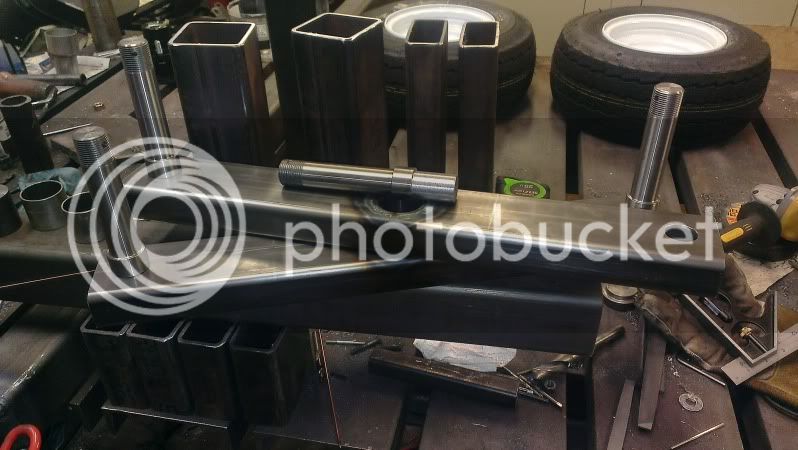
When I can, I cut a shoulder on axle stubs and use that to help align them. These are 1.25" seal surface 1" shanks so I just cut the back shoulder to 1" to make drilling the mounting holes easy. The surface finish doesn't matter inside the beam, so I hogged it with no regard for what a choppy mess it wound up with. Holes never drill to exact size either, so I cut the stubs once I knew the exact diameter they were going into. Makes for a nice snug fit.

IMAG0901.jpg
 
i gotta watch this ****! that's exactly what i been dreamin up for a trailer to go behind my tractor. same width as rear tires for gettin the wood out. nice build
 
Thanks for all the kind words guys.

Tonight was going splendid for a while, then not so hot, then went back to pretty good.

First up was chamfering the walking beams lower corners:

IMAG0902.jpg


Then welding in the axles:

IMAG0904.jpg


IMAG0903.jpg


Then I started roughing out where the beams pass through the mounts:

IMAG0906.jpg


I got to the last cut and ended up with a chip in my eye. Yes, I was wearing safety glasses. Cutting down in front of you with a grinder is not user friendly. You get blasted with sparks, and sometimes they end up in bad places. Since it was already 8pm, I figured I was in for a long night at the VAMC triage but there was no one else there. I barely sat down before being escorted back and then the doc had me try flushing with the eye wash station (didn't work), and eventually got it out with a swab. I still have a little cut in my cornea, but I've had 5 others before. I actually took the last one out myself, but this one didn't want to work with me. 2hrs later, I'm back home and break time is over.

So the tubing has pretty wicked residual stress from being formed. When you cut pieces out of it, it tends to wiggle around on you. I was able to use the pivot bolts to reign it back to mostly square (it's still off a couple thou), and then milled away the remaining material I didn't want:

IMAG0907.jpg


A little test fit:

IMAG0908.jpg


IMAG0909.jpg


And now it's time to start making things look like a trailer...

The beam mounts go on the center cross member, which is a solid tube across the width of the frame. I did this because it makes alignment easier, and it just so happened to coincide with the right length for the tongue piece I had. Seriously, the math worked out before I measured the material I had. Dumb luck, and nothing more.

Keeping the stakes from dropping down and hitting the beam meant needing some kind of obstruction. I ended up using two 7/16" dowel pins (just cut some bar stock), and extended them a little through the mounts so they could be used to help set up the wheel alignment when it came to weld them on the frame:

IMAG0910.jpg


All the stake pockets got a 1/2" hole in the middle of the frame member so I can use lock pins to secure things in them.

IMAG0911.jpg


Then just needed to weld it up:

IMAG0913.jpg
 
Well for having a 2 hour break , You got alot done. Looks like most of the machining is done now some cutting and welding. Darn sparks do get every where no and again.

Beefie
 
I still have some little bracketry and cross bracing yet to decide on, but the bulk of it is done.

More welding of stake pockets:

IMAG0914.jpg


Those get stuck on the tongue with a bit of 3/4" aluminum bar stock to help keep things from wiggling while getting tacked:

IMAG0915.jpg


Flip and repeat:

IMAG0916.jpg


And now it's gonna start looking like a... racecar? :confused: I see a F1 car when I look at this thing. :laugh:

IMAG0917.jpg


This is the end of the day for me. Not only do I need to get some ugly sleep for an interview this afternoon, but I'm on the dregs of my last bottle of argon.

No more work on this for a few days, as I'm hoping to go get another deer on my archery tag while avoiding the in-laws for turkey day. :rock:
 
I saw one that the Forest Service used behind a 4 wheeler and the axles could go 360 degrees. I asked the guy about that and he said if the 4 wheeler can cross the log the trailer can too. The leading wheel stops and the trailing wheel climbs up and over to cross larger logs. Your design makes it a built in dump trailer I'd guess. Very good attention to detail and very good workmanship. I can't wait to see the finished product.

JT
 
Here's a pic pulling a load out of the woods with thIMG_20131126_155712_608.jpg IMG_20131126_155712_608.jpg e big trailer
 
The 360 degree walking beam rotation isn't needed because the tires are more than half the diameter of the atv's which means they should theoretically always bump up if the atv has climbed the obstacle. Rather than expecting them to "pull over" and flip, they're limited to rising just shy of the bottom of the frame height. If I ever encounter an obstacle they won't climb, I can always put a small log down to get it to climb. From my experience with the scrap bin trailer, these tires shouldn't ever get stuck on my land.

As for dumping; this is just a frame which is meant to be used as a stand alone flat bed. The dump box will be a project for later.
 
Very nice my (atv)is a toyota 4x4 but with it just being a hobby to cut firewood for camping and I cut some for some older folks to burn to heat with when I have time I'm thinking of taking an old Toyota, Nissan,S10 what ever I can find and turn in to a dump trailer with hydraulic pump and cylinder that way I can take all my saws in the truck and haul the wood on the dump truck bed but yours will be very nice and looks like you have done a fine job with all the fab work
 
This trailer will eventually find use behind a tractor, so I'm not building it with the ATV's capabilities in mind, I'm making it capable of hauling a bunch of whatever. The tires are the weakest link at 3200lbs, but that's highway rating and has more to do with the tires ability to dissipate heat. I haven't run the numbers on what it'd take to bend the 3x3x.180 (7 gauge) mechanical tubing the frame is made of, but I can tell you it's far more than I'd ever try putting on this thing. :D

Turns out we're not leaving until tomorrow, so I'll be back in action tonight. :rock: I like fabbing far more than weekends with my in-laws.:eek:
 
What type , brand of mill and lathe are you using to fab all this stuff. I like your assembly table, took a cople pictures before I realized it was made of upside down c-channel. Good idea place to put clamps every where.

Beefie
 
My mill is a 60's vintage Canadian (take off eh) made Excello 602, and my lathe is an Austrian made Voest DA 210 which was new in 1974.

Fab table is my design and construction as well, but it's an adaptation of an Australian outfits surface design which uses grey iron bar stock instead of channel steel. The channel isn't perfectly flat (it bows up slightly at the web - just an inherent flaw in the hot rolling process), but it's close enough. I built it about 6 years ago. It's 4x8' and it weighs roughly 1000#.
 
You need to give us a better pick of that fab table, THAT'S HUGE. I was a machinist for 14 years, couldn't stand being inside all the time. I miss not being able to make stuff , like I did when I was machining. Some day I will get a lathe and a mill . Right now Its time for a new Bow.

Now lets get this back on topic, any progress Pictures?

Beefie
 
I pulled another happy accident out of the scrap bin tonight. These rails were upright drops from some shelving I got and cut down. I had four of them, and just needed to trim about half an inch off either end for them to line up and fit the chassis. The decking will bolt through these with carriage bolts from above:

IMAG0918.jpg


I also got the walking beam gussets in, and welded the center section to the tail:

IMAG0919.jpg


Now I'm letting it cool so I can work up the hinge brackets and figure out how much 2" ID tube can poke out the back of the center tube.
 
I decided against going down to 2" ID for the tail section and figured I'd need a custom hitch height for it anyway if I ever decide to pull a tandem with it to begin with; so I just left the option open and installed a pin hole under the deck:

IMAG0921.jpg


Then added the strap rails to the back section:

IMAG0920.jpg


The gussets for the walking beam mounts are angled to hopefully help guide rocks off the frame. Those are 1.25" tubing and still allow the nuts to spin.

Then joined the two halves:

IMAG0922.jpg


From here on out, things get a lot harder. Moving it isn't impossible thanks to my crane, but it's still a bunch more effort than simply flipping something around to get at the other side. Fortunately, it's almost done. :cool:

IMAG0923.jpg


Played with some 2x6's I have to get a look at what the future has in store:

IMAG0924.jpg


Suspension check for the first time having everything together:

Full upward movement -

IMAG0926.jpg


Normal ride height -

IMAG0927.jpg


The camera angle is playing tricks with this last pic. The frame is square and flat to within a 1/16" even checking cross corners, yet it looks warped here. o_O Yes, I'm quite proud of myself for that level of trueness - this much welding usually results in something being out of whack.

I'm short one piece of 1x3" for the last section of strap rail, so that's holding things up until Monday when I can get more. I also need some more material for the wheel frogs (bump deflectors). I'm near certain I'm going to have them on this one, even though the full width came out right on target at 49".

I decided against adding hinge pivots to the back as well. I figure I can make everything bolt into the stake pockets easy enough so why limit my options for something I haven't even started drawing up. :)

Happy Thanksgiving!
 
Last edited:
Back
Top