Suggestions for chimney crown sealing

Arborist Forum

Help Support Arborist Forum:

This site may earn a commission from merchant affiliate links, including eBay, Amazon, and others.

smokee

ArboristSite Operative
Joined
Oct 19, 2012
Messages
305
Reaction score
65
Location
Lancaster, Pennsylvania
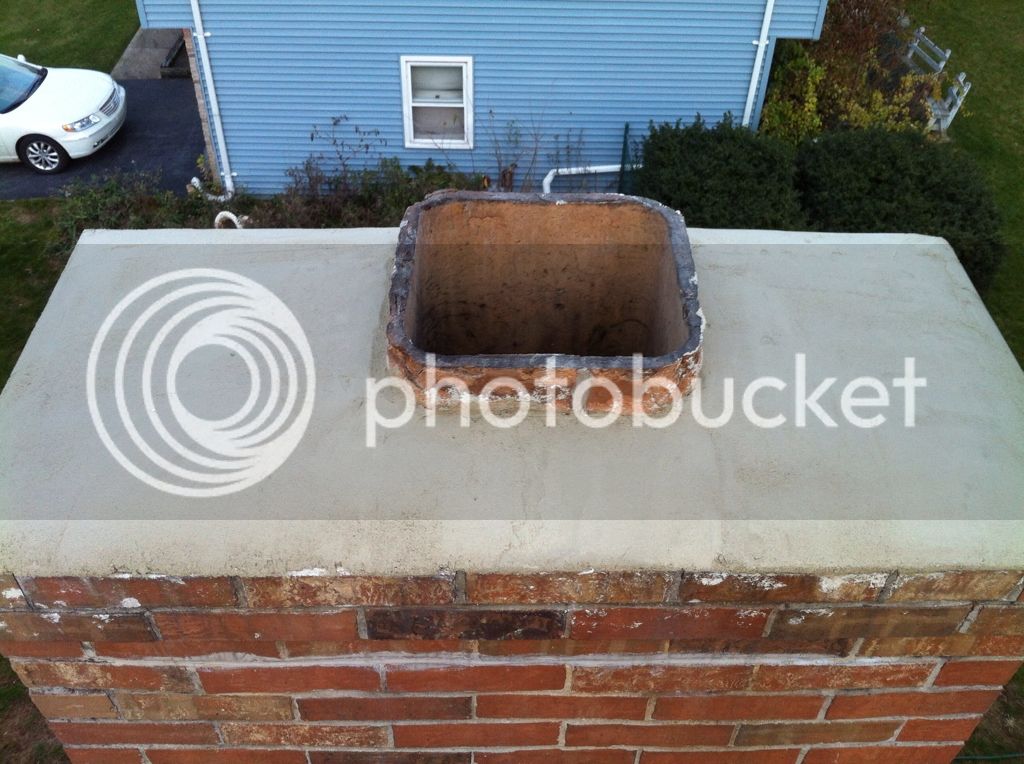
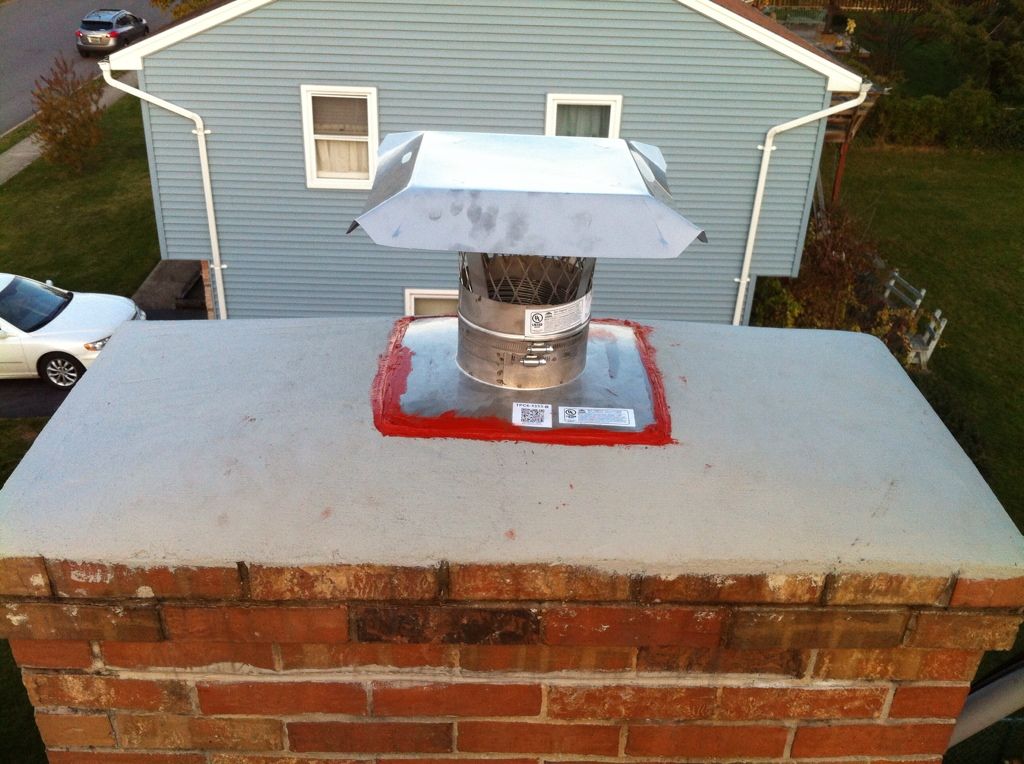
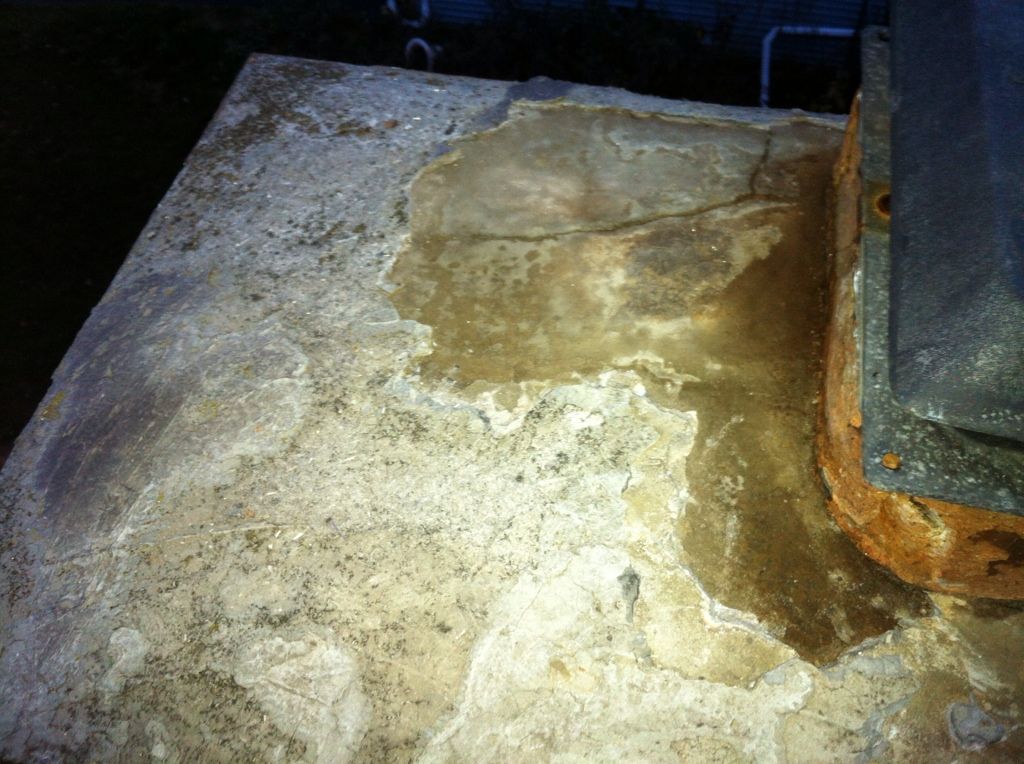
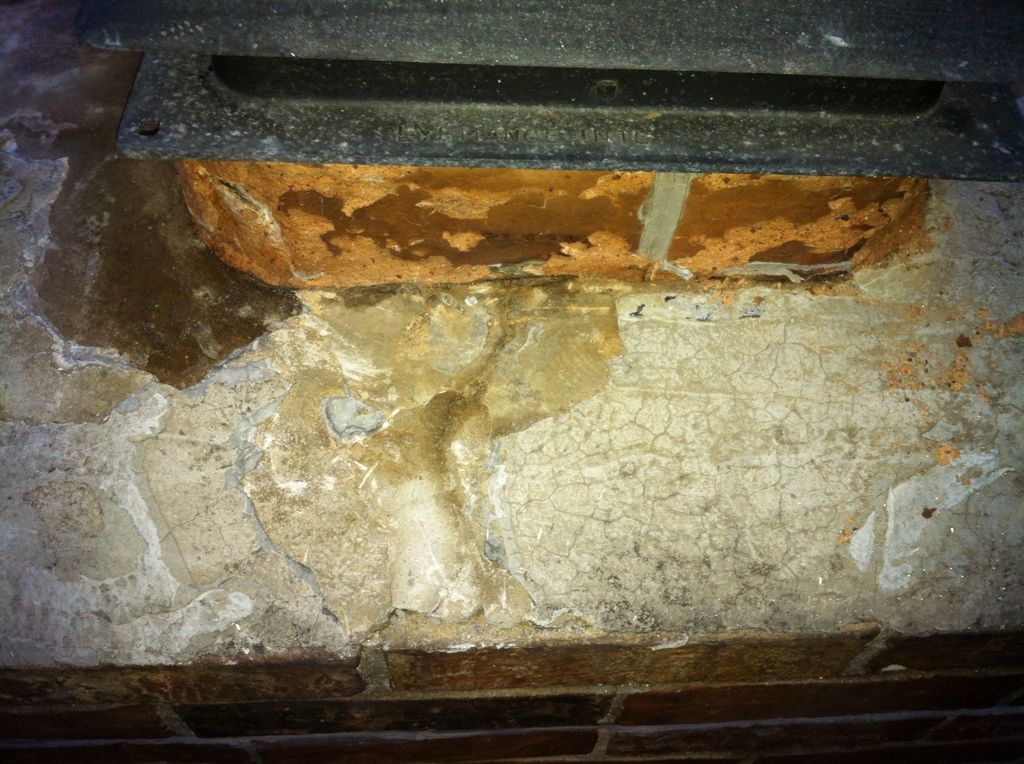
I made my way to the roof tonight to the entertainment of my neighbors. I'm not a risk-taker and walking on a slanted surface 30' up isn't my cup of tea, so to speak. The top surface of the chimney (crown) is 4' x 2' and is covered in mortar which is cracked and has a few places that the mortar is missing. I cleaned it up well and removed the loose mortar and old caulking. I'm going to get some good silicone caulking tomorrow and fill in the bigger cracks and bigger areas that the mortar is gone. My question is about putting on a good sealant coating such as CrownCoat. I almost fell off my chair when I saw that it's price is in the $100 to $150 price range. It looks to be for a gallon which I'm pretty sure is a good bit more than what I need. I can get a stainless Chase cover to cover the entire top surface and a few inches of the sides to keep water completely off the crown for $300. It seems like a much more permanent solution compared to CrownCoat even with the 15 year warranty the comes with CC.

Just curious what you guys that have did this repair have done. If you used CrownCoat and what your opinion is of it and, more importantly, Did you find something similar to CC at a more reasonable price. I haven't been to Home Depot or Lowes yet to see what they have. I don't really know why they have a search function on their website as I never seem to get anything remotely close come up to what I'm searching for.

I always appreciate feedback - thanks in advance.

Joe
 
Ordered a 1 gallon container of Crown Coat over the weekend for less than $110.00 shipped to the house, ordered it from a non site sponsor as I did not find it offered by any. Lowe's and Home Depot around here do not stock any suitable product and wanted more than that to "order it" for me. The metal is probably the better choice long term as long as the chimney is in otherwise good condition. If not do the CC and then check it again at the end of the season and then do the metal when you have recovered from the cost of the CC.

If I remember correctly CC is brushed on and requires 2 coats. The first coat goes on fairly light but the second is heavy. It does not go as far as one might want for a product that is basically $90.00 a gallon. In terms of sealing up cracks, if you go with a product like Crown Coat you can do cracks with caulking but missing chunks should be replaced with mortar. The other product is Crown Seal which is a trowelable but should not be exposed to direct heat, it will crack. It also has some special pricing.

In terms of crawling around on the roof, the other item that I ordered was a fall arrest kit, $115.00 delivered to the house.

If you decide to use CC or CS over any caulking make sure that the caulking is paintable.
 
Last edited:
After looking into the repair I decided to go el cheapo and fix it myself by cleaning the crown up and remortaring the top. Heck of a nice day here so it went well. I removed the old cap that had a wire running down into the fireplace to control open or closed, took the angle grinder up and wirebrushed the old mortar to remove all the old silicone then put a good 3/4" layer over the entire top. Cost - $15. :msp_smile: if it last till summer I'll be happy. The chimney guy can't get here till mid December and I want the insert burning by then. It can't be worse than it was, I guess.

D18586F4-8C56-4D79-96EC-B8A023A327BB-8604-000013FD009DF1BE.jpg
 
Well this clears up how I am going to repair mine. I'd been watching this because I was wondering the same things, and your repair looks like just the ticket.
 
Well this clears up how I am going to repair mine. I'd been watching this because I was wondering the same things, and your repair looks like just the ticket.


It wasn't that hard... just the logistics of being on the roof and getting things up two stories. I got the mortar at Home Depot and mixed up a half a 5 gallon bucket twice. I did half then came back down and mixed up another to finish the other half. I did use a mixer attachment on a drill which they recommended. My trowel was too big to fit in the bucket so I put the mortar on by hand and pushed it into the cracks well then smoothed it out. Once I had it just about finished I angled the trowel almost flat and it smoothed out the mortar like glass. I let it dry overnight then put a couple coats of DryLoc on to seal it out. The high-temp red silicone isn't too pretty but I really don't care what it looks like as long as it doesn't leak. It rained hard two nights ago and was bone dry.
 
Also, I took an angle grinder up with a stiff wire brush and really cleaned it up prior to the mortar. It really worked well at getting all the old silicone and junk off and cleaned it up nicely.
 
Hey Smokee,
You did a nice looking job on that repair....really looks good. I know what you were dealing with since I have had to repair one at my last house also. When we were in the process of selling our house the people buying it had a home inspector check the place out. Of course he saw the cracks in mine and where I had used some caulk to fill in some voids. The people buying the house wanted a new cap put on so that's what I did. My liner was sticking out enough that I could raise the cap slightly. I made a frame of wood around the outside of the chimney, poured in the mortar and tapered it off. It came out good like yours and everybody was happy !!!!!!


Henry and Wanda

Good stuff! It was pretty satisfying to say the least. I was dreading going up there and doing something I'd never done before. I did give framing it out a thought but ended up putting plastic down on the roof and let some fall all the while keeping it looking clean on the side bricks. The chimney guy I spoke to would of done it for about $300 but couldn't come out till mid December and I really wanted to get burning so I just bit the bullet and gave it a try. It all worked out well and I lit it up for the first time this morning. My downstairs is 76* right now and the furnace hasn't come on once today. I'm going to call the gas company tomorrow to see if I can read my meter instead of them estimating. I'm thinking I should be in the $30-$40 range per month when burning instead of close to $200. :msp_biggrin:
 

For a homeowner, I think you did a fantastic job, I would have liked to see more like 2 inches of mortor on the top, but it looks like you have fixed your issue for a good while, you might consider a water based sealant over the entire chimney ( sprayed on with a cheap garden sprayer). This done every 5 years or so will keep your repair in good shape for ever.

The objective is keeping the freezing water out, since thats what bust the mortor loose and allows leaks.

Great job!

Thanks, B. I did put two coats of DryLock cement sealer on it. A friend suggested doing so.

This was actually a temp repair. My idea was to have it get me through the winter then next summer having a pro redo the whole top. If it looks good and held up, I might let it go till it goes bad again. I'm guessing there might not be much freezing taking place this winter if I'm burning. I really have no idea how warm that'll get but would think it would stay above freezing. if not, I'm only out $15 and a little time.
 

Latest posts

Back
Top