welaf
ArboristSite Lurker
Hello fellow CAD comrades.
I have been lurking around this site for a while now and have learned a lot from all the posts.
I have a MKIII and have been milling small (12-18in) pine and hemlock with my 365 special and have come up with a few questions.
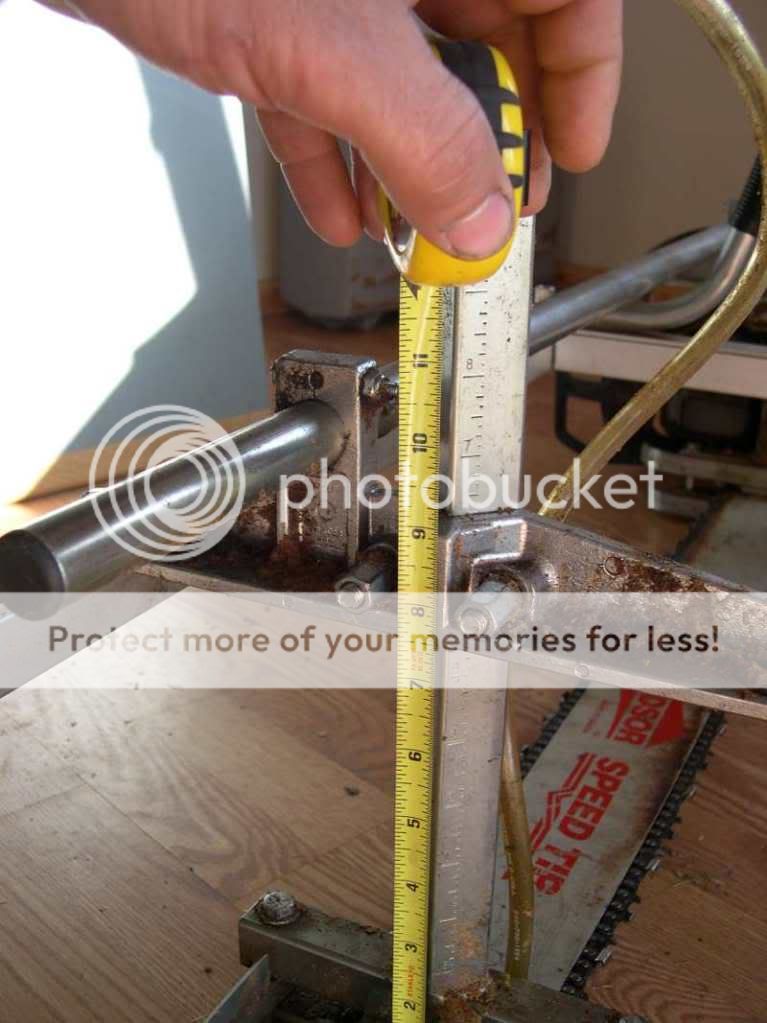
1. What is the best method to insure there is no taper when entering the cut after the initial slab has been removed. I have been seeing this problem for several logs now. I have been setting the depth mostly to 2 inches with a scrap I have. I place the scrap between the bar and the mill on the powerhead side then set that depth and slide the scrap over to the other side of the mill and repeat. This was to insure a level cut between the mill and the bar.
However I still seem to be getting a taper in some of my cuts.
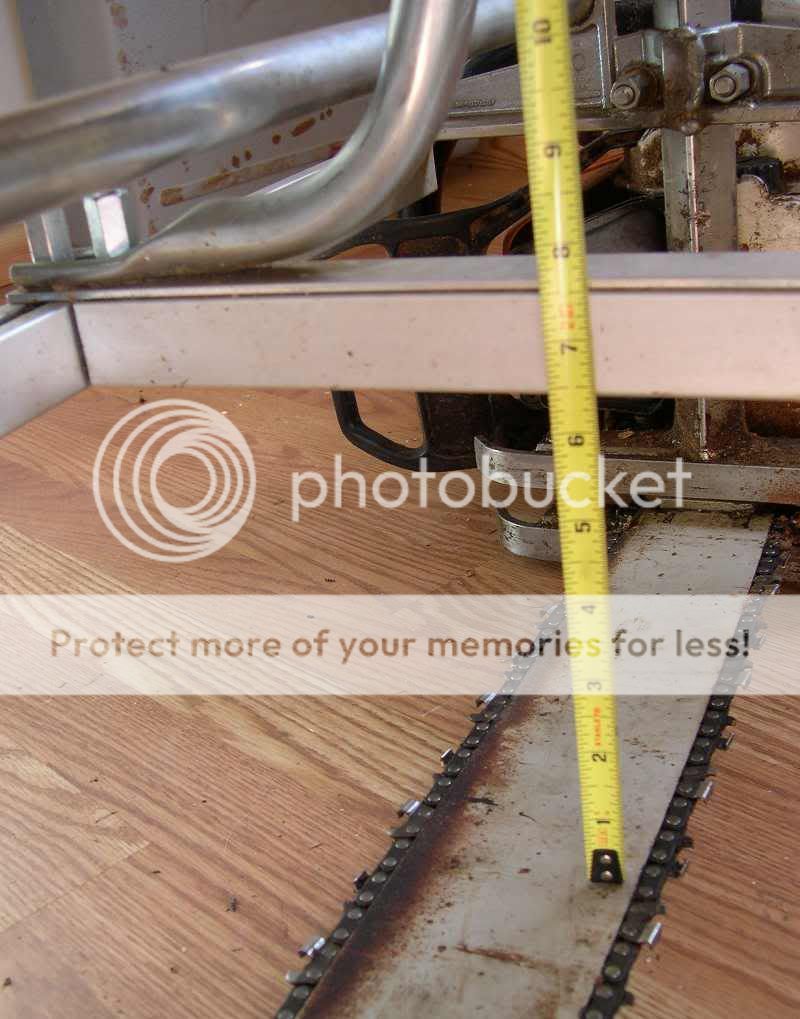
2. does the scale on the mill actually work? I Can not figure out how or what it measures off of.
Sorry for the long winded post
I appreciate all of the great posts on this site!
As a side note, I am trying to figure out how to justify a 4rth saw to the better half She just doesnt understand why a man would need 4 saws...or more
I have been lurking around this site for a while now and have learned a lot from all the posts.
I have a MKIII and have been milling small (12-18in) pine and hemlock with my 365 special and have come up with a few questions.
1. What is the best method to insure there is no taper when entering the cut after the initial slab has been removed. I have been seeing this problem for several logs now. I have been setting the depth mostly to 2 inches with a scrap I have. I place the scrap between the bar and the mill on the powerhead side then set that depth and slide the scrap over to the other side of the mill and repeat. This was to insure a level cut between the mill and the bar.
However I still seem to be getting a taper in some of my cuts.
2. does the scale on the mill actually work? I Can not figure out how or what it measures off of.
Sorry for the long winded post
I appreciate all of the great posts on this site!
As a side note, I am trying to figure out how to justify a 4rth saw to the better half
She just doesnt understand why a man would need 4 saws...or more