


Definitive Dave
wanna-be saw racer, saw hoarder, parts whore
- Joined
- Jul 27, 2013
- Messages
- 2,118
- Reaction score
- 5,086
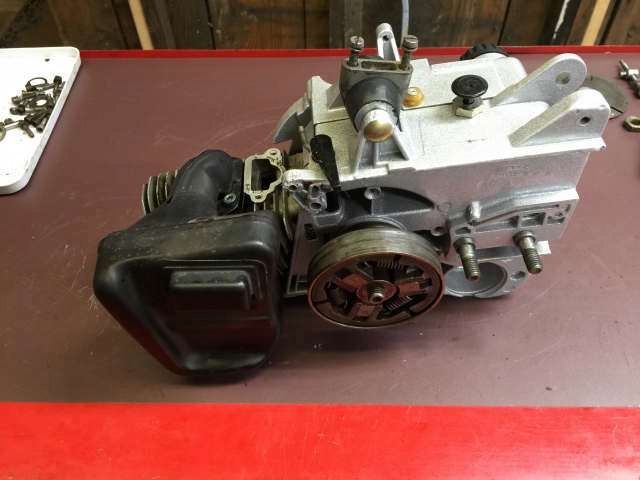
Back in Early December I bought a pallet of 075/76 parts and started to work on this 075 project.
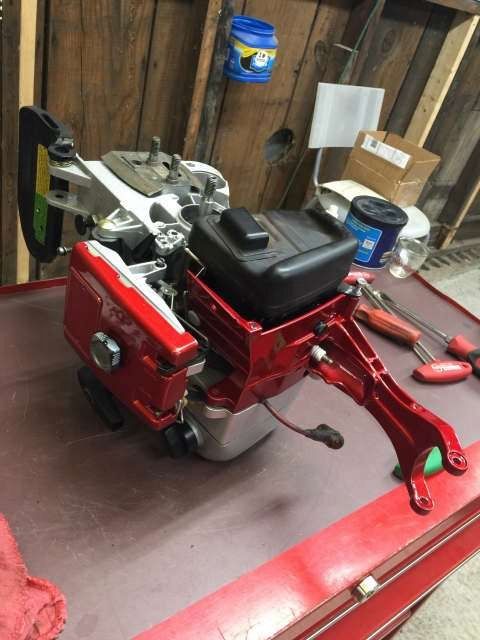
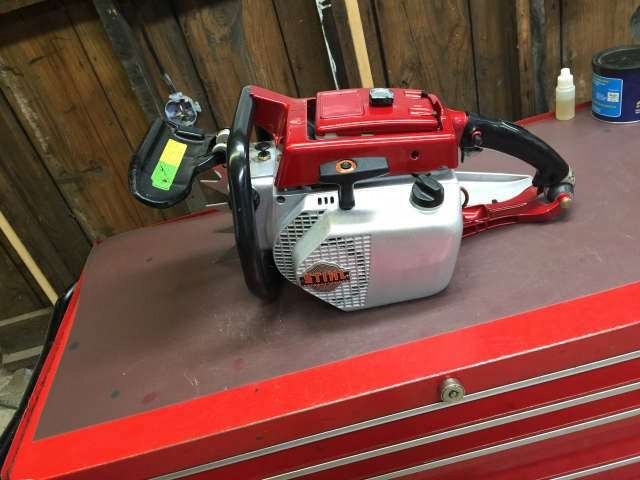
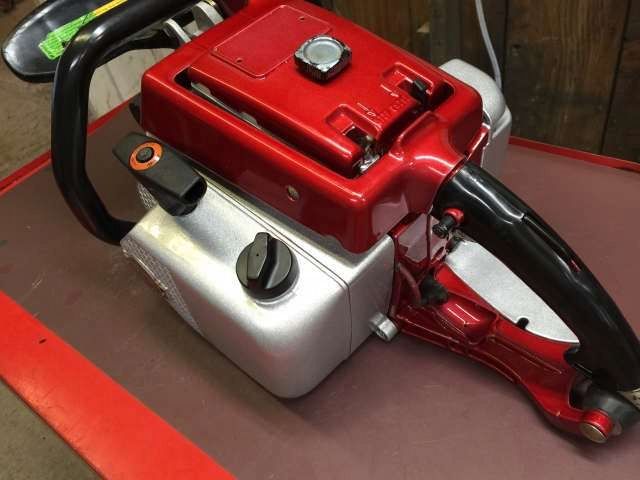
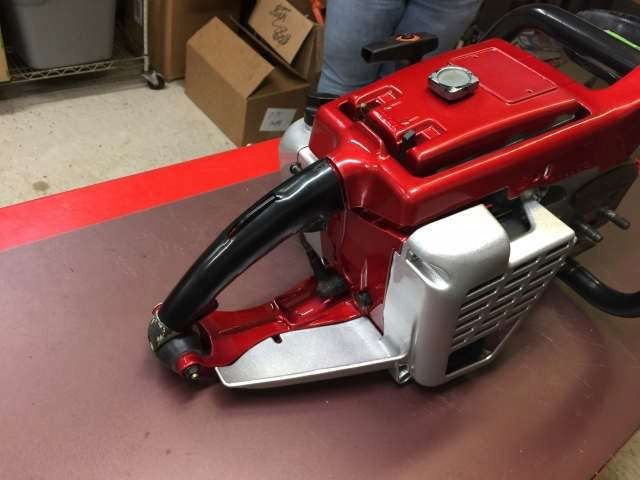
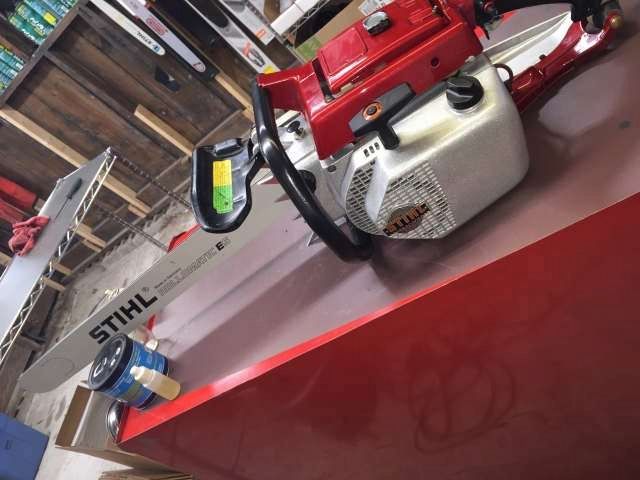
I wanted a big badass looking saw so I got a lot of help from some great guys and finally started assembling this beast today.
It is candy apple red and metallic silver, even if my phone doesn't make it seem that way")
These saws have more changes to the models over the years than any other and are a real puzzle sometimes.
Parts and Knowledge fromoge, Rockfarmer, towingace, JDNicol, Sefh3, Duke Thierroff
Powdercoating from :Glock37
More parts from Kevin at CCP on the Bay
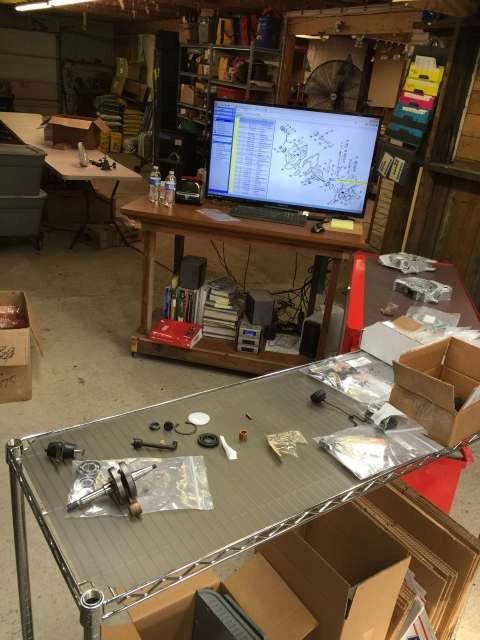
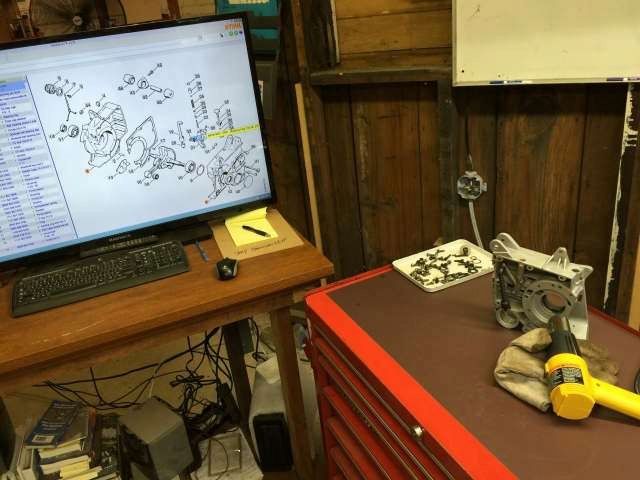
I got my work area set up where I could see the IPL while wrenching as I have never owned one of these that was assembled
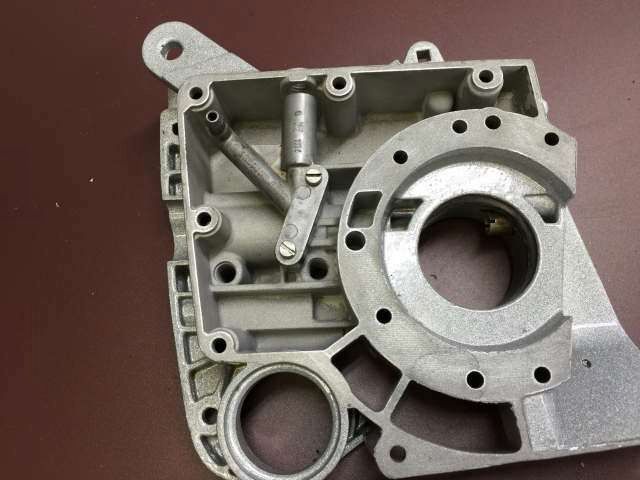
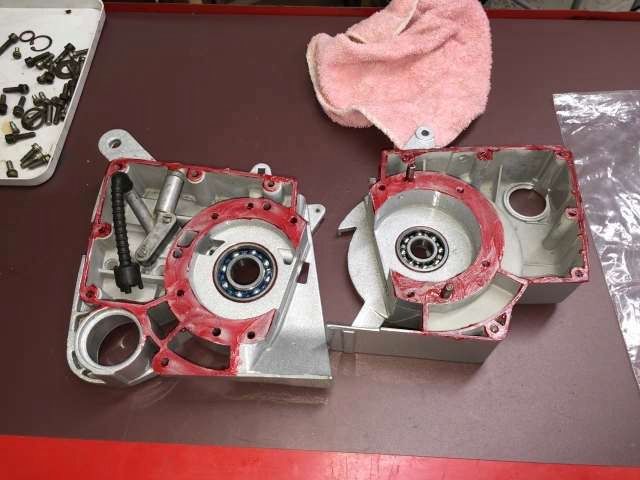
Crankcase, crank, etc up first - get the manual oiler in and dont forget the two washers behind it.
Using the heat gun to get prepared for bearings and crank
I like a little smear of the Loctite on the outer race before install
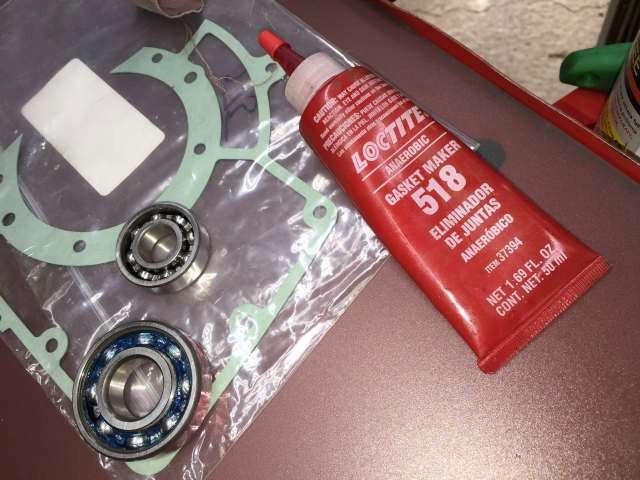
and on both sides of the gaskets
install the crankshaft
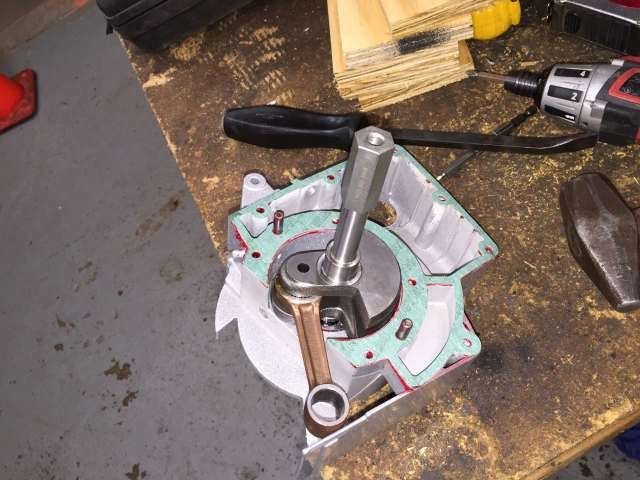
Pulled together and a few bits installed
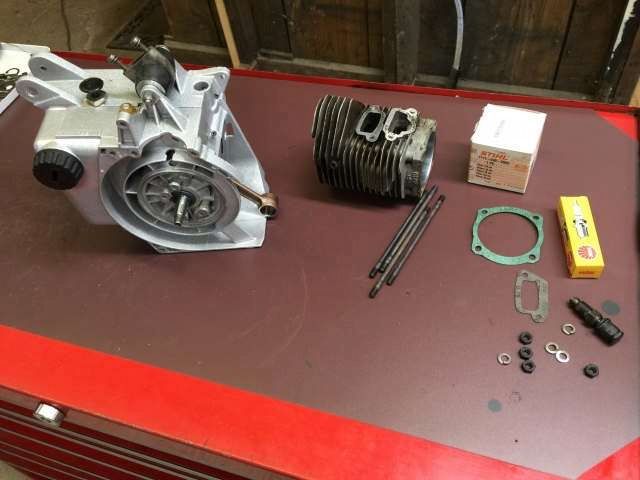
Get the piston and cylinder ready
OF course I got ahead of myself and forgot to cut the gasket edge off of the crankcase surface before I screwed in the crankcase bolts
And I left them in my way while I applied the Loctite to the mounting surface

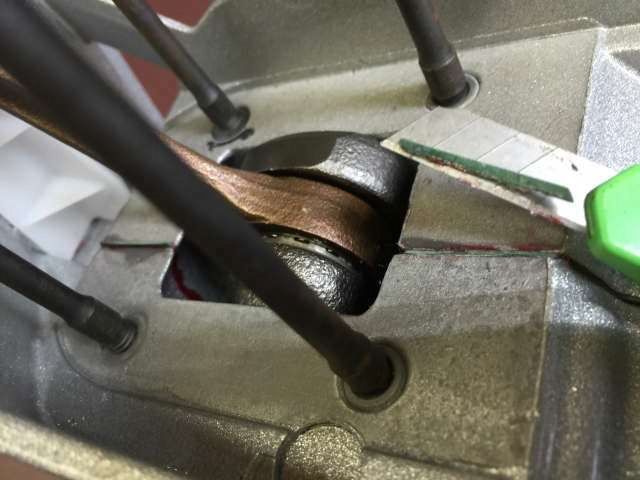
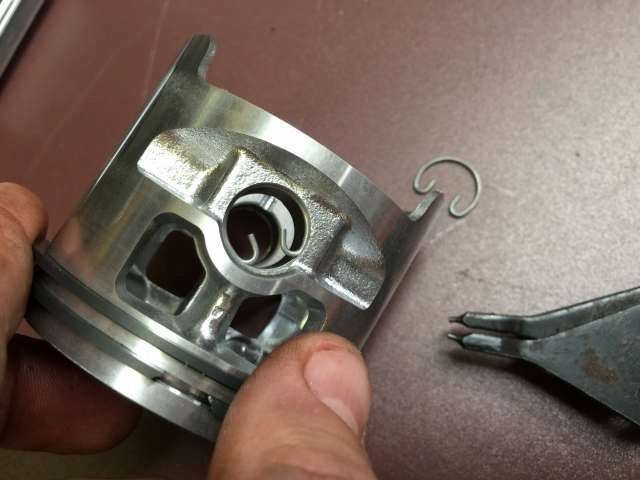
Actually used a pair of snap ring pliers to do the circlips because the OEM clips are HUGE.
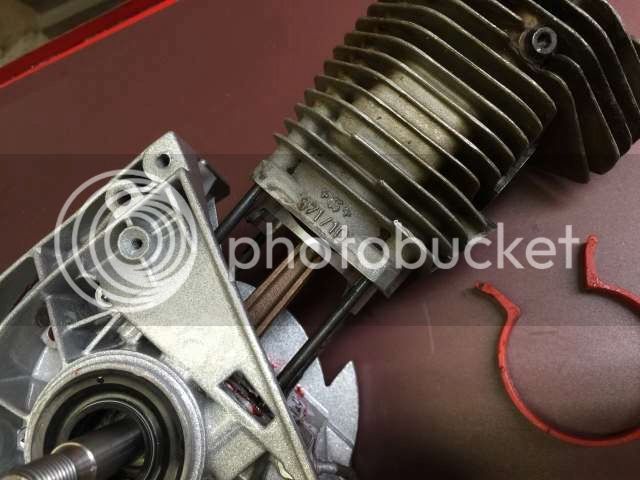
Piston went in like a breeze - ah dammit!!!!
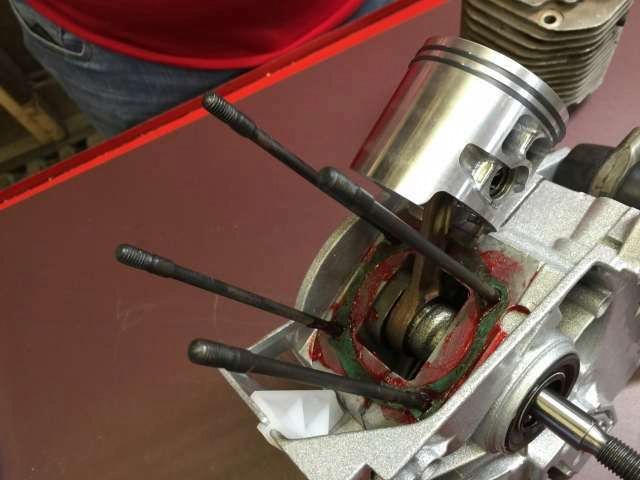
Get the bolts out and then back in so I can start the Cylinder
Never done one like this before, the bolts are in the way for the ring compressor and the piston is pretty fat
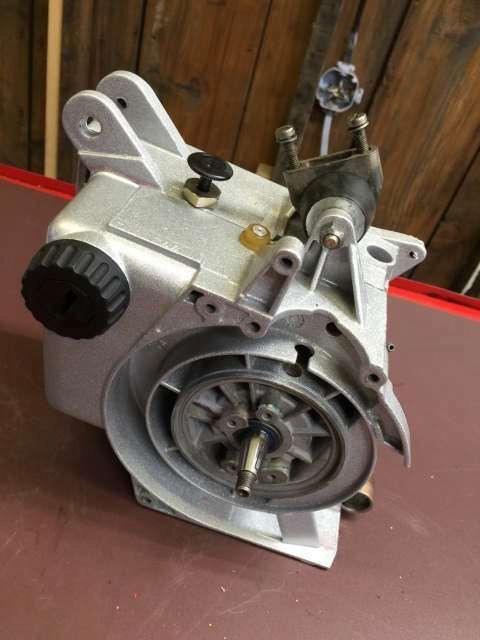
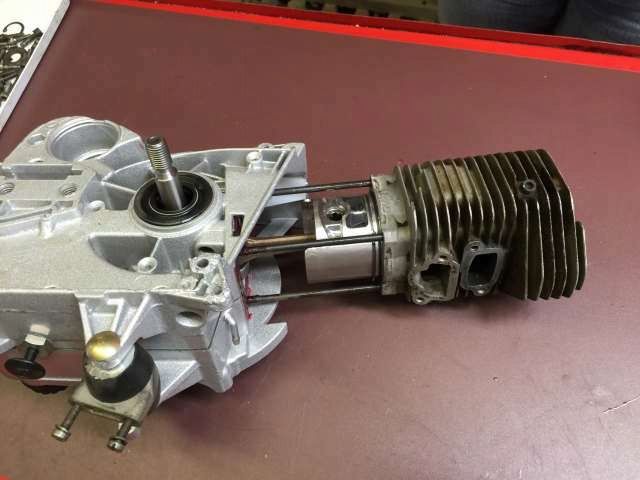
Making good progress now!!
While tightening up the clutch, it suddenly stopped and I mean stopped dead and wouldn't advance at all, I took the clutch and oil pump out to find out why -
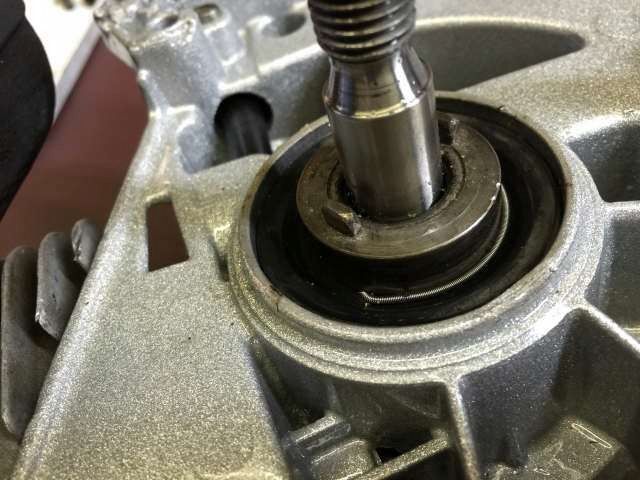
No wait a minute surely that little spring that hopped off of the oil seal can t be my problem, but now the Worm gear is stuck like a &$%@()
Handy Dandy Stihl oil seal and pump puller to the rescue - lets see your tuning screw driver do that without messing up a crankcase
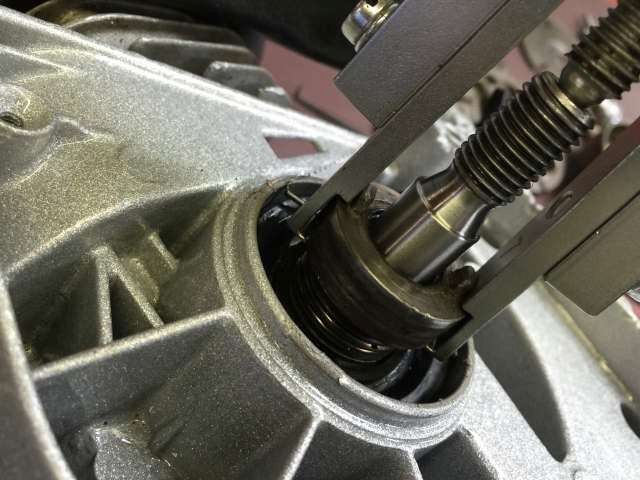
Turns out the oil pump piston is the wrong size and the worm gear is the wrong size - Poge did and exhaustive research piece on these pumps, I read it a million times and still managed to mangle three parts in 3 minutes
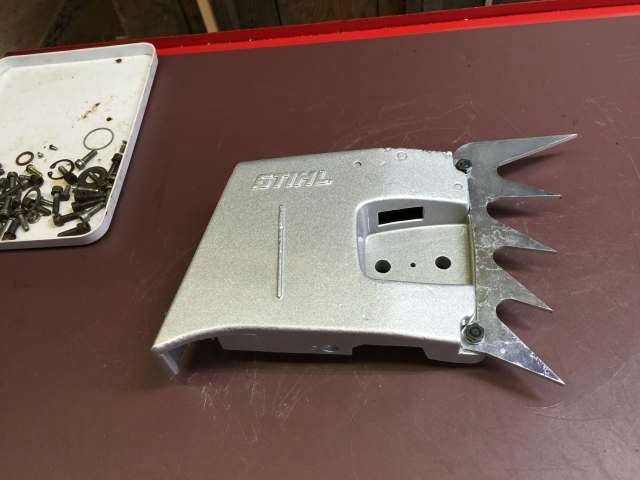
On to other parts while I order a new oil seal - My nicely powdered Clutch cover - I cant find the bag of chain brake parts that I pulled off of it and I cant figure out how to re-rivet the inner side plate - yeah it is installed with 3mm rivets instead of screws on this style. I did get the big dog on it though.
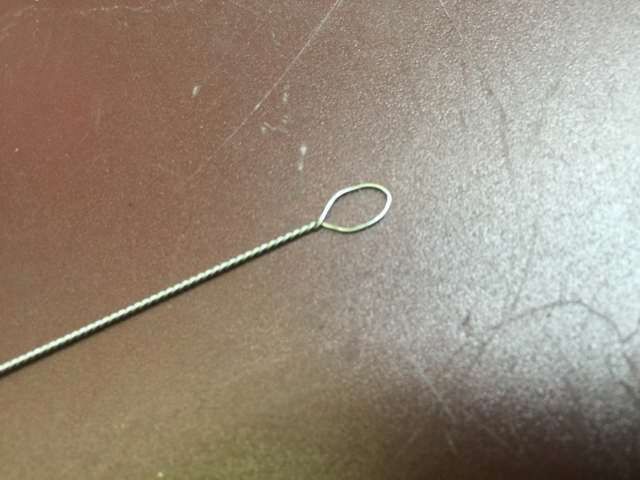
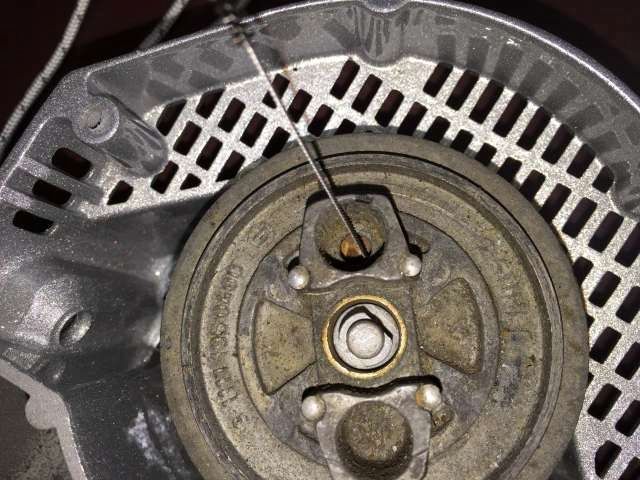
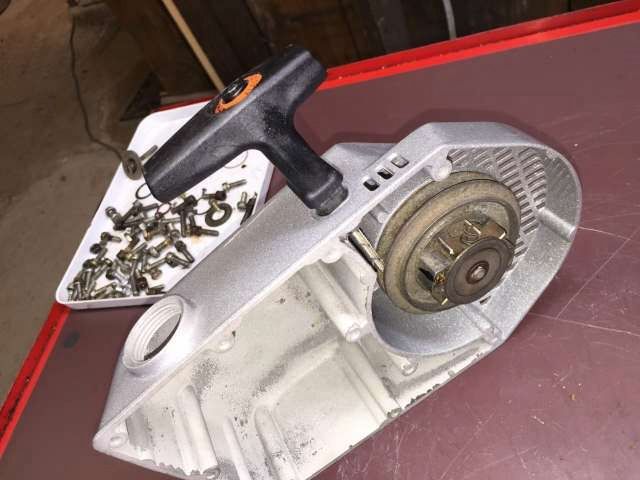
Time to rebuild the recoil - I do a ton of installs of the Elastostart assembly on saws and have a few tricks that actually work. Burn the tip of the rope with a torch and then lick your fingers and roll the hot tip to a point. The stiffness and point make it easier to install without taking the whole thing apart. If I can avoid re-spooling a spring I will. I mark the edge of the spring carrier on the edge where the rope hol eneters so I can easily see it while I work one handed . Next take your handy dandy airbrush cleaning brush from harbor freight that is the size you never use for cleaning saws and rebend the loop end so it will fit into the recoil hole.
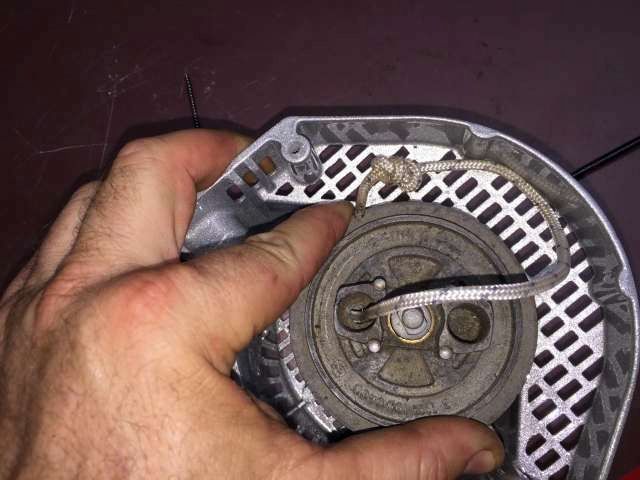
Push the stiff rope end through the brush loop and pull it up where you can grab it with needle nose pliers and tie a double one handed know in it while you hole 10-12 revolutions on the spring with your other hand.
Then slooowly release the tension until the rope is spooled up and then assemble the pawls etc.
I wanted a big badass looking saw so I got a lot of help from some great guys and finally started assembling this beast today.
It is candy apple red and metallic silver, even if my phone doesn't make it seem that way
These saws have more changes to the models over the years than any other and are a real puzzle sometimes.
Parts and Knowledge from
oge, Rockfarmer, towingace, JDNicol, Sefh3, Duke ThierroffPowdercoating from :Glock37
More parts from Kevin at CCP on the Bay
I got my work area set up where I could see the IPL while wrenching as I have never owned one of these that was assembled
Crankcase, crank, etc up first - get the manual oiler in and dont forget the two washers behind it.
Using the heat gun to get prepared for bearings and crank
I like a little smear of the Loctite on the outer race before install
and on both sides of the gaskets
install the crankshaft
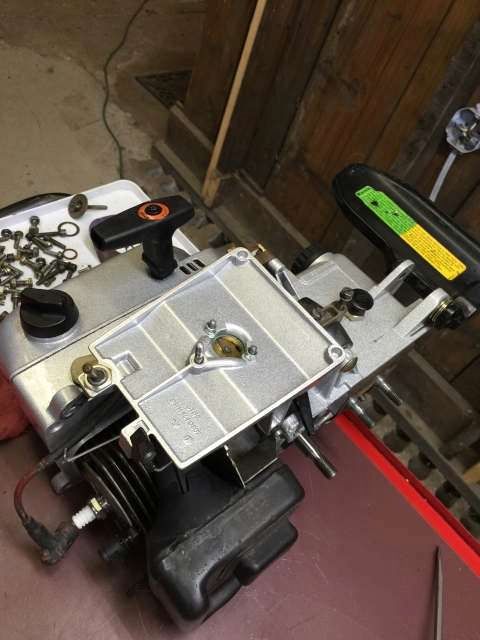
Pulled together and a few bits installed
Get the piston and cylinder ready
OF course I got ahead of myself and forgot to cut the gasket edge off of the crankcase surface before I screwed in the crankcase bolts
And I left them in my way while I applied the Loctite to the mounting surface
Actually used a pair of snap ring pliers to do the circlips because the OEM clips are HUGE.
Piston went in like a breeze - ah dammit!!!!
Get the bolts out and then back in so I can start the Cylinder
Never done one like this before, the bolts are in the way for the ring compressor and the piston is pretty fat
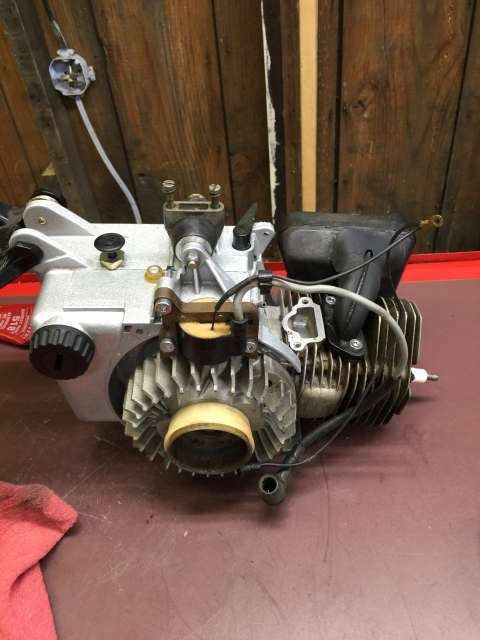
Making good progress now!!
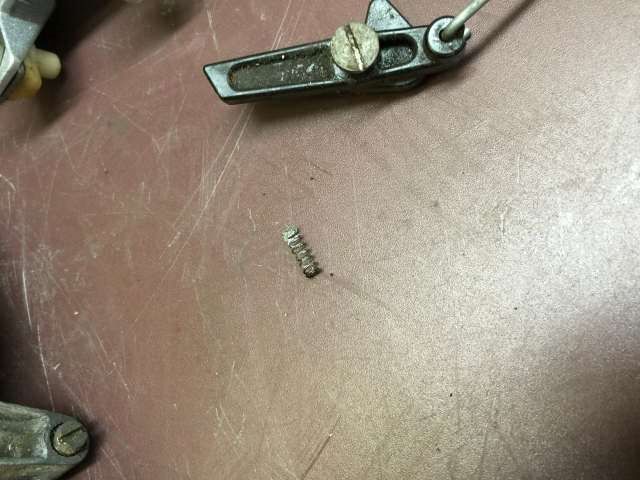
While tightening up the clutch, it suddenly stopped and I mean stopped dead and wouldn't advance at all, I took the clutch and oil pump out to find out why -
No wait a minute surely that little spring that hopped off of the oil seal can t be my problem, but now the Worm gear is stuck like a &$%@()
Handy Dandy Stihl oil seal and pump puller to the rescue - lets see your tuning screw driver do that without messing up a crankcase
Turns out the oil pump piston is the wrong size and the worm gear is the wrong size - Poge did and exhaustive research piece on these pumps, I read it a million times and still managed to mangle three parts in 3 minutes
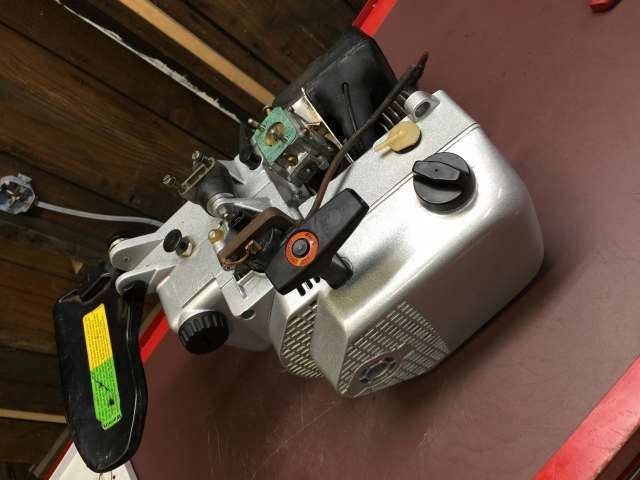
On to other parts while I order a new oil seal - My nicely powdered Clutch cover - I cant find the bag of chain brake parts that I pulled off of it and I cant figure out how to re-rivet the inner side plate - yeah it is installed with 3mm rivets instead of screws on this style. I did get the big dog on it though.
Time to rebuild the recoil - I do a ton of installs of the Elastostart assembly on saws and have a few tricks that actually work. Burn the tip of the rope with a torch and then lick your fingers and roll the hot tip to a point. The stiffness and point make it easier to install without taking the whole thing apart. If I can avoid re-spooling a spring I will. I mark the edge of the spring carrier on the edge where the rope hol eneters so I can easily see it while I work one handed . Next take your handy dandy airbrush cleaning brush from harbor freight that is the size you never use for cleaning saws and rebend the loop end so it will fit into the recoil hole.
Push the stiff rope end through the brush loop and pull it up where you can grab it with needle nose pliers and tie a double one handed know in it while you hole 10-12 revolutions on the spring with your other hand.
Then slooowly release the tension until the rope is spooled up and then assemble the pawls etc.

 . Very cool.
