Show me your firewood storage/shed/rack......please :-)

Arborist Forum

Help Support Arborist Forum:

This site may earn a commission from merchant affiliate links, including eBay, Amazon, and others.
o8f150

o8f150

Tree Freak
Joined
Jan 24, 2010
Messages
16,304
Location
western ky
here is what i just built

010-3.jpg
 
4cyl2vy

4cyl2vy

ArboristSite Member
Joined
Feb 16, 2010
Messages
80
Location
New York
This is the way I did it. Blocks on the bottom to keep wood off the ground and let air circulate. Pressure treated 2x4's. Palruf from home depot for the roof. Its about 2 1/4 chords under the framed shed. 9'x6'x5.5'

0322001827.jpg


0320001838.jpg


0410001634.jpg


0320001848.jpg
 
J. Moser

J. Moser

ArboristSite Member
Joined
May 23, 2009
Messages
63
Location
CT
I've posted this in a similar thread not too long ago, but here it is again. It's a 2 year's supply. I'm going to start a second area so I can be three years out.
PRE_2010-11-13-135052.jpg

Some thing to consider with a wood shed is that you need to stack/move your wood twice. Once to stack for seasoning, then once to move it to the wood shed. I leave it in stacks, tarp it in the winter, and bring it in as needed.
PRE_2010-10-30-084023.jpg
 
rarefish383

rarefish383

Addicted to ArboristSite
. AS Supporting Member.
Joined
Nov 2, 2009
Messages
9,650
Location
MD
This is the little wood shed just out side the back door. I also have a wrap around porch on my 12'X16' shed, and the rest goes out of sight over the hill . The little shed holds a cord and a half and the wrap around porch will hold 3 cord, Joe.
001-12.jpg
 
4cyl2vy

4cyl2vy

ArboristSite Member
Joined
Feb 16, 2010
Messages
80
Location
New York
Here is mine. Worked good this year. I need to get the roll up tarps though, they are nice. Its 2 1/4 chord in the shed. This one was a tester so I could see how it held up. I will build another to the left of it when the ground thaws out.

0322001827.jpg


0320001838.jpg


0320001848.jpg


0410001634.jpg
 
gw8017

gw8017

ArboristSite Lurker
Joined
Oct 27, 2009
Messages
7
Location
southwest mo
i built this last year over labor day weekend. it is big enough for 18 cords only stacked 6' high. i can also park my wood truck in the alley along with my skid steer. everything under one roof.
 
Sandhill Crane
Joined
Mar 15, 2010
Messages
3,241
Location
Saugatuck, Michigan
727sunset

727sunset

ArboristSite Operative
Joined
Jul 23, 2009
Messages
228
Location
Lake Huron shoreline
wood shelter details

First of all thanks for the approvals :)
Sorry for a long post but it should cover most common questions.
The inspiration came from shelters others have made and their online reviews.
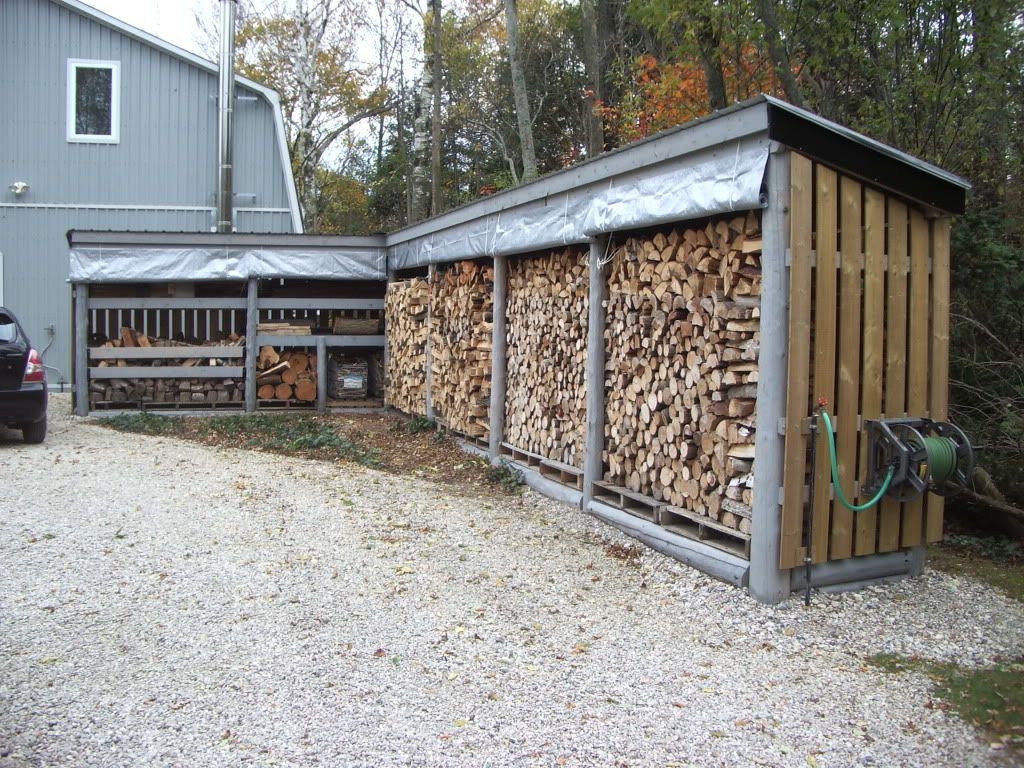
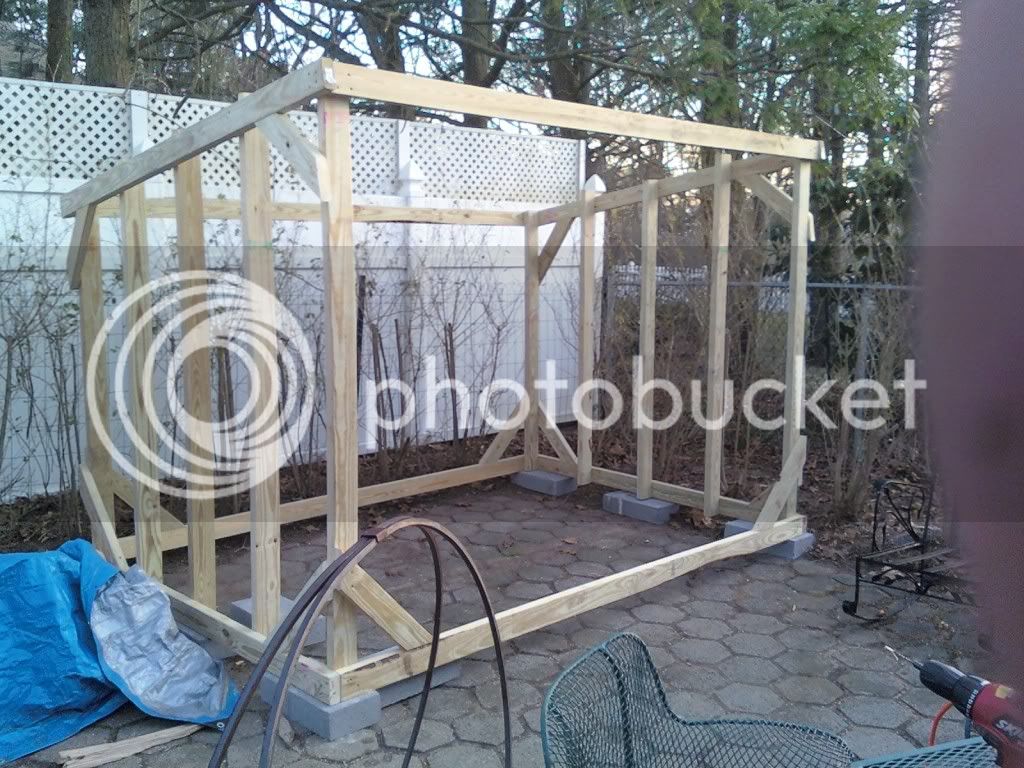
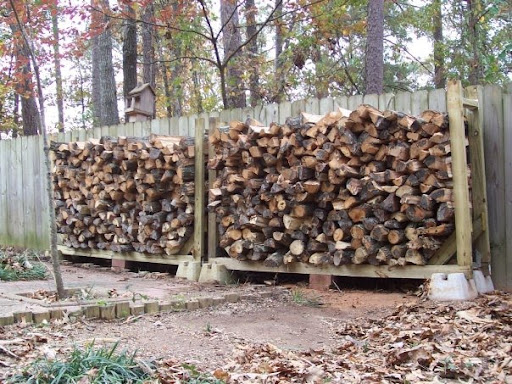
My design helps to shield view from the road, shelter my wood and the back side serves as a fence along the property line. PT fence boards cover the 2 ends and the outer walls. It was recommended the boards dry for a year so I guess there will be a staining job to complete this summer.:clap:
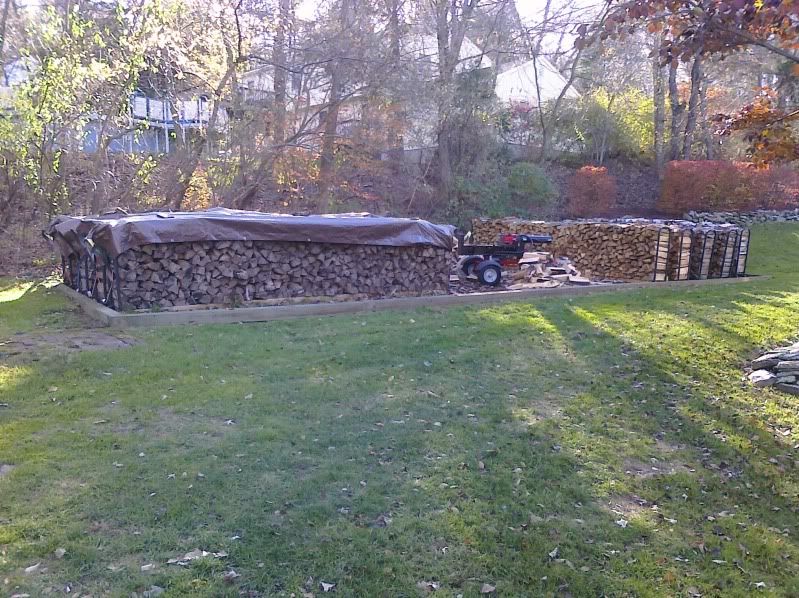
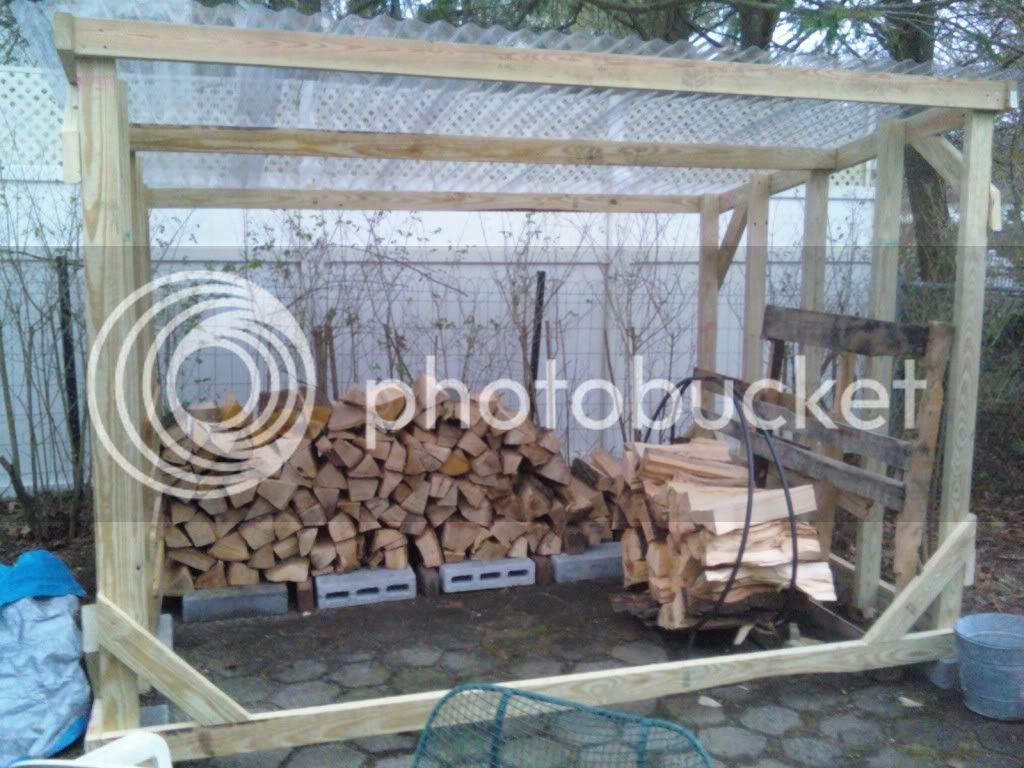
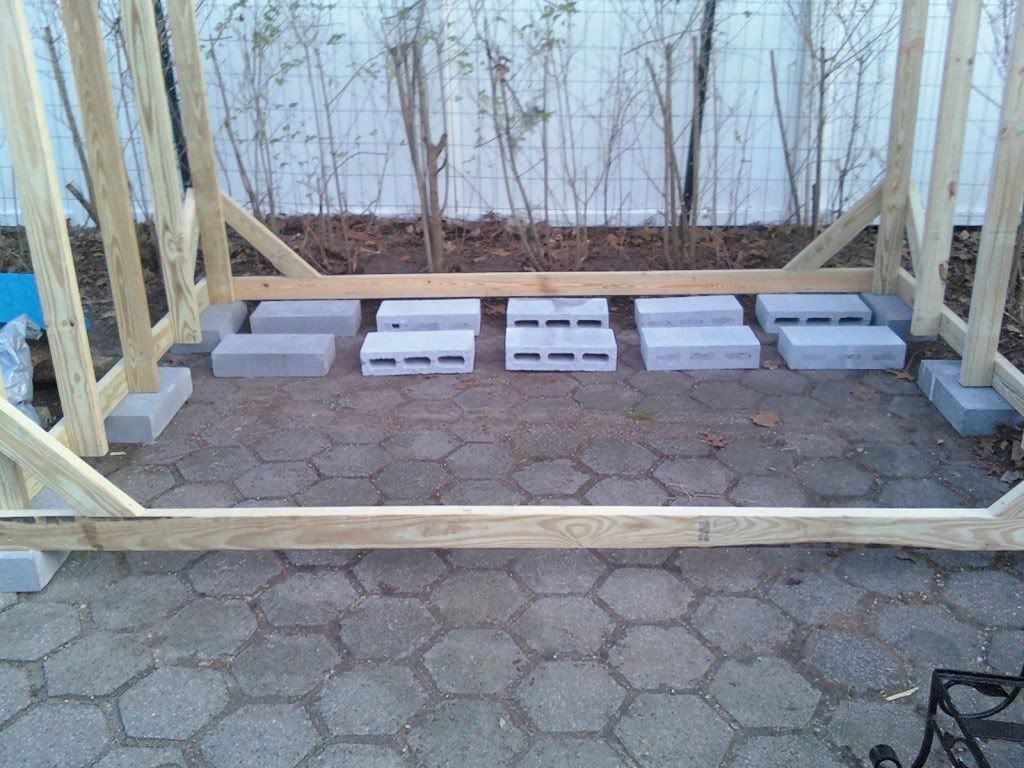
For the base I've got about 6" of crushed stone and it's all contained in place with cedar logs around the perimeter. On top MT pallets have been placed. Wood is then piled 6' high. This combination allows the wood to dry well and longevity to the pallets.
On the longer side of the shelter each section is 8' by 4' deep.
On the shorter side starting from the left the first section holds all the (difficult to pile) shorts and crotches etc., it's only about 3' in depth. Next I have a small section for cedar logs to make into kindling. And the last section holds 3 discarded shopping carts full of split kindling. If you look closely one cart is visible....wheels etc all removed. Access to the kindling carts is from the far side via flip up door. This makes efficient use of the corner. Above this row I have some open shelving to store planks and other long items.
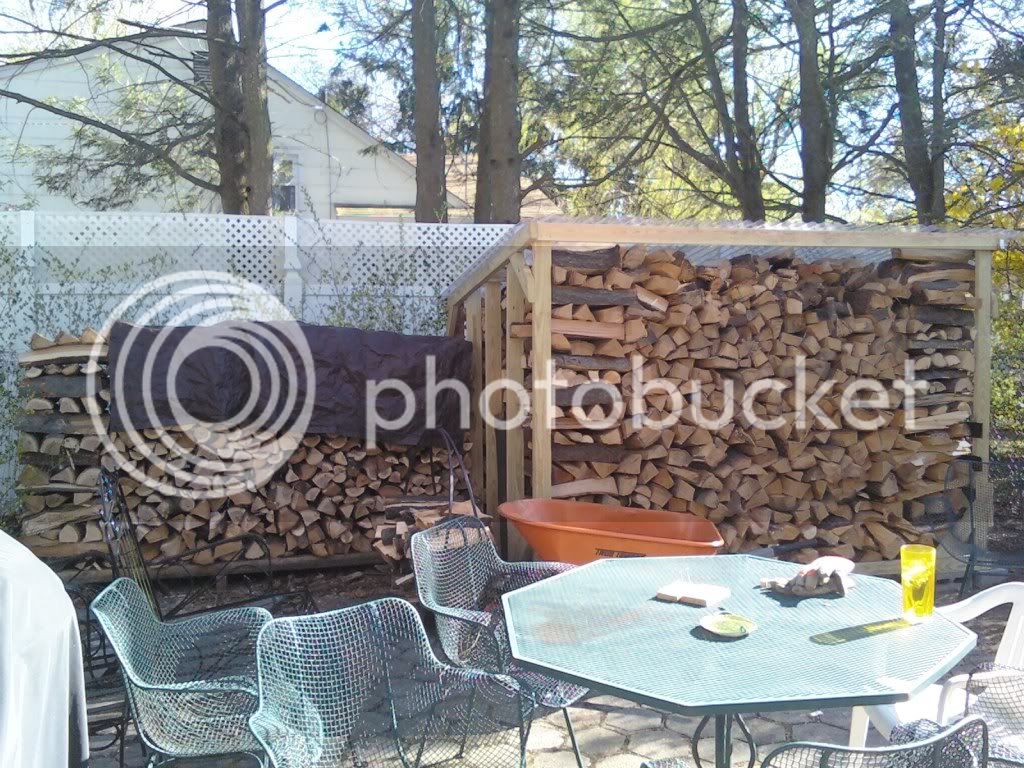
The whole shelter is covered with roofing steel.
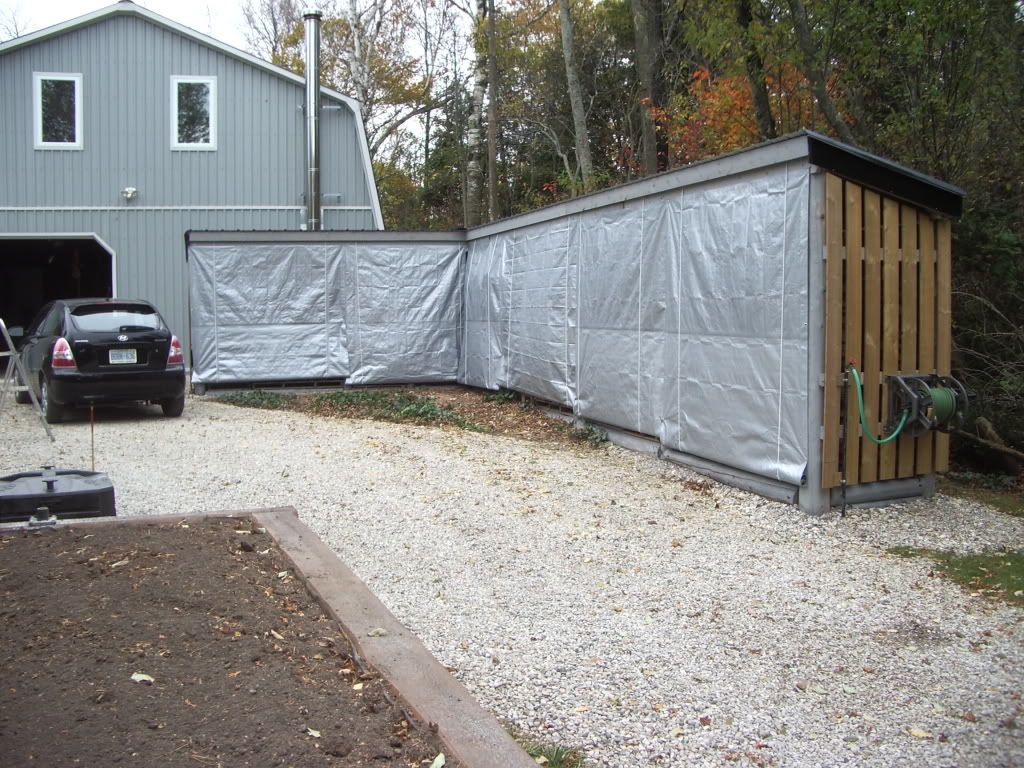
As far as the tarps, there is a convenient rope to be found on the inside. Just reach in and hoist away.
The roll up tarps have nothing more than an old water pipe at the bottom. Simply drill and tap the pipe and bolt the tarp to it. These are the common tarps found at hardware stores. Then rig some rope. Start at the top (facia) come down the outer side of the tarp around the bottom and up the inside to some pulleys. The pulleys direct the ropes to a desirable location. So when you pull the rope the tarp just curls up around the pipe. Although you could drop the tarps for a rainy day in the summer I prefer to leave them fully up from April thru October.
If there are any other details I've missed just ask away or PM me anytime. :cheers:
 
Top