I've got a brand new 066BB here that I'm porting, and thought that I'd share it with you guys. This is the first one I've seen since installing the prototype of this generation on my personal saw. These kits have a come a long ways.
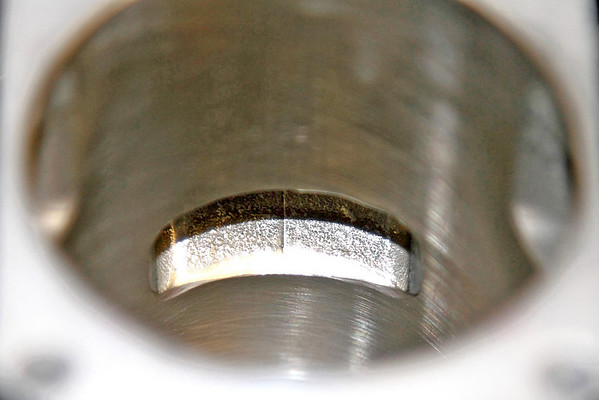
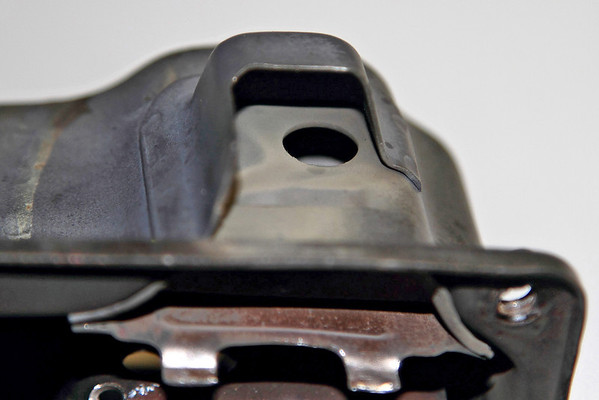
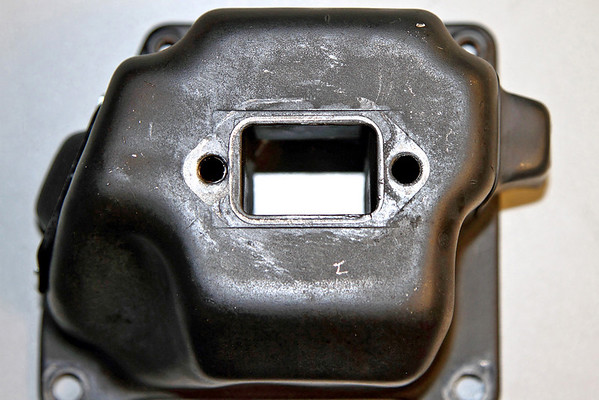
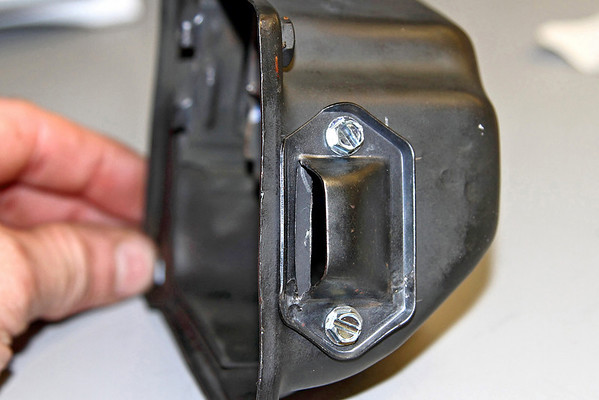
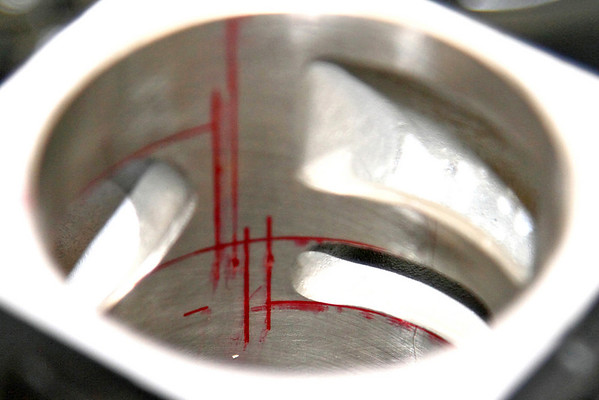
Let's start with the exhaust. The biggest problem I have with this cylinder is the exhaust port roof. It's still completely flat, with no curvature to it at all. This is not good for the rings. However, it does have a HUGE bevel on it, and will likely not be a problem. I'm going to massage this one a little, just to get a little curvature to it. I can't do much at all though, becaust the exhaust port timing is very high, at 96° ATDC. I would much rather see this at 100-105. 100 would be fine it weren't flat, but 105 would give me a little play room. As far as port width is concerned, it's already nearly as wide as the skirts will allow. My outer marks are the skirt edge, and the inner lines are where I'll be taking it to. Not a deal breaker here, but the biggest place for improvement in the cylinder.
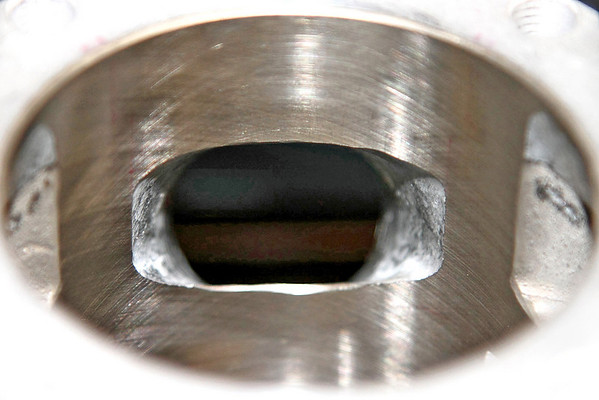
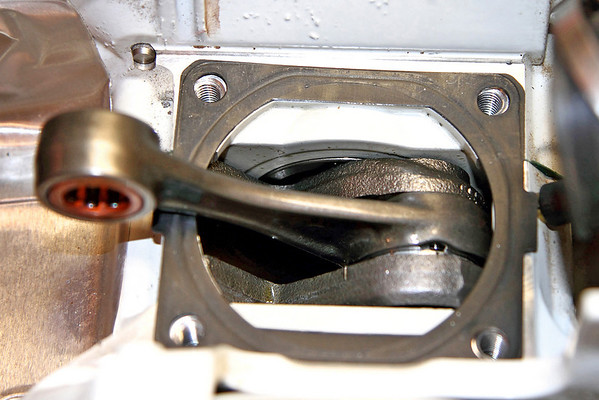
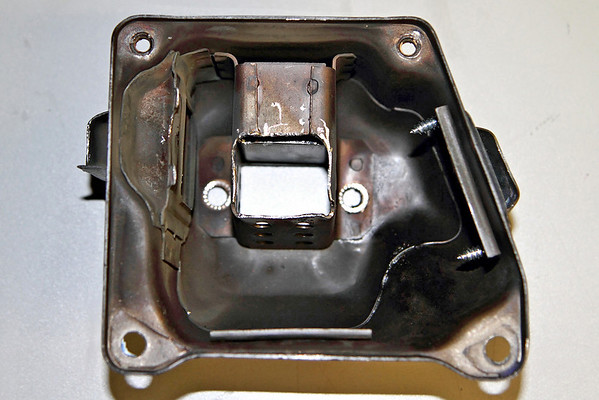
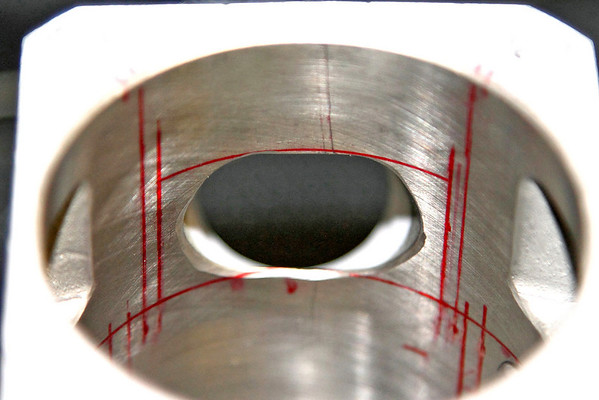
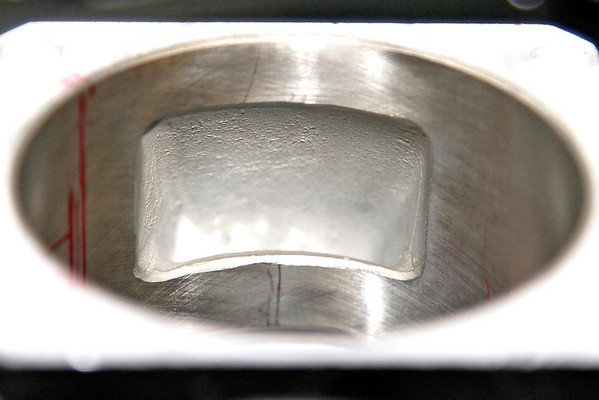
The shape of the intake isn't pretty, but isn't a concern at all. No rings travel across it. There is lots of room for improvement in port width here. Again, port timing is very agressive. It's an amazing 86° BTDC. However, that's how the one on my saw is, and it runs incredible and still idles good with good throttle response.
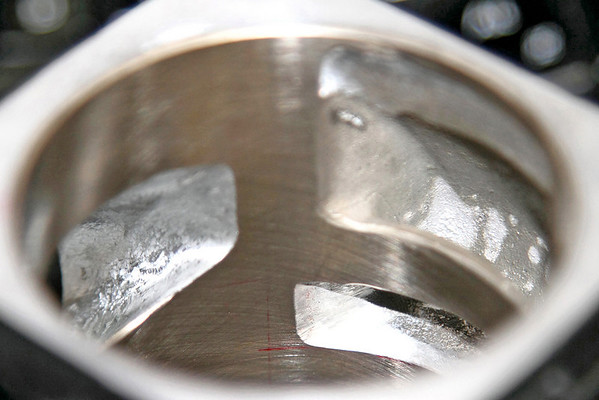
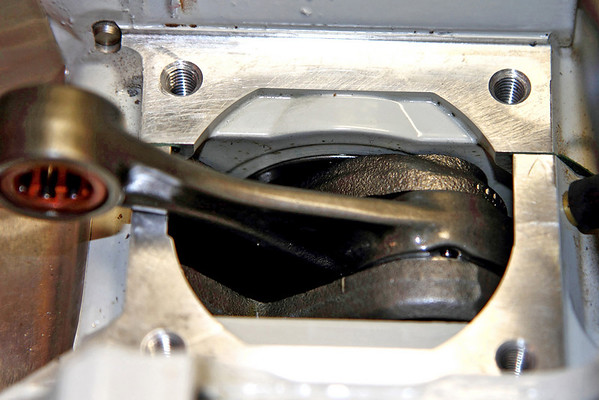
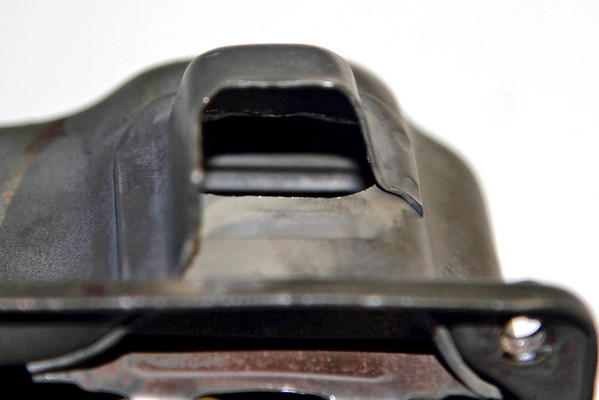
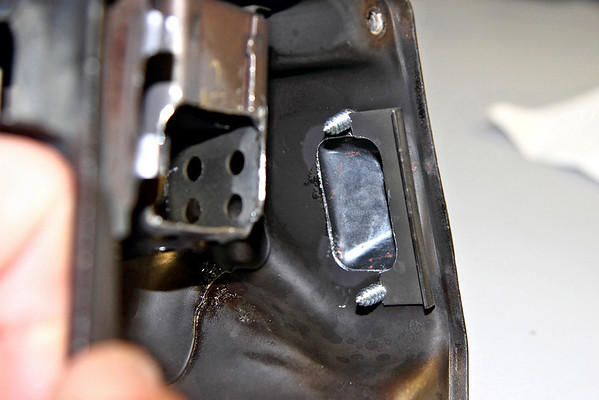
I see no issues with the transfers. The furthest line is the ring end. The closest is where I'll be taking the transfer to. You can't see it in this pic, but there's a HUGE bevel on these transfer, probably clost to .040" tall. The port timing is a 125°, giving me a blowdown of nearly 30°, so I'll be raising these to 120°, basically raising them the amount of the factory bevel.
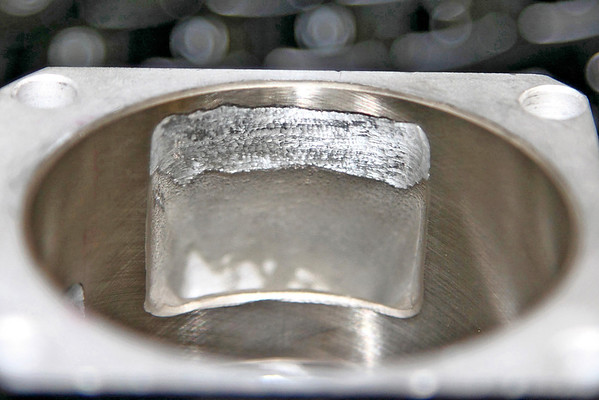
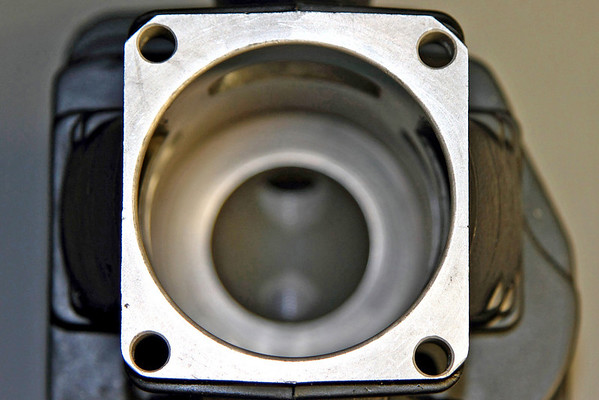
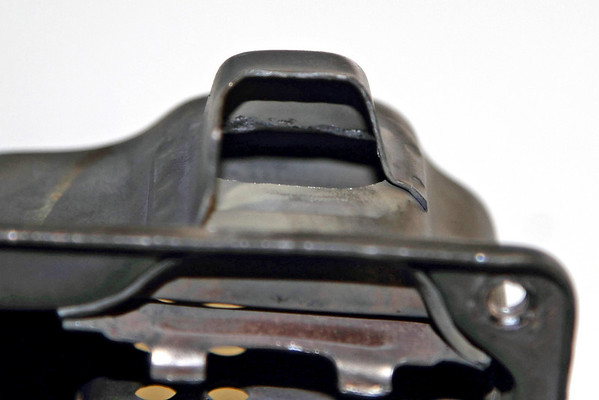
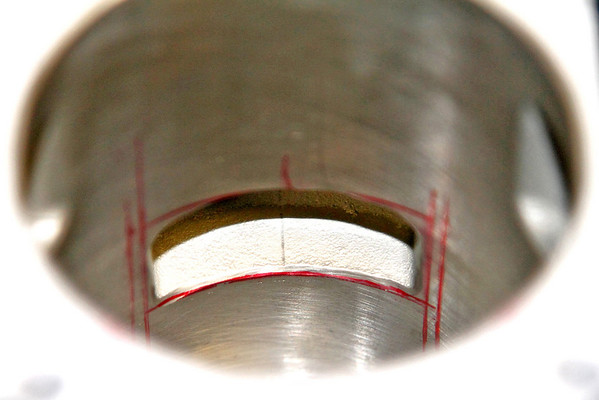
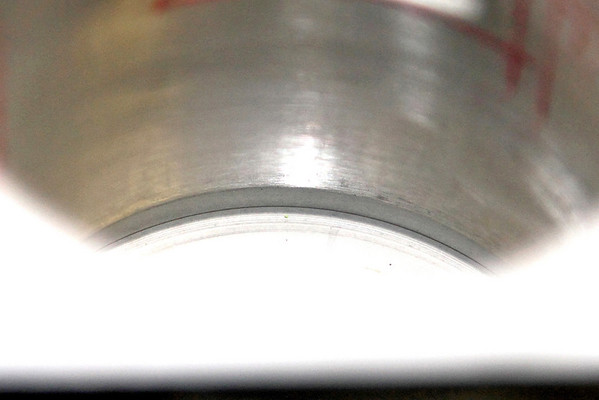
I won't be doing a popup on this saw, but if I were, there might be an issue here. It appears to me that the NiSi may not go to the top of the bore, by approxiamately .170". Subtract a squish of .020", and that's still .150". That will still have the rings riding onto this area .030". Hopefully this is simply unhone NiSi. I can feel no ridge whatsoever, so hopefully that's the case.
Bottom line, these kit's make a good replacement for a stock topend. With the aggressive port timing, it should make great power, even in unmodded form. Once ported, my 066 is a monster. I've had multiiple topends on it, and this was the first one that made me say wow. Hopefully this one will run the same. I'll post more as I go along.
Let's start with the exhaust. The biggest problem I have with this cylinder is the exhaust port roof. It's still completely flat, with no curvature to it at all. This is not good for the rings. However, it does have a HUGE bevel on it, and will likely not be a problem. I'm going to massage this one a little, just to get a little curvature to it. I can't do much at all though, becaust the exhaust port timing is very high, at 96° ATDC. I would much rather see this at 100-105. 100 would be fine it weren't flat, but 105 would give me a little play room. As far as port width is concerned, it's already nearly as wide as the skirts will allow. My outer marks are the skirt edge, and the inner lines are where I'll be taking it to. Not a deal breaker here, but the biggest place for improvement in the cylinder.
The shape of the intake isn't pretty, but isn't a concern at all. No rings travel across it. There is lots of room for improvement in port width here. Again, port timing is very agressive. It's an amazing 86° BTDC. However, that's how the one on my saw is, and it runs incredible and still idles good with good throttle response.
I see no issues with the transfers. The furthest line is the ring end. The closest is where I'll be taking the transfer to. You can't see it in this pic, but there's a HUGE bevel on these transfer, probably clost to .040" tall. The port timing is a 125°, giving me a blowdown of nearly 30°, so I'll be raising these to 120°, basically raising them the amount of the factory bevel.
I won't be doing a popup on this saw, but if I were, there might be an issue here. It appears to me that the NiSi may not go to the top of the bore, by approxiamately .170". Subtract a squish of .020", and that's still .150". That will still have the rings riding onto this area .030". Hopefully this is simply unhone NiSi. I can feel no ridge whatsoever, so hopefully that's the case.
Bottom line, these kit's make a good replacement for a stock topend. With the aggressive port timing, it should make great power, even in unmodded form. Once ported, my 066 is a monster. I've had multiiple topends on it, and this was the first one that made me say wow. Hopefully this one will run the same. I'll post more as I go along.