Porting a Hutzl / Stihl 039 cylinder

Arborist Forum

Help Support Arborist Forum:

This site may earn a commission from merchant affiliate links, including eBay, Amazon, and others.

eudaimonea

Refurb Advocate
Joined
May 12, 2013
Messages
152
Reaction score
76
Location
RI
The purpose if this thread is to port a 039 new aftermarket cylinder with the help of some members.

Finally getting around to building a Stihl 039 with aftermarket piston and cylinder, 49mm with caber rings. I would like to open the intake and the exhaust without changing the port timing. It seems this can be done if the ports are widened horizontally instead of vertically. Here is a picture of the cylinderimage.jpg

The picture shows the exhaust side to highlight a mistake i made. While checking the threads i managed to crossthread. So, i gouged up the fins enough so i could work another bolt in from the top, not pretty but seems to have done the job.

For this job, im looking for some numbers to guide me while widening the intake /exhaust.

Exhaust: 28 x 16.5mm is the outer measurement, 26mm x 13mm is the inside measurement.
Intake: 25x 19mm is the outside measuremnt, 23x 13mm on the inside.

The exhaust port is sort of square shaped, the intake port is sort of oblong shapes, two different shapes.I used a primitive way if measuring the inside dimensions. I trimmed some cardboard until it fit and measured it.

The plan is to widen the ports. Just want some nice happy numbers, nothing too brave. Im not worried about ruining the cylinder, i can always just order another one.

Are there "rule of thumb" length or area ratios i should shoot for? Dont know if it matters, but id like to have this 039 pull a 18" 3/8ths chain like a boss. Any help greatly appreciated!
 
I widened the transfers on one once and hung a ring, do not widen the transfers. also if I remeber right they have some nice numbers in those saws already except for the transfers. I would widen the intake and exhaust a little but the transfers need to be brought up a bunch.
 
The purpose if this thread is to port a 039 new aftermarket cylinder with the help of some members.

Finally getting around to building a Stihl 039 with aftermarket piston and cylinder, 49mm with caber rings. I would like to open the intake and the exhaust without changing the port timing. It seems this can be done if the ports are widened horizontally instead of vertically. Here is a picture of the cylinderView attachment 417580

The picture shows the exhaust side to highlight a mistake i made. While checking the threads i managed to crossthread. So, i gouged up the fins enough so i could work another bolt in from the top, not pretty but seems to have done the job.

For this job, im looking for some numbers to guide me while widening the intake /exhaust.

Exhaust: 28 x 16.5mm is the outer measurement, 26mm x 13mm is the inside measurement.
Intake: 25x 19mm is the outside measuremnt, 23x 13mm on the inside.

The exhaust port is sort of square shaped, the intake port is sort of oblong shapes, two different shapes.I used a primitive way if measuring the inside dimensions. I trimmed some cardboard until it fit and measured it.

The plan is to widen the ports. Just want some nice happy numbers, nothing too brave. Im not worried about ruining the cylinder, i can always just order another one.

Are there "rule of thumb" length or area ratios i should shoot for? Dont know if it matters, but id like to have this 039 pull a 18" 3/8ths chain like a boss. Any help greatly appreciated!
Transfer your piston skirt vertical edges from top to bottom with a very small square, make sure that the piston is placed in the jug exactly how it will be when it's assembled. Do the same for where the piston ring pin is. Rule of thumb is to not make your ports wider than 70% of the cylinder diameter, but keep in mind that about 2mm should be left on the inside of your piston skirt lines so that the piston is able to seal off the ports properly. When you get to widening your ports make sure that you oval them and it's very important to chamfer the edges so your rings can tuck back into the groove on the piston when they hit the floor and roof of the ports. Do not raise or lower the exhaust port or the upper edge of the intake port, this will screw up your port timing. I like to blend the bottom of my intake port a little bit towards the crankcase and also blend the bottoms of my transfers for a better flow of mix to the transfers. Another thing I like to do is lighten the piston but I don't recommend it on your first port job. Good luck, there's a lot of different methods out there that are probably better than how I do it but I'm not racing any saws. You can make a nice runner with some mild porting and a good chain. One other thing, you need to mach the muffler to the exhaust port, otherwise you won't get much out of your port work.
 
Might be a good idea to get a degree wheel on it. Mine (oem) already had pretty aggressive exhaust timing at 160° duration. I did lower the intake a bit (don't remember duration ). And I didn't touch transfer duration. Mine pulls 20" rs as well as my ported 034s. But as previously stated, you need to port match the muffler, drill some holes in the baffle, and rework the exhaust deflector so it's about 5 times as big as oem. I took the deflector and rounded it out so the hole you see is about 1/2"×1". It's ugly. And I'm not posting pics because of it. Eventually ill fab a sheet metal deflector with square corners and such that looks presentable lol
 
Transfer your piston skirt vertical edges from top to bottom with a very small square, make sure that the piston is placed in the jug exactly how it will be when it's assembled. Do the same for where the piston ring pin is. Rule of thumb is to not make your ports wider than 70% of the cylinder diameter, but keep in mind that about 2mm should be left on the inside of your piston skirt lines so that the piston is able to seal off the ports properly. When you get to widening your ports make sure that you oval them and it's very important to chamfer the edges so your rings can tuck back into the groove on the piston when they hit the floor and roof of the ports. Do not raise or lower the exhaust port or the upper edge of the intake port, this will screw up your port timing. I like to blend the bottom of my intake port a little bit towards the crankcase and also blend the bottoms of my transfers for a better flow of mix to the transfers. Another thing I like to do is lighten the piston but I don't recommend it on your first port job. Good luck, there's a lot of different methods out there that are probably better than how I do it but I'm not racing any saws. You can make a nice runner with some mild porting and a good chain. One other thing, you need to mach the muffler to the exhaust port, otherwise you won't get much out of your port work.
Can you explain the "lower the intake floor but don't raise the roof" thing to me?

I thought the intake opened and closed from the floor, so that was the critical part to not monkey with. I thought the roof could be raised up until you get near the rings at BDC.

Wouldn't lowering the intake floor decrease case compression?
I just blend it to the bottom of the case a little for better flow. Mayhaps I've been doing it wrong. Works well for me though. Like I said, lots of ways to do it and I know there's plenty better than how I do it. What I do with them is pretty mild compared to what a good saw modder does, but I've had pretty good results with how I do it. I watch my ports AS far as messing with heights by tracing the ports onto the piston with a very fine pencil, exhaust at TDC and intake at BDC so I don't go beyond where the piston seals the ports. Like I said I port pretty mild compared to a lot of others.
 
Not trying to knock you one bit, I hope you see that.

I'm trying to soak up info.

Every model and jug will respond to things differently.
I didn't take it that way at all. When it comes to porting unless we're doing it on a scale that Randy or Brad and some others are we are learning more on every saw. I don't talk about what I do with them much because I am not as well versed with it as I should be but I've managed some decent gains out of what I've done.
Don't worry about knocking me at all, my MIL lives a mile up the road, I'm a black belt in dealing with constructive critisim.
 
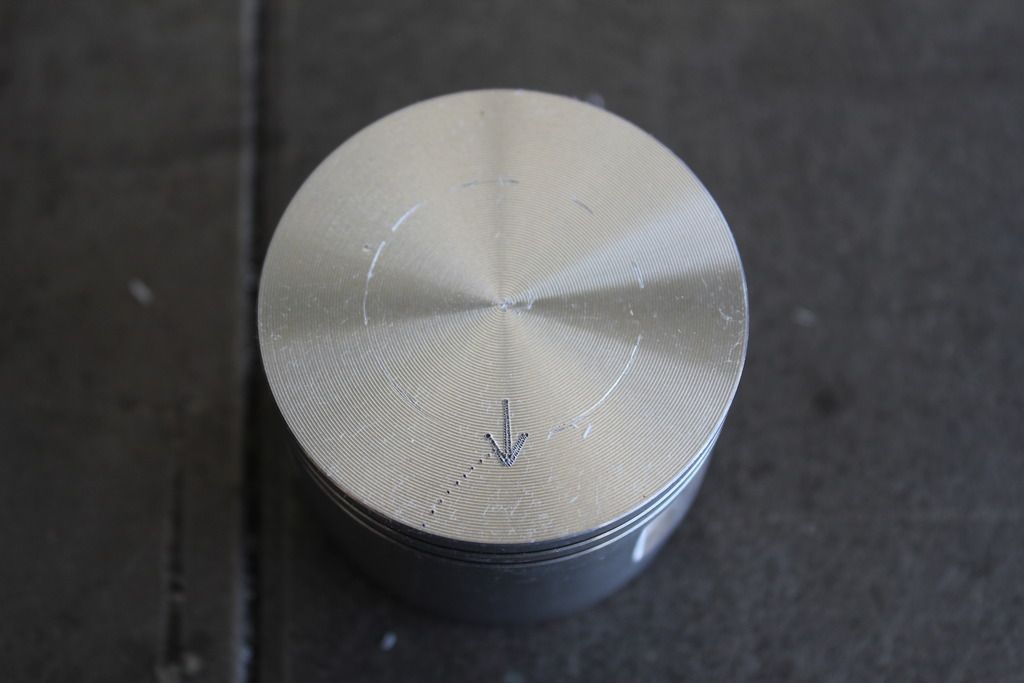
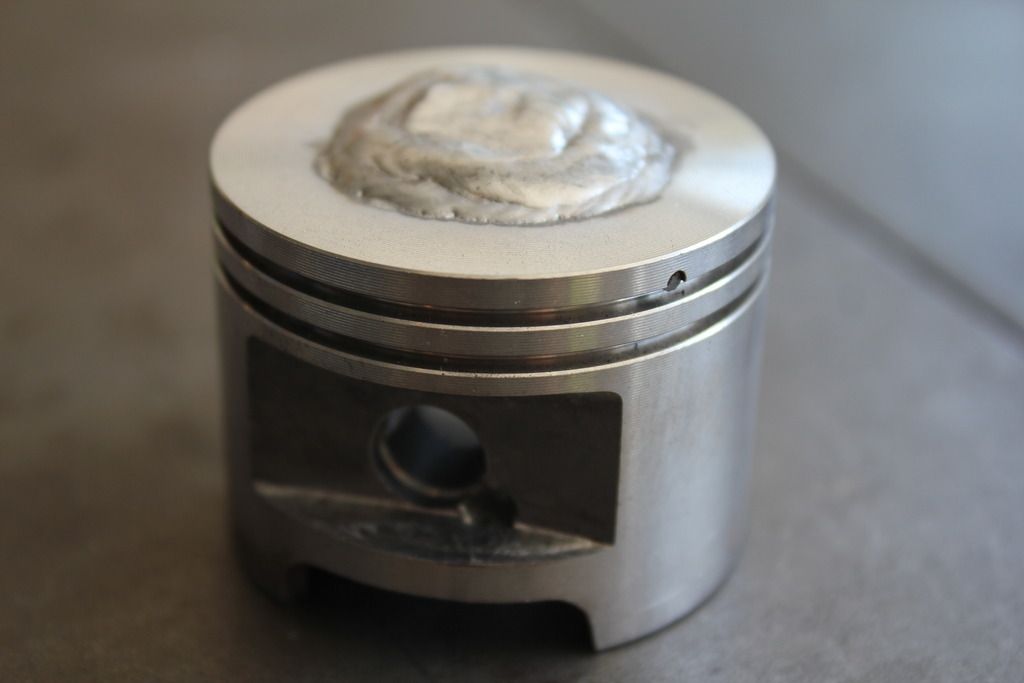
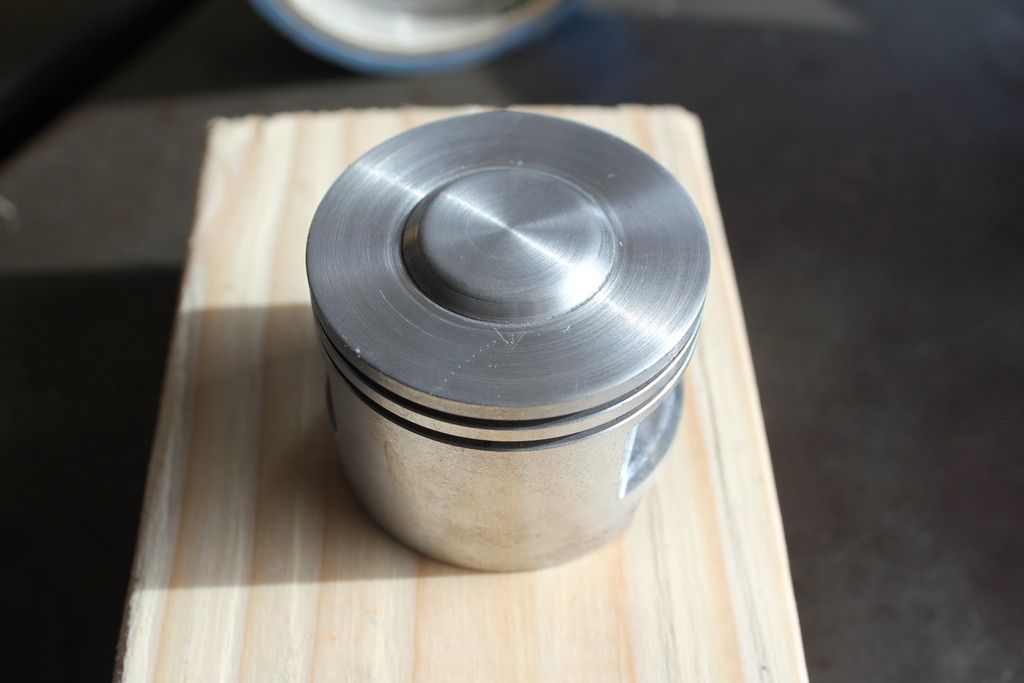
To the OP, I'll weld and machine a popup dome on the piston if you'd like. You'd just have to give me the diameter and height you want.

The only risk would be if I toast the piston, but I'm sure the AM piston that comes with the kit is a sub $20 piece.

Will cost you the shipping both ways only.
That's an offer i can't refuse! Ill pm you shortly. Ill take all the measurements i need from the piston, as well as some that will likely change after work being done for comparision. Risk of damage not really a concern with these aftermarket parts.
 
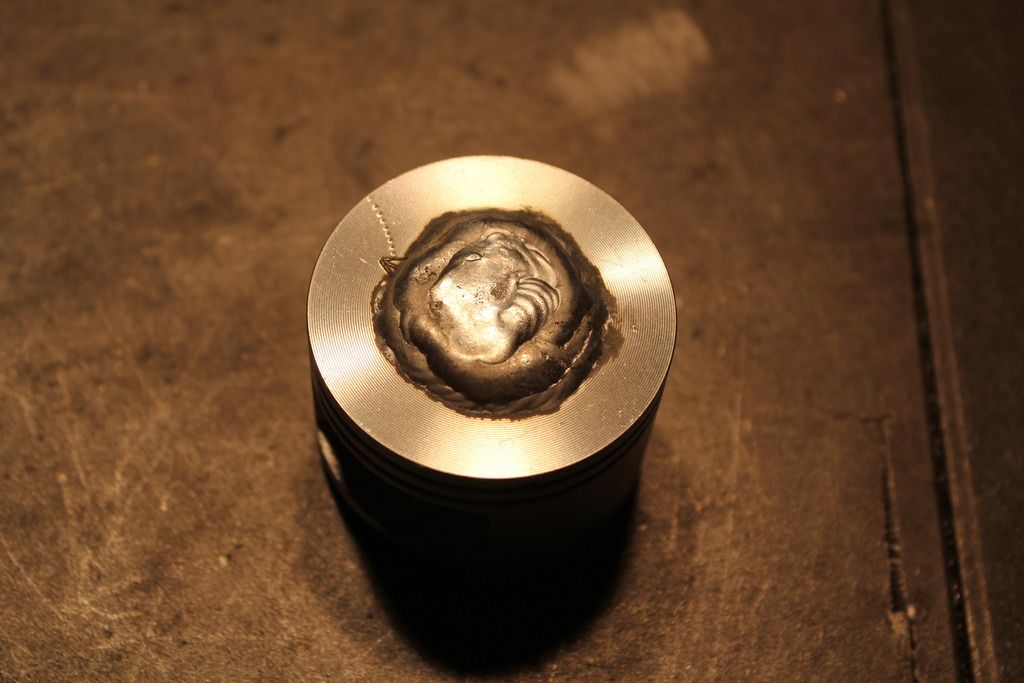
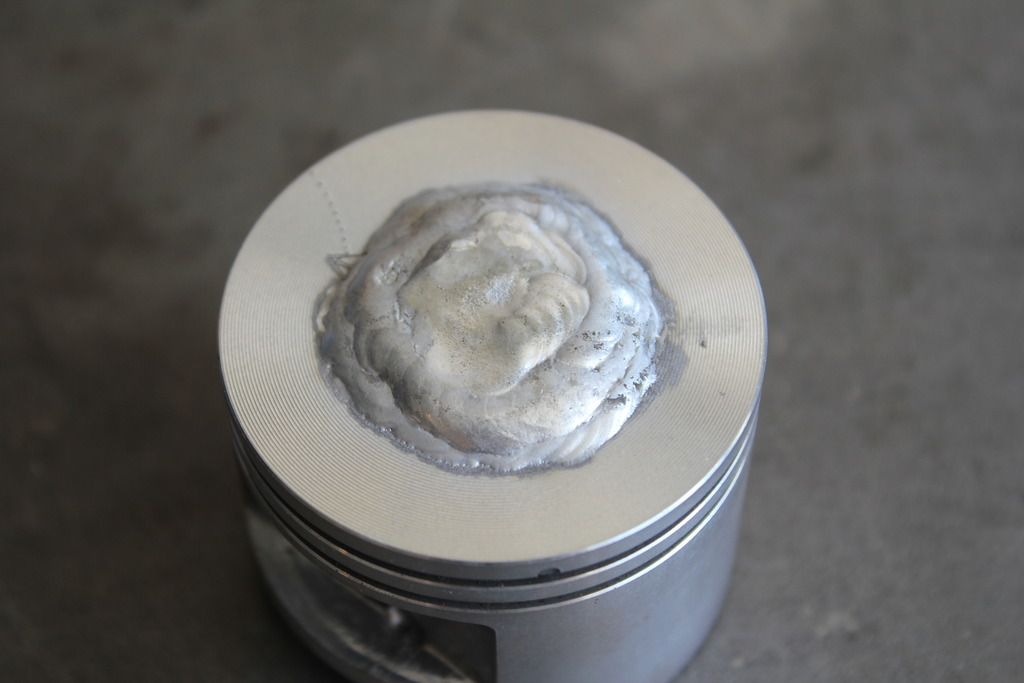
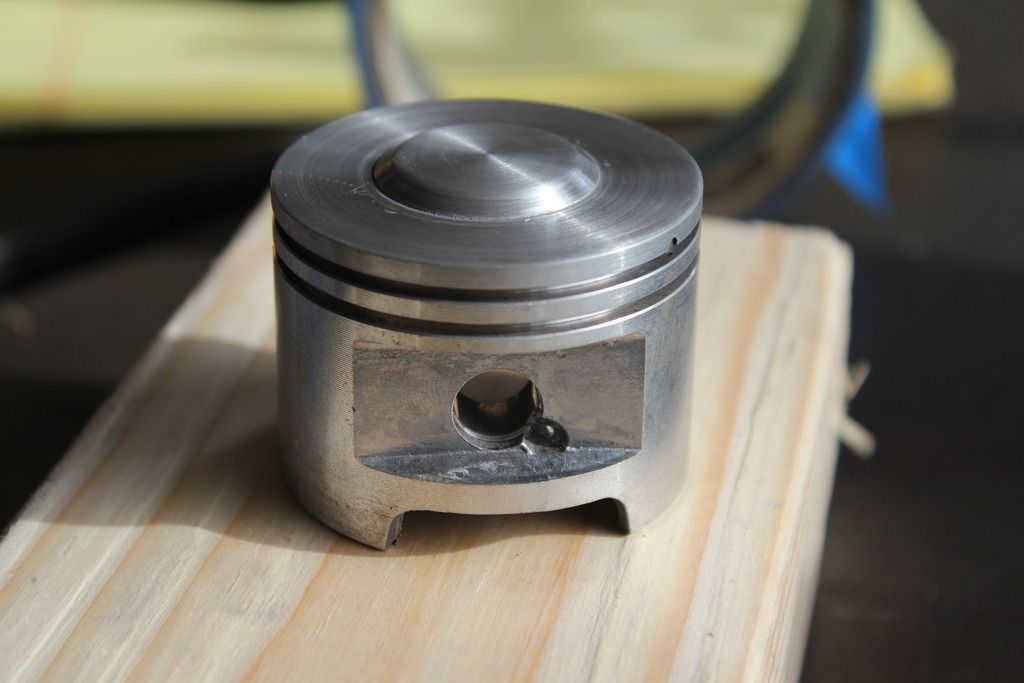
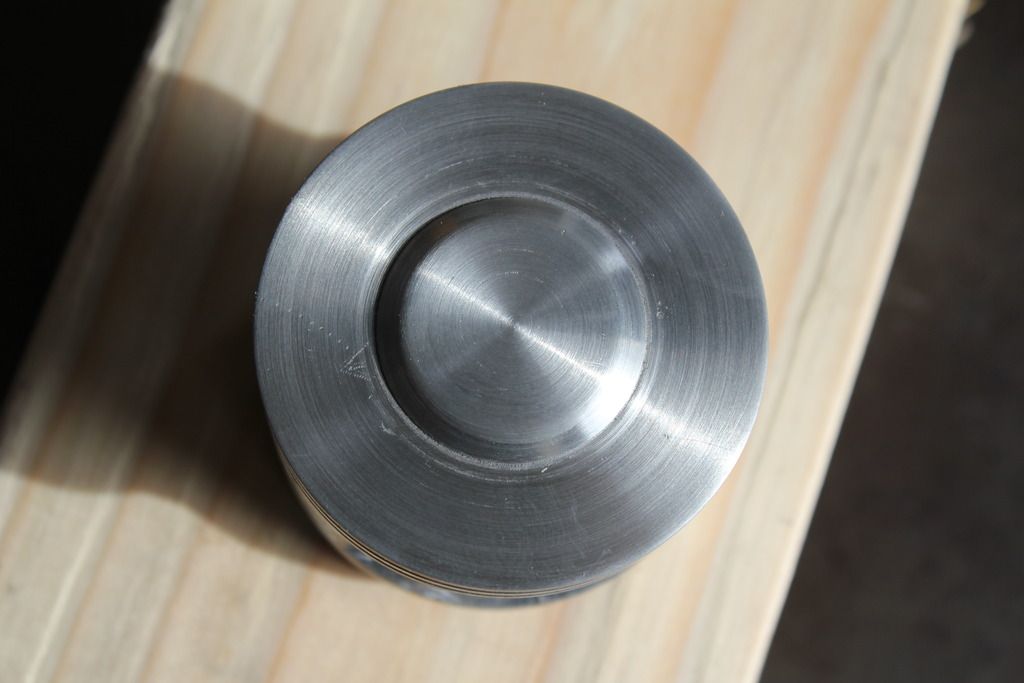
Eudaimonea, your piston is ready.

Added 2.5 grams of 4047 alloy. As the Huztl pistons are lighter than OEM, the weight should be a wash. Dome 2.5mm high, 26mm wide at base. It clears the plug, I checked it.

Preheated. Welded with AC, 130 amps, 65%EN. 60 Hz.


How many hp is your lathe? I've got and ol wood lathe at my dad's I might just convert

stihl 026, husky 266xp, mac 610, efco 132s, craftsman 54cc, mac 1635, Miller deltaweld 300 :D
 

Latest posts

Back
Top