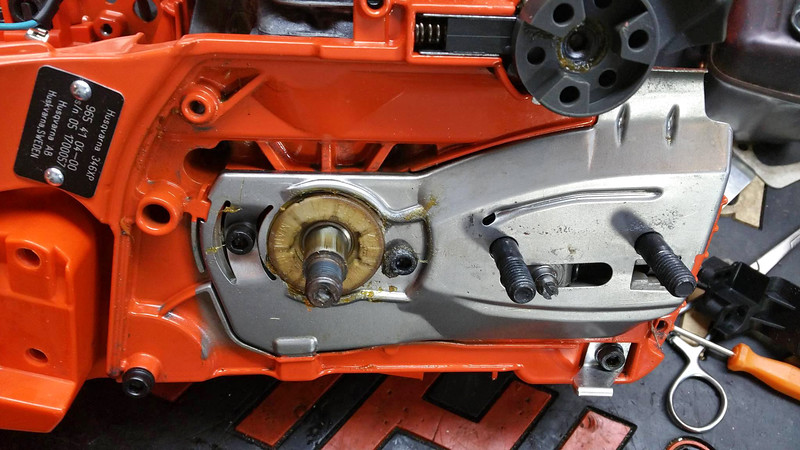
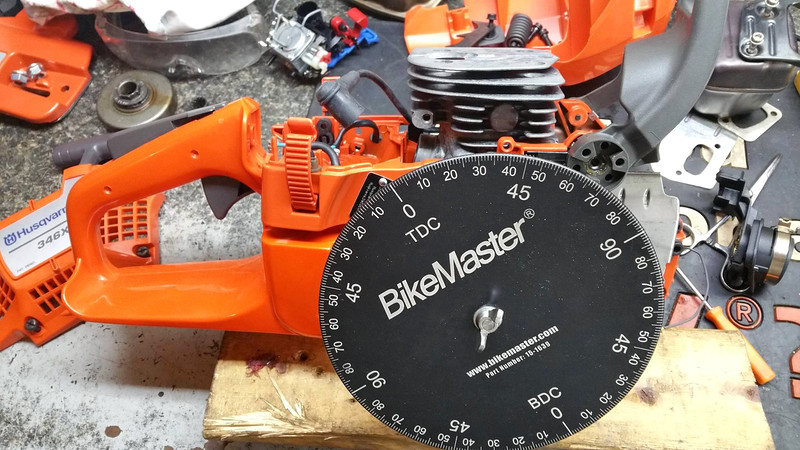
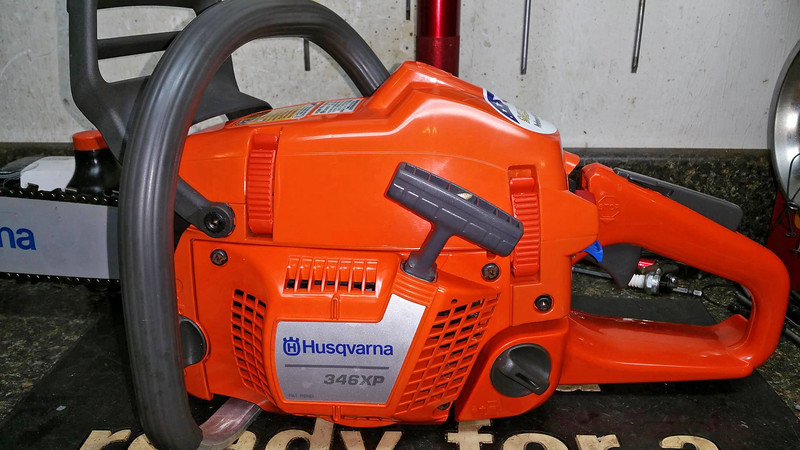
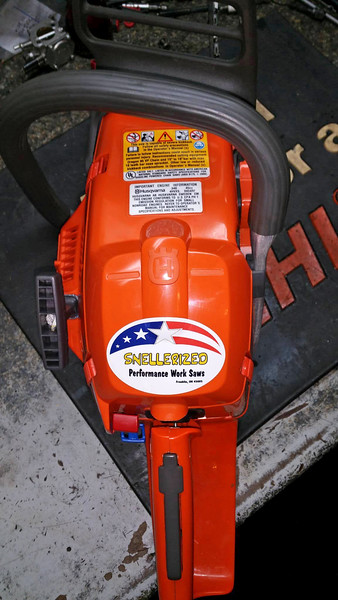
Two build threads in one day? Yup! A huge thanks goes out to @stihlaficionado for donating this beautiful unused saw, although 10 years old. And, congrats to @Rudedog for winning it in the raffle. As most of us know, the proceeds from this raffle were donated to the family of @Adirondackstihl in support of his wife who is fighting a serious illness. I have ported this saw today and though it would be nice to show the build of it for those involved in the raffle.

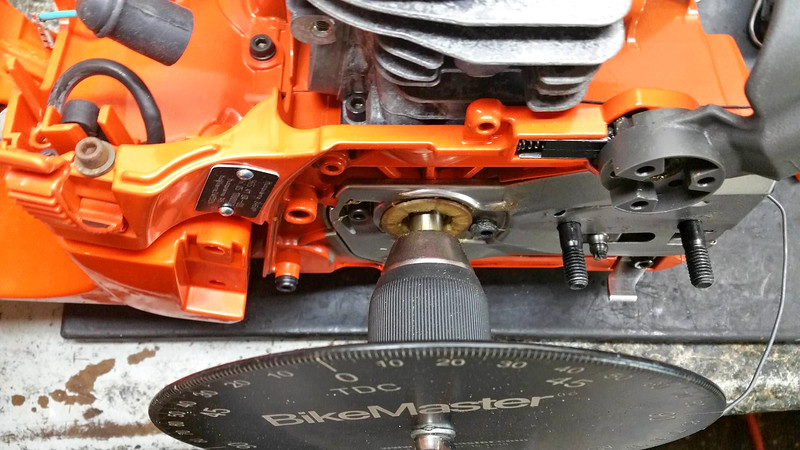
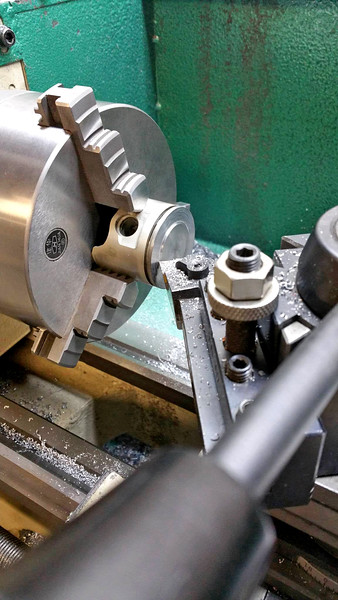
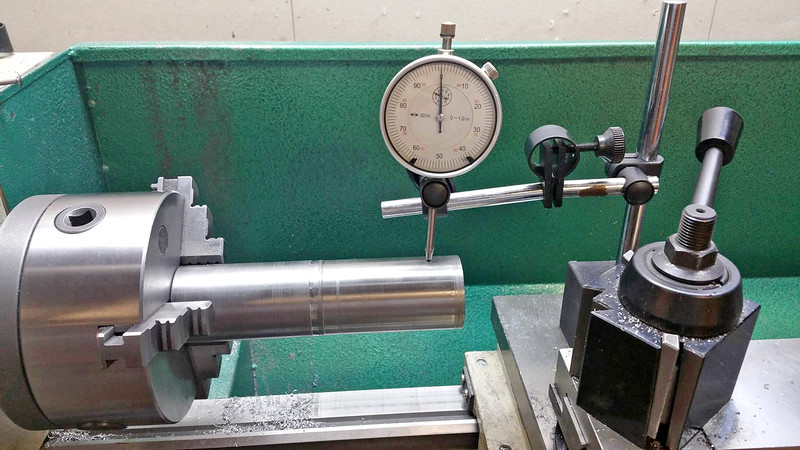
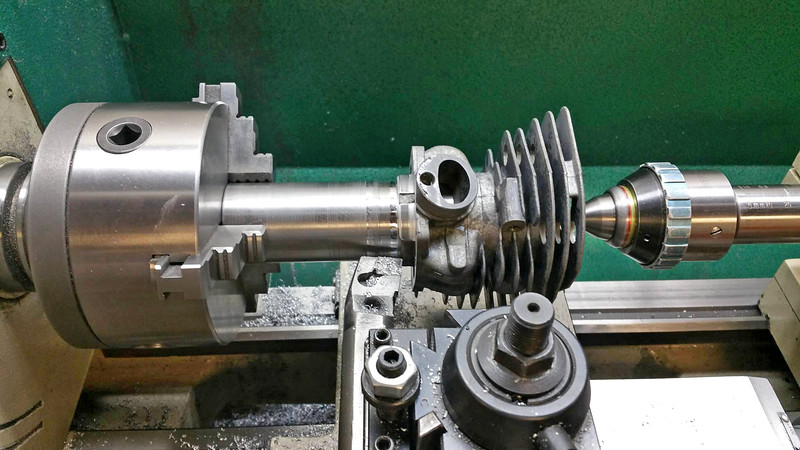
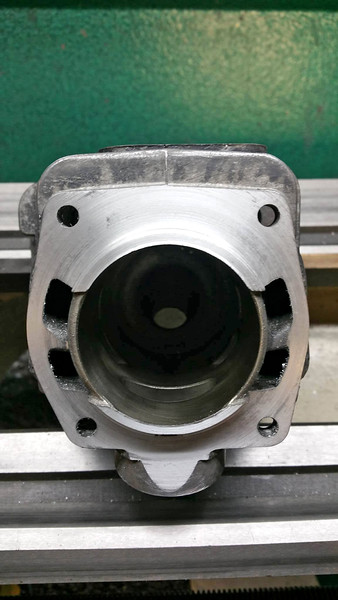
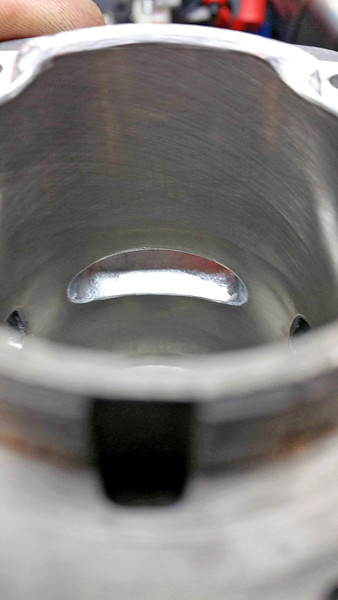
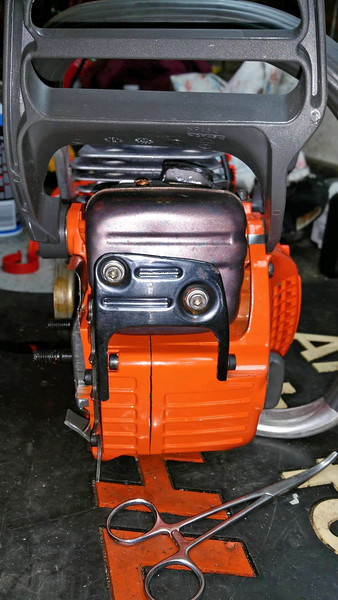
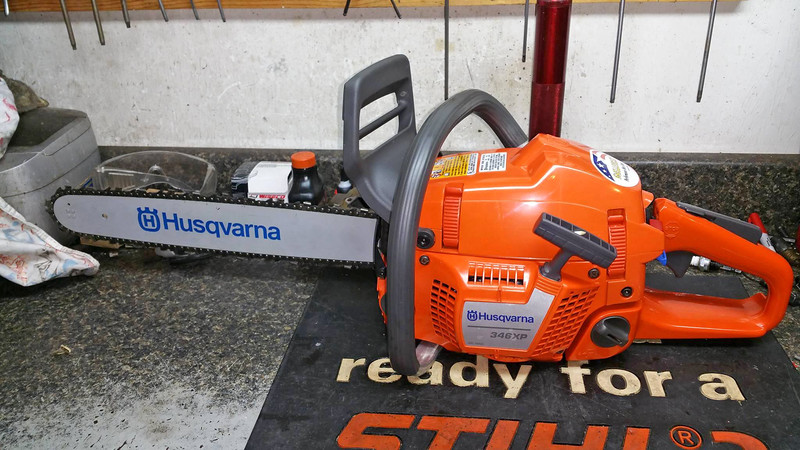
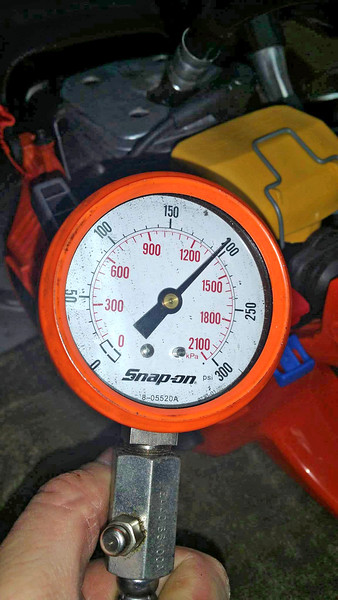
Less than 5 minutes later...
...it looked like this, and...the squish was measured, ready for machining.
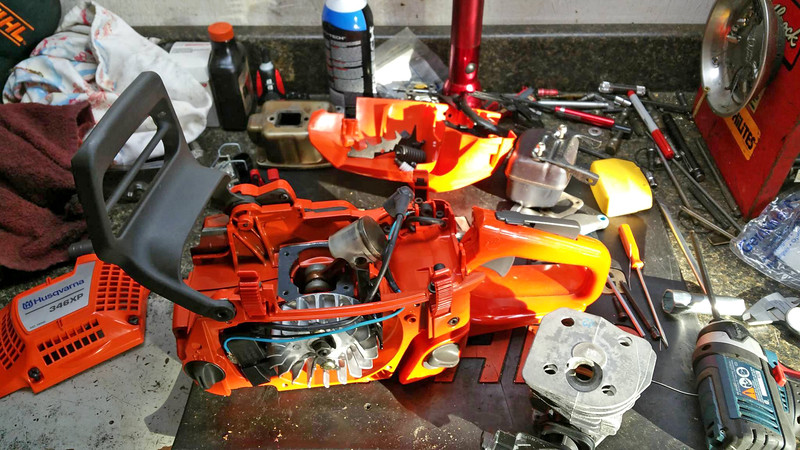
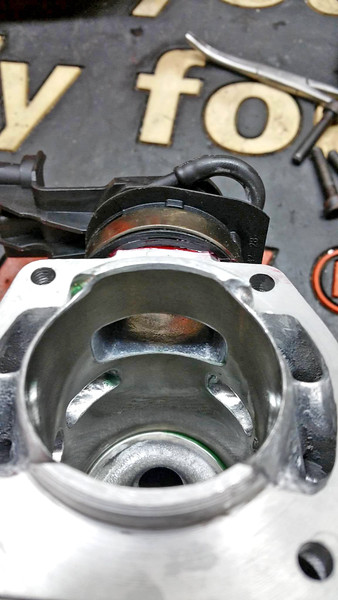
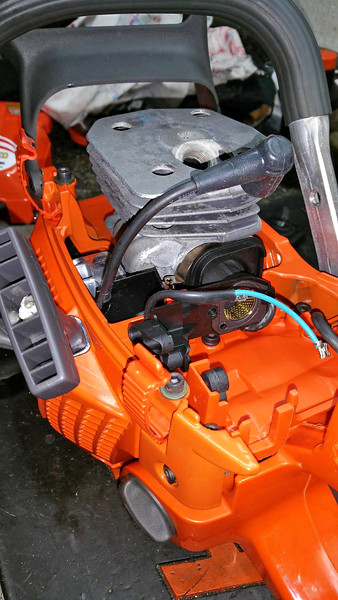
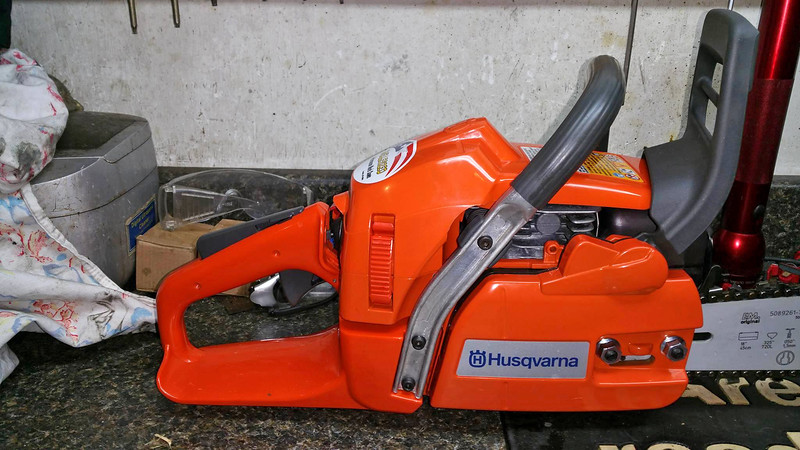
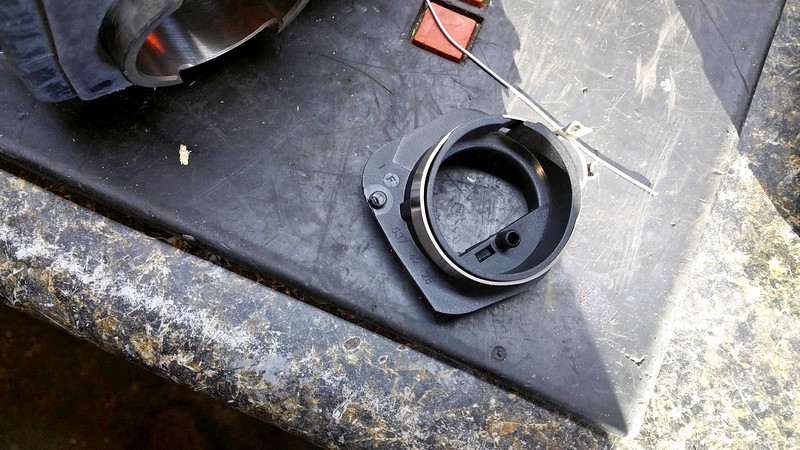
This oldie had the problematic plastic intake boot clamp.
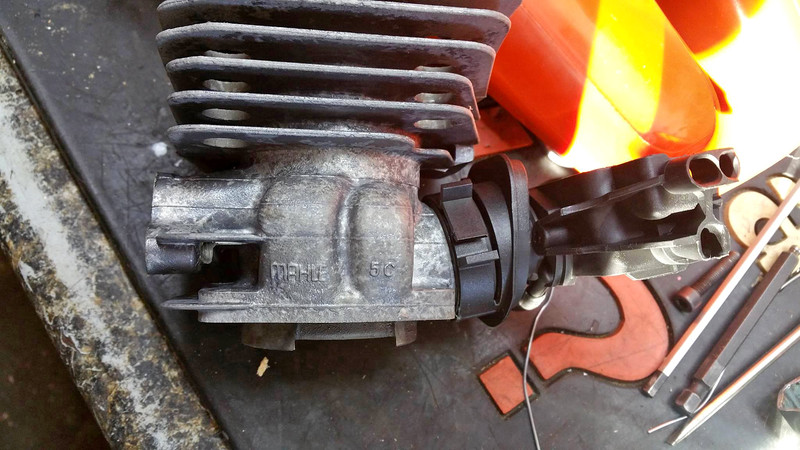
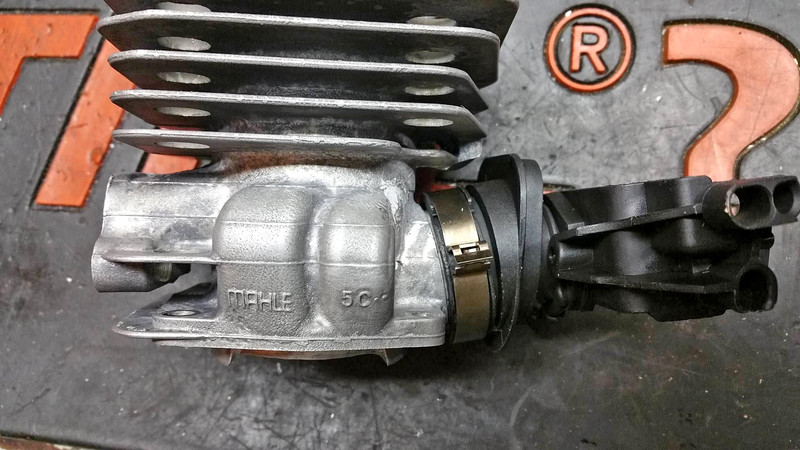
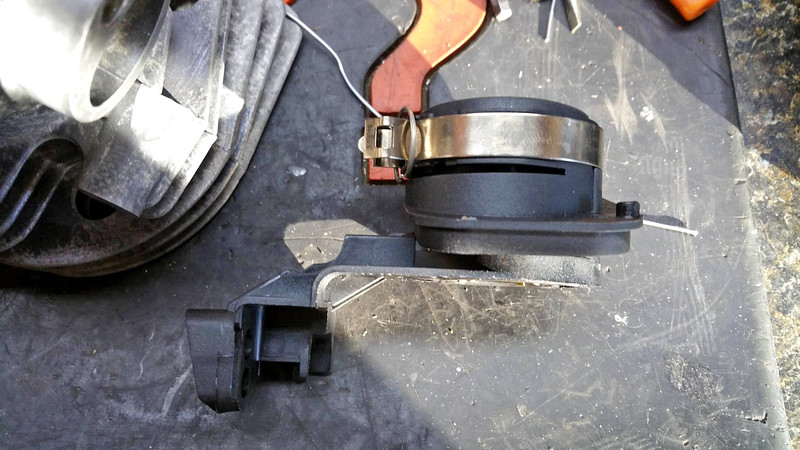
Another thanks goes out to @Onan18 for providing a new intake flange and metal clamp.

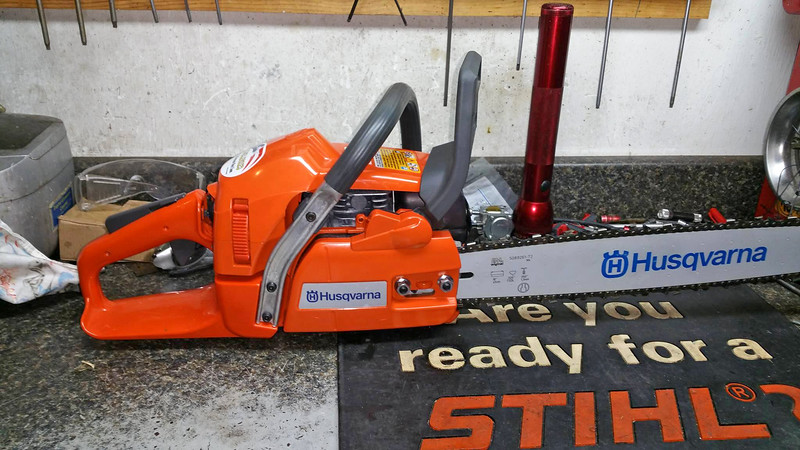
Installed on the original boot.
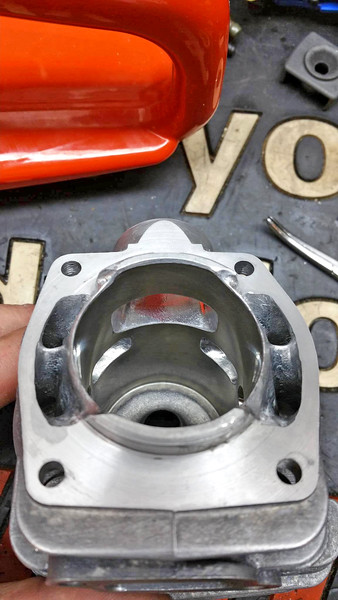
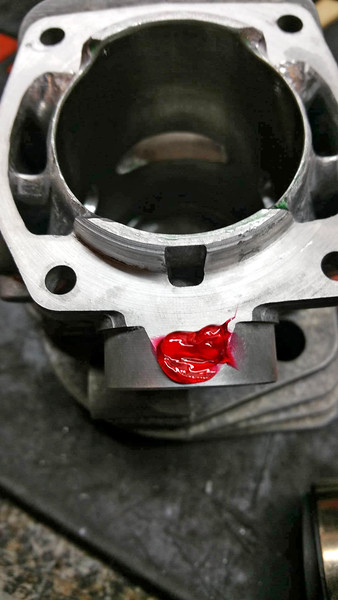
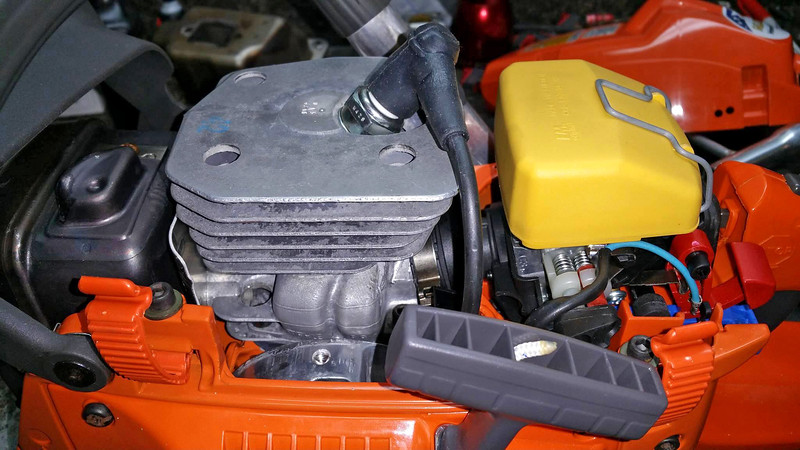
Less than 5 minutes later...
...it looked like this, and...the squish was measured, ready for machining.
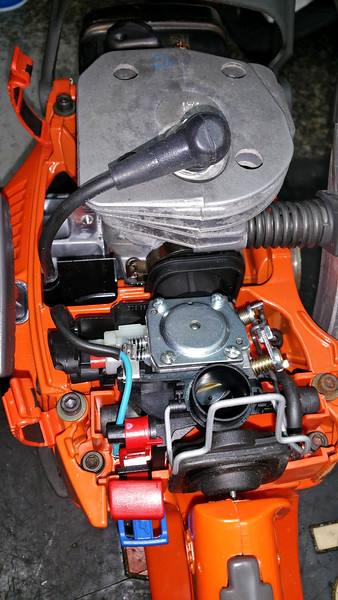
This oldie had the problematic plastic intake boot clamp.
Another thanks goes out to @Onan18 for providing a new intake flange and metal clamp.
Installed on the original boot.