McCulloch Chain Saws

Arborist Forum

Help Support Arborist Forum:

This site may earn a commission from merchant affiliate links, including eBay, Amazon, and others.
Your correct on them being used across the board . The 44a was used on just about everything. The only thing I'm unsure of are the diameters of the transition holes, so just with out modifications it would be safe to use any of the larger sdcs (44a) on an 88cc saw.
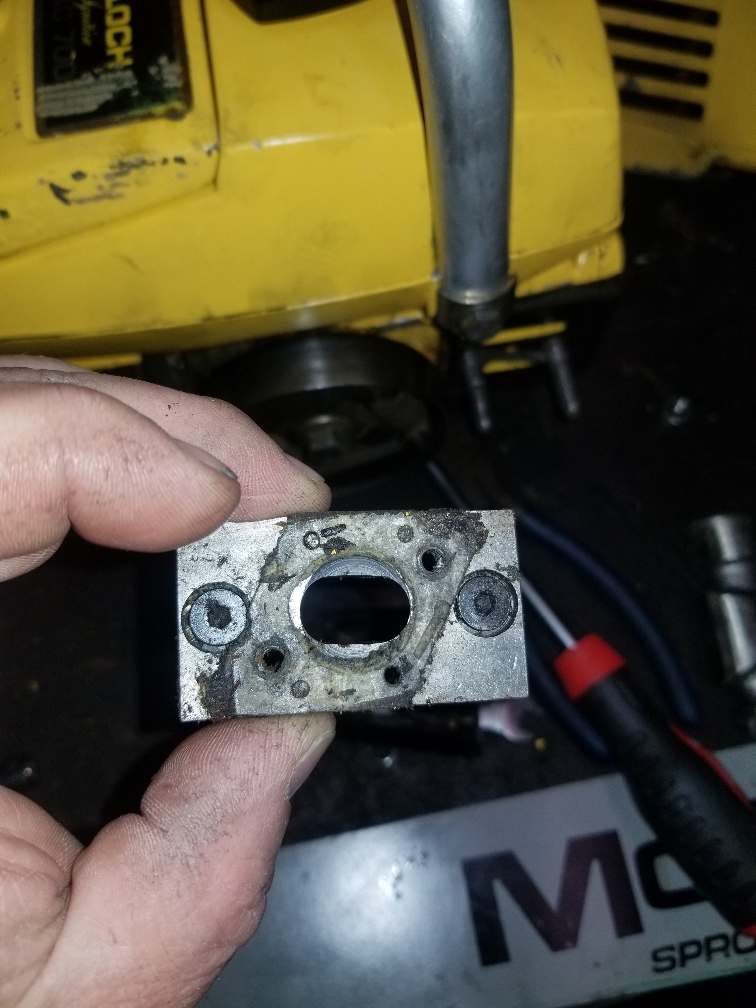
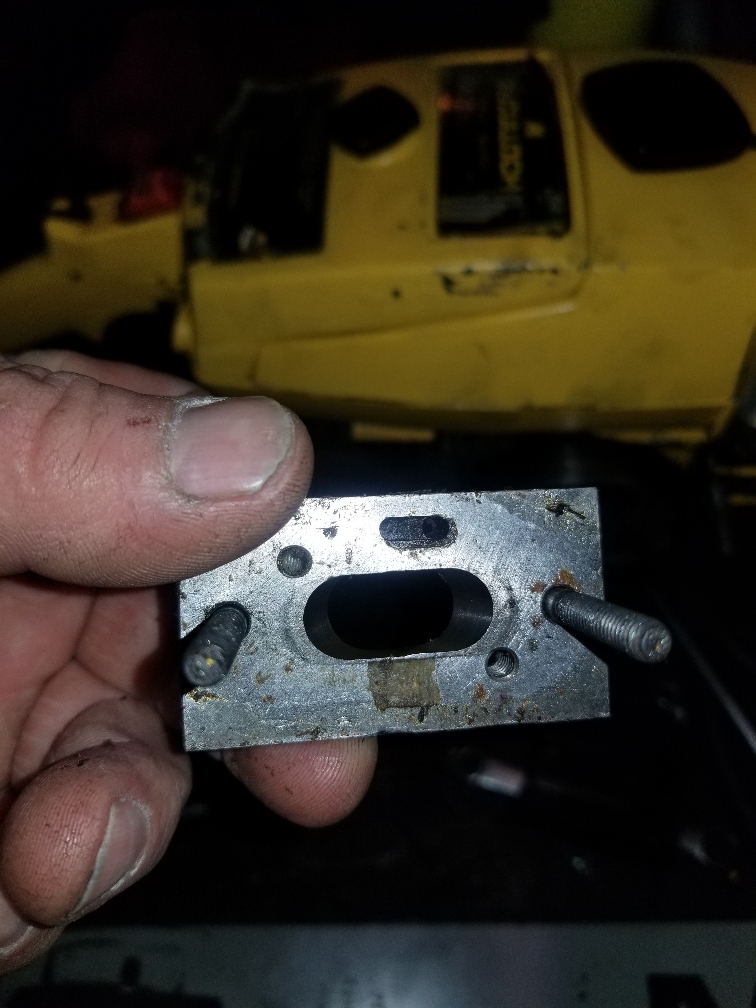
I have a 555 700 850 and they all have the 44a SDC carb. Seems the 125's have a similar cube carb too. Clearly McCulloch's development team found this single carb good across a wide range of displacements. Naturally some sort of thought process has go into the number of step changes needed to "improve" the good work of a highly skilled R&D team which undoubtedly McCulloch had at the height of its empire some 50 years ago now when these saws were leading the field.
However progress marches on, and production techniques available today etc of course mean the new saw you buy today is more powerful, less polluting and use less fuel doing so etc. Its the same for everything.
So as interested enthusiast, I hope some reasonably thought out steps will combine to reach the goal of more high RPM power at the risk of less torque at lower speed. If the 700 responds in similar fashion to my previously altered 555. I will happy.
Of course if this was a more serious effort then at a minimum a dynamometer and a flow bench are the most basic and fundamental tools of a traditional performance shop, but simulation software is now very affordable, and can save a lot of time on a moderately serious performance project, as it all ties in to modern prototyping and even pattern making etc.
I really don't want to step down this rabbit hole for my personal cutting needs and accept the deficiencies of my suck it and see approach.
Roland.
 
View attachment 830245View attachment 830246
Mico chisel, Oregon. 404 pretty good stuff, I like it in skip.
View attachment 830247View attachment 830248
Chipper chain , no flat side plate . Totally round tooth.. Oregon. 404
I don't think you can get it new but there's lots of NOS out there.
Might last a day in your lot, I've used "multi-cut" also and it's pretty tough.

That looks pretty close to the 46RM. I forgot that I also run a few loops of MAC branded chain in a similar pattern.

Ron
 
Here is what MAC did to the 82cc 800 that they claim has more hp than the 82cc 850 (most users here say the 850 has more power so maybe some torque was sacrificed). 850 on left. 800 on right. Just a silver half the length of the intake taken off the top. Oddly, they use the same intake insulator which would seem to block off the modification.

IMG_2094.JPG

Ron
 
I have been having issues with the home computer, keeps telling me "access denied", no problems with e-Bay or the Other Power Enthusiasts site...the computer in the museum office did the same thing once or twice but it's working right now.

I will try to catch up on some comments when I can find time, Mrs. Heimann is celebrating a birthday today.

Many of the earlier 10 Series did not have locating pins for the piston rings, but from the 7-10 and on they seemed to all have them. Without the pins the rings may rotate on their own even though you locate the end gaps correctly when you put the saw together. I usually try to put the gaps around 120 degrees apart in the area on either side of the intake port but I'm not sure if that really helps or not.

There were some saw including the CP125 that used Tillotson HS 43, 70, and 71A carburetors that have the same throttle and venturi size as the smaller SDC's.

Some of the SP125's also had the smaller SDC on them and when I switched one over to the larger carburetor you could easily tell the difference.

More later as time & computers allow...

Mark
 

Attachments

  • McCulloch SDC Carburetor Usage.pdf
    171.6 KB · Views: 12
Ed - on the 3216, the long nipple on the primer/purge bulb goes back to the fuel tank, the shorter nipple goes to the carburetor. There are two notches in the housing for the fuel lines from the air box to the tank; one from the tank to the carburetor (should have a fuel filter on this one in the tank) and the other from the primer/purge bulb back to the tank. The primer/purge bulb simply pumps fuel through the carburetor so it is full of fuel when to go to start the saw.

Mark
 
I usually try to put the gaps around 120 degrees apart in the area on either side of the intake port but I'm not sure if that really helps or not.
Mark

Thanks Mark, would you do the same thing for a smaller Mac like my SP40? The service manual is vague, just says to orient the gaps on opposite sides of the piston.

Thanks!

AJ
 
Is there anyway to do a lookup on a McCulloch model and serial number? I am trying to verify the gas tank on a 8200 is actually original. I had to split it due to a leak and reseal and it and noticed has been repainted. I am just curious if its the original tank. Model on tank base in carb cab reads 6004390 (first zero may be an 8, and the last may be a D). Serial is 14-16765. Thanks guys

Max
 
Ed - on the 3216, the long nipple on the primer/purge bulb goes back to the fuel tank, the shorter nipple goes to the carburetor. There are two notches in the housing for the fuel lines from the air box to the tank; one from the tank to the carburetor (should have a fuel filter on this one in the tank) and the other from the primer/purge bulb back to the tank. The primer/purge bulb simply pumps fuel through the carburetor so it is full of fuel when to go to start the saw.

Mark
Thanks Mark! I found the 2 holes in the plastic body for the lines.One going to the carb was intact till I pulled the carb.The other line was missing entirely.Now I need to locate some fuel line that's the correct size.
 
Is there anyway to do a lookup on a McCulloch model and serial number? I am trying to verify the gas tank on a 8200 is actually original. I had to split to due to a leak and reseal. and it been painted. I am just curious if its the original tank. Model on tank base in carb cab reads 6004390 (first zero may be an 8) serial is 14-16765. thanks guys

Max

600439 is PM850 Your label very likely reads 600439D

600072 is a PM800
 
I'm gonna try some header heat sheild for a starter on the 20 over 10-10 that got smashed.
The area I covered literally touches the fins of the motor, which cant help with long cuts and heat sinking.
If I don't notice any appreciative differences in heat sink I'll have to try shielding the bottom of the air/carb box next.20200524_091024.jpg
 
Well gentlemen,I've been working on a couple of the smaller Macs trying to catch up on things.I got a E.B.2.0 back in Feb.in the truckload of saws.This little E.B.2.0 I thought was going to be a real headache.It had a tag on it from the shop that originally took it in that reads DOA.The saw was in too nice of shape for the coil to be bad,so I thought.I pulled the rear portion of the top handl;e off so I could get the plug out & check for spark.The saw did have spark,so I dumped out the old fuel & gave it a prime in the plug hole & got nothing.I figured I'd try another plug & sure enough the saw fired.It took a little bit & a few primes to get it running on it's own & the saw runs like a top & oils well too on both oilers.The only thing missing was the choke knob which I stole off a Mini Mac.The saw starts up every time like it's looking for new work.Lol I got another saw just like this one that runs good too,but the chain brake handle is broke & it's missing the carb cover & filter,plus it only has a manual oiler,but it doesn't work.I've tried everything to get it to work,but still nada.thumbnail.jpg

thumbnail.jpg
 
I have been having issues with the home computer, keeps telling me "access denied", no problems with e-Bay or the Other Power Enthusiasts site...the computer in the museum office did the same thing once or twice but it's working right now.

I will try to catch up on some comments when I can find time, Mrs. Heimann is celebrating a birthday today.

Many of the earlier 10 Series did not have locating pins for the piston rings, but from the 7-10 and on they seemed to all have them. Without the pins the rings may rotate on their own even though you locate the end gaps correctly when you put the saw together. I usually try to put the gaps around 120 degrees apart in the area on either side of the intake port but I'm not sure if that really helps or not.

There were some saw including the CP125 that used Tillotson HS 43, 70, and 71A carburetors that have the same throttle and venturi size as the smaller SDC's.

Some of the SP125's also had the smaller SDC on them and when I switched one over to the larger carburetor you could easily tell the difference.

More later as time & computers allow...

Mark
Happy Birthday Mrs. Heimann . Hope your day was filled with happiness and joy.

Brian
 
Does anyone know the size of the fuel line I need for the 3216?I thought I had some here,but I was mistaken.I think I have one 8 in.piece & I can't find the size printed on it anywhere.
 
Absolutely understand. Was also asking about transfers as they will be the hardest thing to grind without proper tools. People may poke fun at porting with a dremel but that's all most of us have.


The 1 or 2-10 will be very light the thing that will make it a pain in the bum is the carb/airbox setup. SDC Still can be done just some pissing about. The choke and bracket to hold the air lid. I haven't tried the non spit back type mount yet but it seemed to high. The Choke really needs to be built as a slider and remove the butterfly. Also will need to drill and tap new holes for the carb.

It seems as though any pre 77ish Macs are light so you could just piece together a saw from spare bits of all sorts. I think the flat top 10-10 tank is a touch smaller than the round top easy filter so could be some weight there too but then the domed air filter becomes the splinter in ya toe lol


Hey yota cool stuff man hope ya keep us updated with that saw. The no pins for the rings and exhaust bridge combo is a concern the bigger 70ccs with no bridge have pins so the ring end never winds up in that big hole. When I pulled down a 54cc it had a ring end sitting right in the exhaust port now had there been no bridge I'm sure it would catch the ring.

Wait to see what the other chaps say first but yeah just a thought. That's also a tricky cylinder to find.

The gaskets and bits n pieces sort of fit into two families. AV and rigid Pretty sure the 82cc boot will fit but could be wrong. Poge probably could help with his pile of IPLs
I have a 2-10 and a 5-10 that both have SDCs under the hood. The 5-10 sits on an aluminum adapter that adapts it to the bullfrog pattern. The 2-10 originally had a bullfrog and I swapped an SDC. The tank was already drilled, just needed the plastic spacer, air filter bracket, and proper linkages. All fit under the stock cover and work fine. I think the only ones that would not fit an SDC are the 1-10. They had an extra low profile cover.
This is what the adapter looks like that is in the 5-10.
0703bc1b4da34e0398ff5195184365cb.jpg
066d442216e1aa1c355bc2989d2d9ab0.jpg


Sent from my SM-G950U using Tapatalk

Yeah they got a different top at some point I assume mine to be like the 2-10 just different colour. The sdc sitting on its plastic spacer with the choke closed fits underneath but choke open its sitting right on it. It will be made to work when I get to it. Ran great on the bullfrog for 2 days :(
 
The problem I'm having is with the primer bulb & the line(s) that go to it.The IPL which covers about 20 or more different models,only shows one fuel line coming from the carb to the primer bulb.On the 3816 there were 2 lines coming from the primer bulb,one went to the carb to supply the pumped fuel,the other line went back to the tank to deliver the excess fuel.
The primer bulb on the 3216 has 2 barbs on it for fuel lines,but there's no hole going into the tank to deliver the excess fuel.The saw runs like a champ as long as I pinched off the line that was not hooked onto the primer bulb.If I let the line go it'd start the engine racing at hi revs because it was sucking air,not good.The saw won't start when it's cold with just the choke,it needs to have fuel pumped into the carb via the primer bulb.
I have a 38cc Mac Cat (not sure what the exact model name is) that I think is similar. I had trouble figuring out which way the fuel lines go when reassembling it and found a really good video by Steve's Small Engine Saloon that explains how the purge bulb works and which line goes to where. Here's a still from it showing a mock-up he did to explain the process:
IMG_20200228_144535.jpg
They key thing is that the bulb doesn't prime the carb with fuel; it purges air (and inevitably some fuel) from the carb. Learning this helped me understand the direction of flow.

Here's a still from someone else's video (for a plastic Mac IIRC) showing the fuel lines and where they go:
IMG_20200228_145417.jpg
#1 sucks the air and fuel from the carb, #2 drops the fuel back into the fuel tank and #3 draws fuel from the tank into the carb.

Finally here is a photo of my Mac Cat (up the other way to the above photo) showing the (broken) fuel pick-up line on the left, the line from the carb to the purge bulb (partially hidden and in a backward "S" shape) and the one on the right goes from the purge bulb back to the tank:
IMG_20200104_201420.jpg

My apologies if this is stuff you already know.
 

Latest posts

Back
Top