


ArcticOverland
It's getting cold out there....
Thought you guys might like to see some pictures of a 242XPG I've been rebuilding on and off over the last while. I picked up a donor saw locally last winter which had been straight gassed, originally bought as a parts saw for the other two 242's I have here. Well, I happened on a NOS crankcase on ebay a few months back, so I stripped the donor and ordered some parts. I had a couple of Mahle cylinders spare, this one is from a 1995 model and it's like new, so I bit the bullet and ordered a genuine Husqvarna piston kit, gasket kit, A/V mounts, choke/throttle linkages, triggers, chain catcher, oil pump parts, bar backplate, lots of bolts, cylinder cover (not pictured), switches, carb kit etc. The crankcase was also fitted with new genuine bearing and seals. I have a new complete chainbrake/clutch cover and new starter/flywheel cover also. The donor crank is perfect, inspected as per the workshop manual and compared with another 242XP that I have partially torn down at the moment.
I've been preoccupied with other things in life for the last few months but I've had the house to myself this last week so I've been working on putting it together during the evenings. The handle/tank was rough as a bears ass so I sanded it, progressing from something like 320 through to a 1600 grit local version of a scotchbrite pad before using a buffing compound and cotton mop on the drill. It looks good I believe and matches pretty well with the new plastics and paint, considering it was a 1989 model and very well used. The pictures you see show the plastic as it is, dry and not clearcoated or 'oiled'. Elbow grease and the right stuff can give great results.
It's far from finished and I still have a few parts to track down for it but I'm pleased with progress and, well, everyone likes saw pictures!
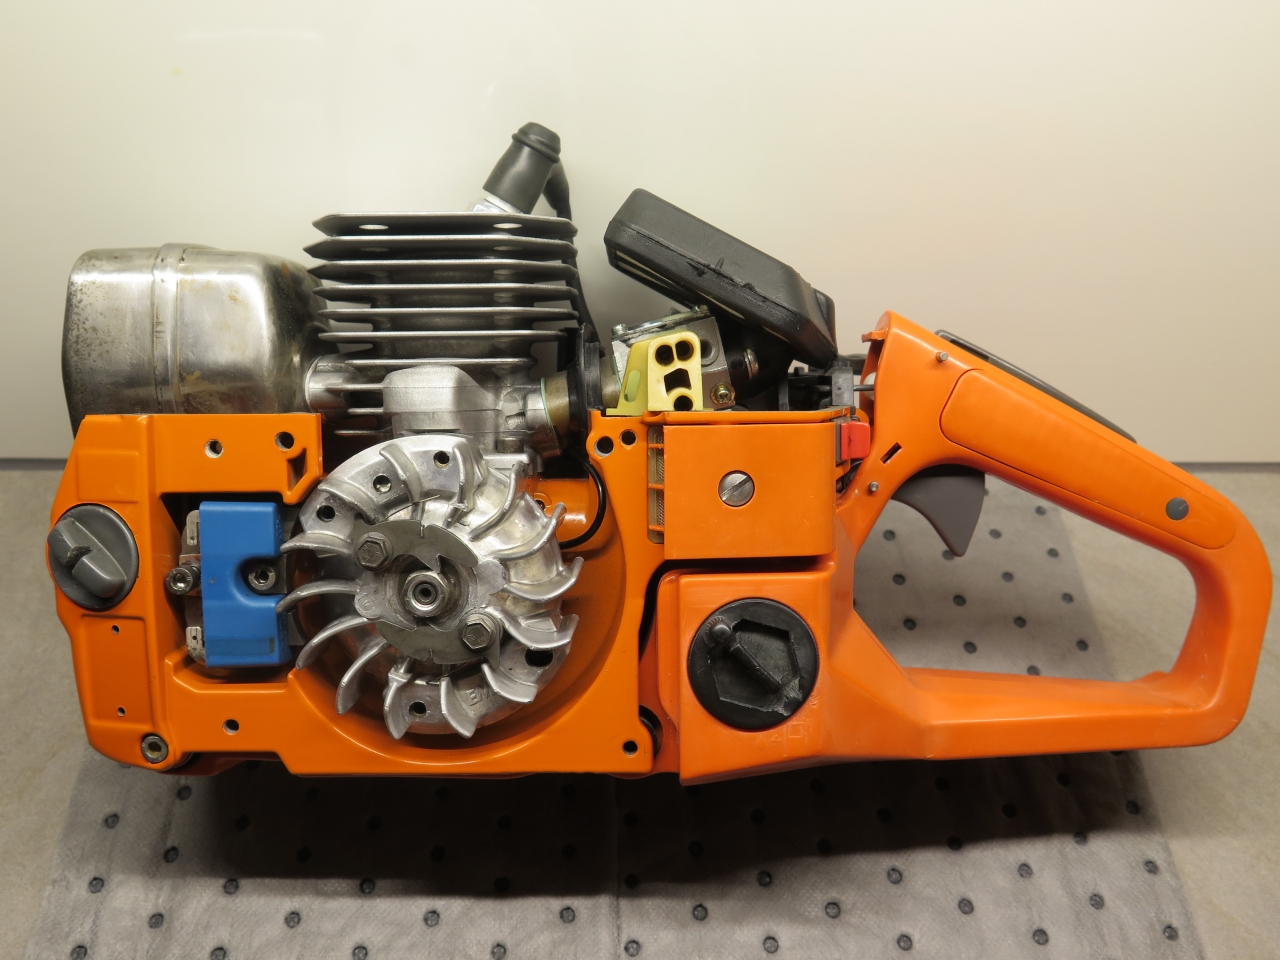
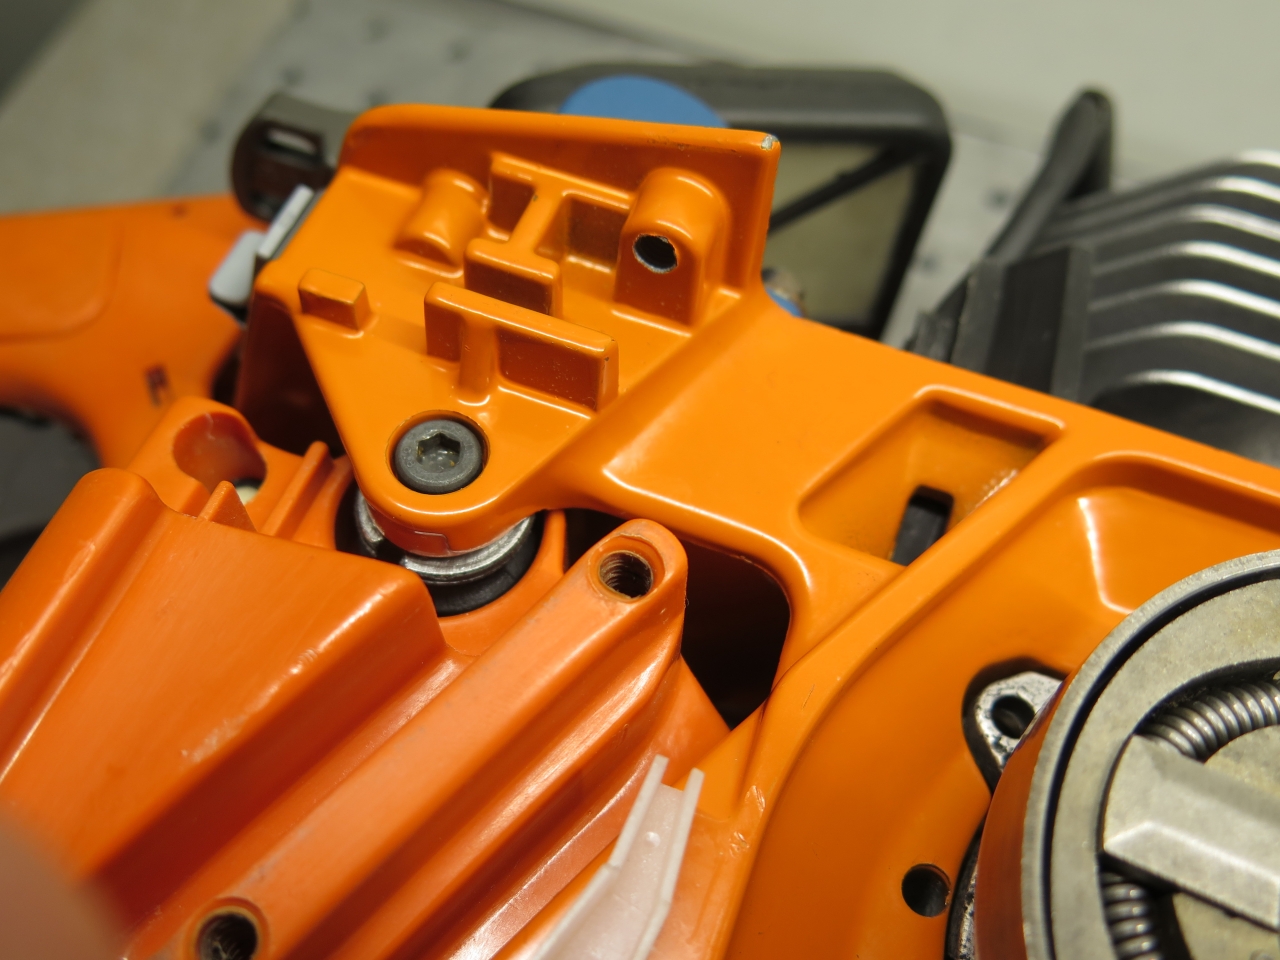