I got the back grate out it was a lot harder than I thought it would be! Here Some Pictures. Sorry for the quality, it was dark and I took them with my cellphone. I may replace them with better one later.
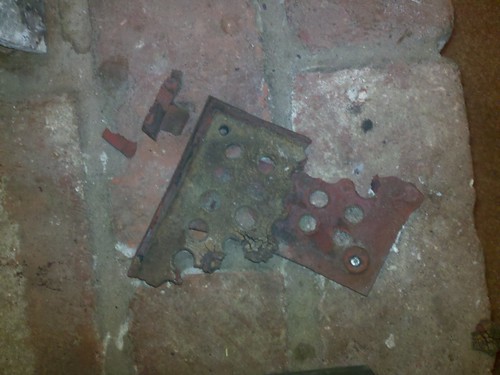
 FA264CCL Back Grate
 by
Glamisduner, on Flickr
There were squatters living int he house before we bought it, perhaps this is a result from one of their fires? I dunno but this looks even worse now that I pulled it out!
 2010-11-30_22-33-20_49
 by
Glamisduner, on Flickr
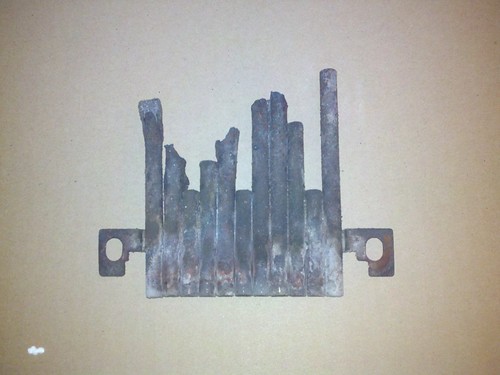
 FA264CCL Baffle
 by
Glamisduner, on Flickr
Baffle is destroyed and needs to be replaced.
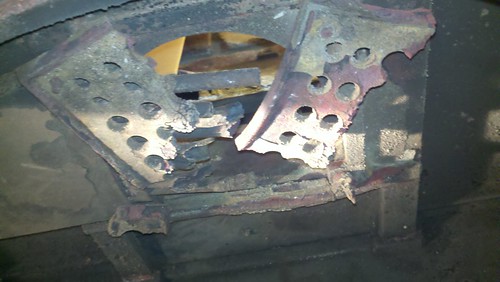
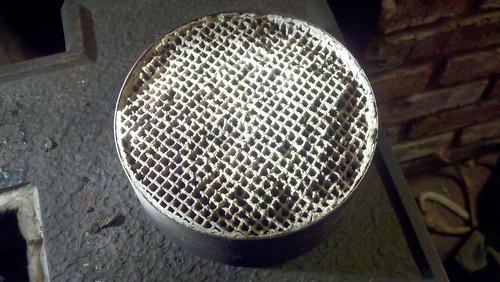 FA264CCL Combustor
 by
Glamisduner, on Flickr
Looks Pretty bad but is it? I don't have any experience with these stoves.
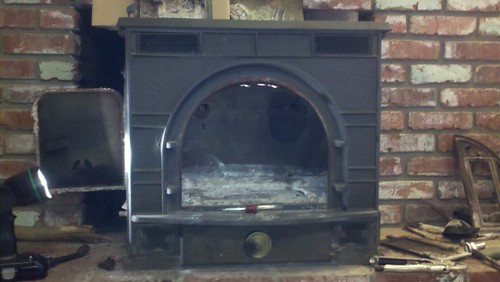
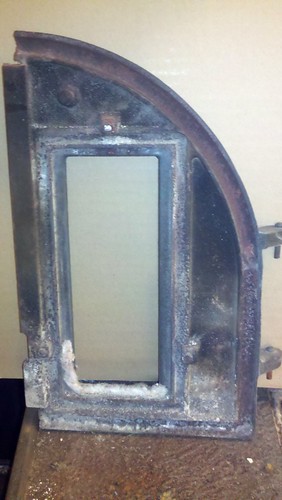 FA264CCL Left Door
 by
Glamisduner, on Flickr
2 of the bolt heads had snapped off already, I removed the third bolt (which also snapped off) because the window/metal piece needed a new gasket. The metal window piece is broken itself where one of the bolts hold it to the door. I'm guessing a washer might be able to fix this though.
 2010-11-30_22-29-08_848
 by
Glamisduner, on Flickr
Right Side Door where handle attachment was busted off. It was permanently stuck closed. I tried to grab the latch mechanism from the inside, and it busted off on that side as well. So the threaded part is stuck in the door.

The other side of it looks similar to the left door, but I didn't bother to remove the bolts because I know they will just snap off. Not sure how I could re-gasket this without removing the metal window piece.
---------------------------------------------------------------------------------------------
So is my project doomed? I feel terrible for taking this apart because now that the latch is actually busted off the end of the door. There is no way to use this stove. At least it worked before I took it apart...
Give up now? Get a new Stove (I won't have any funds in the foreseeable future though). Luckily I still have the furnace, although its quite expensive to heat the whole house with it. At least it's not snowing here I guess.