I finally got some time to work on my first project, and I took pics from the first step till the last. Only problem, on my last pic I ran out of memory, so I started deleting old pics, and I erased half of my new ones by mistake. Anyway here are the ones that survived. It's just a bench for the patio. It was a Poplar that fell across my inlaws back yard. Pop asked me to cut the log up and throw it back in the woods. As I started cutting I kept seeing red and blue saw dust coming out, plus the normal yellow of Poplar. I free handed a slab out of one of the blocks and the wood was spalted really nice, so I saved the rest of the log. On Christmas day I took my mill with the old Homelite 1050 on it out to the log. The only thing I could find for a guide board was a piece of 1/4 inch plywood Pop had in the basement. It was about 9" by 8'
Here's the old work horse that milled the log.
You can see the piece of plywood that I used for a guideboard under the slab. Did I forget to mention that I did this after dark. I timed the second cut, it was the widest, and it took 1 minute and 3 seconds.

I deleted three pics as I got started, this is when I started to mock up the bench, so I could see where I wanted the mortice and tennons. I didn't want to take a chance on ruining any nice grain by pre cutting holes.
In this pic the whole thing is being held together with a ratchet strap. With every thing where I wanted it I marked all of the planks for the cuts.
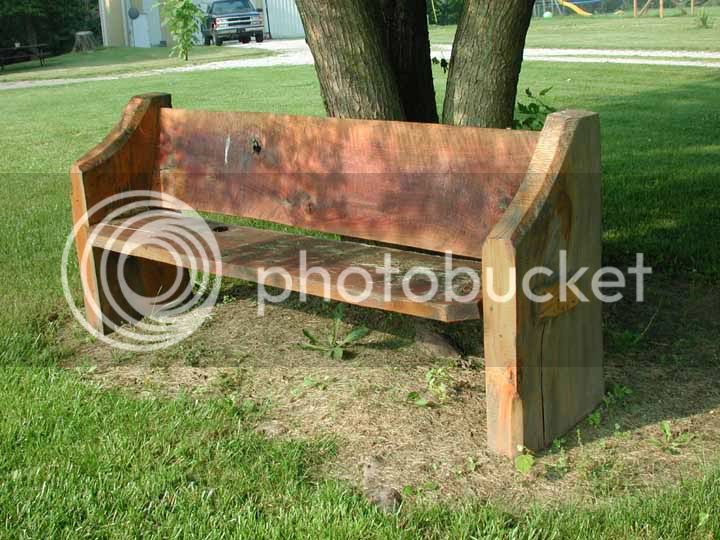
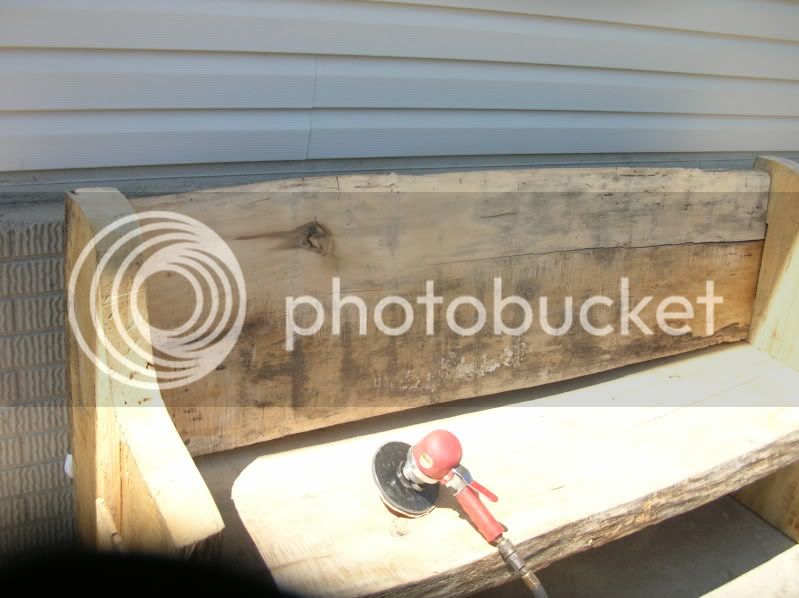
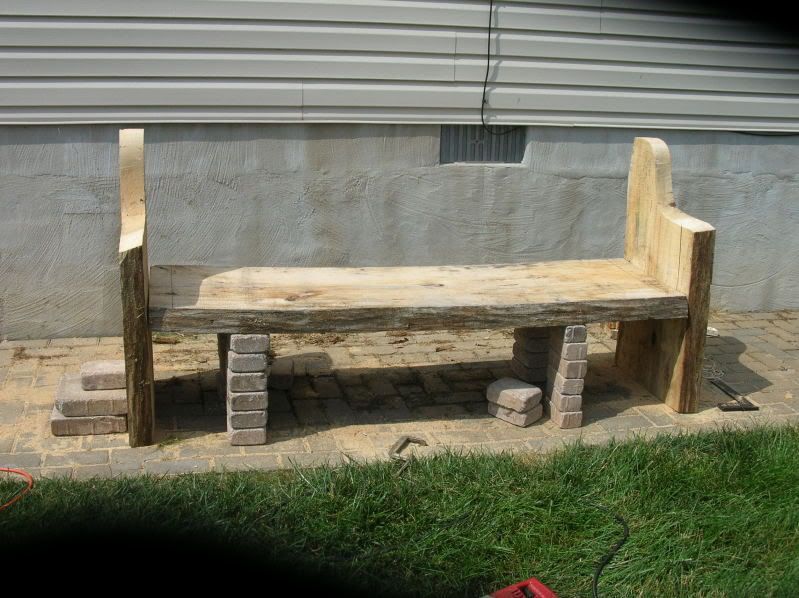
I guess I deleted the pics of cutting and fitting the pieces too. I used a skill saw to plunge cut the mortices. It didn't quite go through so I used a sawzall to finish. I also used the sawzall to cut the scallops on the upright pieces. I clamped them together and then free hand cut them. As I started going through the curves I couldn't hold the saw dead upright and the bottom piece came out a little shorter. I still have to try and even them up a little. This is where I stopped today. I'm going to power wash the boards one day next week to get the dirt off and see if any color comes back.
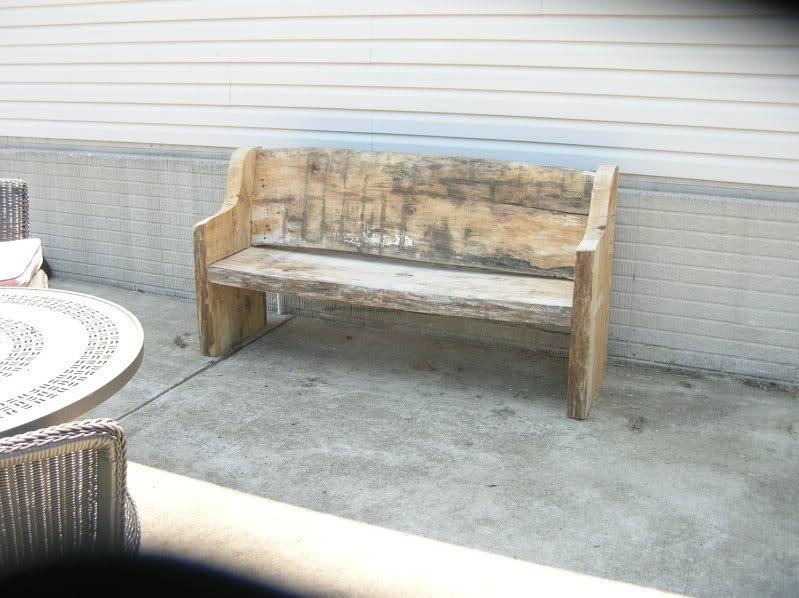
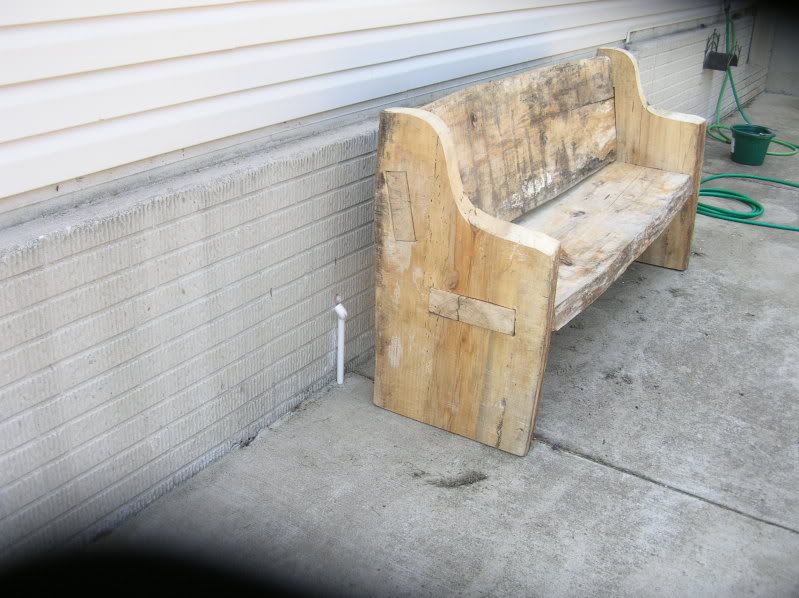
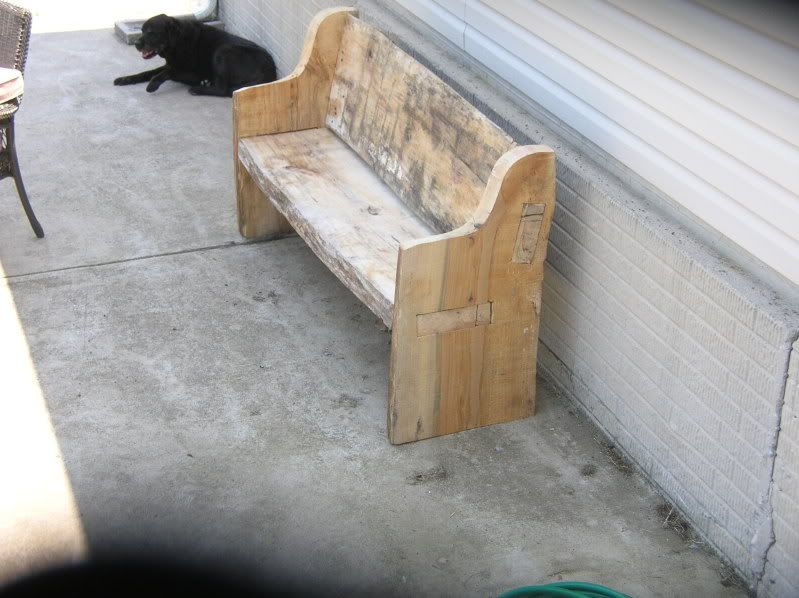
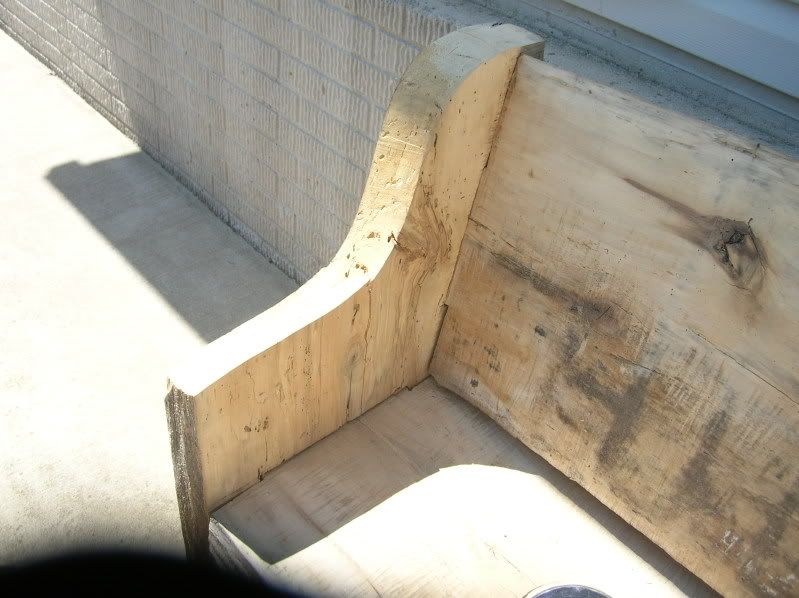
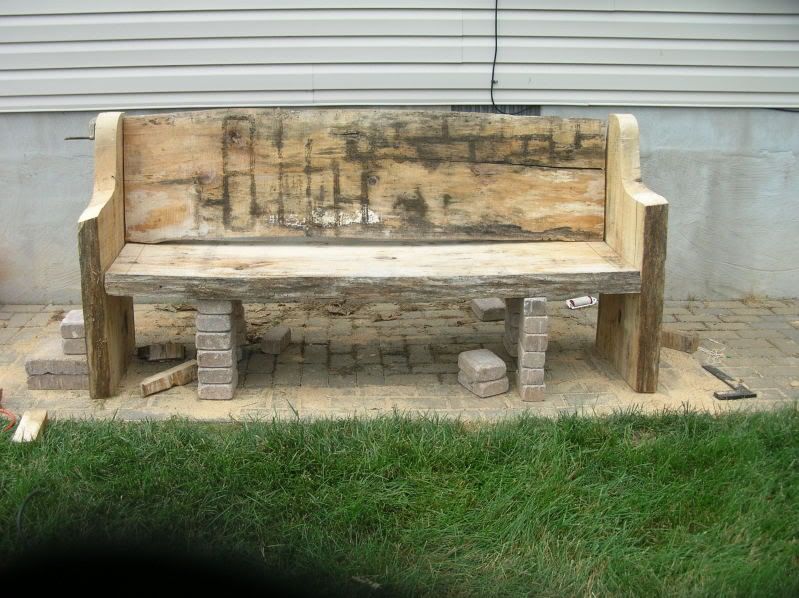
These are the planks I posted the question about using a butterfly to keep the checking from spreading. I think you can see the check on the back board. I made the tennons so that the checks were kinda centered. When I forced them into the mortices the tension helps close the checks and hold them tight. I need some kind of finish for them. I think I'd like some kind of epoxy that can fill all of the cracks and worm holes then get hard. When I said it was nicely spalted, it is actually getting kind of soft and punky. Anyhow, that's it, Joe.
Here's the old work horse that milled the log.
You can see the piece of plywood that I used for a guideboard under the slab. Did I forget to mention that I did this after dark. I timed the second cut, it was the widest, and it took 1 minute and 3 seconds.
I deleted three pics as I got started, this is when I started to mock up the bench, so I could see where I wanted the mortice and tennons. I didn't want to take a chance on ruining any nice grain by pre cutting holes.
In this pic the whole thing is being held together with a ratchet strap. With every thing where I wanted it I marked all of the planks for the cuts.
I guess I deleted the pics of cutting and fitting the pieces too. I used a skill saw to plunge cut the mortices. It didn't quite go through so I used a sawzall to finish. I also used the sawzall to cut the scallops on the upright pieces. I clamped them together and then free hand cut them. As I started going through the curves I couldn't hold the saw dead upright and the bottom piece came out a little shorter. I still have to try and even them up a little. This is where I stopped today. I'm going to power wash the boards one day next week to get the dirt off and see if any color comes back.
These are the planks I posted the question about using a butterfly to keep the checking from spreading. I think you can see the check on the back board. I made the tennons so that the checks were kinda centered. When I forced them into the mortices the tension helps close the checks and hold them tight. I need some kind of finish for them. I think I'd like some kind of epoxy that can fill all of the cracks and worm holes then get hard. When I said it was nicely spalted, it is actually getting kind of soft and punky. Anyhow, that's it, Joe.


") )
)