Joining the world of csm

Arborist Forum

Help Support Arborist Forum:

This site may earn a commission from merchant affiliate links, including eBay, Amazon, and others.
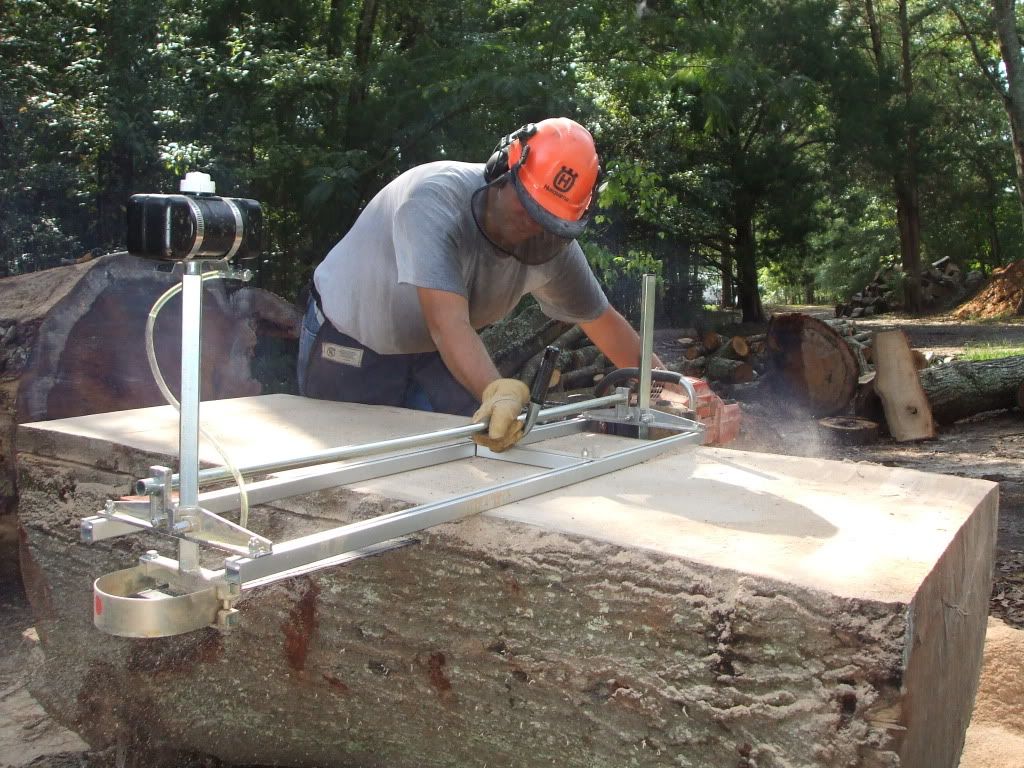
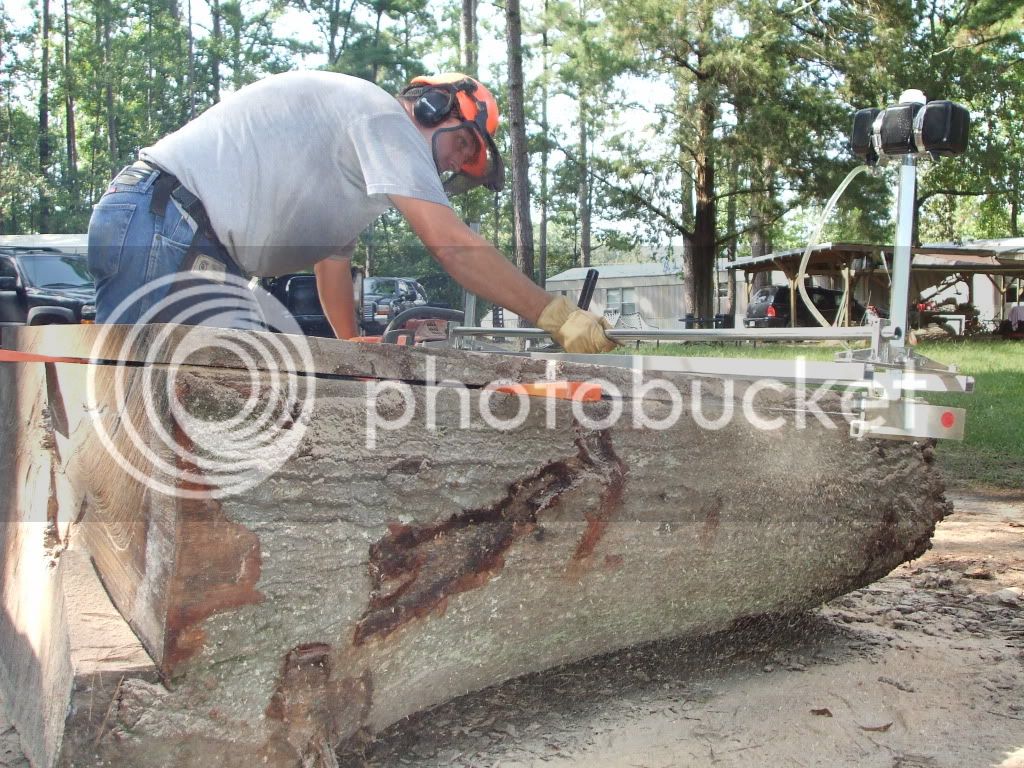
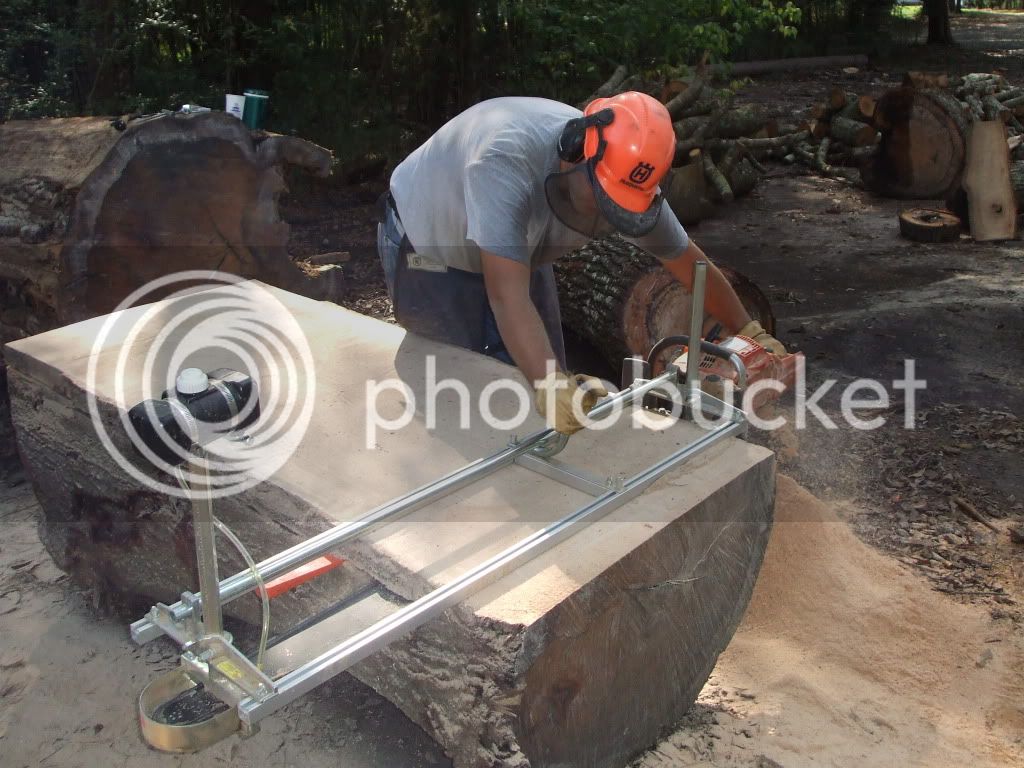
I got my long mill rails in yesterday. I was milling a small piece so I finished that log then I started putting the 60" bar on the CS and the long rails on the mill. Got it all together and wouldn't you know, it started raining. Guess I'll start on these big logs in the morning.

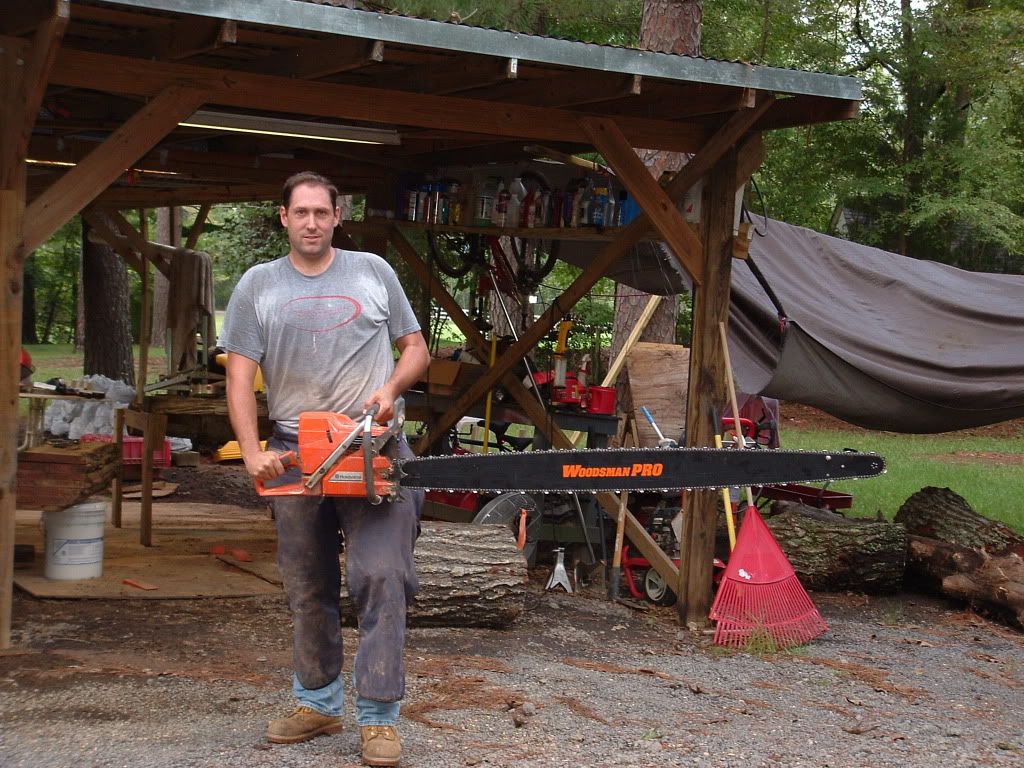
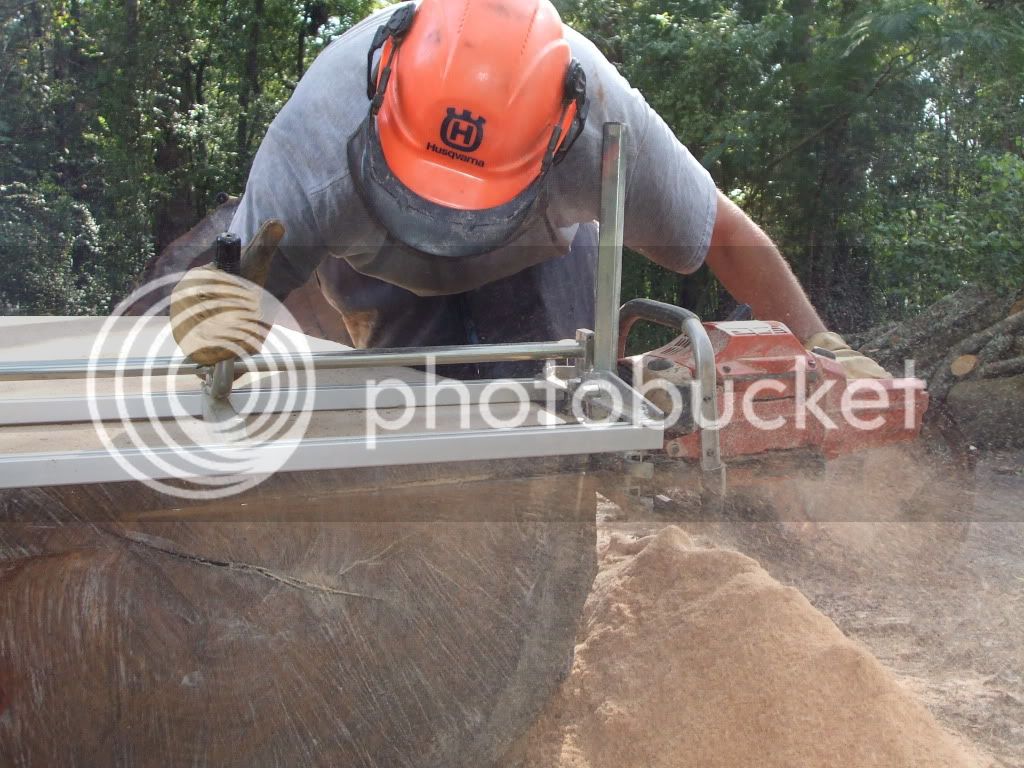
Here's the 60" bar. You can see the extra oiler and additional hole in the end of the bar if you look close.

2009-09-24021.jpg


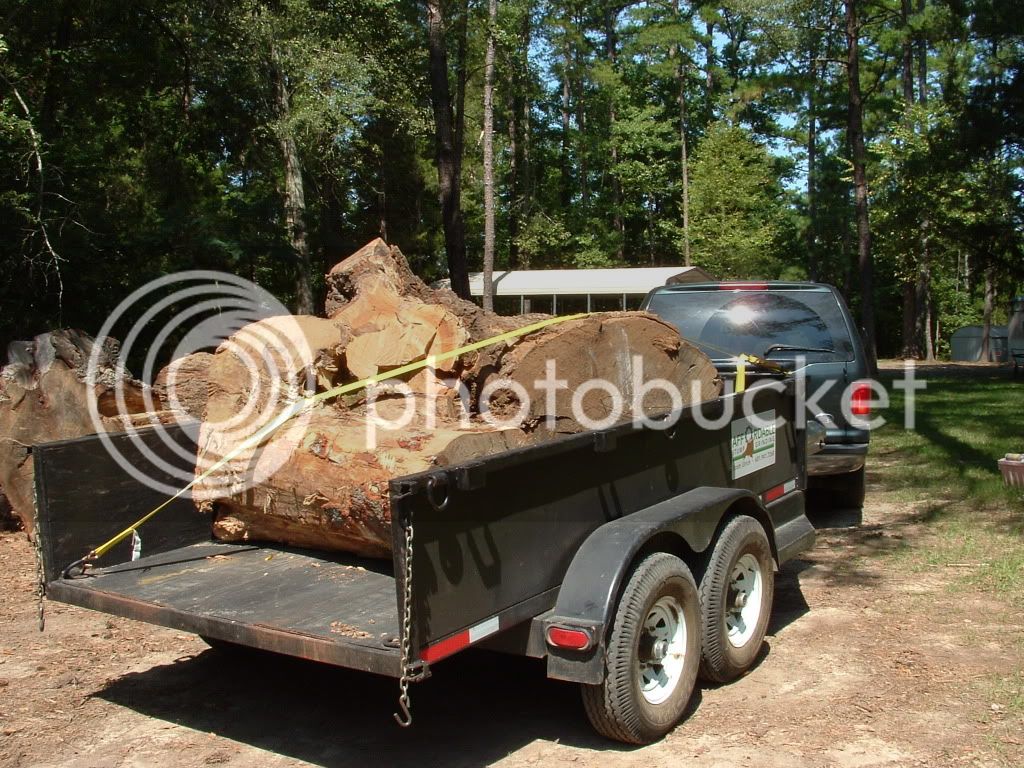
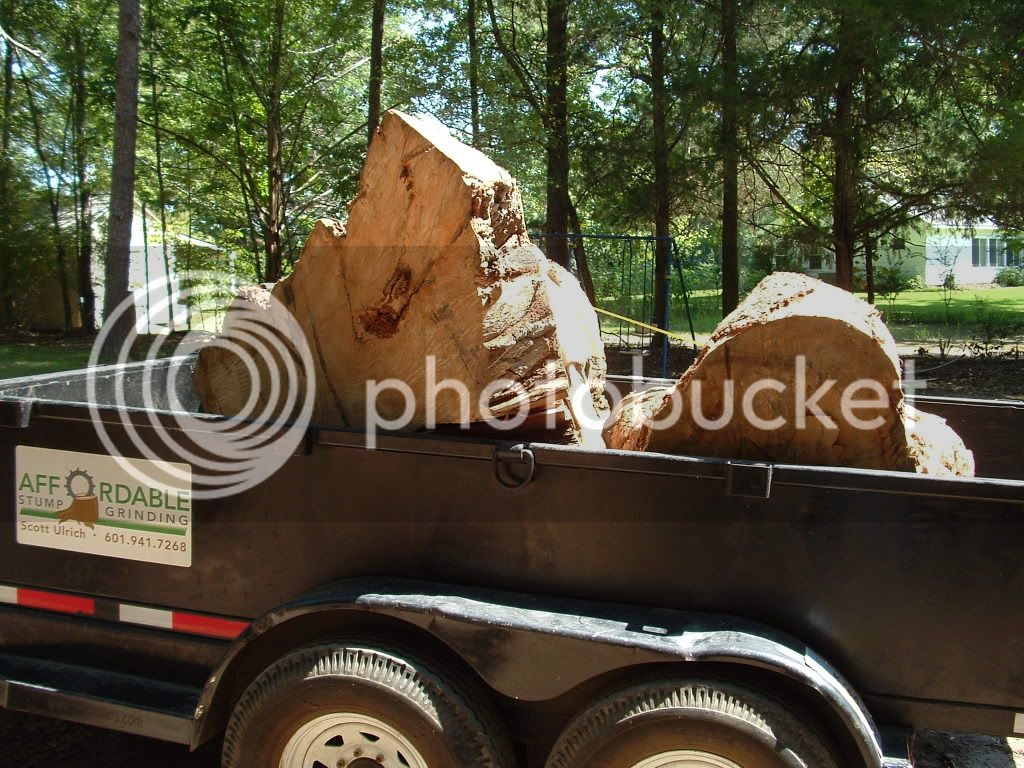
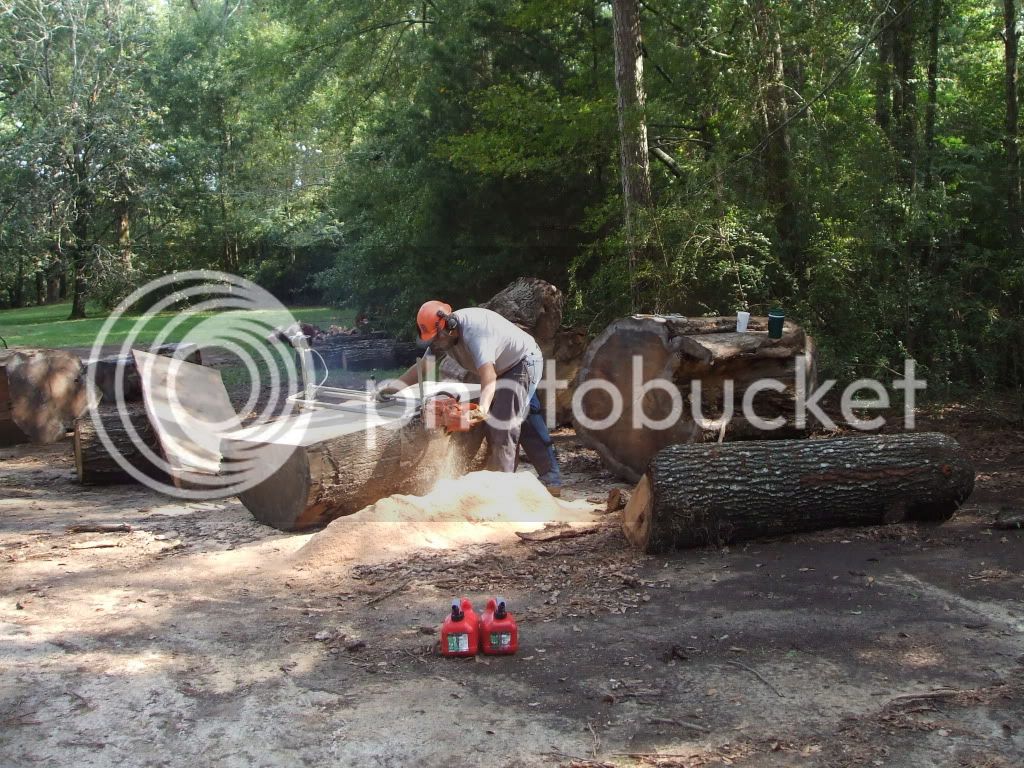
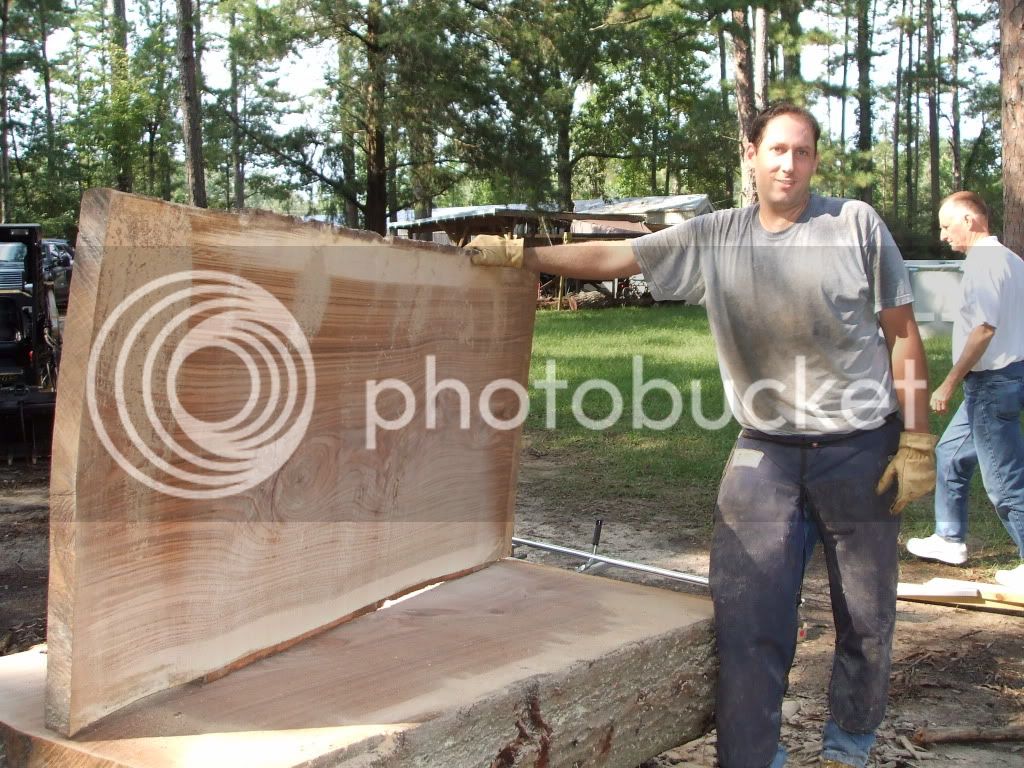
These were the other two logs that I got that day with the dump trailer.

2009-09-24002.jpg


2009-09-24003.jpg
 
I assume A is the oil hole and C is their preferred bar end holder. This is a real pity because it means losing 6" or 10% of your cutting bar length compared with other possibilities. Even just moving the oil behind the bar end holder bolt hole would be better.

attachment.php


If you look in the milling sticky you can see ways of rejigging the outboard clamp to gain most of that lost bar length back. Also the oil does not need to come out through an oil hole on the bar, it can just drop onto the chain bar interface and it lubricates just as well.
 
Last edited:
Bob, I think "C" is just the rivet to hold the sprocket tip on.

Nice bar! What type of chain are you planning on using for those stumps? Any plans for cleaning out the grit before cutting them?
 
Bob, I think "C" is just the rivet to hold the sprocket tip on.

Nice bar! What type of chain are you planning on using for those stumps? Any plans for cleaning out the grit before cutting them?

You are correct. C is the rivit to hold the end on.

The wood is actually very clean. I'm using the ripping chain from Bailey's.
 
Also the oil does not need to come out through an oil hole on the bar, it can just drop onto the chain bar interface and it lubricates just as well.

Scott, it is spilt milk now, since you have already drilled the bar, but in the future, I'd do as BobL suggested and dribble auxilary oil onto the bar nose, rather than using the oil fitting supplied by Granberg.

The Granberg fitting is prone to plug up with saw dust during all-day milling sessions, plus it has to be moved whenever you flip the bar. Mine would plug up all the time so I got tired of it and switched to a dribble oiler.

The dribble oiler does not need to be precisely placed, because gravity and vibration will distribute the oil to the chain. As long as oil dribbles anywhere on the nose, it'll get the job done.

Impressive saw, by the way.:chainsaw:

Well, live and learn.
 
FIrst attemp on a big log. Not as hard as I imagined. The wood is smoother than the picture would indicate. Funny what shows up in a picture.

2009-09-25003.jpg
 
I agree grain looks great! :rock:

Pour some water on the slab and that will highlight the grain even more - BTW you will NEVER see it those colours again ever.

The stripes across slabs like in your photo can be caused by many things, like the mill jamming up against the side of the log, or even just the operator pausing to add wedges, or reposition their feet, or their hands on the mill. Another cause is lumps and bumps on the surface the mill rails are riding on and is why I always use log rails (Another good reason to use rails is described below)

Assuming the log rail surface is clean and smooth, to further help reduce these stripes the operator needs to run the mill as smoothly as possible down the log. Adding wheels to the mill helps reduce the mill bogging down on the side of the log. I try to continually keep a constant pressure on the saw by leaning on the saw/mill with my hip/legs/knee whenever I want to move my arms. If the log is on a slope then better still, lock the throttle and let it keep cutting. I even preposition wedges and a hammer along the top of the log between the log rails and I do not stop to add wedges - I lock the throttle, lean on the saw with my leg and keep mill while I add wedges. However, wide logs are a problem. If you do need to stop resist the urge to slam the saw WOT back into the cut and instead accelerate the saw smoothly back into the cut.


Good post.

I did realize that they were probably caused by not being smooth and I tried (and succeeded) to be smoother on the following cuts.

It is hard with a big bar to ease back into the cut as the saw is either bogging and not turning or spinning full speed.

Got lots more pictures. Coming right up!!
 
Great wood and great pics Scot! :clap:
The sawdust sure seems to be pouring nicely out of the saw!

If your saw is bogging down on the side of the log, wheels on the inboard side of the mill will improve this quite a bit - if you want to know more do a search for my nick and "wheels".
Another quick and dirty improvement for standard Granberg style mill is this simple mod made from a bit of pipe.
attachment.php


I realise this might sound critical but I really do want to help improve your productivity.

I used to use my arms and back (and still sometimes do) but now even just looking at these and similar pics give me a back/shoulder ache :)
2009-09-25065.jpg

2009-09-25061.jpg

I can see straight away your arms are too wide apart and you are bending over too far. You are probably young enough not too notice too much but if you want to feel better at the end of a milling day there are much better stances that you can take.

Whenever I can I take up the stance shown in these pics.
attachment.php

attachment.php

My arms do little or no pushing - they just guide the mill. The saw should self feed but if there is any pushing it's done by my leg/hip/knee in contact with the top of the wrap handle on the saw.
A more upright stance like this is only possible with more upright handles. One can always slip a cable tie over the throttle and move their left arm up to the wrap handle. This closes the operator's arms and gets them more upright.

When the log is too/big high I lock my arms straight and lean my 260 lb onto the saw like this.
attachment.php


Anyway - this is just my observation - I still like seeing any milling pics so please keep posting - they're great pics.

Cheers
 
Last edited:
Scot...looks like you had fun and produced some outstanding results.
BobL, nice review of the ergonomics of milling. Do you use your unistrut on the top of every cut? Is it just to produce a good finish/straight slab.
 
BobL, nice review of the ergonomics of milling. Do you use your unistrut on the top of every cut? Is it just to produce a good finish/straight slab.

Usually I do use the unistrut, for a whole lot of reasons

1) I can start the mill on the rails so I don't have to carry a running mill.
2) It's much easier to start and exit a cut on rails
3) I let the power head cool off while sitting on the rails at the end of the cut
4) My mill rails are HDPE lined so friction between the mill rails and unistrut is less than direct onto the rough sawn surface
5) I can correct any minor twisting (thread)

Using my rails limits me to about a 1.5" cut so if I want to mill thinner boards I do have a 3/4" set of rails but I usually go rail-less!
 
BobL...just when I thought I had a good system in mind...you give me 5 good points and another thread to read. Great Ideas...I too have an angle gauge just like yours...of course..never thought about using it like you did.
I hate to hijack the thread (sorry scot)...but it looks like your unistrut is bolted to the angle plate at the butt of the log...but you use bolts (I assume ground with points on the end) to position the angle plate at the correct height/twist. With both ends of your unistrut held like this..you could jam the bolts into the end of the log and you are good to go. I have been screwing them into the log end..though that requires another tool on site(screw driver..or cordless drill). Does your system work fine for your long/wide cuts and vibration? Have you changed to something else? On some photos I see wing nuts holding your unistrut together.....others nuts. Did you change for vibration issues?
 
Great Ideas...I too have an angle gauge just like yours...of course..never thought about using it like you did.
Cheers Andrew.

I now use the angle finder a little differently than shown in those pics. It is really important to have a side vertical face of the gauge hard up against the side of the unistrut when measuring the horizontal angle or else it will not be accurately measuring the log rail / slab twist. Like this picture below. AS long as your reference is the side of the rail it will be accurate.
attachment.php


...but it looks like your unistrut is bolted to the angle plate at the butt of the log...but you use bolts (I assume ground with points on the end to position the angle plate at the correct height/twist. With both ends of your unistrut held like this you could jam the bolts into the end of the log and you are good to go.
Correct

I have been screwing them into the log end..though that requires another tool on site(screw driver..or cordless drill).
I do use screws but generally only in situations like this to get the first flat surface. After the first full length flat surface in obtained then I lay the log rails onto the cut surface of the log and support the unistrut with wedges if needed.
In this case below I cut about 4 slabs before reverting to just the log rails. The green painted two-stand thingo that is screwed to the end of the log is made from C section and has a height adjustable cross rail that can be bolted level and firmly into place to support the unistrut log rails in awkward situations like these.
attachment.php

and this
attachment.php

Once a flat parallel surface is achieved I only use the pointy 5/16" bolts on the ends to hold the log rails in place.

Does your system work fine for your long/wide cuts and vibration?
The unistrut log rails work best with maximum support underneath them - like the first pic I posted above. If I have to span more than about 3 ft, I either provide added support where I can or wear the fact that slab is going to be non parallel and correct the problem on the next cut.

Have you changed to something else? On some photos I see wing nuts holding your unistrut together.....others nuts. Did you change for vibration issues?
The best example of my current set up is the first pic above. Dome nuts are used to lock the 3/8 all-thread separators to the unistrut on the inboard side of the log rails. Wingnuts are used on the all-thread separators on the outboard side because the unistrut separation depends on the log width. I also use wingnuts to lock the pointed 5/16 bolts onto the angle iron endplates.

There are of course many other ways of doing this - I guess you have to try thing out for your self and see what works for you.
 
Last edited:

Latest posts

Back
Top