Pioneer chainsaws

Arborist Forum

Help Support Arborist Forum:

This site may earn a commission from merchant affiliate links, including eBay, Amazon, and others.
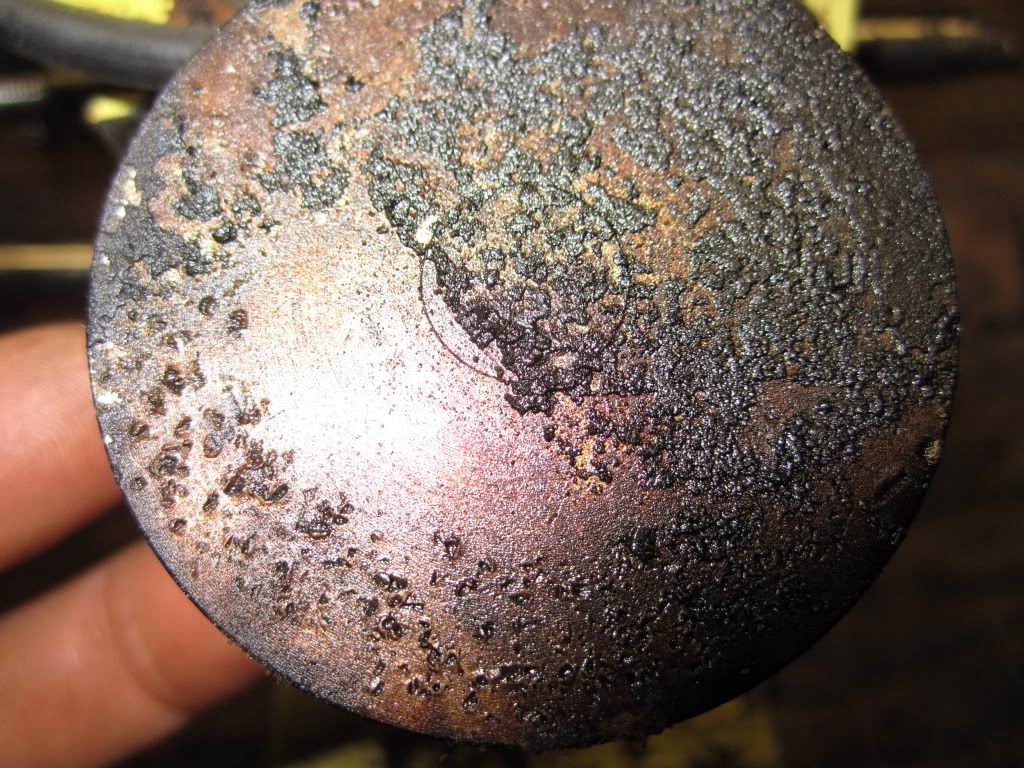
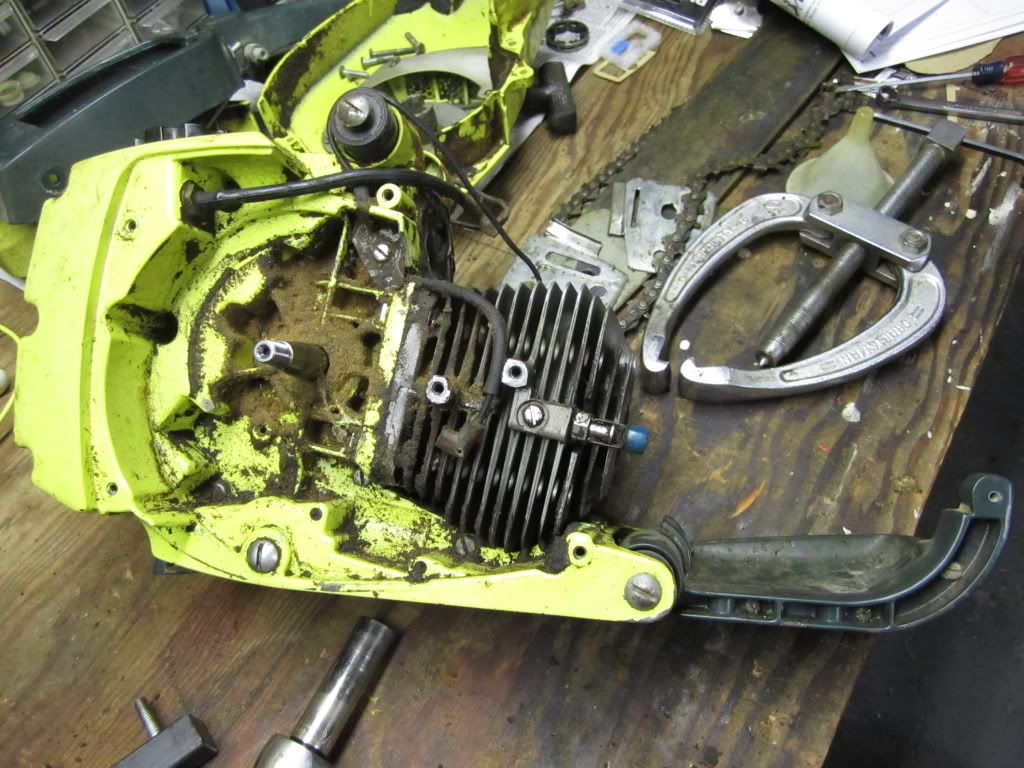
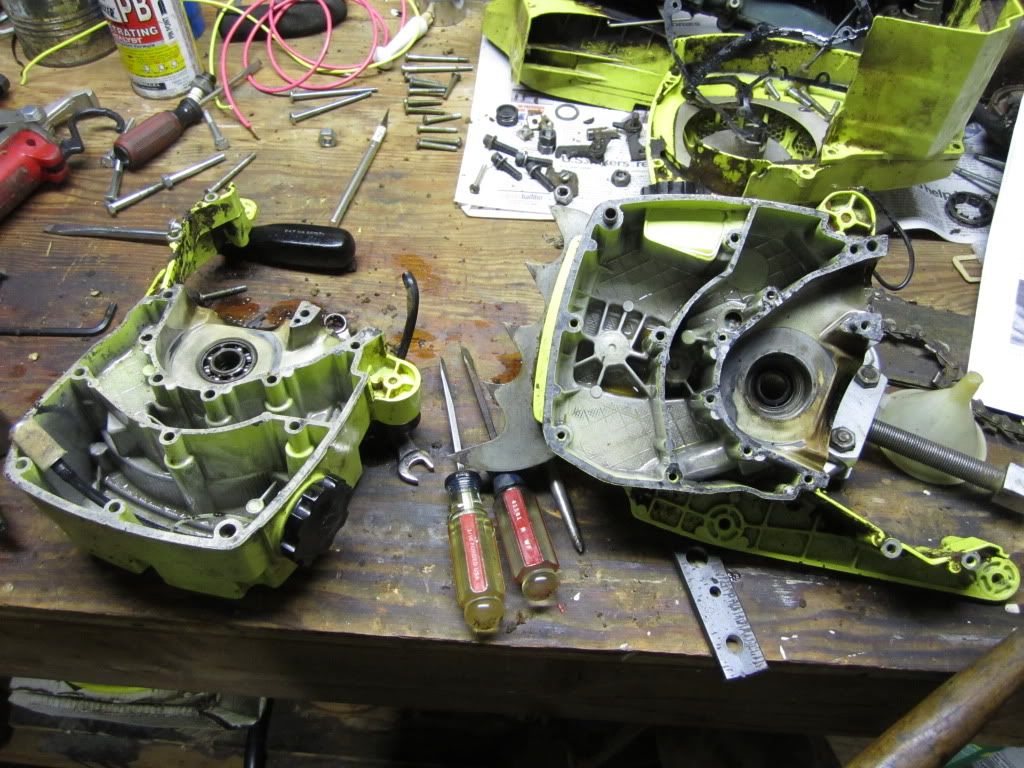
Thanks Brendon, it started out as a P60W with a partner/pioneer clutch cover and air filter cover. It has the P60 one piece ignition. I swapped out the clutch side case with a good P50 case side because the bar studs were worn and the original paint was better.
I can't wait to see your P42HP & P62W built from NOS parts. I hope that case gasket info helped, its tough to tell without a picture.
Kevin
 
Last edited:
Man, that 1200 qualifies for the "tough as nails" award. I baby most of my saws except for my P50, its the beater of the clan. Thanks for posting up, the 70's saws don't get enough recognition.
 
recoil/cyl cover removal?

Disassembly to replace a mangled crank has begun on a P51 i recently acquired. I ran into one problem and I am not sure if there is something I am missing. Maybe the all knowing chainsaw hive mind can help me out.

When I started to take the clutch and recoil covers off I ran into an issue with the recoil housing/cover. There is a small screw that is inside the bottom left of the cover that is on top of the cylinder head/spark plug area. It joins the cylinder head cover to the recoil housing. The issue is that I cannot get the recoil cover off because the cylinder cover is screwed to it and the decomp valve in this saw wont let me slide them both off. I tried to get a small flat head screw driver in there and can, but its not big enough to turn the screw thats been in there for 30 years. The decomp looks from the parts diagram that it would come out with a small socket, but no inch or metric socket would go over the valve and through the cutout hole that is in the cylinder head cover.

I am trying not to break anything and am being tender with the saw, but is there any special trick to getting these covers off, or the decomp out? I may try to get in there with another larger screwdriver but its very tight and there is no really good shot at the screw in there. Any help is appreciated. Thanks.


ETA: picture with arrow of where screw is inside covers View attachment 206605
 
Last edited:
It's strange that you can't remove the cover as-is. You should be able to wiggle the cover out and away with the rear shroud attached and the decomp valve in. I've done it hundreds of times on several saws. I can't remember if the front handle needs to be removed to get the angle right.
 
Last edited:
Cover

You don't have to remove the rear cover to get the recoil off. The recoil has to be moved back a bit to get past the decompressor. I've taken all kinds of them off. Wiggle the cover around a bit and try to work it back. It's been a while since I took one off, but I think you may have to pull on the recoil cord a bit as well. Be patient and work it carefully and you should be able to get it off. Make sure the decompressor button is pushed in as far as it can go before trying to pull the cover off.
 
It's strange that you can't remove the cover as-is. You should be able to wiggle the cover out and away with the rear shroud attached and the decomp valve in. I've done it hundreds of times on several saws. I can't remember if the front handle needs to be removed to get the angle right.

+1. I don't think the front handle needs to be moved. We need pics.
 
Yep, no need to remove the cylinder shroud. It will come off with the cover. The decomp valve is 11mm if you decide to remove it. Be careful not to loose the brass washer behind the decomp.
 
It's strange that you can't remove the cover as-is. You should be able to wiggle the cover out and away with the rear shroud attached and the decomp valve in. I've done it hundreds of times on several saws. I can't remember if the front handle needs to be removed to get the angle right.

I got the covers off. I didn't realize that I had to remove the reed valve assembly because it was causing the cylinder cover to bind up and not have enough room to wiggle out. I will make a post sometime when i get the job done, but for now a few pics. It looks like something got into the cylinder and banged around for a bit. left some nice dents. its amazing since the saw pulled 130 psi cold when i got it.

IMG_0232.jpg


IMG_0230.jpg


Any suggestions on how to get the worm gear for the oiler off? How hard is it to split the cases? The manual shows there is a special puller to get them apart. Any hints or tips are always appreciated.
 
worm gear

I've always gotten them off by using a long handled screwdriver with a fairly wide blade. Just pry gently between the case and the gear. Work the screwdriver around from all sides. It will move a bit at a time, but eventually will come off. Tool would work better, but I haven't been able to come up with one yet.
 
Any suggestions on how to get the worm gear for the oiler off? How hard is it to split the cases? The manual shows there is a special puller to get them apart. Any hints or tips are always appreciated.[/QUOTE]


I made a case splitter for one of these with some sturdy steel stock, it's the one on the bottom. The holes are 1-5/8ths apart for the oiler side to spilt the case and 4-1/8th apart to push the crank out with a hole in the middle big enough for your 2 jaw puller, I welded a nut on mine but you don't really need to do that. You'll need some 3" long 10-24 screws with nuts.
I have the worm gear tool so I've never had to rig something, I think I remember somebody saying they used a 3/4 npt threaded coupling and kinda crossthreaded it on there lighty and pulled it off. I'm sure the screwdriver trick would work or maybe a combo of both.
2011january-4.jpg
 
Last edited:
Any suggestions on how to get the worm gear for the oiler off? How hard is it to split the cases? The manual shows there is a special puller to get them apart. Any hints or tips are always appreciated.


I made a case splitter for one of these with some sturdy steel stock, it's the one on the bottom. The holes are 1-5/8ths apart for the oiler side to spilt the case and 4-1/8th apart to push the crank out with a hole in the middle big enough for your 2 jaw puller, I welded a nut on mine but you don't really need to do that. You'll need some 3" long 10-24 screws with nuts.
I have the worm gear tool so I've never had to rig something, I think I remember somebody saying they used a 3/4 npt threaded coupling and kinda crossthreaded it on there lighty and pulled it off. I'm sure the screwdriver trick would work or maybe a combo of both.


Thanks for the help K. I got the halves apart tonight. One bearing stayed on the crank while one stayed in the case. I am going to order the seals, gaskets and cir-clips tonight as well. I am also going to go to HF and get a small bearing puller so I don't damage the bearing on the crank when i try and remove it.

This has been a good learning experience, but I am not sure I would start doing it as a full time gig :msp_tongue: Its kinda nerve wracking trying not to damage anything while getting something that has been in one piece for 30 years apart and back together again.

img_0234.jpg
 
Last edited:
Nice work, it looks like your project is moving along really well. Did you plan on reusing the old bearings? Maybe you could borrow a bearing puller from autozone and save some money. I would put new bearings on both sides if I were you. The bearings used on these are preety common bearings and can be found easily(#6202). You can heat up the center of the case with the bearing still in it and pound the bearing it out with a socket, I use a heat gun. I have a decent cheap redneck trick for getting the wristpin in and out of the piston if you need help with that.
Good luck, Kevin
 
Back
Top