Saw Modders...take a look at this!!

Arborist Forum

Help Support Arborist Forum:

This site may earn a commission from merchant affiliate links, including eBay, Amazon, and others.

sILlogger

Addicted to ArboristSite
Joined
Jan 14, 2007
Messages
2,506
Reaction score
412
Location
southern illinois
been working on a piston for one of my 066's. this is gonna be a worksaw, and the plan is to mill the P&C..what do you think? too much? too much in the wrong spot? any suggestions/tips would be greatly appreciated. critique at will

Thanks

066piston001-1.jpg

066piston003-1.jpg

066piston004.jpg

066piston005-1.jpg

066piston006-1.jpg

066piston007-1.jpg

066piston008-1.jpg
 
Well from my 15 plus years of high end racing engine experience, it looks like you removed too much metal around the pin area. Of course I could very well be wrong also as to how much metal these pistons need to prevent breakage in the pin area.
 
I don't like how thin the lower supports are. When I'm doing a windowed piston I stick to removing more material from the top and sides of the windows and pretty much leave the supports alone. Other than that it looks like good work.
 
Looks totaly Rad, man. The con rods on my 084s are super thin.......
Will it side slap with all that material removed? People useda do similar with Harleys I think, and they'd go reel fast for a short time........:greenchainsaw:
 
teacherman said:
The con rods on my 084s are super thin.......

The connecting rod takes a different load than the piston, and if you really look at the 084 connecting rod and how it's designed, you'll see the brilliance behind that little bit of engineering.
 
I don't like how thin the lower supports are. When I'm doing a windowed piston I stick to removing more material from the top and sides of the windows and pretty much leave the supports alone. Other than that it looks like good work.

yea...i was wondering about the lower supports...it was one of those deals that i just kept taking some off..and before i knew it it was where it is at now

This is one of Dean's pistons(i hope he doesn't mind me posting this-he did put it in a public forum) it looks like there was a fair bit taken off of the supports..but i believe ive taken a bit more off...
pistonwork_1237.jpg
 
I don't like how thin the lower supports are. When I'm doing a windowed piston I stick to removing more material from the top and sides of the windows and pretty much leave the supports alone. Other than that it looks like good work.

I'm with Jacob - the skirt supports look a little too thin to win in a work saw. But, since it is already a done deal...you might as well run it and see if she holds up.
 
First of all, I'm not an expert. The first thing I noticed was how thin you've made some of the skirt supports. Some appear thinner than others. The other thing I noticed is how sharp the radius is where the support comes into the pin boss. I prefer to leave it more rounded unstead of a sharp corner. Should be less prone to cracking. Is that an OEM piston?
 
yea...i was wondering about the lower supports...it was one of those deals that i just kept taking some off..and before i knew it it was where it is at now

This is one of Dean's pistons(i hope he doesn't mind me posting this-he did put it in a public forum) it looks like there was a fair bit taken off of the supports..but i believe ive taken a bit more off...
pistonwork_1237.jpg

The biggest difference on this piston is the smooth radii. There are no sharp corners.
 
nope..not an OEM piston...which is y i'm hacking on this one!! keep the input coming...

as for the supports being too thin..thickness, height or both?
 
ive got a marginal cylinder...i'm thinking about putting this piston in it and seeing how long before it grenades....and perfecting me a piston in the future
 
Some times the strangest thing happens and something that shouldn't work does. So yeah, put it in and run it. I should be light and rev quick. If you want to save some more weight and friction, leave the bottom ring out.
It has some pretty good stress risers where the lower supports join the skirt. When working on the skirt supports, remember that the intake skirt take a lot of side load. Also the crown does not look well supported by the wrist pin.
I think you could take off a little more weight by blending in the inside to the thickness of the groove that runs across the skirts and under the top.
 
Last edited:
It has some pretty good stress risers where the lower supports join the skirt.

by stress risers do you mean the transition between the skirt support and the skirt?

Also the crown does not look well supported by the wrist pin.
here are a few more pics of the wrist pin-crown support, they are 5/8" wide and 3/8" thick at their widest points, should there have been more support left above the wrist pin(not as much taken from the sides)
066piston002.jpg

066piston005.jpg

066piston006.jpg


I think you could take off a little more weight by blending in the inside to the thickness of the groove that runs across the skirts and under the top.

I'm guessing you are talking about the "land" that is cut perpendicular to the wrist pin and runs up both skirts and across the middle
 
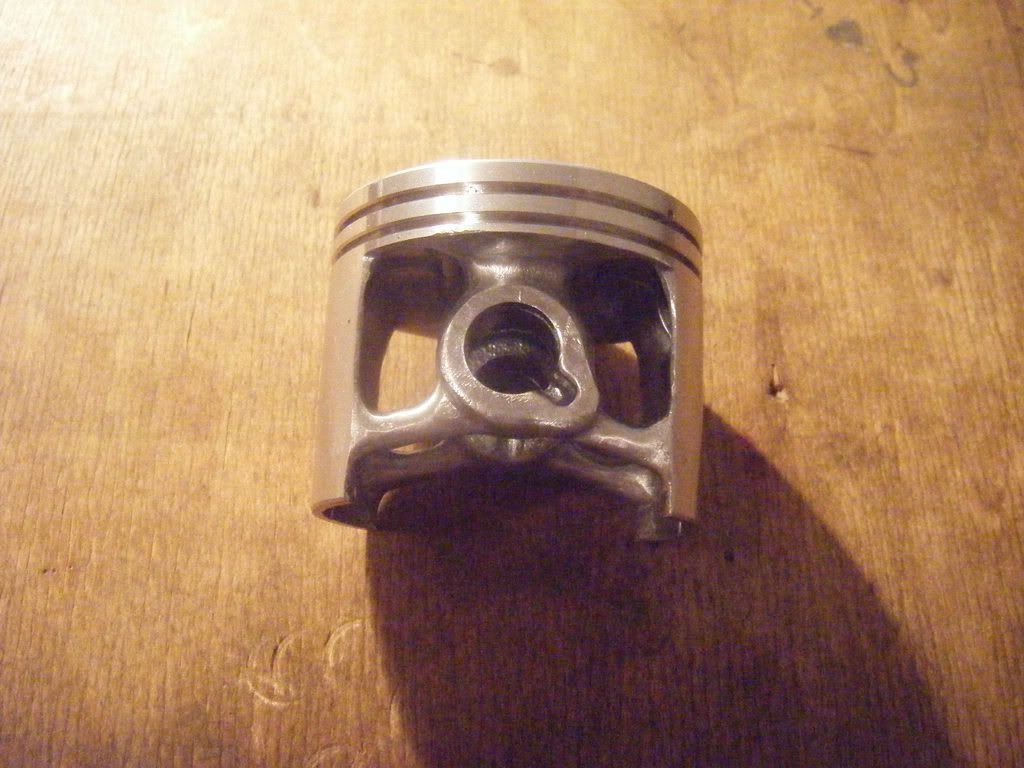
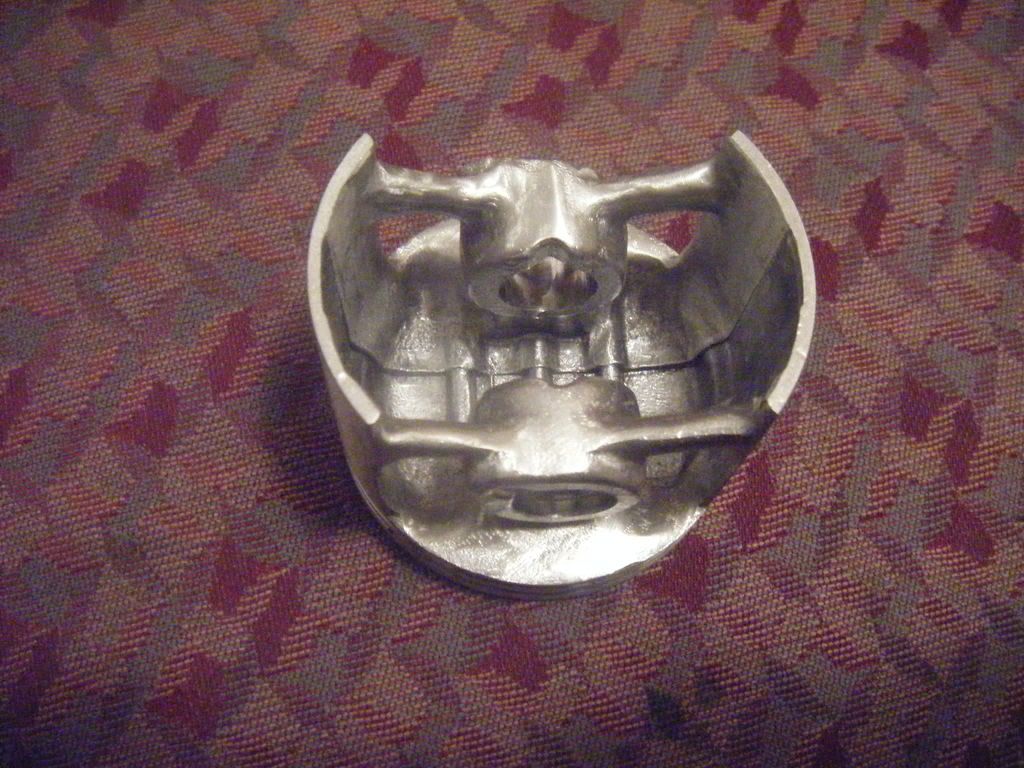
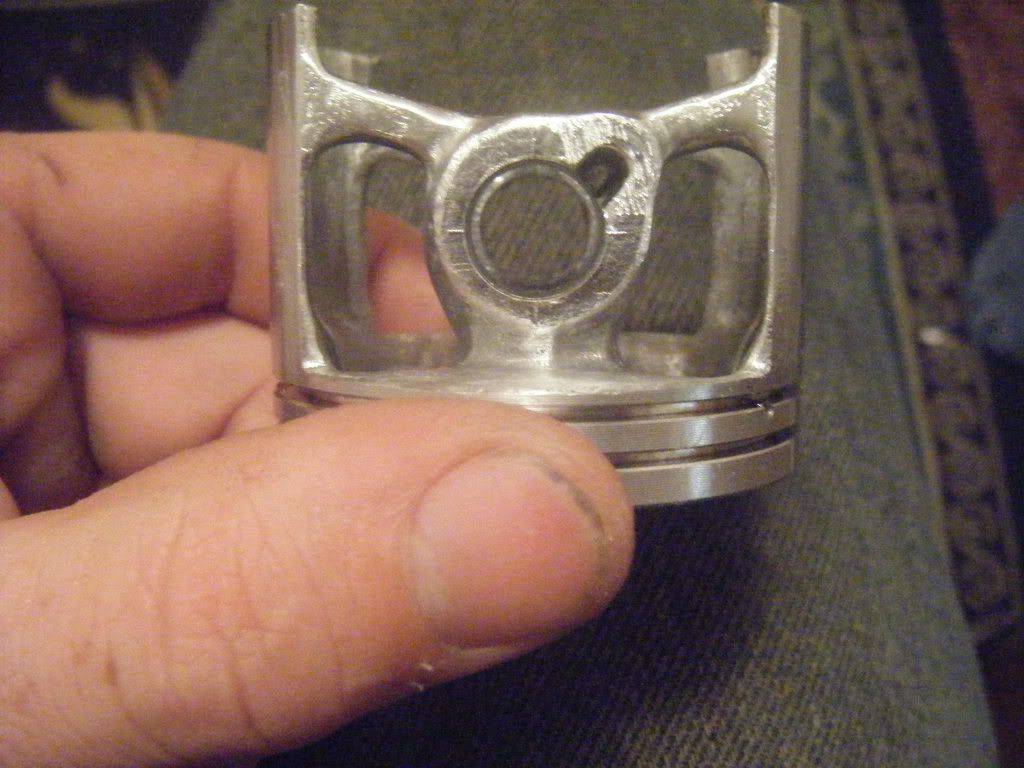
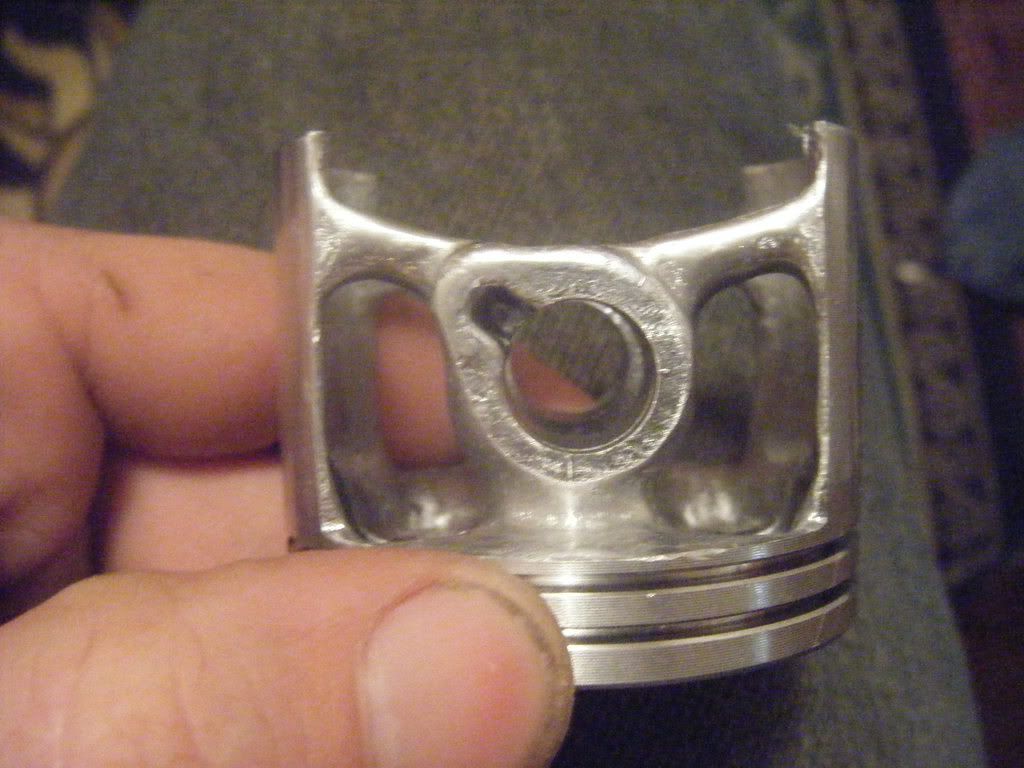
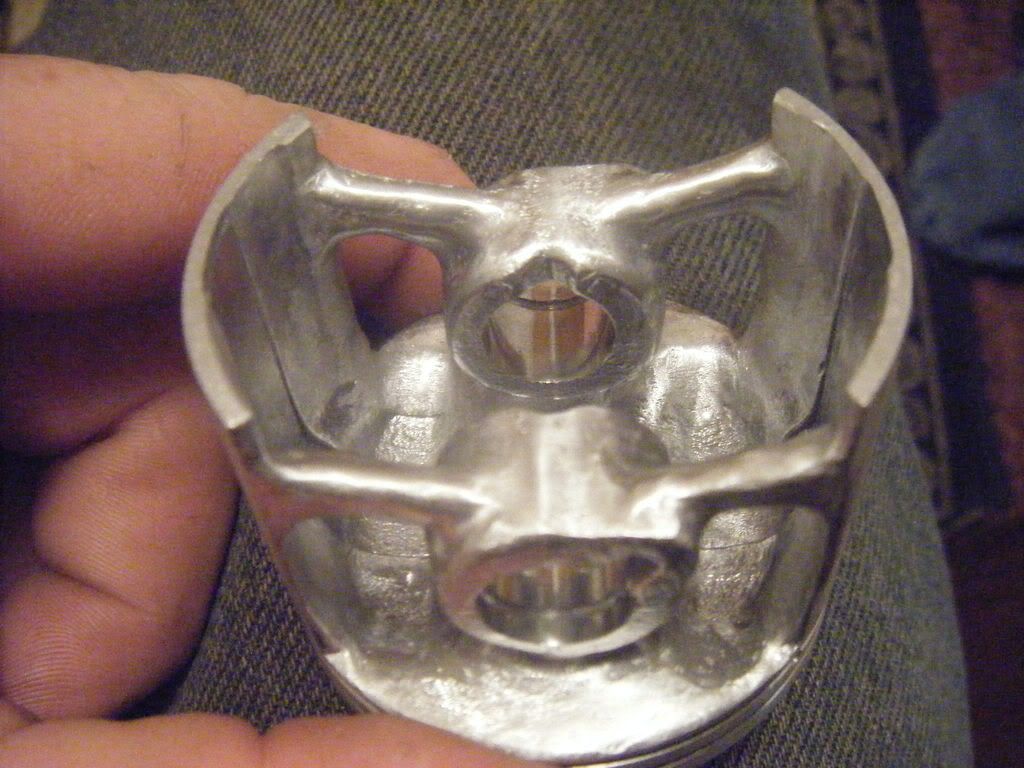
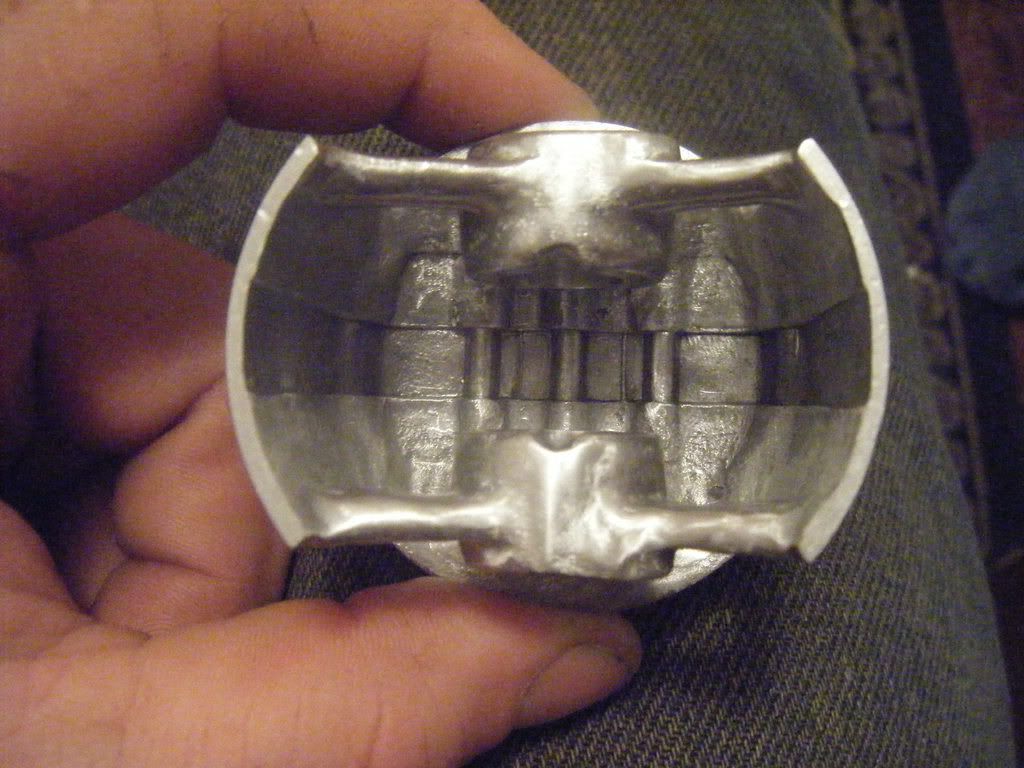
There can be a good 1000 lb of force pulling up on the pin boss in some cases, and easily 3000 lb pushing down, Easy enough to take the cross sectional area of the webs and see just how much stress and strain your putting on them.

Fatigue endurance strength of aluminium alloy pistons is in at about 15,000 PSI based on 1x10^9 cycles or about 1500 hours. This is also assuming there are no casting inclusions, cracks or stress risers present.

The meen time before failure will drop very quickly if the fatigue limit is exceeded, it does not work to say, if it will last 1500 hours at 15,000 psi, then it should last 750 hours at 30,000 psi.

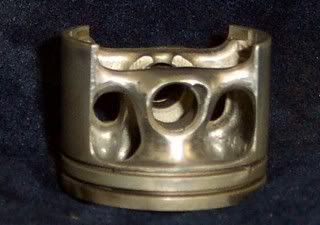
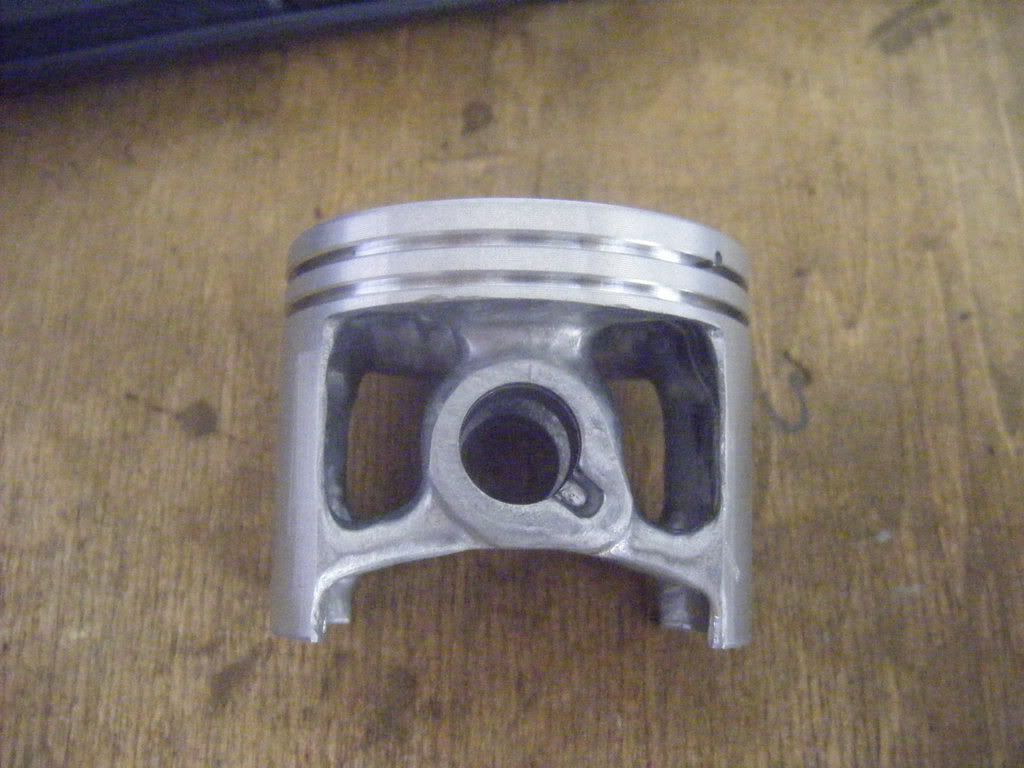
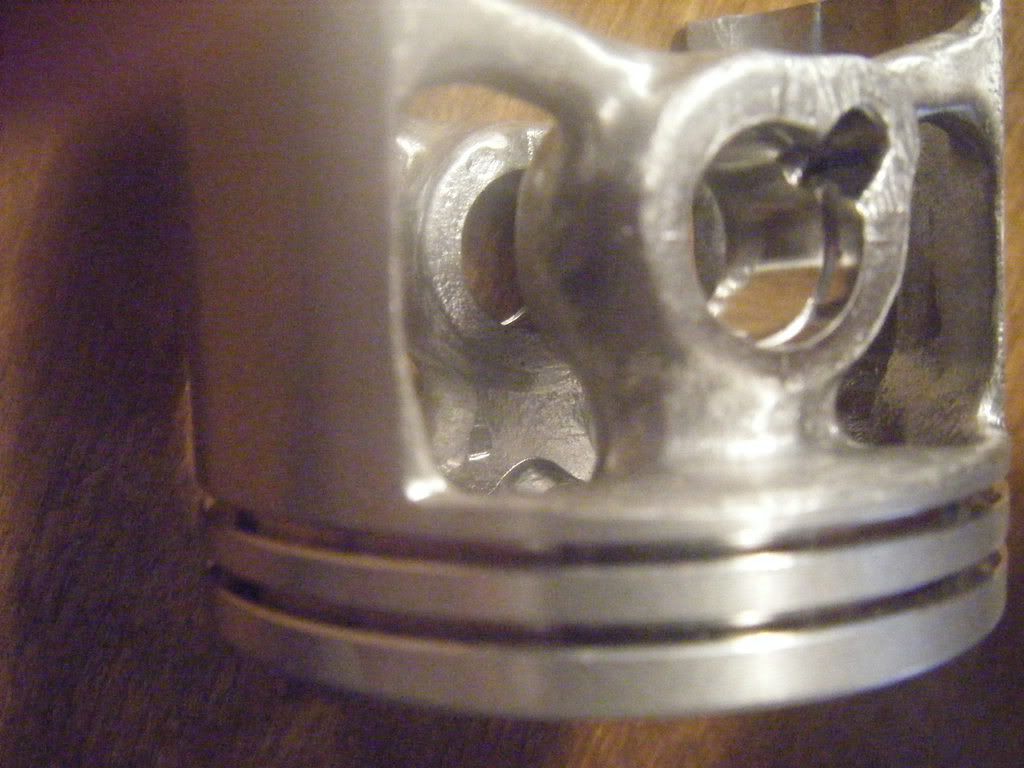
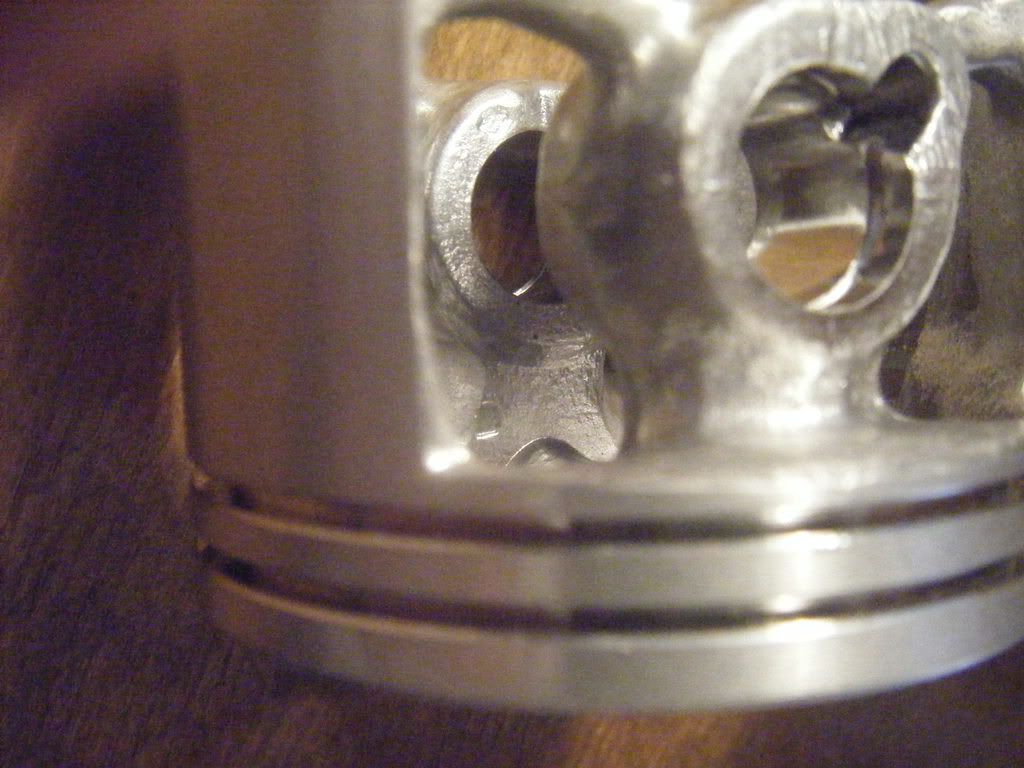
To me, the webs look a little small, esp for a work saw where the engine is expected to run for hundreds of hours. The gains from removing those last bits of metal are going to be pretty small and the loss in strength significant.
 
ok..so the general conclusion is that the skirt supports are too small(thought that myself) and that the wrist pin support-crown is too small. so other than me completely fubarring this piston..are there any upsides??:cheers:
 
Dropping the second ring will reduce ring drag and friction some, you might see a slight drop in cranking compression, but at 8,000 RPM and up the rings do little anyway.

On the negitive side, there will be a small amount of short circuiting between ports in the empty ring groove, and heat transfer from piston to cylinder will be reduced due to the missing ring, so piston temperature could rise a little also.

For a race saw yes, single rings seem to be the way to go, but for a work saw, I doubt it is an advantage over the traditional 2 rings, outside of reduced construction costs. For a race saw having a single ring also makes it easier to find places to add or extend ports.
 
Last edited:
nope..not an OEM piston...which is y i'm hacking on this one!! keep the input coming...

as for the supports being too thin..thickness, height or both?

I applaud you for what you're doing. It's the only way you're going to learn. You've got to start somewhere. I did the same thing. Take a stab at it, show pics, get feedback, and improve. I hope it works out for you. If it doesn't, the next one will:clap:
 
Back
Top