SuperSplit production table mods?

Arborist Forum

Help Support Arborist Forum:

This site may earn a commission from merchant affiliate links, including eBay, Amazon, and others.

sevensandeights

ArboristSite Operative
Joined
May 15, 2017
Messages
211
Reaction score
125
Location
Erie, PA
I've read through quite a few old posts regarding production table mods but some of the pictures are no longer there. I have the standard size table and would really like to add a removable filler piece to fill in the gap on the opposite side of where the operator stands. I think CUCV did this. Has anyone else?

Would also like to add a removable extension to the end of the table so the splits don't cover up the hitch.
 
Go to YouTube and google super split or Harold Anderson (Supersplit warning).
He has a side table extension on his.
I think you could build a stand alone table to fit that space, and profile it to be used on either side.
As for extending the length to cover the hitch, consider a four wheel mod instead, placing a removable tongueIMG_4596.jpgIMG_4593.jpgIMG_4589.jpg hitch on the engine end.
 
Your set up is slick Sandhill! I've seen HA's videos before but it's been awhile. Has anyone used modified carrier blocks?

I saw this on another firewood forum - one filler piece but works on both sides:
1608602657221.png
1608602737921.png
 

Attachments

  • 1608602662323.png
    1608602662323.png
    6.8 MB · Views: 14
I made an extension to stage splits on


Then I added a tow hitch, support legs, and a tool box


Like you, I plan to add a side "table" as well
 
Here are a couple pics of my production tables. I really like that side table extension that is interchangeable between sides.
 

Attachments

  • 20201222_200725.jpg
    20201222_200725.jpg
    3.1 MB · Views: 28
  • 20201222_200347.jpg
    20201222_200347.jpg
    1.9 MB · Views: 27
  • 20201222_200328.jpg
    20201222_200328.jpg
    2.3 MB · Views: 28
Rainy (and now very snowy!) weather where I'm at today so I took the time to do some routine maintenance. I disassembled the carriage and inspected the bearings and also cleaned out all the crud underneath the pinion gear. I have a newer version HD model so my rack lift bearing has the drilled bolt so I took it all apart and then regreased that bearing. I also set the engine RPM at 3,000 with a tach since I had just been guesstimating prior.

I read my manual to see if I was missing anything and found the "carriage adjustment" section interesting. It states that there should be no more than the thickness of a piece of paper between the beam and the two pieces of thick metal that the cam followers are bolted to. I have a little more play than that but my machine works flawlessly. Question to other SS owner's: are your machines set up that tightly?
 
Has anyone used modified carrier blocks?

Question to other SS owner's: are your machines set up that tightly?
No, to both questions.
I found the more used the better the carriage works. Forth or fifth year, something like that.
Replaced bump stops this year, and belts.
Routine WD-40. My machine sits outside uncovered most of the summer.
After a rain, WD-40, and get to splitting.
Grease flywheels every week to two weeks, depending on use.
Stored inside for the winter.
As for clearance, I sometimes get wood stuck under the push plate carriage, jamming the carriage.
I keep a 9/16" off set wrench handy to loosen the six carriage bolts.
Happens every few cord.
80 full cord this year.
 
Thanks SHC. I've run about 40 cords through mine and had very few issues. Good to hear from someone else with much more experience.

I'll leave mine set up as is for now. No need to tighten the fit of the carriage on the beam nor will I drill the bolts for the cam followers that ride underneath the beam. WD40 before and after each use - I rarely split more than one cord per session.
 
I was working on my SSHD table tonight. I added the white plastic, (which I can never remember the name of) several years ago. Well it has curled up at the end of the table, from centerline to the corners and also up as a ramp because chips get underneath it. It is only fastened on the front edge of the table due to expansion in the sun. Tonight I added a 2" x 2" x 1/8" angle to the bottom outfeed edge to hold it flatter side to side. I still need to add some self tapping screws through the dropped edge of the angle facing forward under the table to hold it down, and still allow it to move. The angle should help keep debris from getting under it again too. Last time I used anti-seize on the fasteners so they came out without any trouble. Last time I twisted one off, and fought with several others. The plastic was a very easy mod and really helps with re-splitting. Kiwi Bro, thank you very much for the idea! I'l get some pictures tomorrow.
 
Sevensandeights: Can you show more pictures of how you did your addd-on table. It looks like there are tubes added below the table.
cucv: I like your table mods. For larger stuff I have to off load half a round to my log deck. It works okay, and keeps the flow going. I don't think a wider table would work well with the conveyor apron.
 
The angle floats and is attached with three self tappers that are cut off, so they do not penetrate the table. It takes the 2" side to side and front to back curl out of the plastic. Actually the front to back is still there, and clamped down. I need to get some hex head self tappers and run horizontal just below the table to keep it from lifting, yet allow it to move when it expands. I had accumulated 3/8" of chips between the table and plastic adding to the lift. The angle should let most chips drop off before getting trapped again. I'm also going to 45° the lower corners of the angle so they don't dig into the conveyor apron.IMG_4383.jpgIMG_4382.jpgIMG_4384.jpg
 
Best mod ever for a SS is to butt it up to a conveyor and let er buck. Moving finished wood away has always been a bottleneck.
I saw a conveyor mod in a photo on another forum about something completely different.
They welded trailer tongue screw jacks to the supporting A-frame near each wheel. The screw jacks had a spindle welded to the bottom and a wheel/tire mounted 90° to the original wheels. When screwed down and engaged, it allowed side to side movement of the conveyor. You would need to hitch the low end with ball coupler to a ball or anchor of some sort. I love mods that make things easier.
 
SHC - those are not my pics. I got them off the FHC forum.

It looks like the tubes under the filler piece slide in/out (left/right is probably a more accurate description). That allows the piece to used on either side of the splitter. Not sure how it is secured to the table but it seems like it would rattle like crazy.
 
ahhh, I see Sandhill, my SS table goes over the top of my conveyor infeed apron, so I can position the SS 270 degrees around the conveyor. I love seeing how you constantly improve your process. A log deck was a thought for a while but just isn't right at this point for me. These days most of the wood I make into firewood is off top down tree removal jobs I do. The wood gets hauled home in which ever way I can get it of the job the quickest, so each dump truck load has a mix of 16"s, 24"s, 4'ers, 10'ers as well as lots of big nasties. I dump my wood in rows these days and it gets cut, spit and stacked where it sits.
 
I love seeing how you constantly improve your process.

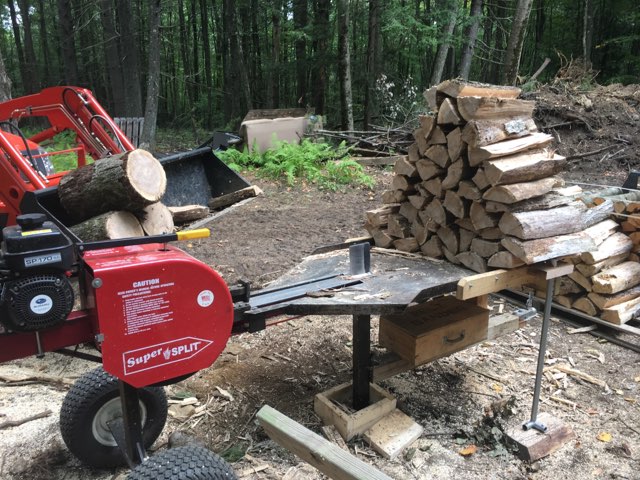
As much as I would love a self propelled SuperSplit, my next challenge is to load the dump trailer efficiently. Part of the reason for selling the flatbed was the climbing around on it to hand unload. With a full load of six pallets there wasn't much room to clear the first pallet by hand.
- Which rules out forklifting the pallet over the trailer and cutting the netting. The netting hangs up on every piece that way, actually engulfs pieces. I don't want to climb around on top of a pile of splits, and be in and out of the trailer for every pallet.
-The best thing I've found is to unwrap the netting a wrap at a time, hand tossing wood in the conveyor. That works good.
-What I'm picturing is a 3' or 4' high platform above the conveyor apron.. (With fork extensions I can lift a pallet with maybe sixteen inches between it and the mast). So if the pallet is in the middle with a 16" gap on four sides and a catwalk on three sides, a toe board on the outside and a pipe railing, I could unwrap the netting, letting the splits fall into the conveyor. And can step on the forks on the fourth side.
-Another idea is similar, with the pallet on a hydraulic driven turntable. Then I could stand in one spot and gather the netting like making a ball of yarn.
-The platform would have fork pockets and be movable when not in use.
I'd also like to add wheels to the conveyor for side movement, and an anchor with ball coupler to load the trailer without moving the trailer. I forget the term for conveyors on processors that hydraulically move side to side for piling or loading.
Just some winter thoughts.
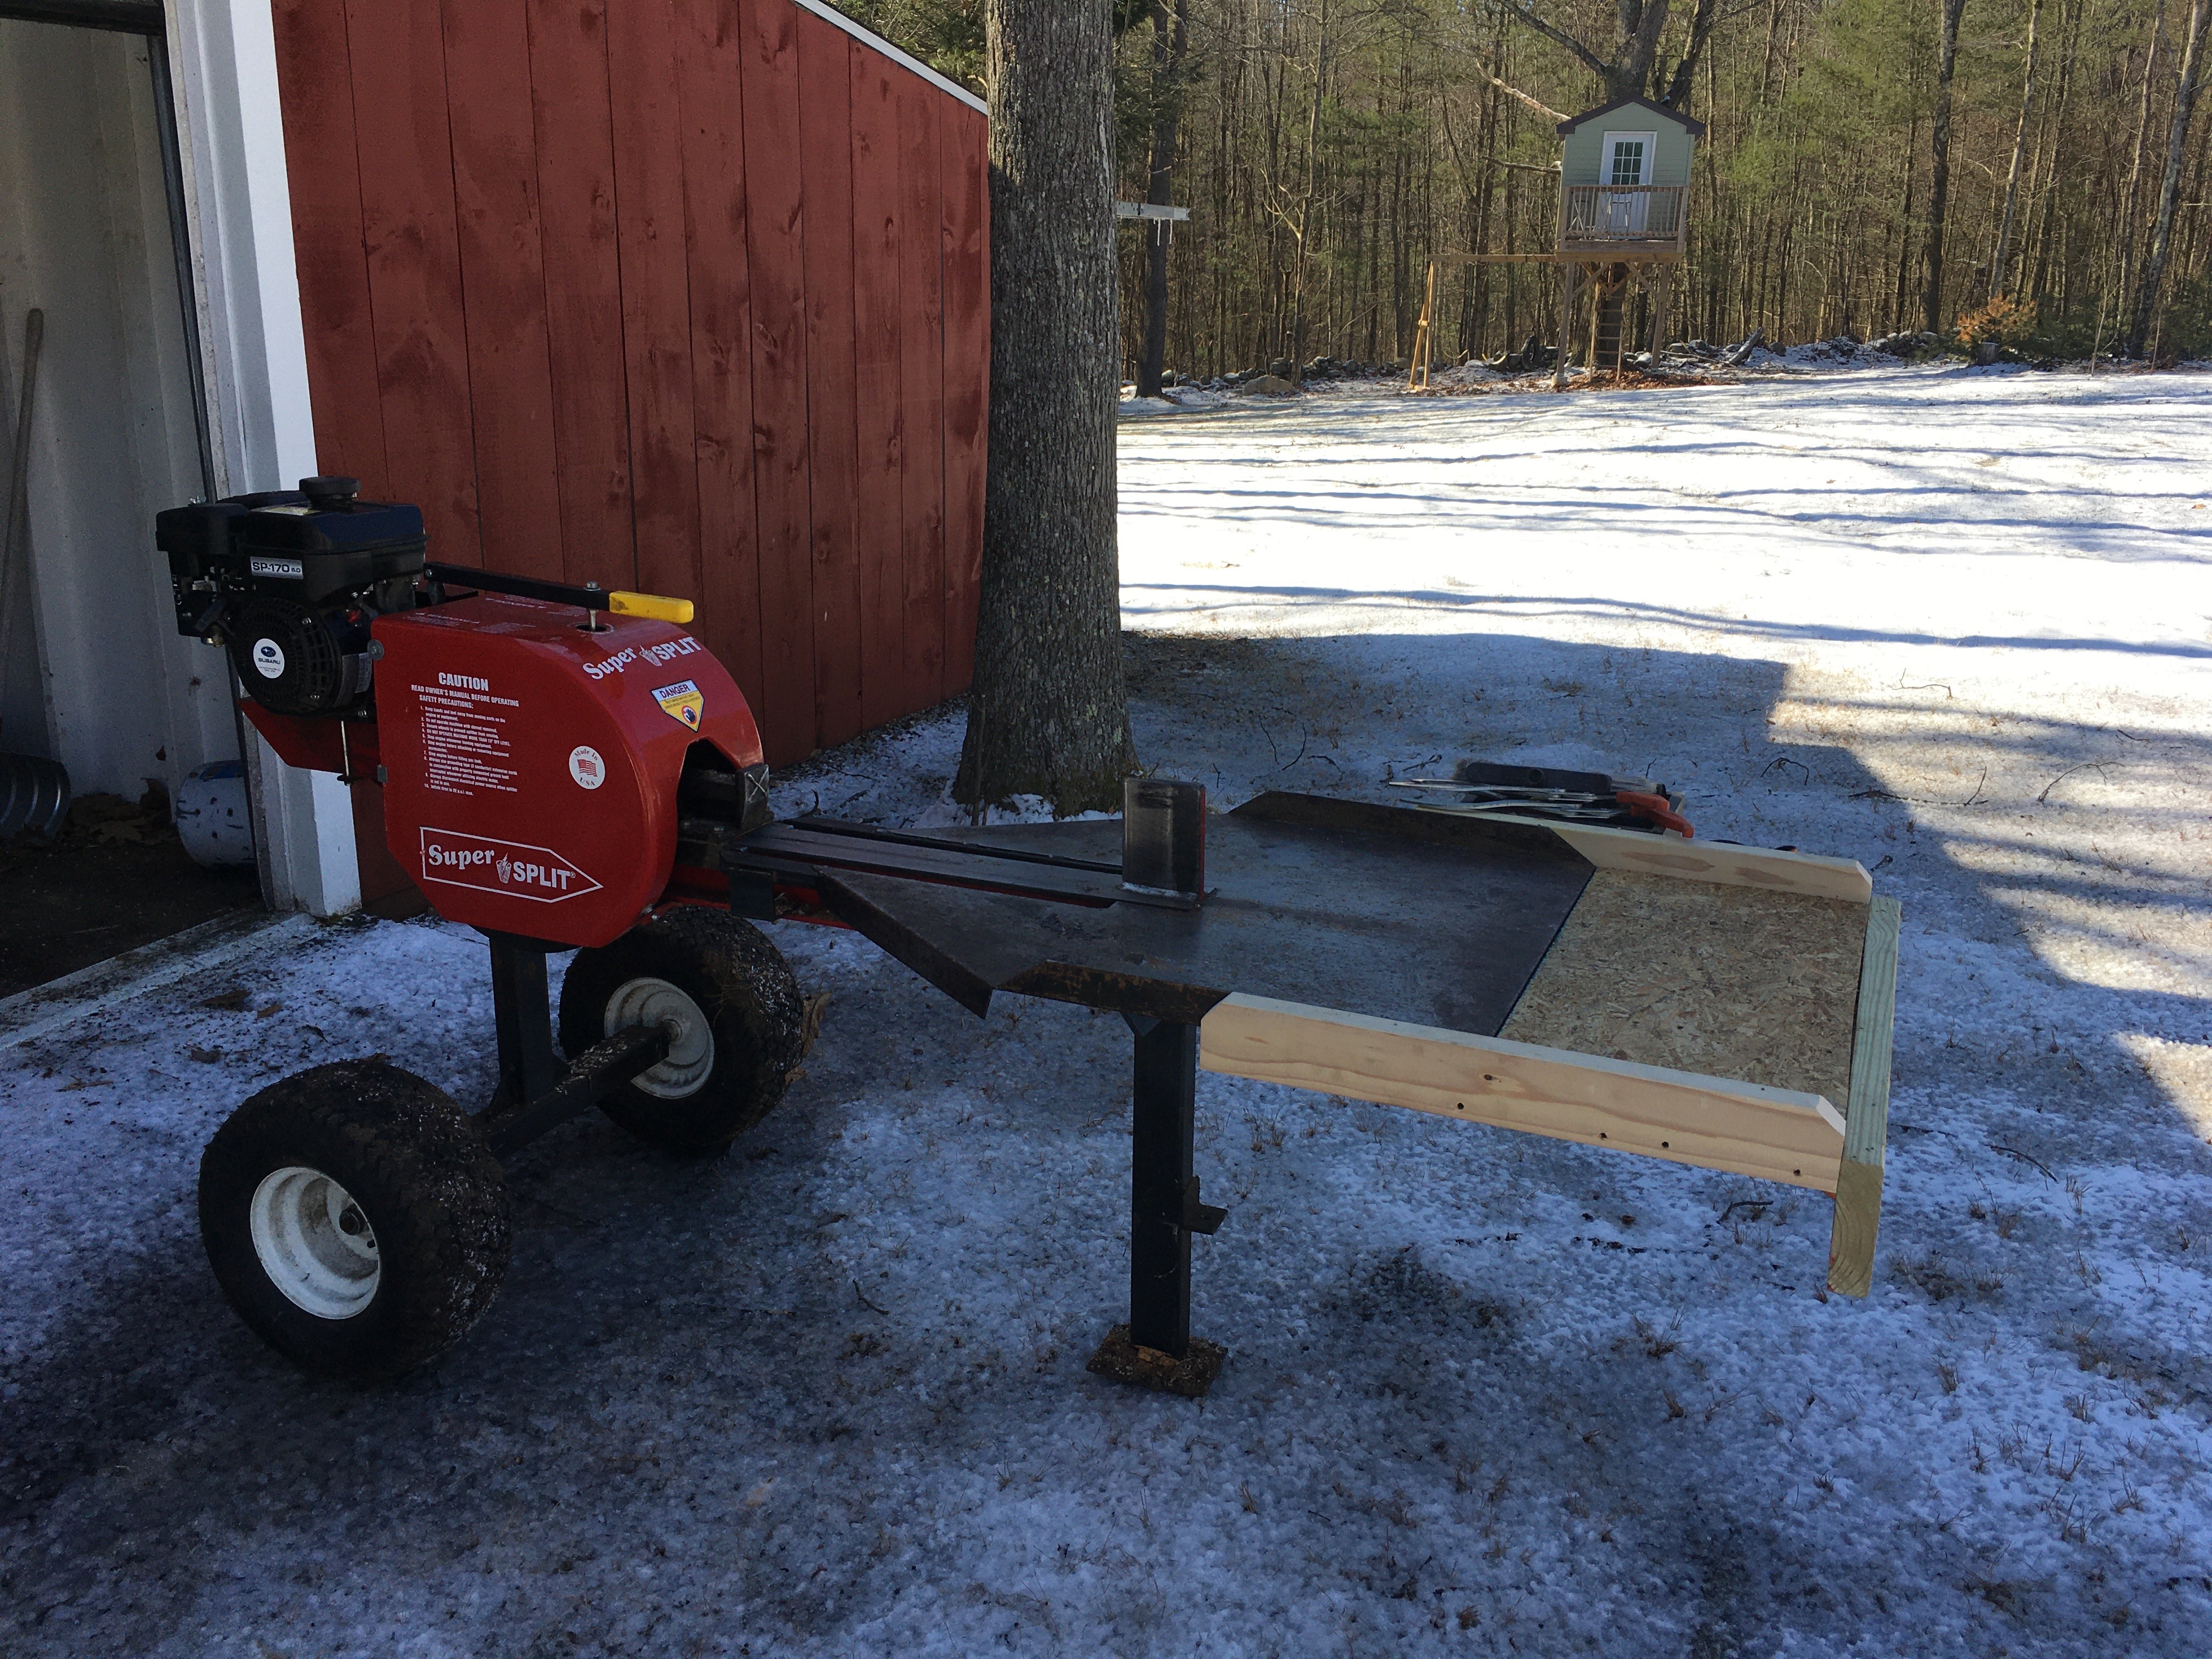
I've never stock piled this much firewood before and my delivery process has always been lacking.
The original plan was to get a larger flatbed truck, 24' tandem axle and carry the piggyback forklift. Loading takes too long, cleaning embedded gravel and wet leaves, covering, and strapping. Delivery also means leaving the pallets. I have several customers with equipment to unload. Half burned the pallets, and another fourth of the pallets got tore up bad moving them with tractors. Most have very poor vision using forks at ground level, and the larger tractors needed to lift 1k are generally not HST.
Long term idea is still a small processor with conveyor, then my present conveyor would be dedicated to loading the trailer. For now I'll have to move it to load and back again to process. The quad doesn't like that. Putting a receiver hitch on the front of the quad would help repositioning it between the log decks and PackFix for processing. If the tires are off a little both ends are off a lot.
The overall process is always in transition.
Back to the dry erase board...
 
Here's my attempt. Cost me $40 to have the 1/8" plate bent up and the 10g spacers cut out. I had some 2"x3"x 3/16" angle already so that's what I used. The goal was to have a one piece extension that could be used on both sides and be changed without tools. I was hoping the "slip fit" attachment would be enough to fully support the panel but it wasn't so I had to make up the angled pieces that point towards the back. They offer plenty of support and are still inboard of the tires so hopefully they won't be in the way when working or moving the splitter.
img_20210112_132715302-jpg.881856

img_20210112_132806455-jpg.881853

img_20210112_132747584-jpg.881854

img_20210112_132903589-jpg.881855

img_20210112_133002355-jpg.881857

img_20210112_133023005-jpg.881858

img_20210112_133049628-jpg.881859

View attachment IMG_20210112_132715302.jpg

View attachment IMG_20210112_132806455.jpg
View attachment IMG_20210112_132747584.jpg
View attachment IMG_20210112_132903589.jpg
View attachment IMG_20210112_133002355.jpg
View attachment IMG_20210112_133023005.jpg
View attachment IMG_20210112_133049628.jpg
 

Latest posts

Back
Top