Wow. I feel a little dumb. Great looking db saw! Very unique old things!
You are using an out of date browser. It may not display this or other websites correctly.
You should upgrade or use an alternative browser.
You should upgrade or use an alternative browser.
What's on your bench
- Thread starter chainsaw _ crazy
- Start date


Help Support Arborist Forum:
This site may earn a commission from merchant affiliate
links, including eBay, Amazon, and others.
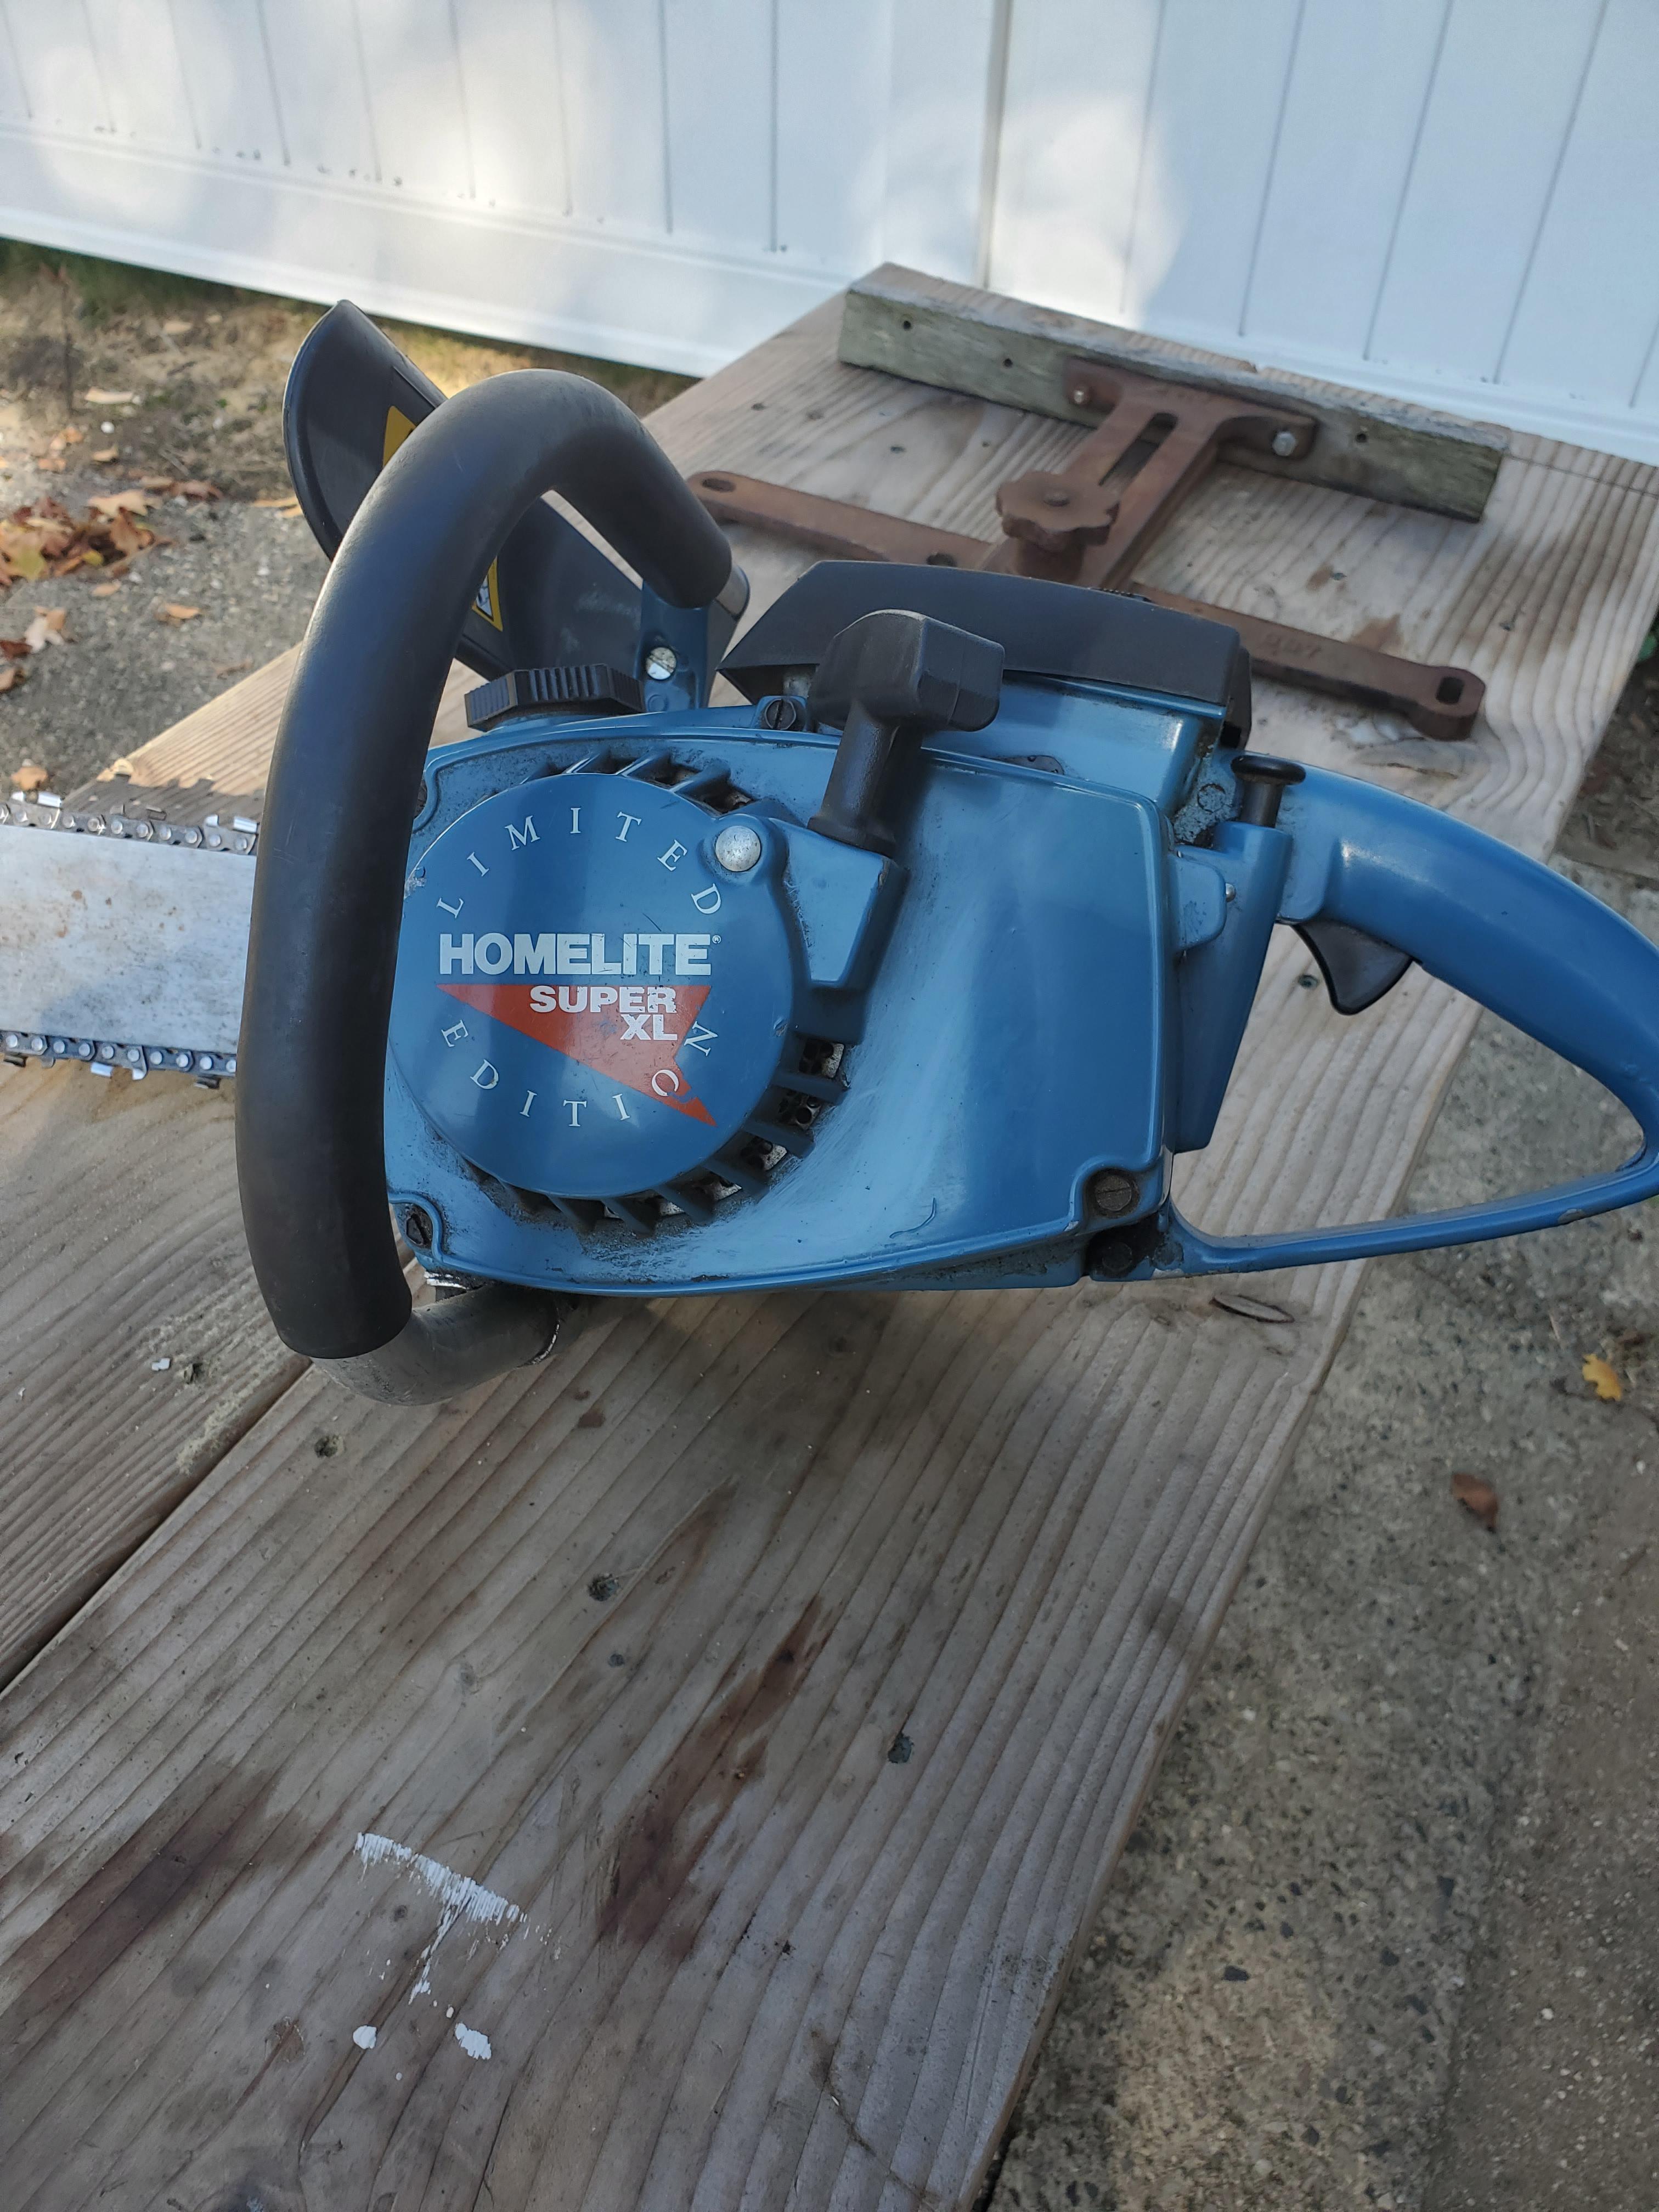
I agree, better yellow it up a little more eh? I'm just finishing with an old model 47. Got the 24" bar from Mark, its probably the nicest part of the saw. Will go and stop by a local dealer soon who has some old stock 1/2" chain. Need to get going on this sp81 I just picked up. Turns over freely and has good compression. Will take a look inside soon but hopefully all it will need is a new fuel line, carb kit and a lot of cleaning!This thread has a bit too much orange....trying to make 3 of 4 of these run next few weeks. From the left a 1-10, 2-10, 2-10, and a 6-10.View attachment 865763


Yotaismygame
Juiced Saws #GetJuiced
Well the budget port came back pretty quick. Apparently the 21 year old bearings were not up to the task. Cage took out the piston. Cylinder is perfectly fine.
Doing a full rebuild now.


Doing a full rebuild now.
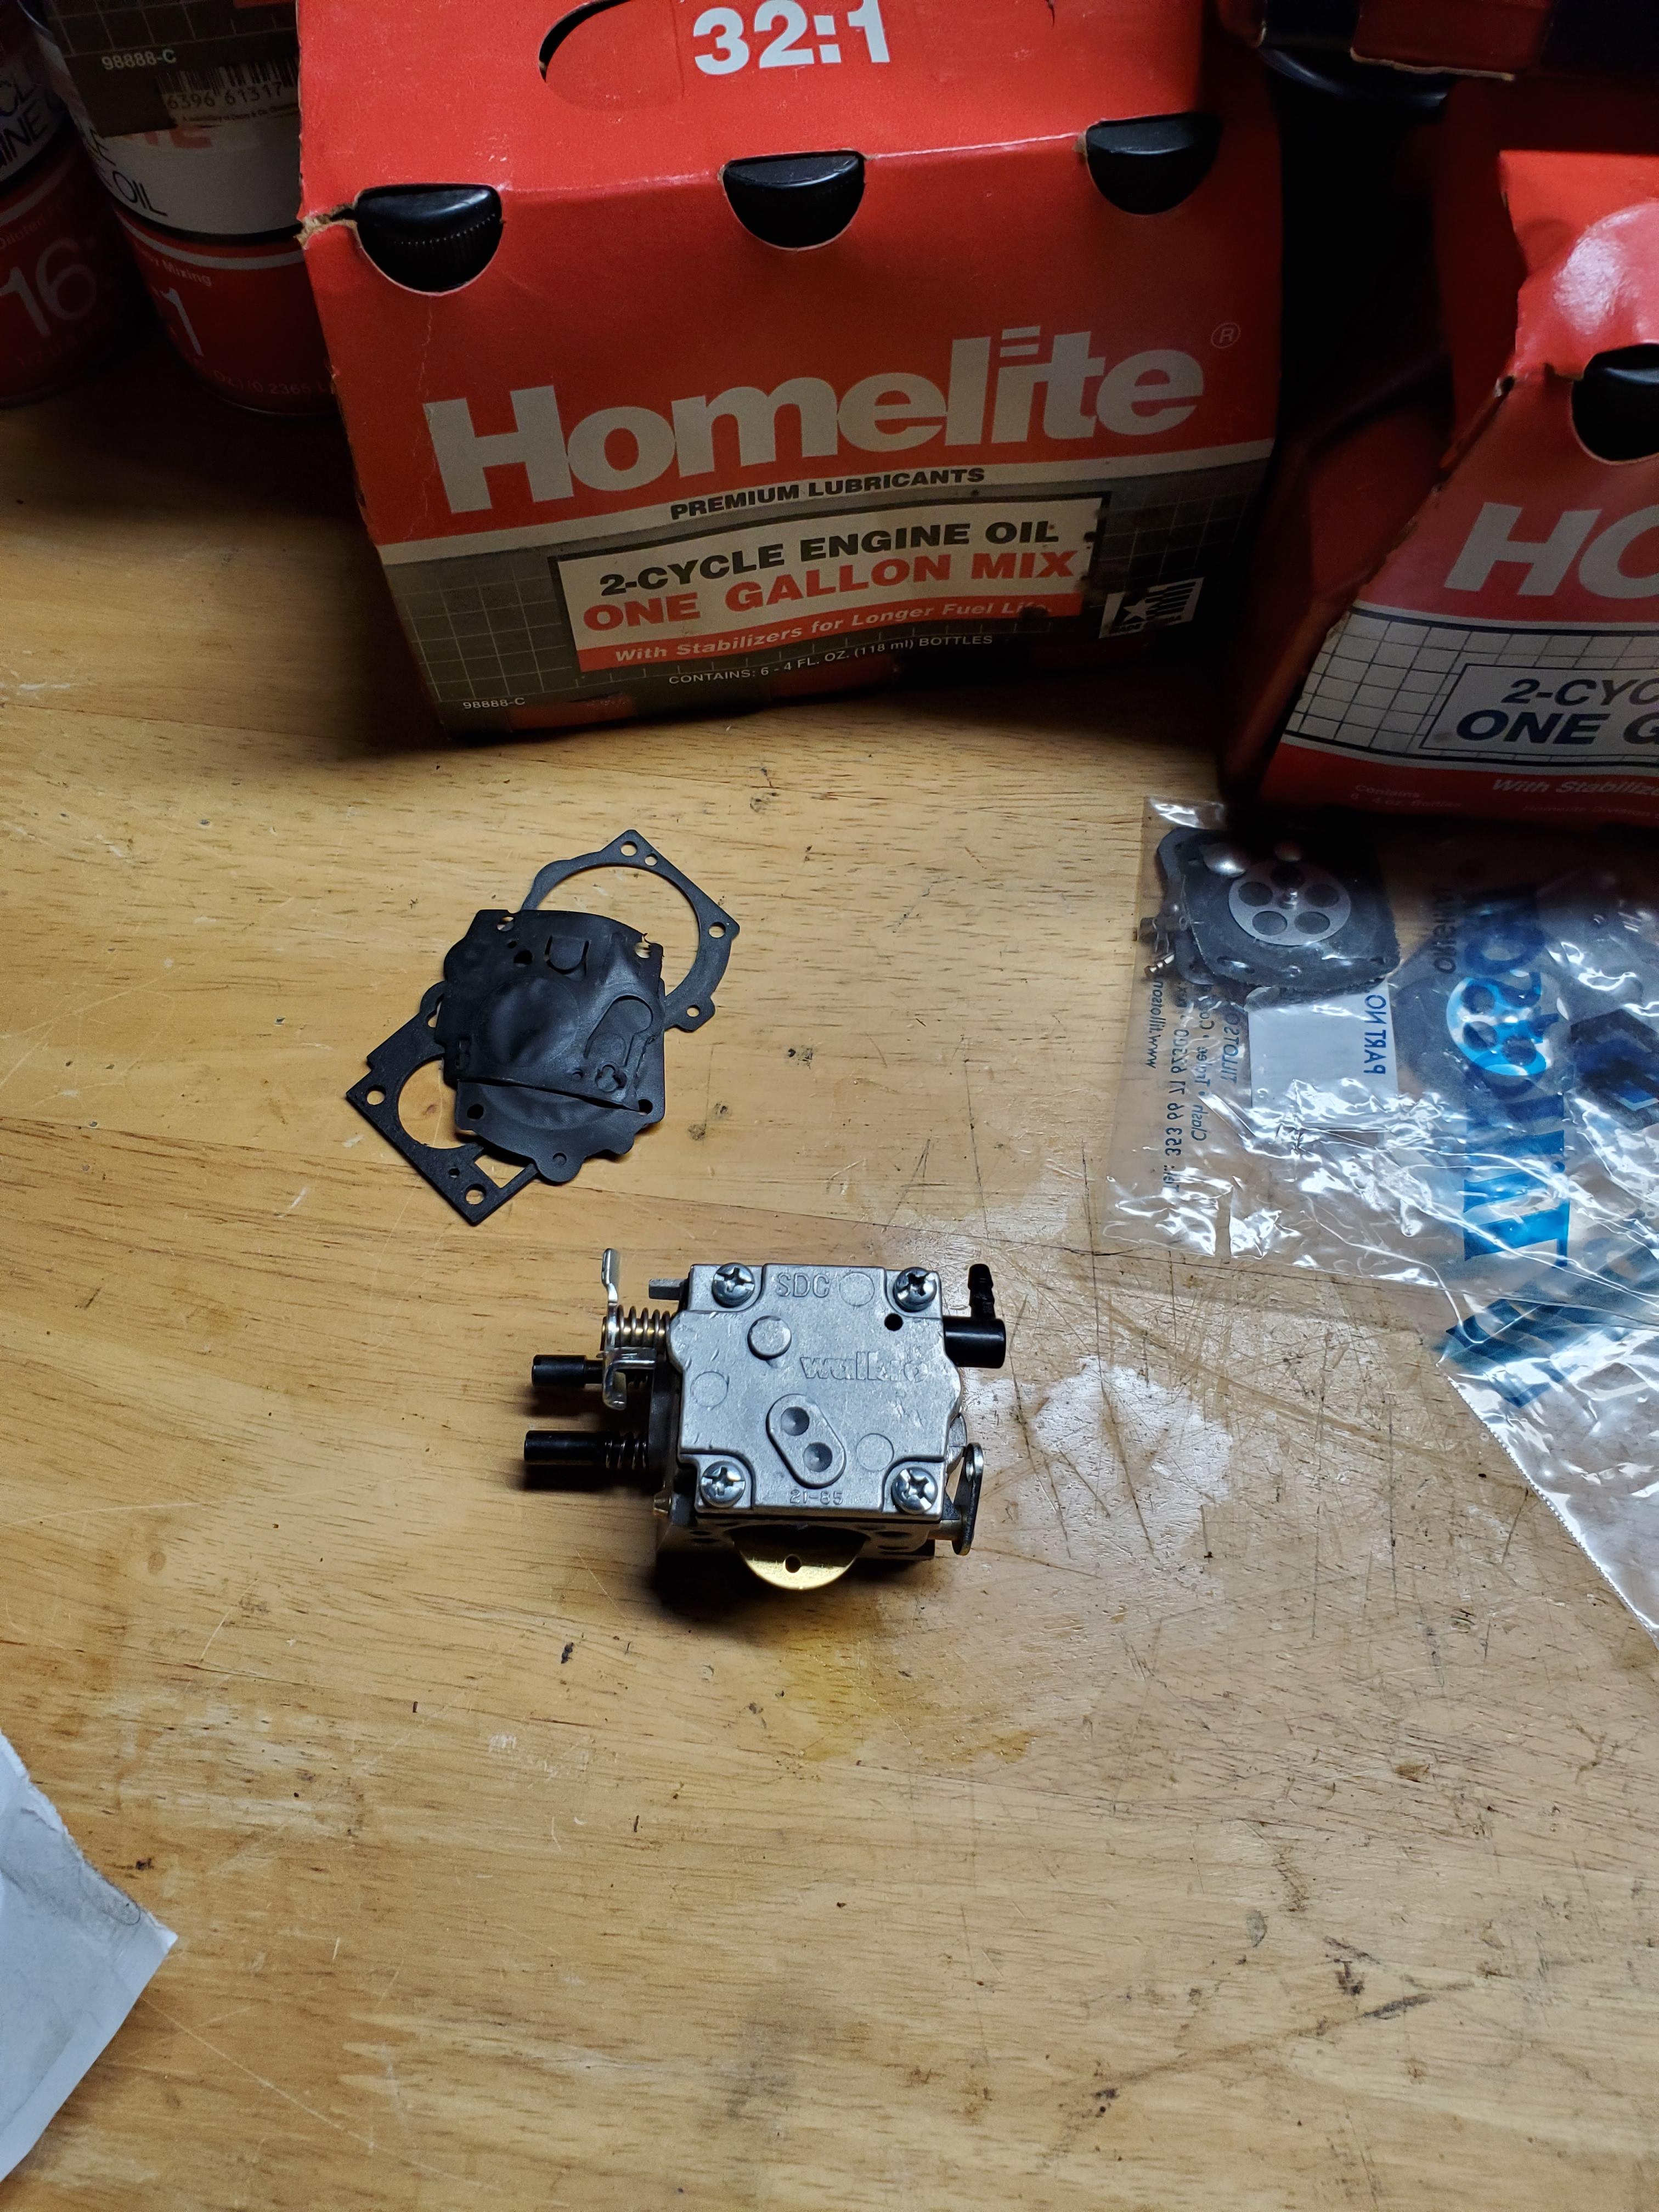
I could use any advice on making a template and what cutting tool to use to make an exhaust gasket from a bulk piece of gasket for my homemade exhaust for the PM 270:
I would prefer the gasket was a closer match to the exhaust port vs the cobbled muffler.
I would prefer the gasket was a closer match to the exhaust port vs the cobbled muffler.
Attachments


D
Deleted member 117362
Guest
Put some grease on flange, push on gasket material, remove flange, trace with pencil, remove grease and cut out with sharp knife, razor blade, exacto-knife.
NvrDwn
ArboristSite Operative

I put new crank bearings and seals in the husky 350 I bought with 61 for 30 dollars and it is running again too. I have none left to fix.
Yotaismygame
Juiced Saws #GetJuiced
I can't even imagine. No saws to work on?!I put new crank bearings and seals in the husky 350 I bought with 61 for 30 dollars and it is running again too. I have none left to fix.
It's for the the better. Cold weather is coming and the garage is not heated. And I will be using them before long too.I can't even imagine. No saws to work on?!
The 461 is back together and provided the test run goes A-OK it's finished. It got new bearings, seals, gaskets, a new dp muffler cover, pro safety dogs, a Meteor piston, Maxflow kit, a better top cover from @furb , a few misc smalls, and the important Magnum sticker. An arborist friend asked me to keep an eye out for a "big saw" and if this fits the bill I'll give 'em the saw with both the pictured bars and chains, along with two extra chains for each bar. The only problem is that the saw keeps popping the decomp on the first compression stroke and not when the saw actually "pops". I'm thinking a Husky decomp might be in order if it keeps it up.


Well, I was going to use the Pioneer 700 as the test bed for my first full on resto. But, at the last minute I changed my mind and started tearing the Mac 7-10 apart. I'll start working on getting the parts for the Pioneer together while I'm working on the 7-10.

How do you work on stuff on a workbench like that? With everything labeled and the bench mostly visible? I feel like I'd need to dump a can of random screws on that table so that I could use it.Well, I was going to use the Pioneer 700 as the test bed for my first full on resto. But, at the last minute I changed my mind and started tearing the Mac 7-10 apart. I'll start working on getting the parts for the Pioneer together while I'm working on the 7-10.
The way I work, in order for something to go on the workbench, something else needs to come off first.
I finished up the 372XPW as well but forgot to take finished pics, it runs fine but needs to be tuned as it’s running way too rich currently.
I have the owner of my local stihl dealer’s 045 I’m doing a full rebuild on. Just getting the parts before I go and take it all apart.
Well the PM700 is back on the bench. I placed a seal around the fuel tank but it kept leaking, after tearing it back down again I could see where the fuel was leaking under the paint inside the tank and allowing it to get past the seal. As you can see in the pics the paint is just flaking off where it has lost it's chemical bond with the metal over the years. I still have to get some of it out of the groove where the seal sits and I am removing what I can get the flake off on the inside of the tank since it will just end up in my fuel filter anyway. I don't know if you can see the dust mixed in with the paint chips but there was a layer between the paint and the metal that looks like a extremely fine sand which I am assuming is just the paint breaking down.
I have a new ProLine Buna seal coming in, I had the old style cork gasket in it before and I honestly believe the cork gasket and sealer would have held if it wasn't for the fact the fuel was bypassing it under the paint.
I have a new ProLine Buna seal coming in, I had the old style cork gasket in it before and I honestly believe the cork gasket and sealer would have held if it wasn't for the fact the fuel was bypassing it under the paint.
Attachments


The Husqvarna 350 is back on the list as well as the 520sp Jred.
JohnL
Addicted to ArboristSite
Couple of Ebay purchases, Powermac 310 gave it the degrease and garden hose treatment, broken bolt boss, JB weld maybe? Second is a 10 series but I don't know which, no ID tag found. It has the single needle McCulloch carb on it.


Tank swap, good cleaning. Then let r rip
Well I got the PM700 sealed up finally. When I removed the paint from the area the fuel line passes through the ProLine fuel line would no longer hold/seal to the tank, it fit great as long as the paint was there but once that was gone I was able to pass the fuel line barb and all through the hole so I got on the lathe and had to make a bushing that was press fit to the tank and now the fuel line fits snug in there like it should and seals right up.

