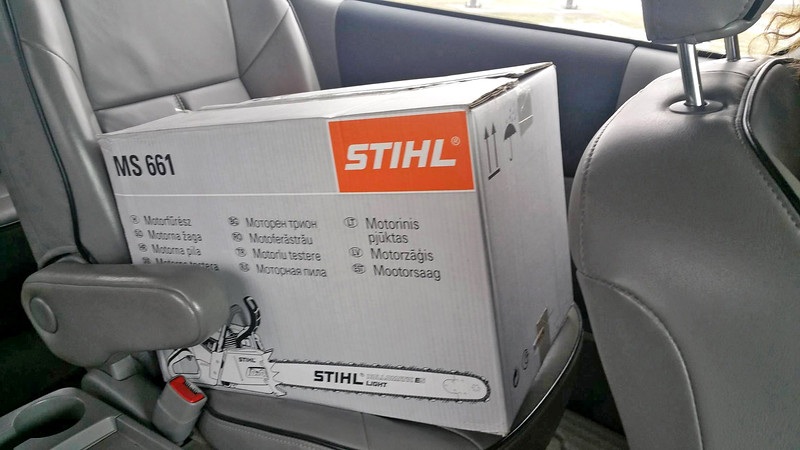
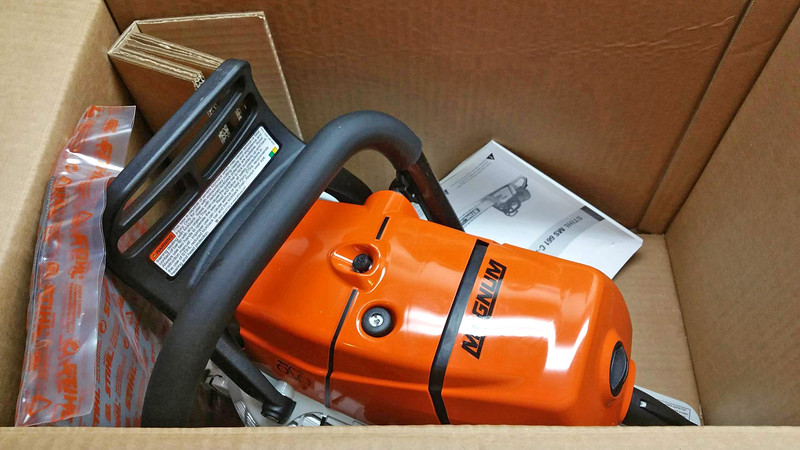
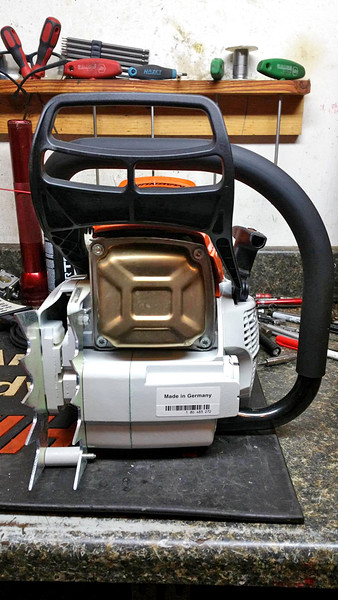
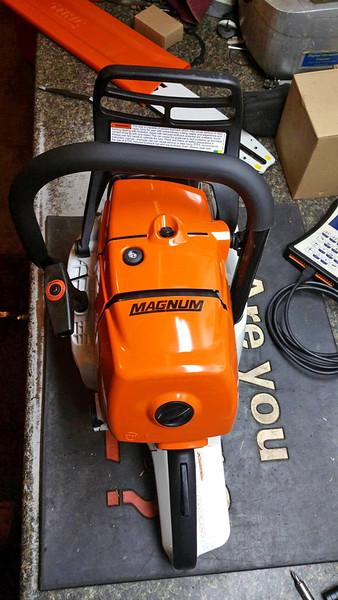
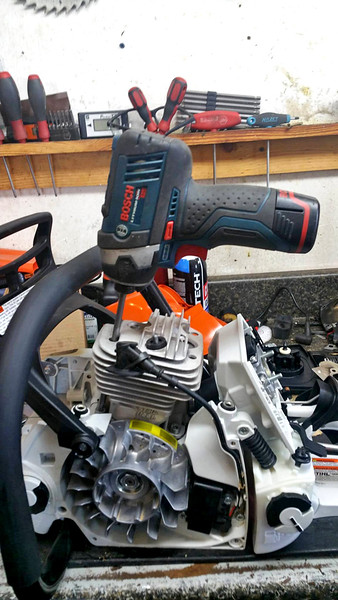
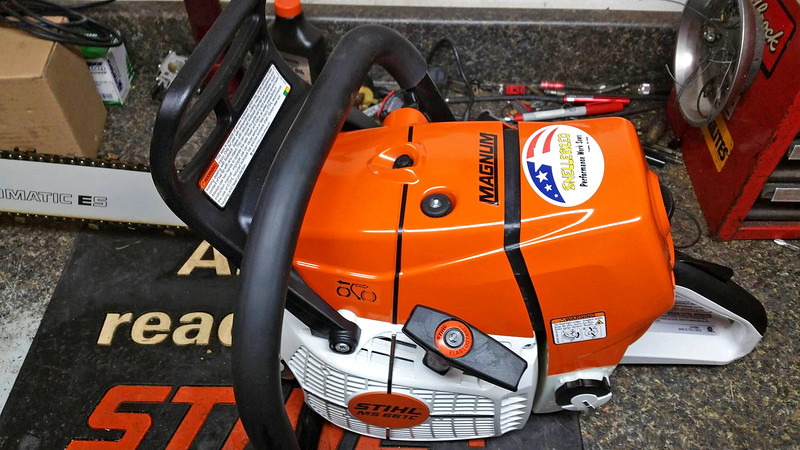
This saw is for a local arborist that's been in the business for many years. Most of his saws were recently stolen and I've been helping him get back on his feet with new saws. Up today is his new MS661C. @treevet
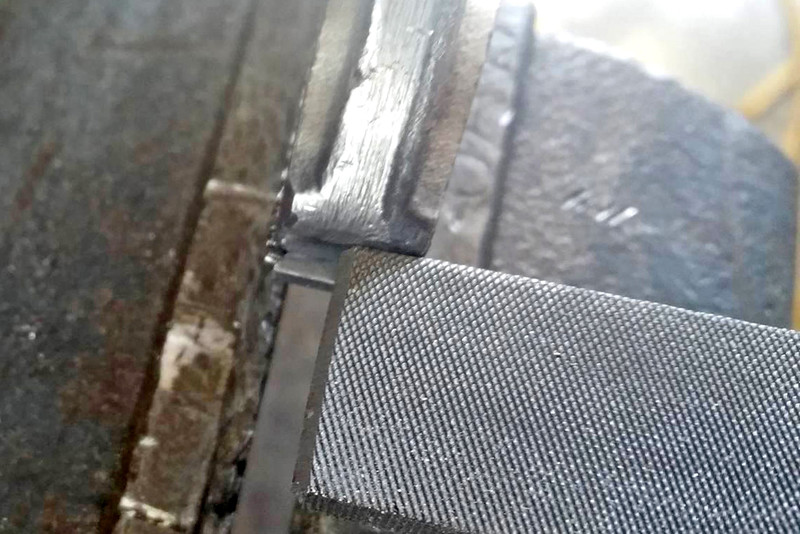
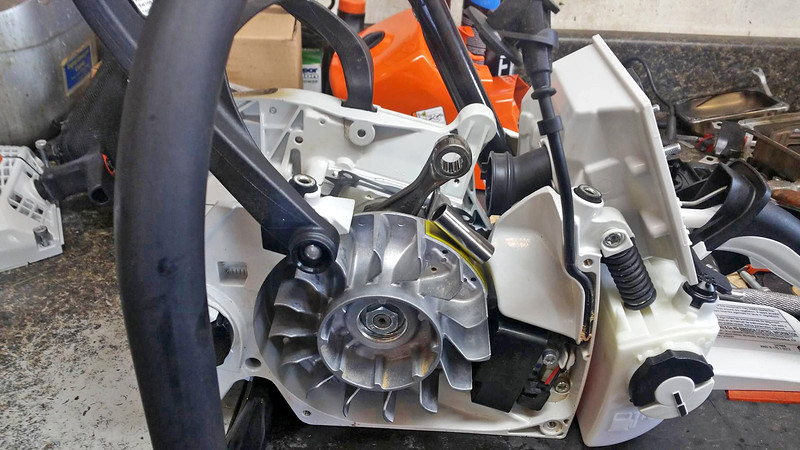
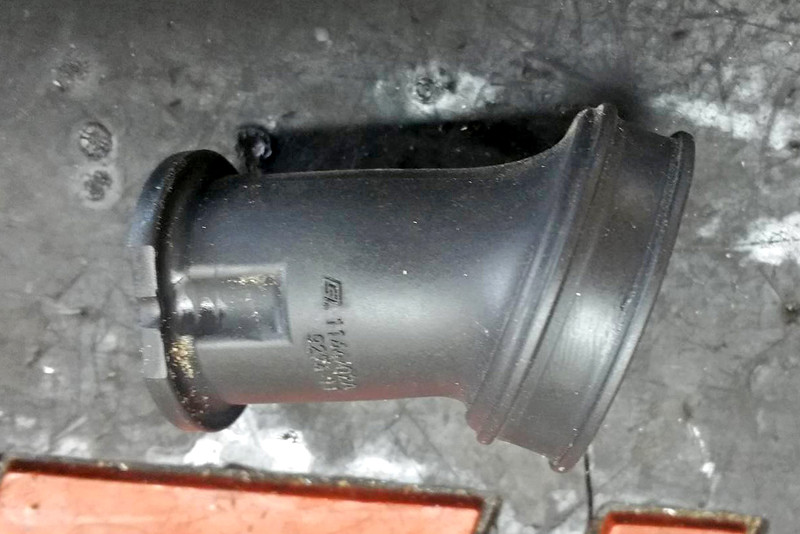
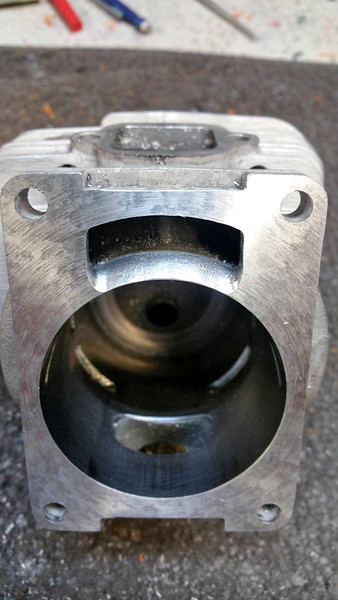
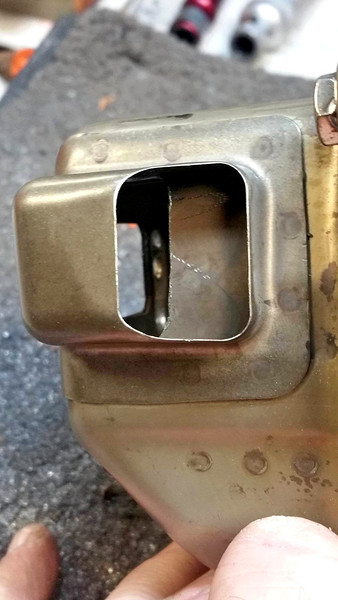
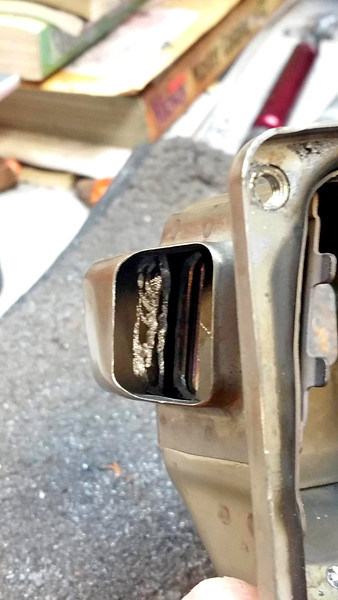
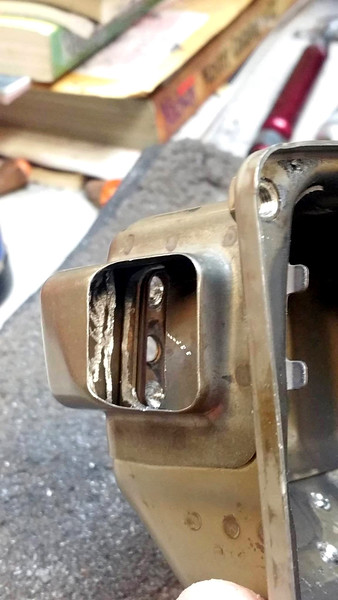
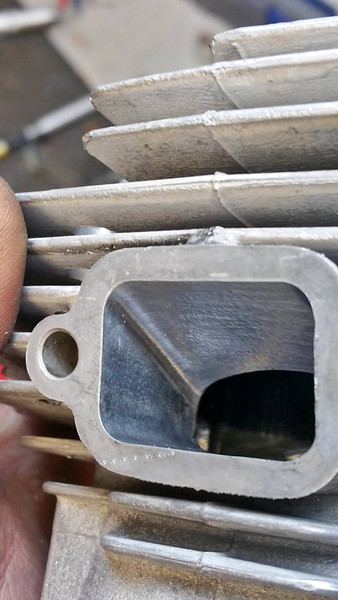
Here you can see where I did a little porting on the transfer intake duct.
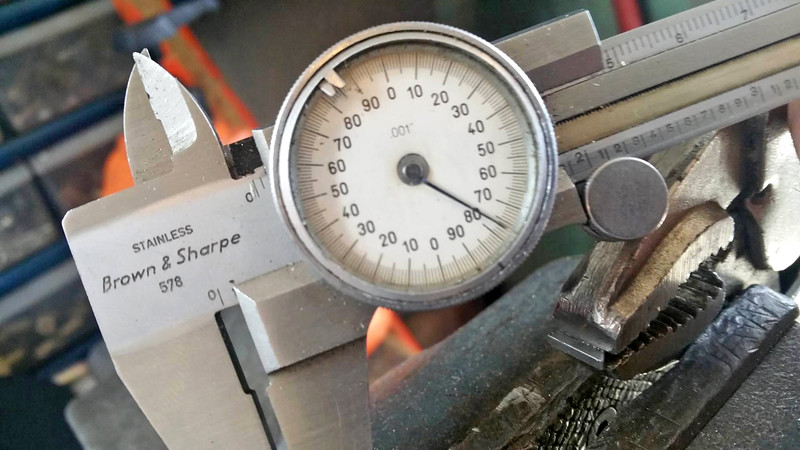
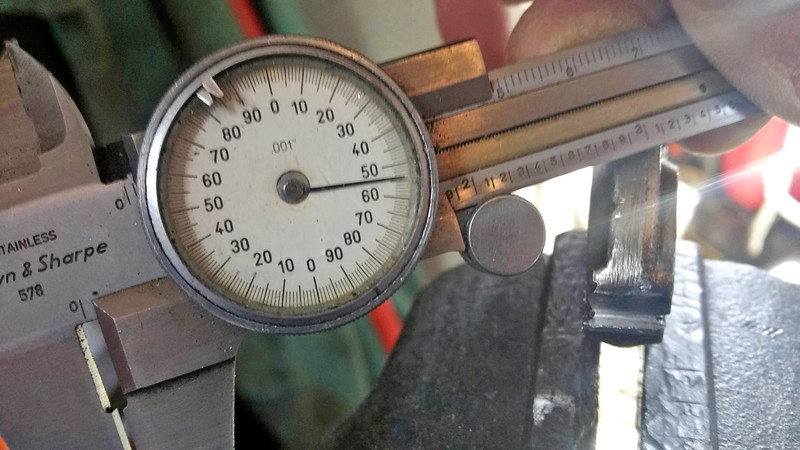
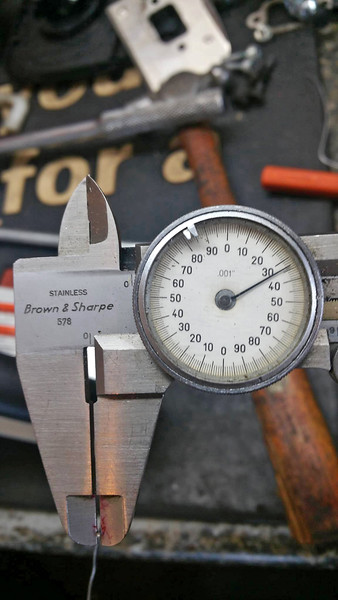
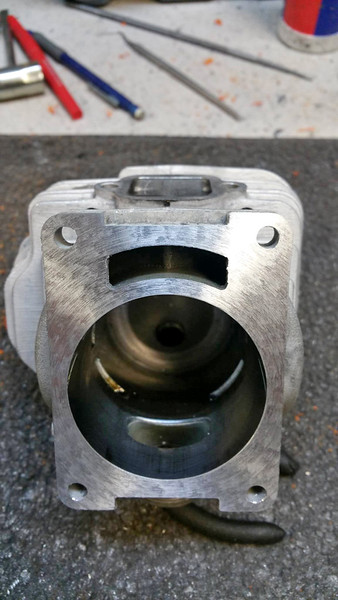
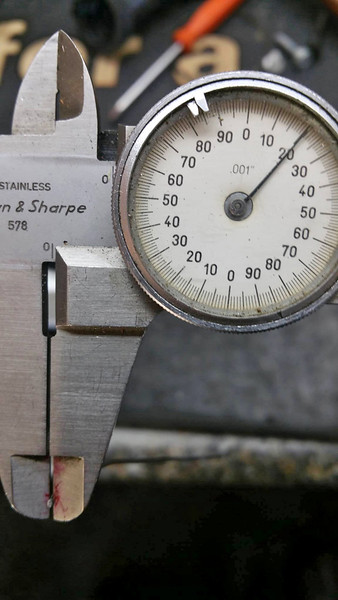
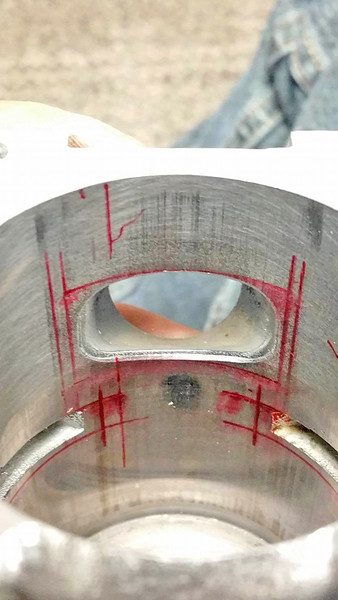
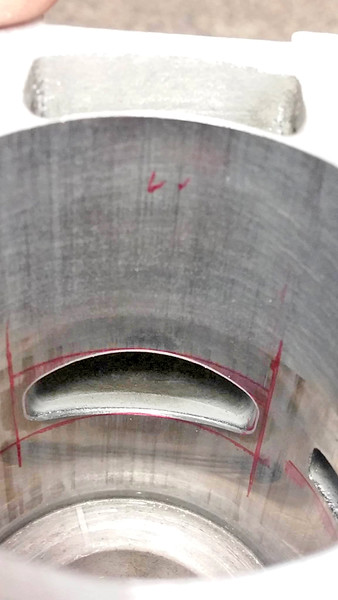
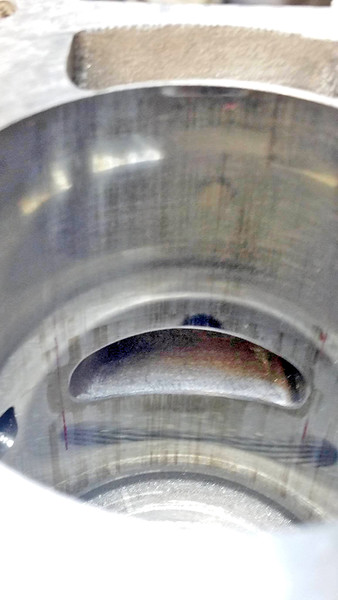
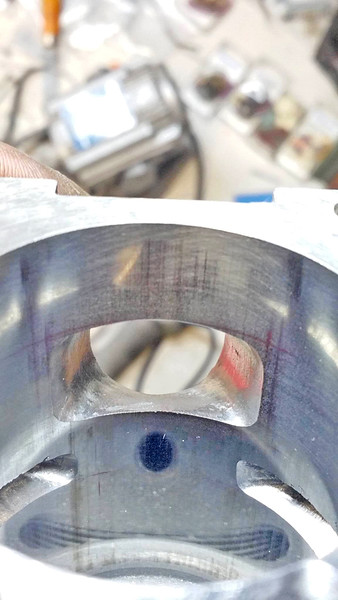
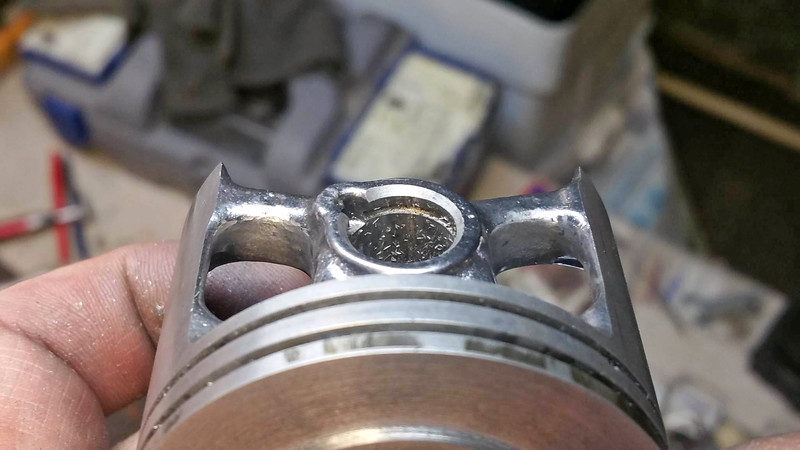
Squish after machining was a strong .020", right where I wanted it.
I check the squish on all 4 corners. This is partly to make sure the popup isn't too close to the edge of the combustion chamber.
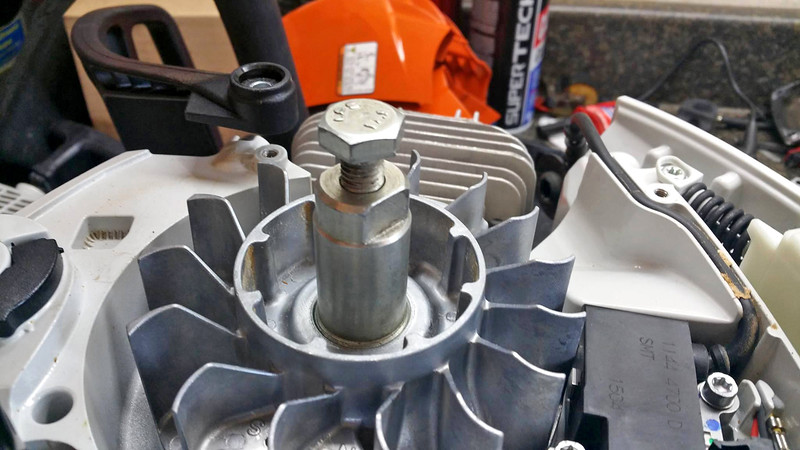
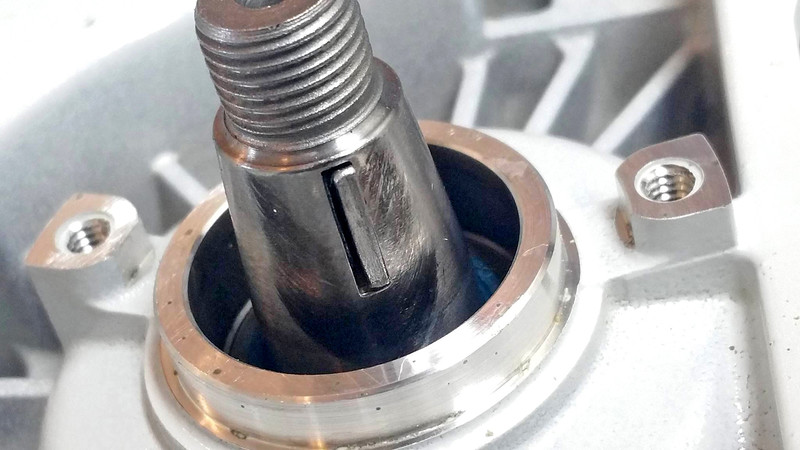
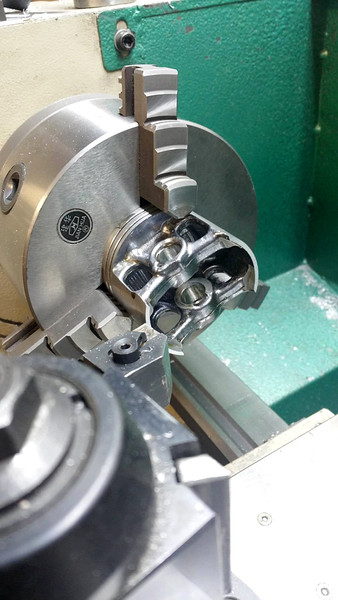
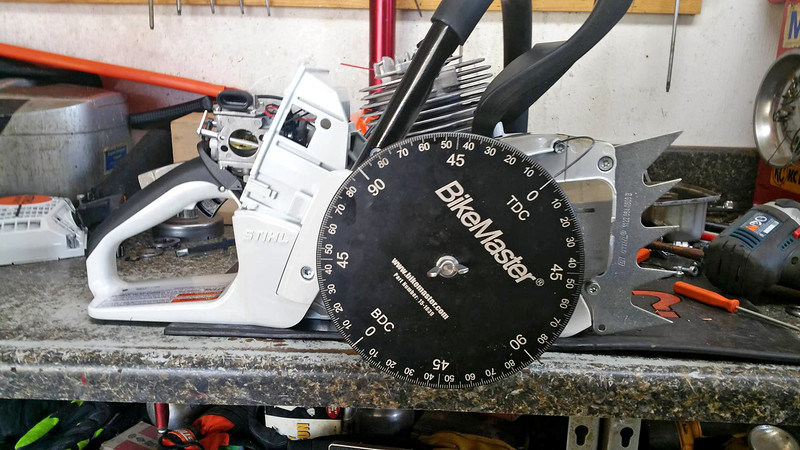
Setting up the degree wheel.
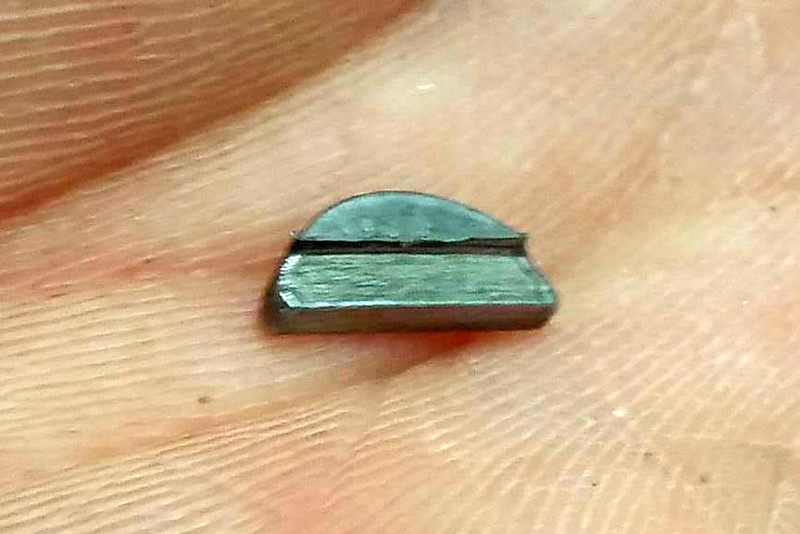
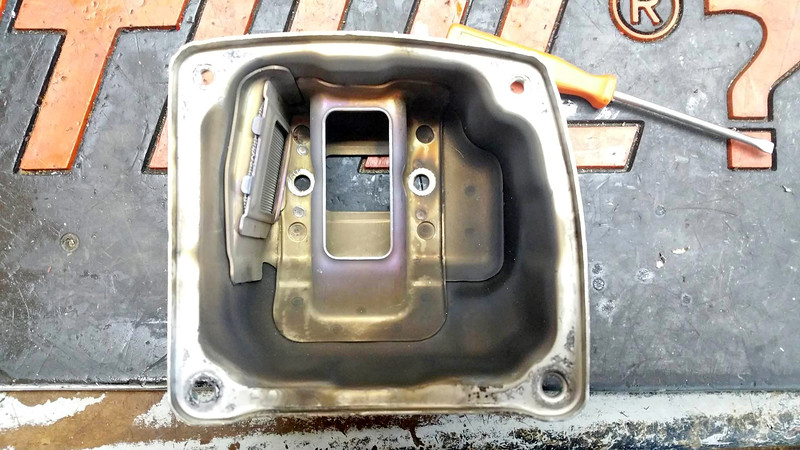
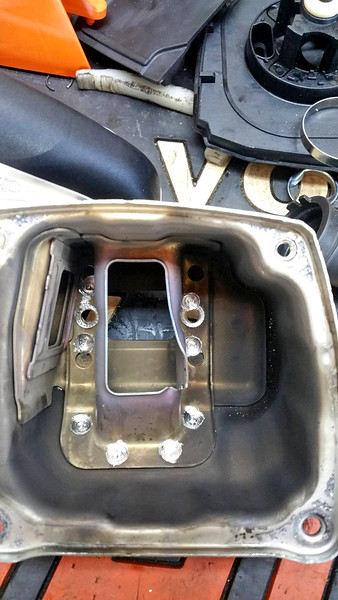
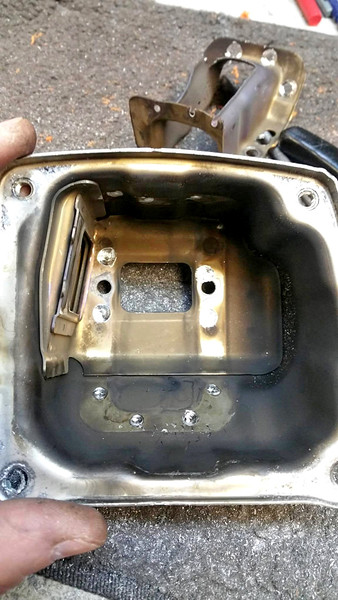
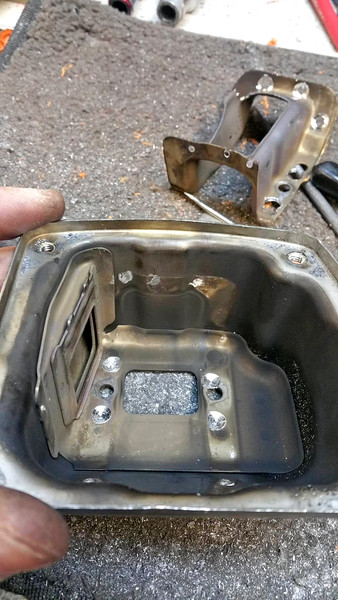
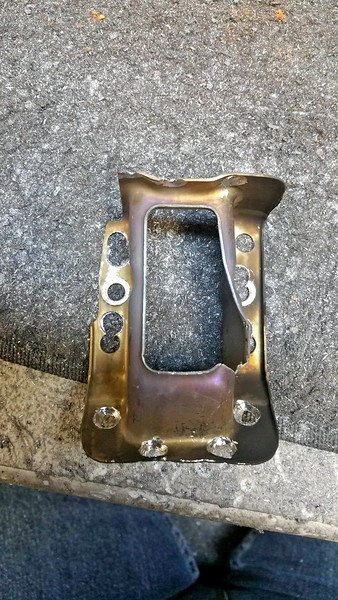
I've found through testing that completely removing the baffler is the best way to go.
I will cut a new screen with more open space in it. If this weren't a daily work saw I'd also add gills to both sides of the muffler cover. In this case, I'd rather keep the volume down a little.
What guarantee is there this one won't suffer faults (not of your making I should point out) as the other one did? Especially in light of the OEM warranty being voided by the modifications?
I thought I was going to have to wait until Monday to make the after mods video, but my sweet wife held the flashlight so that I could make a video at 9:30 at night